
Brighten your wardrobe with a cozy crochet bucket hat that combines comfort and style, perfect for sunny days and adding a unique touch to any outfit.
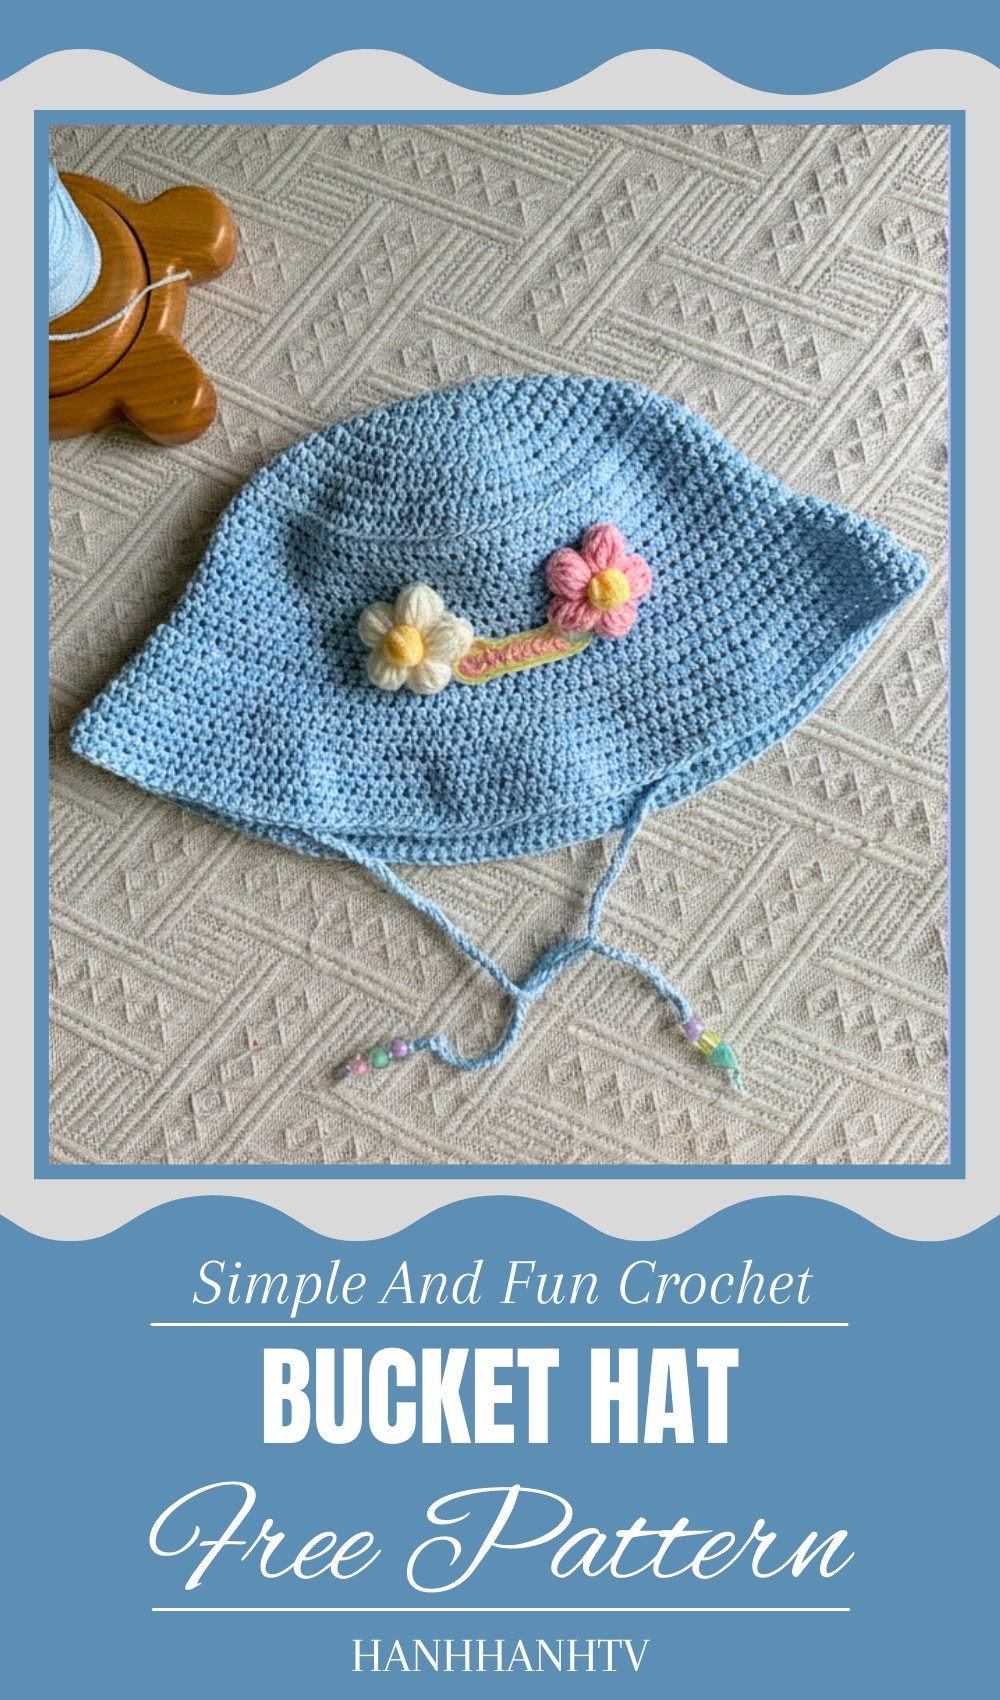
Trendy Crochet Bucket Hat to Boost Your Look Fast
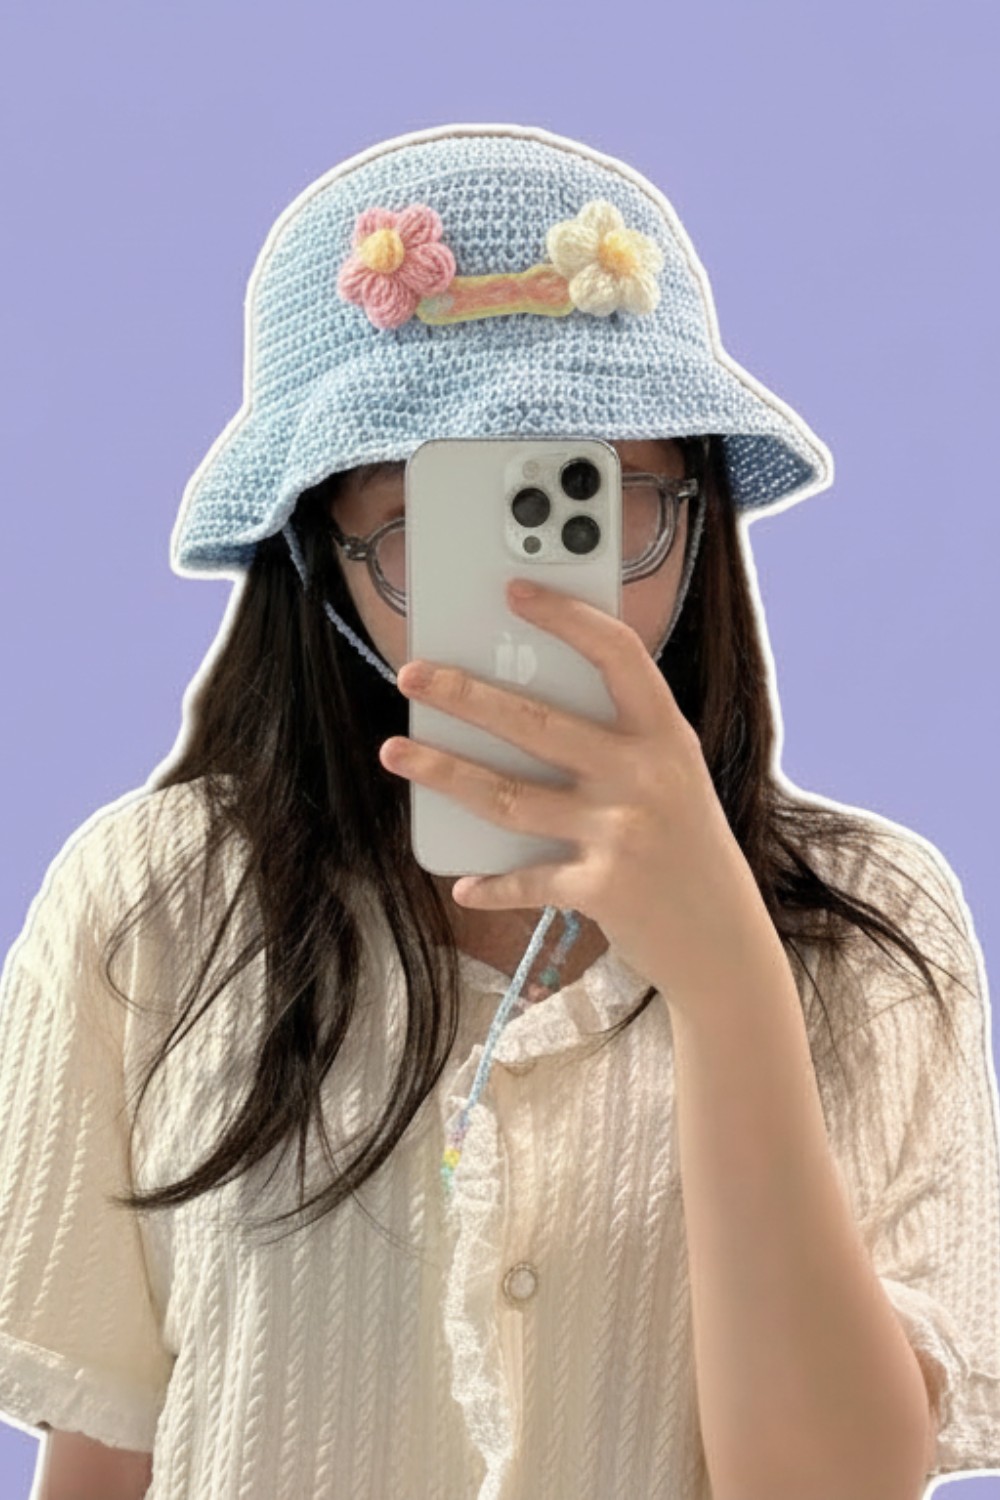
Stepping outside on a sunny day with a cool, comfy hat that keeps the bright sun away from your face. The crochet bucket hat pattern is just the perfect way to make this happen! Soft yarn shapes into a round, wide-brimmed hat that feels light and cozy on your head. Its simple yet stylish design looks great on anyone, adding a touch of handmade charm to your outfit.
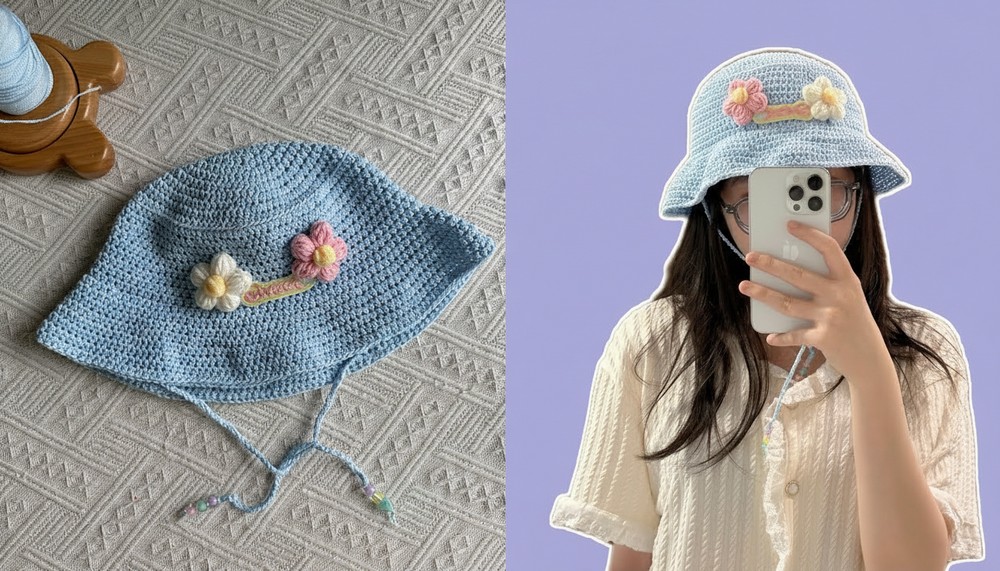
You can choose any color you love, making the hat as bright or as calm as you want. This hat is not just beautiful, it shields you from sunlight and light rain, making it ideal for walks, beach days, or casual outings. Easy to wear and easy to make, the crochet bucket hat pattern brings together fashion and function, turning an ordinary hat into a special, personal treasure for every day.
Summer Crochet Hat Pattern with Decorative Flowers and Pearls
Materials:
- Cotton yarn (approx. 1 to 2 rolls depending on sizing and tension)
- Crochet hook 3.0 mm
- Pearls (for decoration; optional)
- Sewing needle (for attaching pearls & flowers)
- Fabric glue/hot glue (optional for secure attachments)
- Scissors
- Stitch markers (optional, for counting increases)
Difficulty Level:
- Intermediate: Requires knowledge of half-double crochet (HDC), magic circle, increases, working in rounds, stitch counting, and embellishment attachment.
Tutor’s Suggestions:
- Keep tension consistent, especially during increases, to achieve a smooth, round shape.
- Use stitch markers to mark beginning of rounds and increase points to maintain even shaping.
- For secure attachments of decorations, consider sewing or using fabric glue instead of just pinning.
- Measure head circumference as you work to adjust hat size accordingly.
Step-by-Step Crochet Pattern:
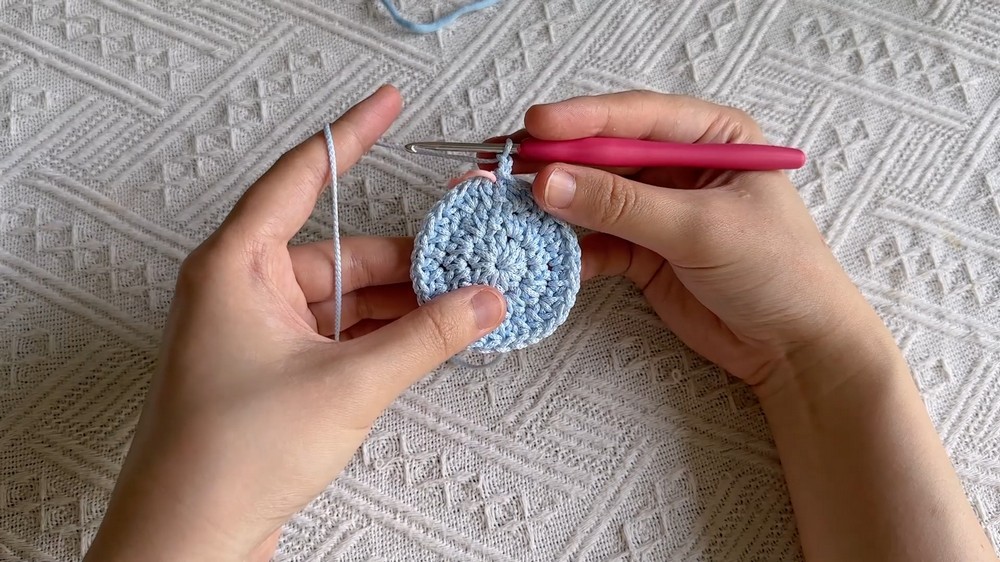
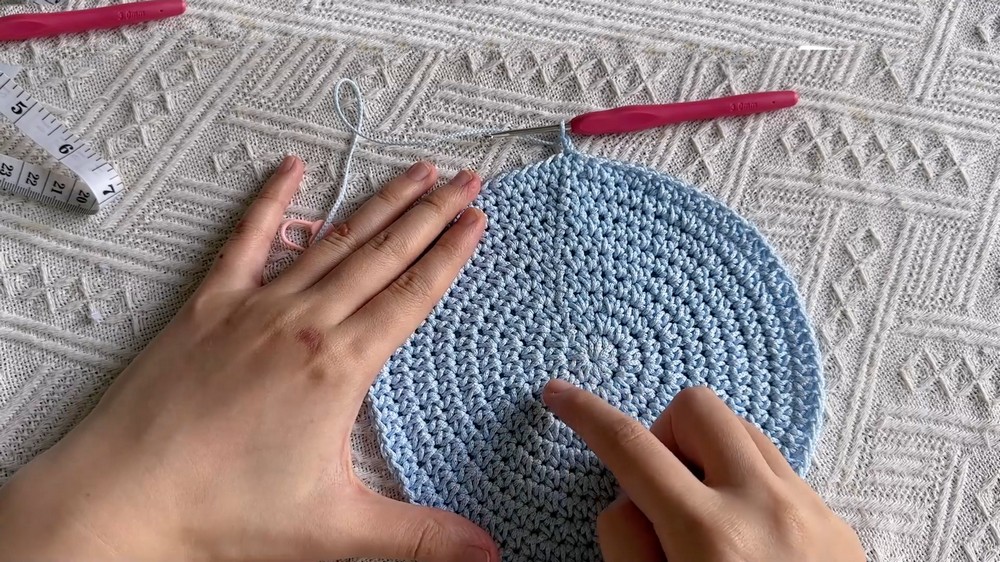
Part 1: Hat Crown (Starting with Magic Circle)
- Magic Circle: Create a magic circle.
- Round 1: Crochet 10 half-double crochet (HDC) stitches into the magic circle. Mark the first stitch.
- Pull tight to close the magic circle firmly.
Round 2:
- Increase stitches by doubling each stitch: crochet 2 HDCs in each stitch (20 stitches total).
Round 3:
- Increase round: Alternate between 1 HDC in one stitch, 2 HDCs in the next stitch (repeat around), totaling 30 stitches.
Round 4:
- Increase round: Work 2 HDC stitches, then increase (2 HDCs in one stitch), continue this pattern throughout the round (40 stitches).
Round 5 through Round 10:
- Continue increasing each row by 10 stitches using this formula incrementally:
- Example Round 5: 3 HDC, 1 increase,
- Round 6: 4 HDC, 1 increase,
- … and so forth, increasing the number of HDCs before the increase by 1 per round.
- Keep counting stitches to ensure increases are consistent and hat is shaping roundly.
- Measure diameter regularly to match desired head size (examples given: 12 cm diameter for 40 cm head, 16 cm diameter for 51 cm head).
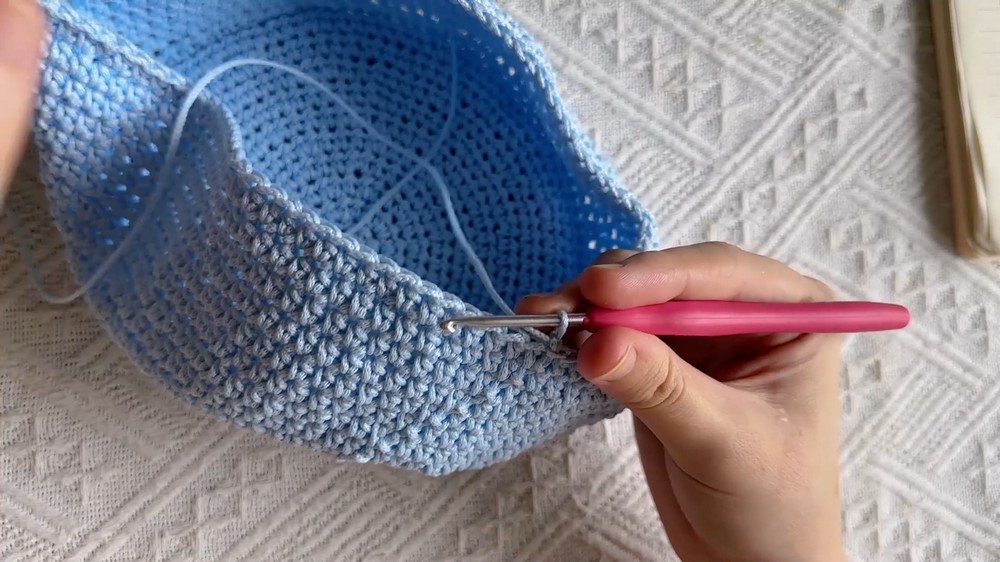
Round 11 (Start of Hat Body):
- Crochet one HDC in each stitch around without increasing; total stitches remain the same (100 stitches example).
- Continue this round as the boundary between crown and body.
Rounds 12-13:
- Crochet multiple rounds in HDC, no increases or decreases.
- Row 13 includes increases spaced evenly (example: 9 stitches, increase, repeat).
- Adjust height of hat body according to preference; initial example is about 7 cm tall.
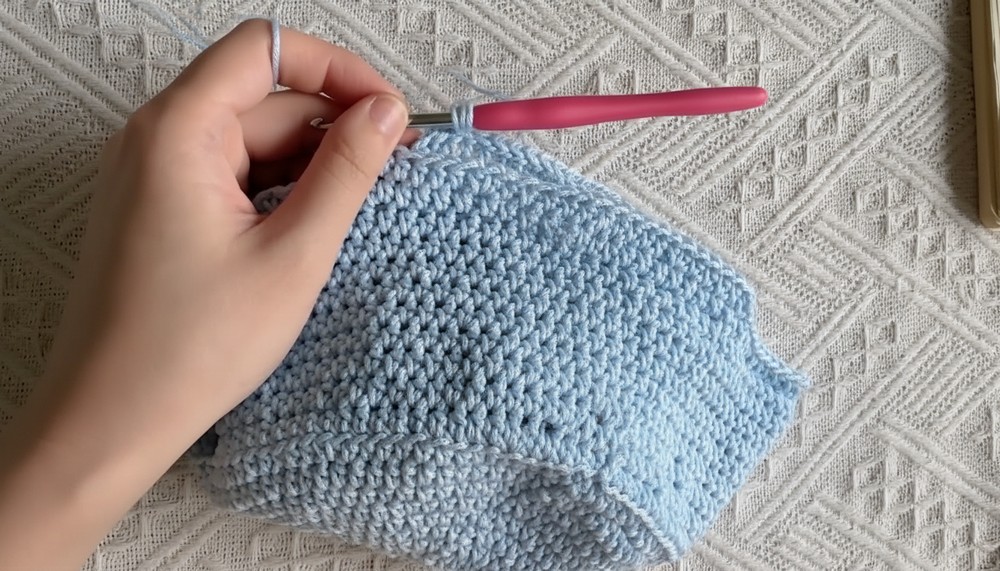
Part 2: Hat Brim Instructions
- Begin increasing brim width by gradual increases:
- Start with 8-9 HDC stitches, then increase by 1 stitch.
- Continue increasing the number of stitches between increases by 1 each round (e.g., 9 stitches, then 10 stitches between increases).
- Increase should cause the brim to flare outward nicely.
- For even rounds, spread out stitches between increases evenly.
- Continue this process until brim reaches preferred width.
- Finish brim with 3 rows of HDC without increases to maintain shape.
- Measure brim length to approximately 22 cm or desired dimension.

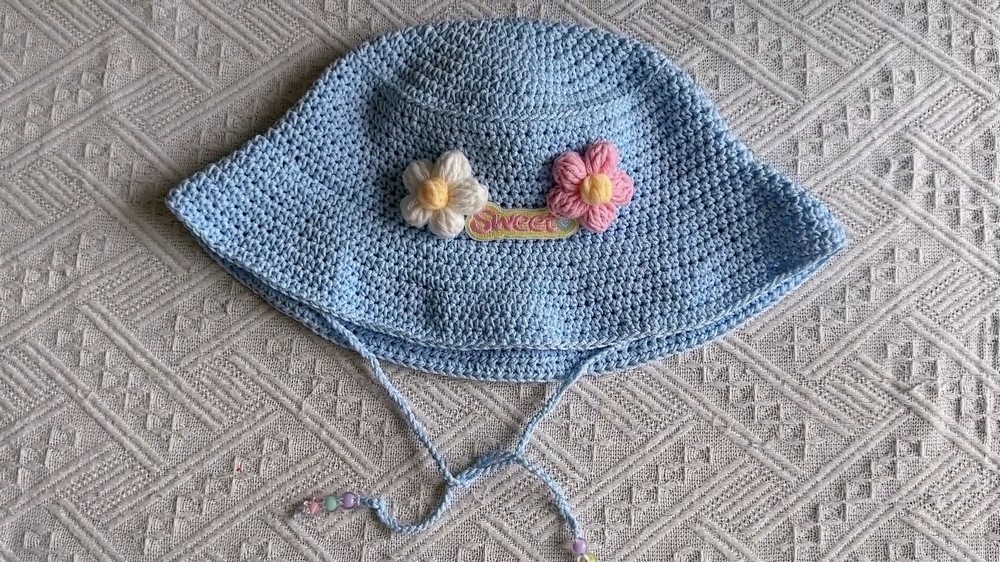
Part 3: Decorative Flower (Optional)
- Create a magic circle.
- Round 1: Crochet 10 single crochet (SC) stitches into the magic circle. Pull tight.
- Round 2: Crochet flower petals:
- Chain 4,
- Slip stitch into the base stitch to form petals,
- Repeat 5 times to create 5 petals.
- Each petal consists of 3 HDC stitches worked into the same stitch (ensuring even tension).
- Fasten off, leave yarn long to sew flower onto hat.
- Create flower stamen:
- Magic circle,
- Crochet 3 chains,
- Crochet 3 double crochet (dc),
- Slip stitch, fasten off.
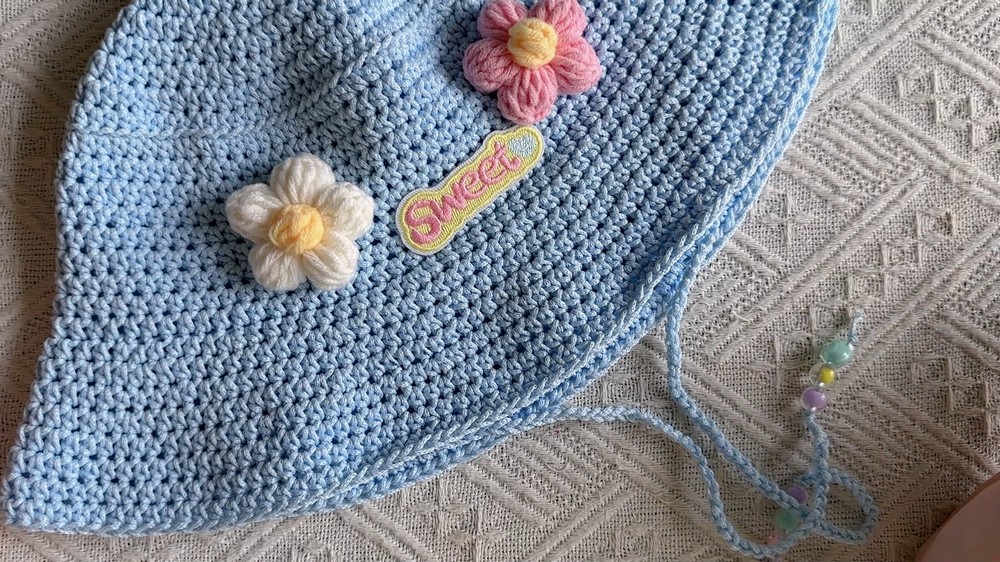
Part 4: Attaching Pearls and Flower
- Thread 3 pearls onto yarn and sew along hat as desired.
- Attach flower by sewing or gluing securely.
- If making a chin strap, crochet a chain and add pearls or decoration as preferred.
- Secure attachments non-invasively to prevent yarn splitting or damage.
Special Features:
- Breathable fabric yarn for summer comfort.
- Structured but soft hat crown shaping by incremental increases.
- Wide and flared brim for sun protection and style.
- Optional decorative elements create customizable looks.
- Adjustable sizing with clear measurements guide.
Uses:
- Wearable sun hat for warm weather.
- Gift or personalized project with decorative options.
- Fashion accessory combining practicality and style.
Final Tips:
- Check fit regularly as you crochet; yarn stretch can affect final size.
- Use fabric glue alongside sewing for sturdier adherences.
- Don’t skip stitch marking during increase rounds — even spacing keeps hat perfectly round.
- Customize with colors and embellishments for unique designs.
Conclusion:
This beautiful summer hat pattern strikes a wonderful balance of structure and softness, combining simple stitches with thoughtful increases and charming decorations. Intermediate crocheters will find joy in shaping and customizing this breezy, versatile accessory, perfect for protecting you from the sun while keeping a stylish look.
Leave a Reply