
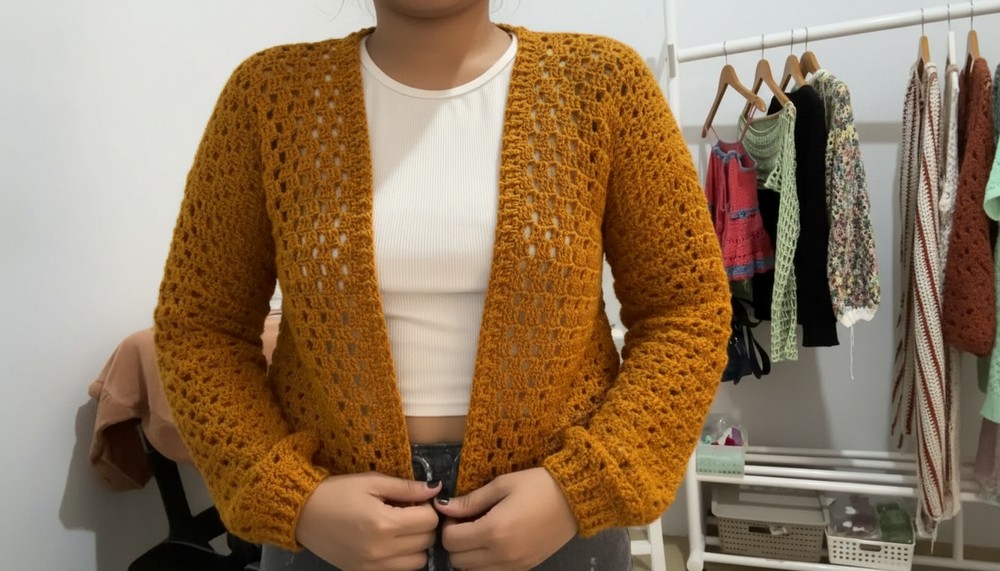
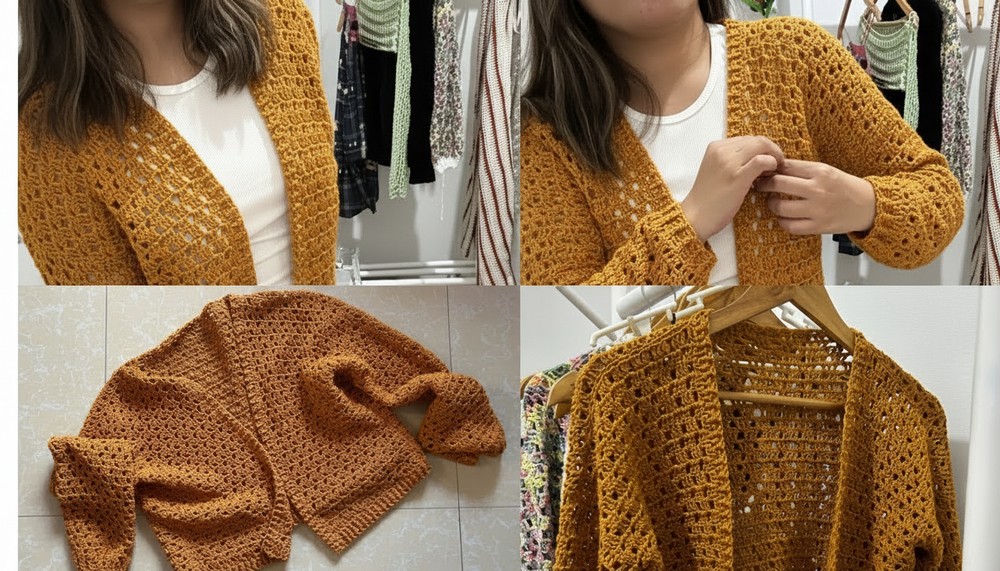
Cozy up with a soft crochet cardigan that adds warmth and style to your outfit while keeping you comfortable all day long.
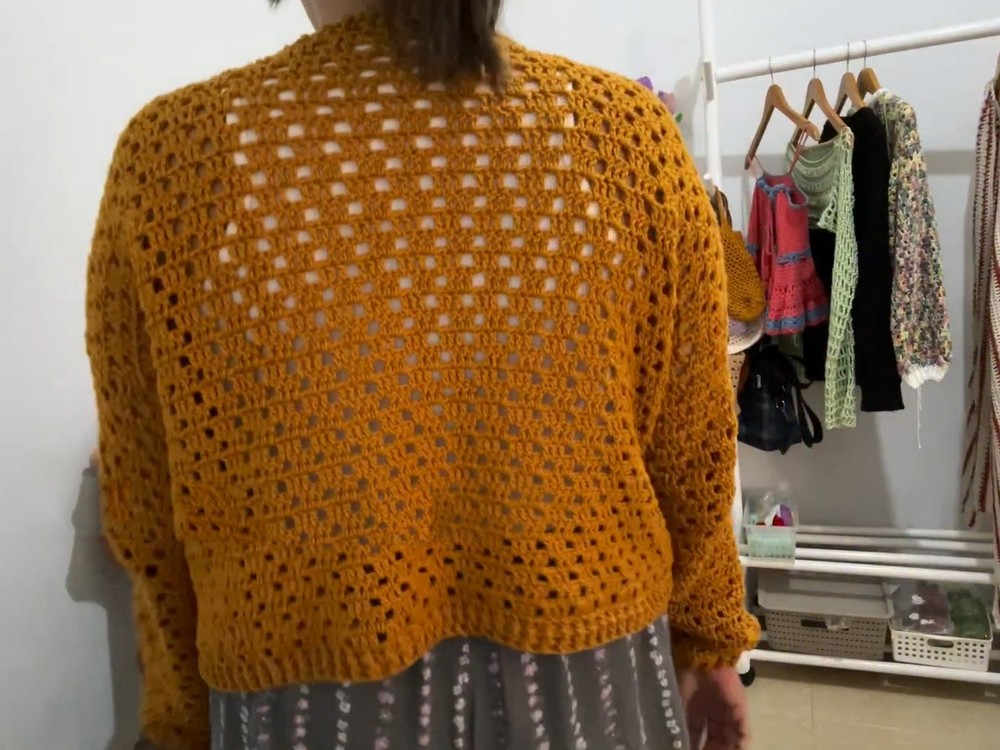
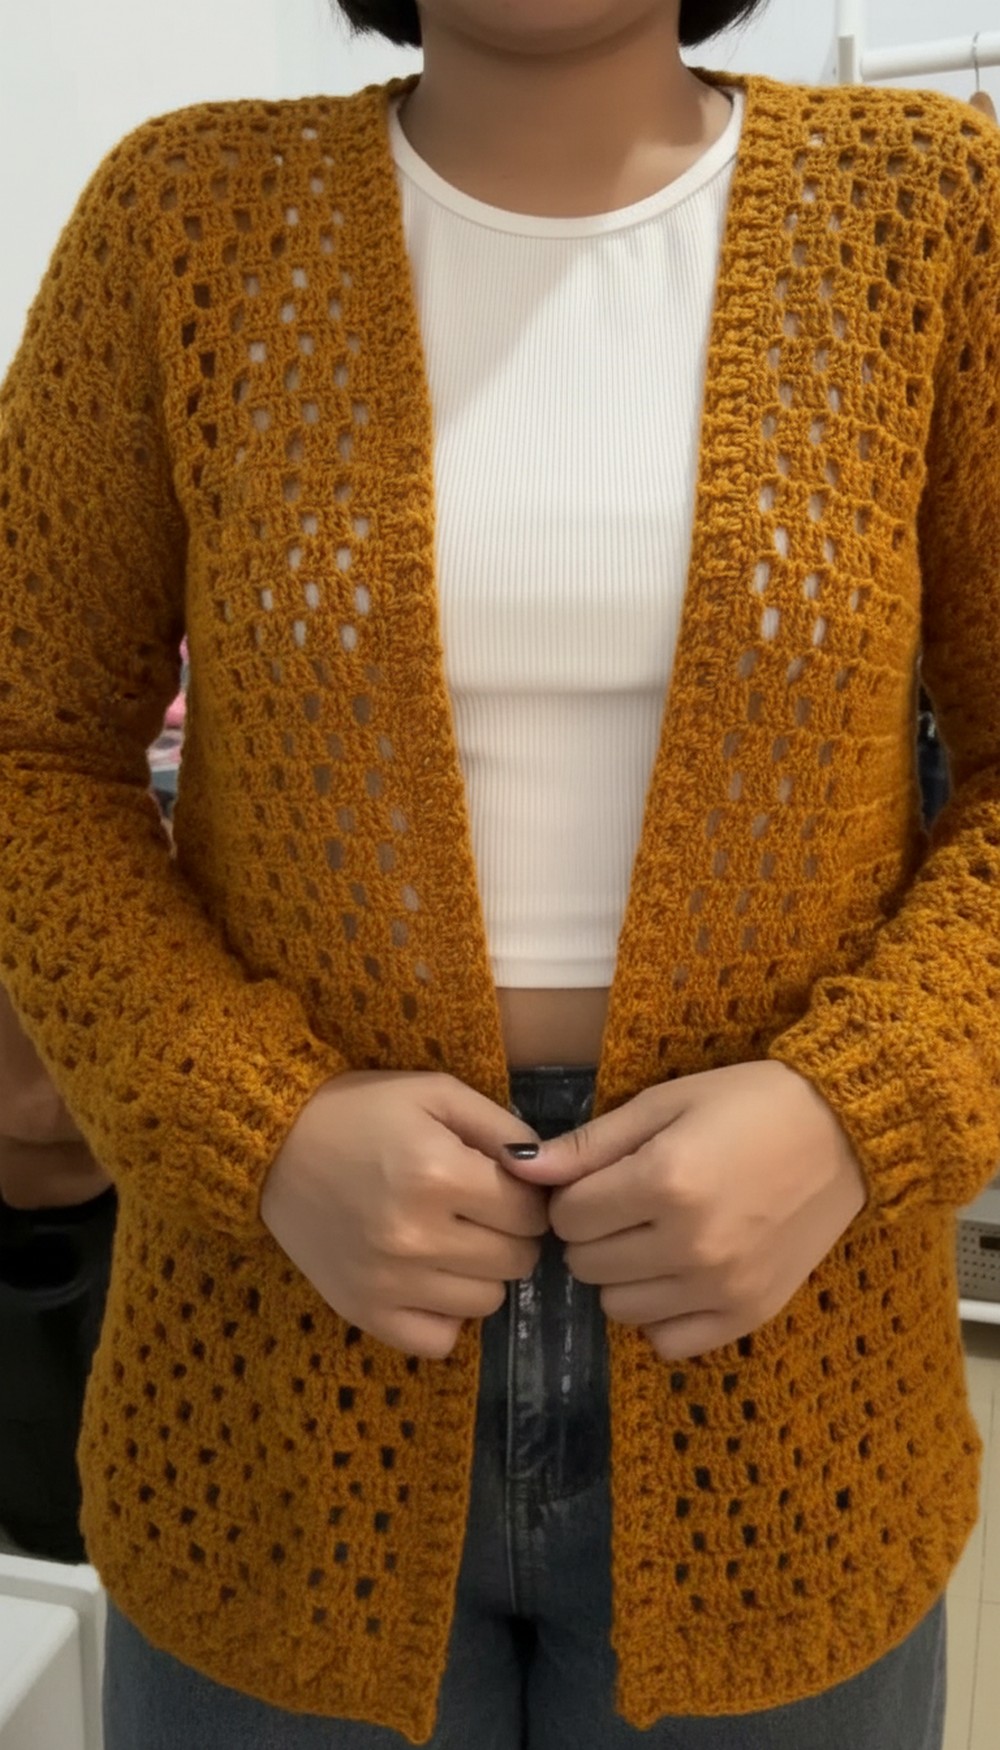
Have you ever wanted something cozy that feels like a warm embrace? This crochet cardigan offers just that—a soft, gentle layer perfect for cooler days. Its handwoven texture adds charm and a touch of elegance to any outfit. The open stitches create delicate patterns that allow breathability, so you stay comfortable without overheating. Ideal for layering over simple tops or dresses, it suits early mornings, evening walks, or breezy afternoons.

Crochet Cardigan Pattern That’s Perfect for Chilly Days
Choosing bright colors can brighten your mood, while soft tones bring a calm, peaceful vibe. Wearing this cardigan makes you feel special, wrapped in a beautiful piece that moves effortlessly with you. Light and comfy, it brings both warmth and style to your day. More than just clothing, it’s a lovely way to add a splash of happiness while keeping cozy wherever life takes you.
Crochet Simple & Easy Cardigan Pattern
Skill level:
Intermediate beginner
Special features:
- Uses back bump crochet technique for a textured look
- Worked in panels (2 front panels, 1 back panel, sleeves)
- Includes raglan-style sleeve attachment
- Ribbed edges at cuffs and bottom for stretch and fit
- Customizable length and measurements for perfect fit
Materials
- ConCoten 6 ply or any size 2 yarn
- Crochet hook size 3.75 mm (hooks vary for parts)
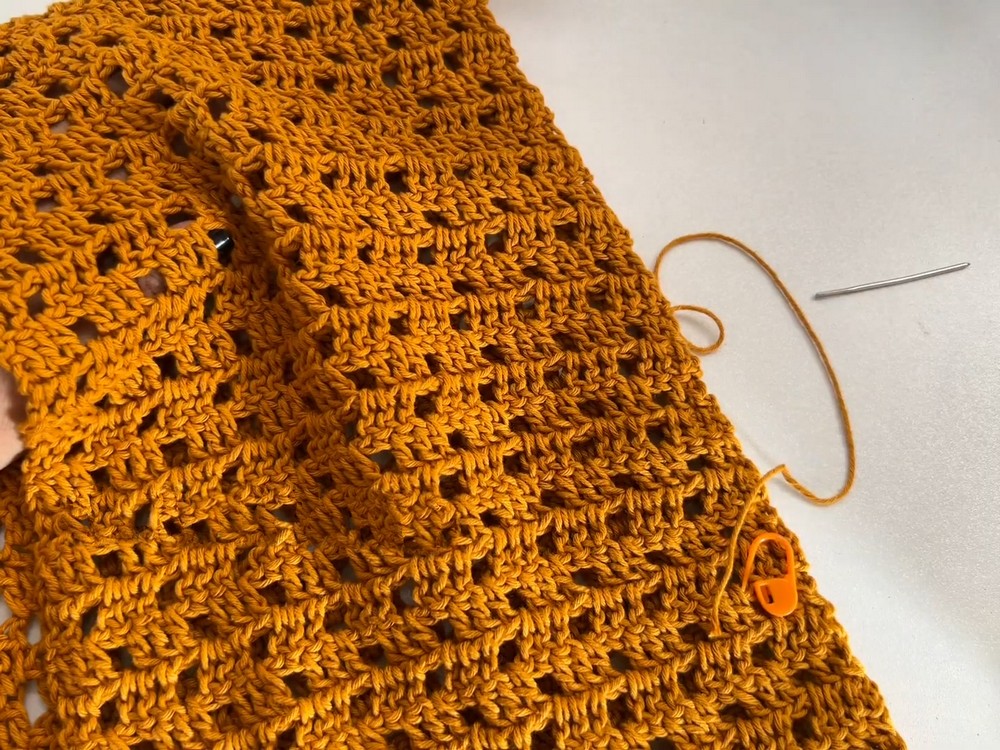
- Stitch markers
- Yarn needle
- Scissors
Gauge & Measurements
Measure yourself or your intended wearer carefully for:
- Measurement A: Width of front panel (neck to shoulder)
- Measurement B: Length of cardigan front panel (shoulder to desired length)
- Measurement C: Width of back panel (shoulder to bottom; calculated as 2 times front panel width plus center space for back)
- Measurement D: Arm circumference (measured flat, divided by 2 for sleeve aim)
- Measurement E: Sleeve length (will be worked as you go)
Step-by-Step Pattern
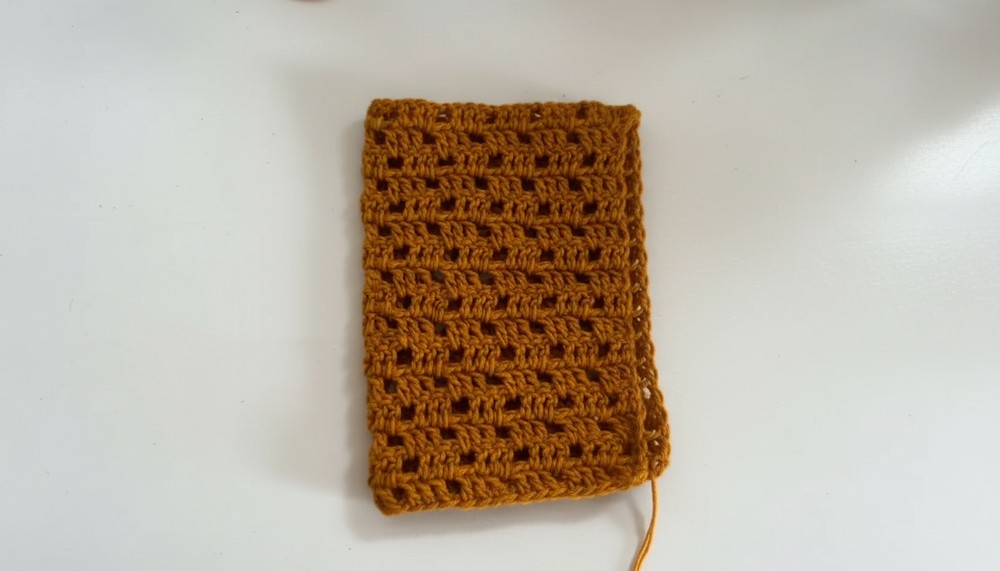
Step 1: Front Panel Foundation Chain
- Chain (Measurement A divisible by 4) + 2, then add 2 more chains for turning chain.
- Example: 36 + 2 turning + 2 extra = 40 chains total.
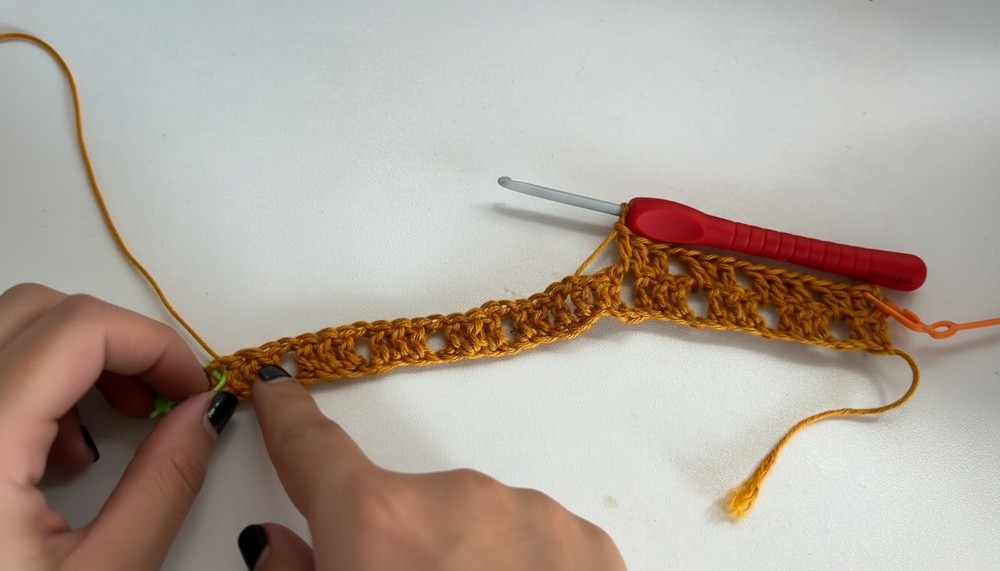
Step 2: Row 1 (Foundation Row) – Back Bump Double Crochet
- Yarn over (YO), insert hook into back bump of the 3rd chain from hook, YO and pull through, complete double crochet (dc).
- Make 3 dc in first three back bumps. Chain 1, skip 1 bump, dc in next bump.
- Repeat pattern: 3 dc in 3 back bumps, chain 1, skip 1 bump, continue until last 3 chains.
- At last 3 chains, chain 2, keep 1 chain, finish with 2 dc in last chains (using back bump).
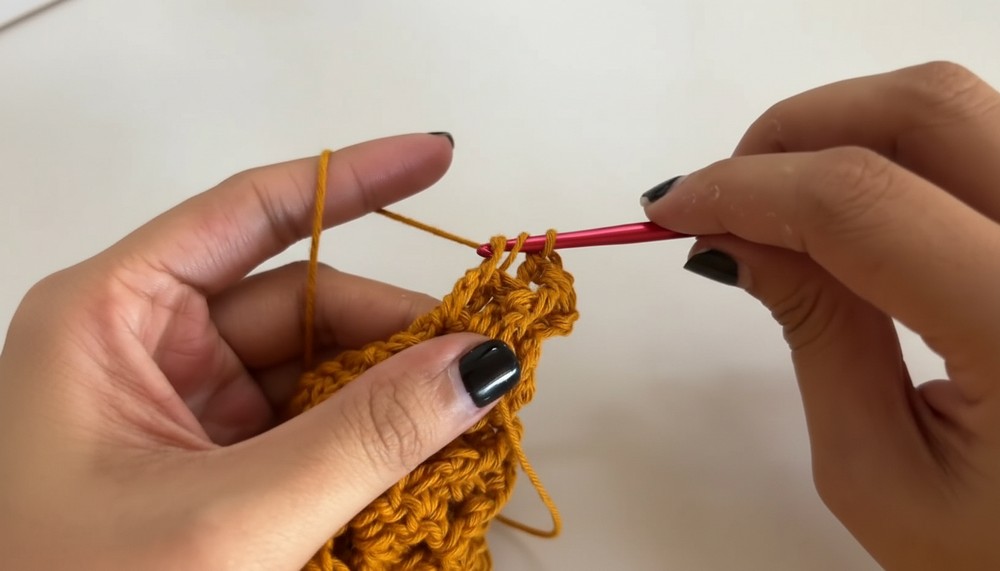
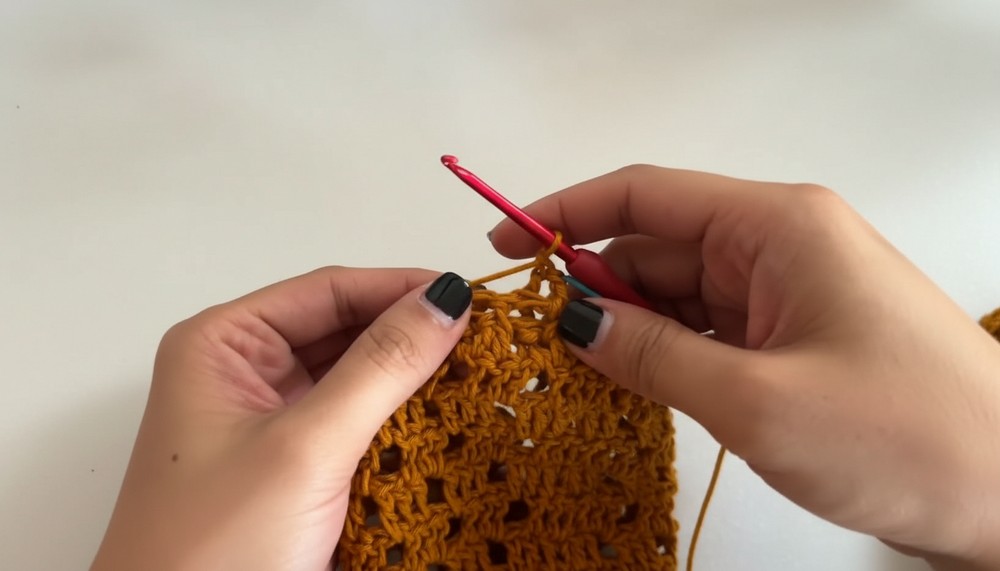
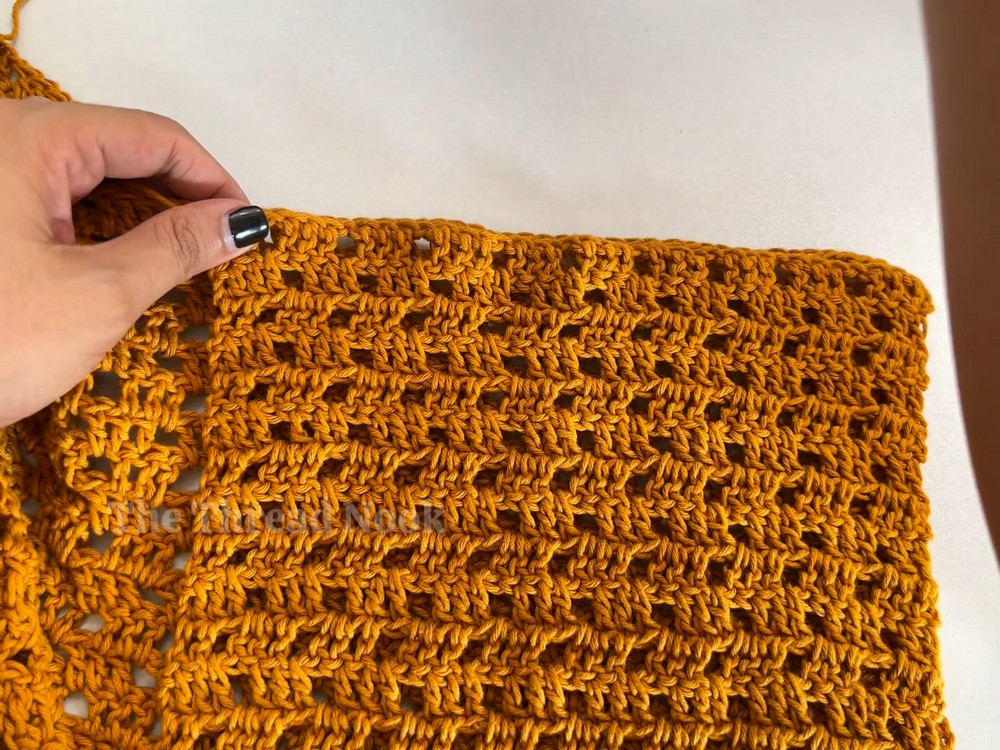
Step 3: Row 2 and Following Rows – Pattern Continuation
- Chain 2 (turning chain, does not count as stitch) and turn work.
- Make 1 dc in the first stitch (not turning chain). Add stitch marker here to mark start of row.
- Pattern: 1 dc in each stitch, 1 dc in chain 1 space, chain 1, skip 1 stitch; repeat across row. Three double crochets end each cluster with chain 1 in between.
- End each row with chain 1, skip 1, dc in last 2 stitches where applicable.
Step 4: Continue Front Panel
- Repeat Row 2 pattern, loosely crocheting (do not tighten stitches) until reaching Measurement B for desired cardigan length.
Step 5: Make Second Front Panel
- Repeat Steps 1-4, ensuring the second front panel exactly matches size and length of first panel.
Step 6: Back Panel Foundation Chain
- Chain equal to measurement for two front panels + center space.
- For example, (38 × 2) + 22 = 98 chains total.
Step 7: Back Panel Rows
- Same pattern as front panel: back bump double crochet clusters with chain 1 spaces, chain 2 turning chains.
- Crochet rows until back panel matches front panels in length.
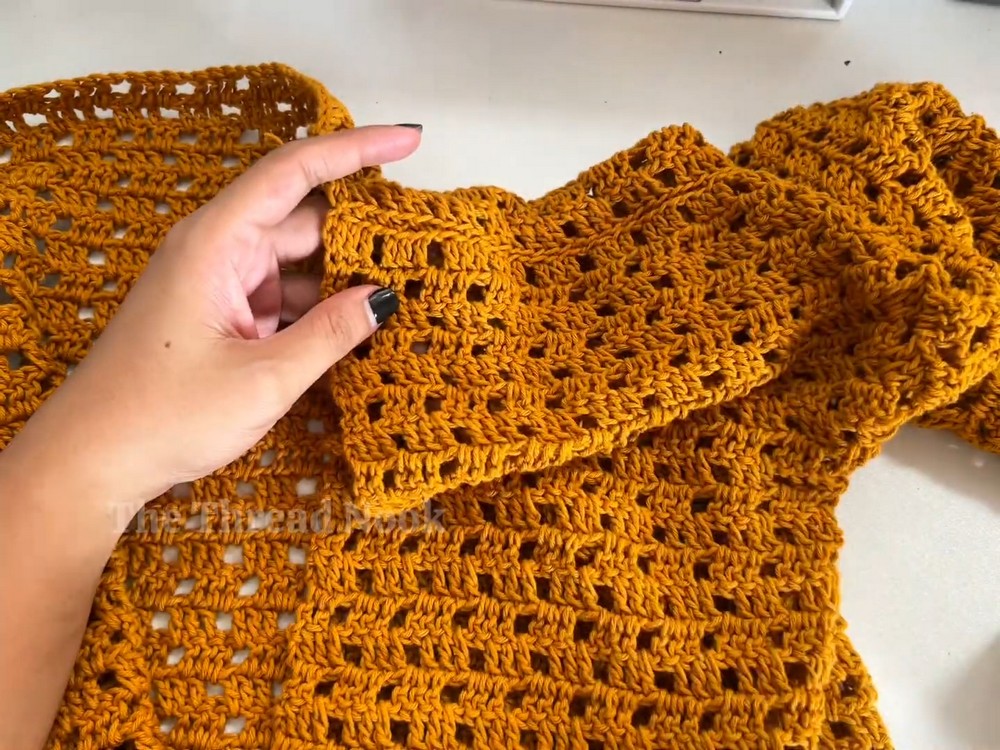
Step 8: Assembly – Align Panels for Sewing
- Place right sides of front and back panels facing each other.
- Align stitches precisely; use stitch markers or bobby pins at edges and middle for stability.
Step 9: Sewing Panels – Shoulders and Sides
- Using yarn needle and yarn, sew panels together:
- For shoulders: sew using back loops only to avoid bulk and create flat seams.
- For sides (to shape armholes): sew leaving armhole space as per Measurement D (arm circumference) divided by 2. Mark with stitch marker.
- Sew from bottom to armhole marker only, leaving armhole open.
Step 10: Sleeve Attachment
- Work on right side of cardigan with wrong side facing you.
- Attach yarn at bottom of armhole opening.
- Crochet along armhole edges inserting 3 dc clusters in spaces, chain 1, skip spaces as per established pattern.
- Crochet round and round for desired sleeve length (Measurement E).
Step 11: Sleeve Ribbing (Cuffs)
- Switch to smaller hook (e.g., 3 mm).
- Chain 2 (turning chain).
- Work row of double crochet decreases to reduce sleeve width:
- Yarn over, insert hook into stitch, yarn over pull through 2 loops (incomplete dc), repeat in next stitch, yarn over pull through all loops (decrease made).
- Continue decrease across row. Add stitch marker on first stitch.
- Follow with rows of Front Post Double Crochet (FPdc) and Back Post Double Crochet (BPdc) alternating for 1.5”-2” ribbing length.
Step 12: Bottom Ribbing and Center Ribbing
- Attach yarn around cardigan bottom edge and front center edges.
- Work 1 row double crochet across edges.
- Follow with 1.5”-2” alternate rows of FPdc and BPdc rib stitch for neat edge finish.
Tutor’s Suggestions
- Maintain a loose tension for a “lazy” comfortable fabric feel.
- Use stitch markers extensively to mark row starts and join points.
- Back bump double crochet technique creates unique texture and is beginner-friendly when followed carefully.
- The ribbing adds stretch and gives your cardigan a tailored look at edges.
- Customize all measurements for perfect fit; measure frequently.
Uses
- Everyday lightweight layering cardigan
- Cozy office or casual wear
- Gift for friends or family with easy customization
- Great project for practicing back bump and post stitches
Tip
When sewing panels, avoid sewing through both loops of stitches; only use back loops to prevent bulky seams and maintain a smooth, wearable garment edge.
Conclusion
This elegant and easy crochet cardigan is a perfect project to enhance your garment-making skills. Using textured back bump stitches and finishing with stretchy ribbing, it combines comfort and style effortlessly.
Leave a Reply