
Creating a room divider/privacy screen is not just about splitting a space; it’s about adding an artistic touch and personal flair to your environment. When it comes to classic elegance, nothing quite matches the serene beauty of a Shoji screen. Traditionally Japanese, these screens blend functionality with style, giving your rooms a peaceful and orderly feel. This project is perfect for anyone looking to introduce a bit of zen-like charm into their home, all while indulging in the satisfying process of crafting something beautiful and functional with your own hands.
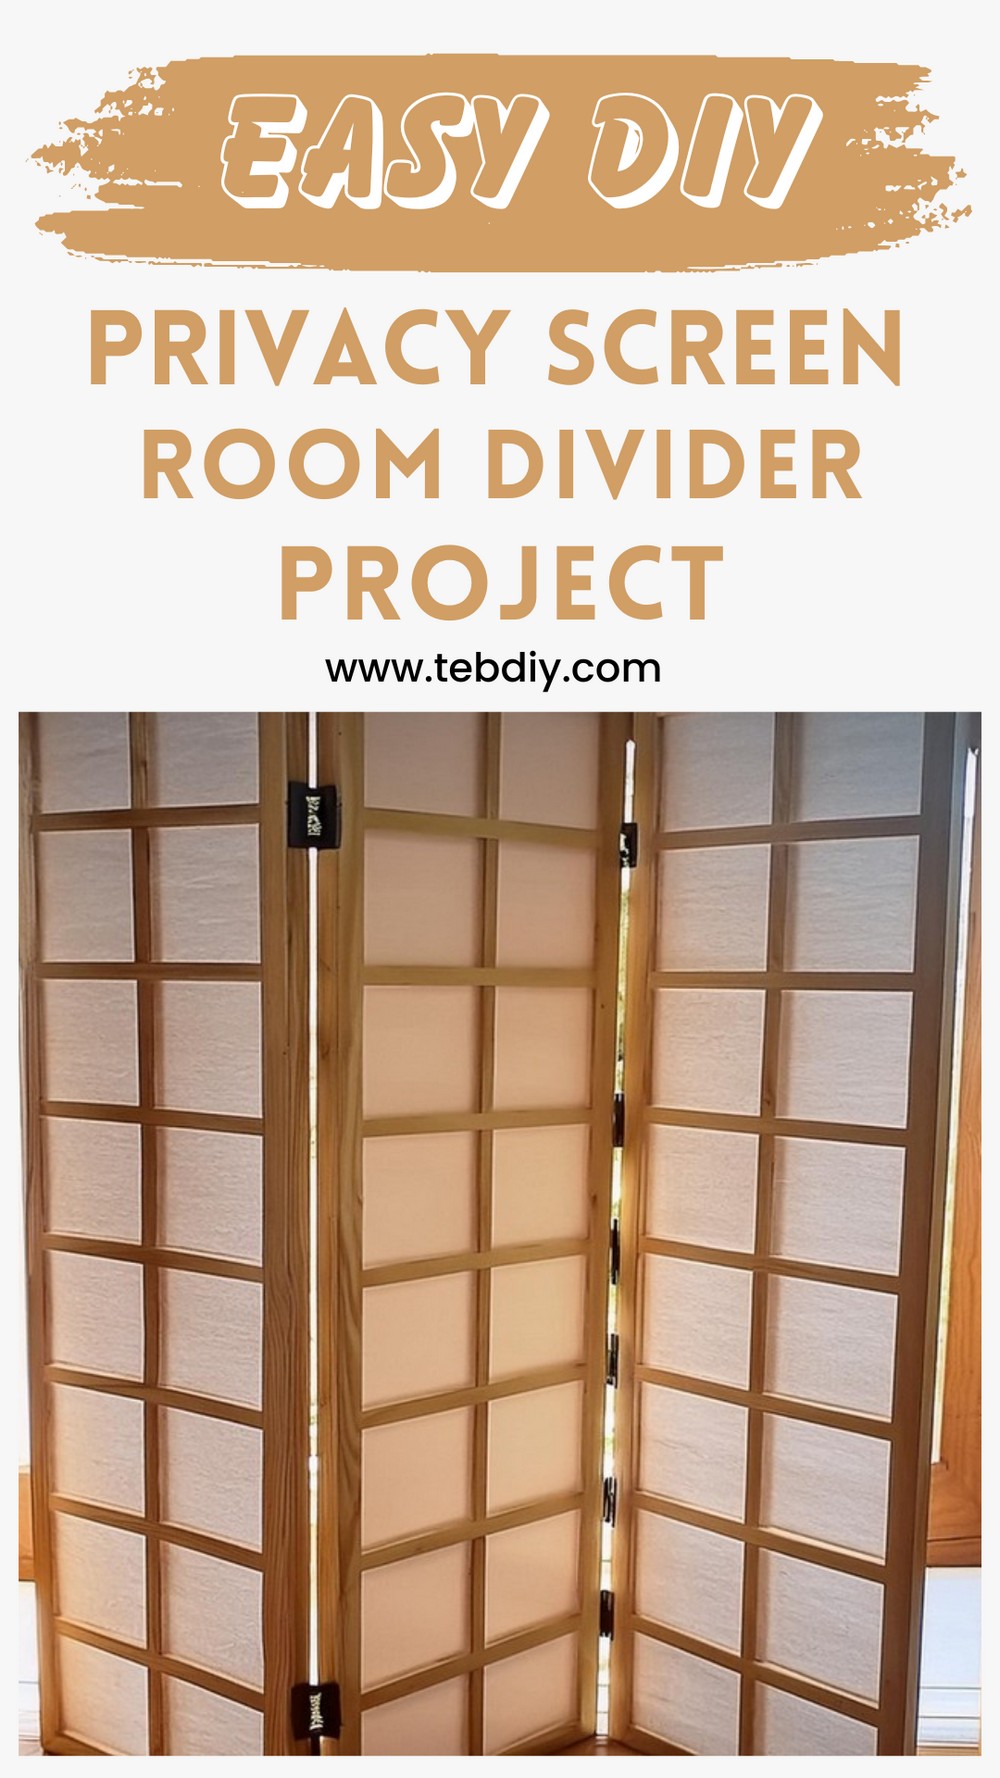
DIY Privacy Screen / Room Divider
Materials:
- European Beech wood (or similar) – dimensions as per the space assessment
- Shoji paper – at least 6m x 500mm
- Woodworking glue (200ml, fast-drying, for interior use)
- Shoji glue (200ml)
- Hardwax oil (300ml, high quality, non-toxic, colourless)
- Brass hinges (6 x 50mm) with screws
- Nails – 8mm length (120 pieces)
- Surface protectors like old towels or painting plastic sheets
- Sanding sheets – 120 grit & 180 grit
- Wet and dry sandpaper – 400 grit
- Sanding Block
- Gentle removal masking tape (painters quality)
- Felt pads for floor protection (9 pieces, 67mm x 13mm)
Tools:
- Woodworking Bench
- Table Saw
- Planer Thicknesser
- Band Saw
- Router (with Hinge, Tongue, and Groove Router Bits)
- Electric Orbital Sander
- Eye protection (safety glasses)
- Hearing protection (ear muffs)
- Safety footwear (steel cap boots)
- High-strength disposable gloves
- Cordless Drill
- Retractable Ruler
- T-Square Ruler
- Woodworking Clamps
- Long Nose Pliers
- Pincer Pliers
- Fine-detail Hammer (preferably a Japanese woodworking hammer)
- Nail Punch Tool
- Chisel
- Hand Plane (optional)
- Weights (small to medium books can be used)
- Computer/Paper (for calculation and measurement)
- Pencil and eraser
Step-by-Step Guide to Creating Your Shoji Screen Room Divider
Evaluate Your Space
Start by assessing the area where you’ll place the divider. Consider the dimensions that will best fit your space while ensuring stability and aesthetic proportionality. Use a computer or paper to plan precise measurements.
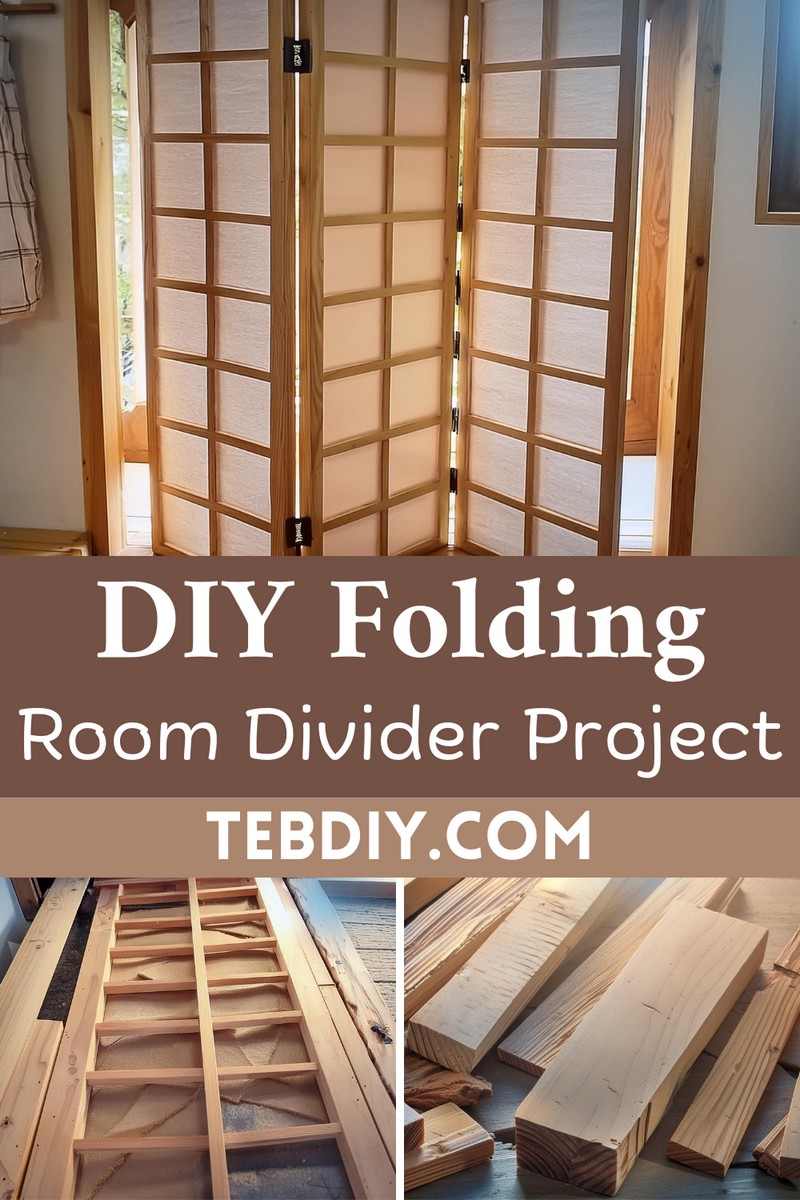
Choose & Source Wood
Select a suitable type of wood for this project. European Beech is recommended for Its strength and ease of working. However, European Ash can be an alternative for a lighter hue.
Order Other Supplies
Order the Shoji paper and hinges, keeping in mind the aesthetics and functionality of your space. Also, ensure all other supplies are prepared and ready.

Cut and Plane Pieces for the Exterior Frame
Process the wood for exterior frames through a wood planer to achieve desired thickness, then cut to the needed dimensions using a table saw.
Create the Joints for the Exterior Frames
Assemble the pieces, marking and creating mortise and tenon joints for robust assembly using a band saw, chisel, and router.
Glue the Exterior Frames Together
Dry-fit the frames first to check alignment, then glue using a woodworking glue, clamp securely and wipe any excess glue. Allow to dry as recommended.
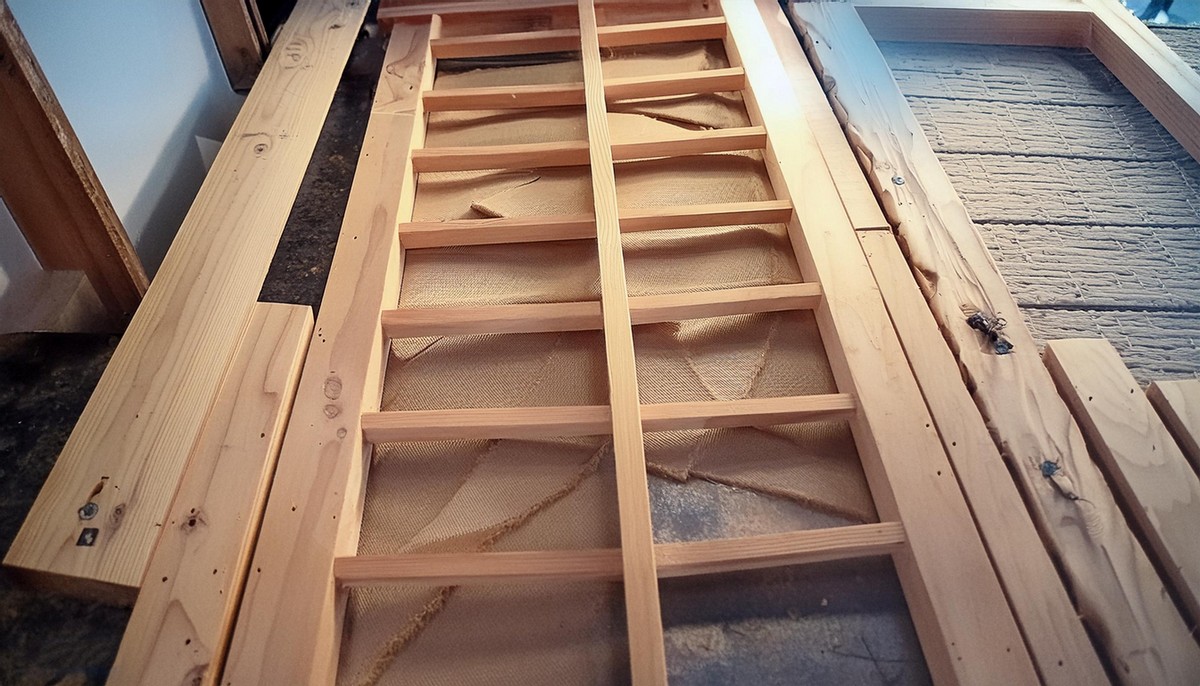
Cut and Plane Pieces for the Interior Frame
Repeat the planing and cutting process for the internal frame components.
Create Joints for the Interior Frame
Mark and cut half-lap joints for assembling the internal structure, ensuring everything fits snugly before proceeding.
Connect Internal Frame to External Frame
Carefully attach the internal frames to the external ones using nails, ensuring accuracy by using a fine hammer, nail punch tool, and drilled guiding holes.
Install Hinges
Mark and rout out placements for the hinges, ensuring alignment for proper fold functionality, then secure with screws.
Apply Oil Finish to Exterior and Interior Frames
Sand the assembled frames smoothly, apply several coats of hardwax oil for protection and aesthetics, following detailed drying and application guidelines.
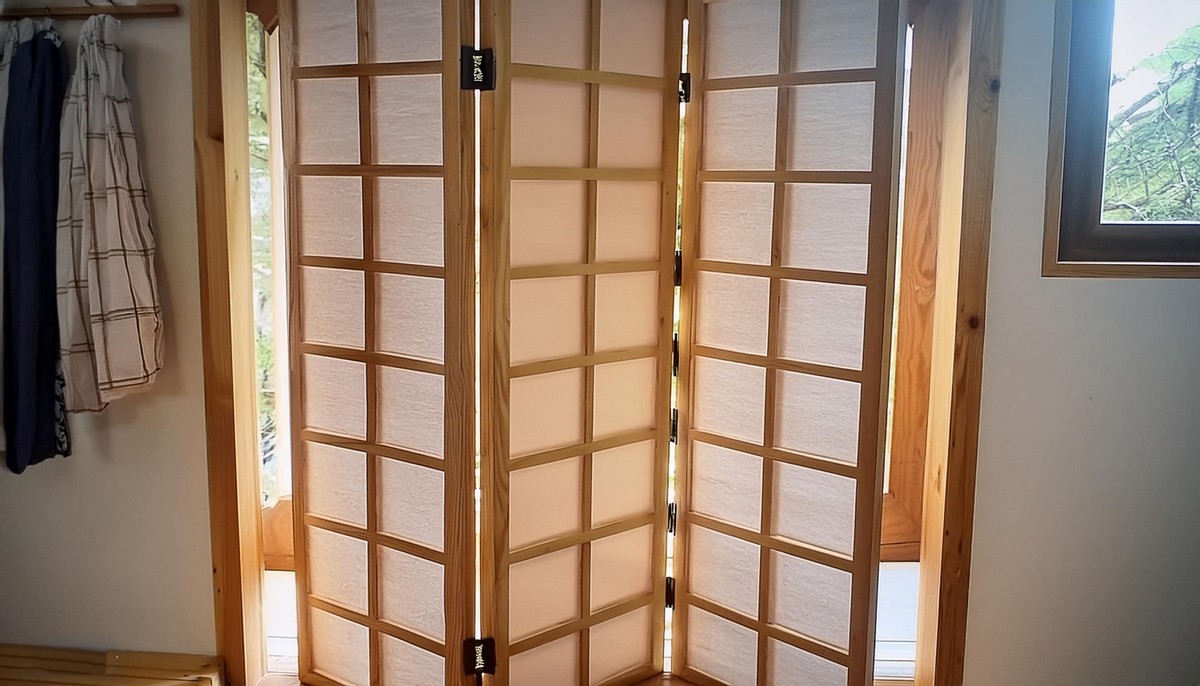
Attach Shoji Paper
Finally, attach the Shoji paper using a special glue, ensuring a smooth, wrinkle-free finish by precisely cutting the paper and applying it carefully.
With these steps, your own traditional but timeless Shoji screen room divider will not only serve as a functional space separator but also as a highlight of craftsmanship and style in your home. Happy building!
Leave a Reply