
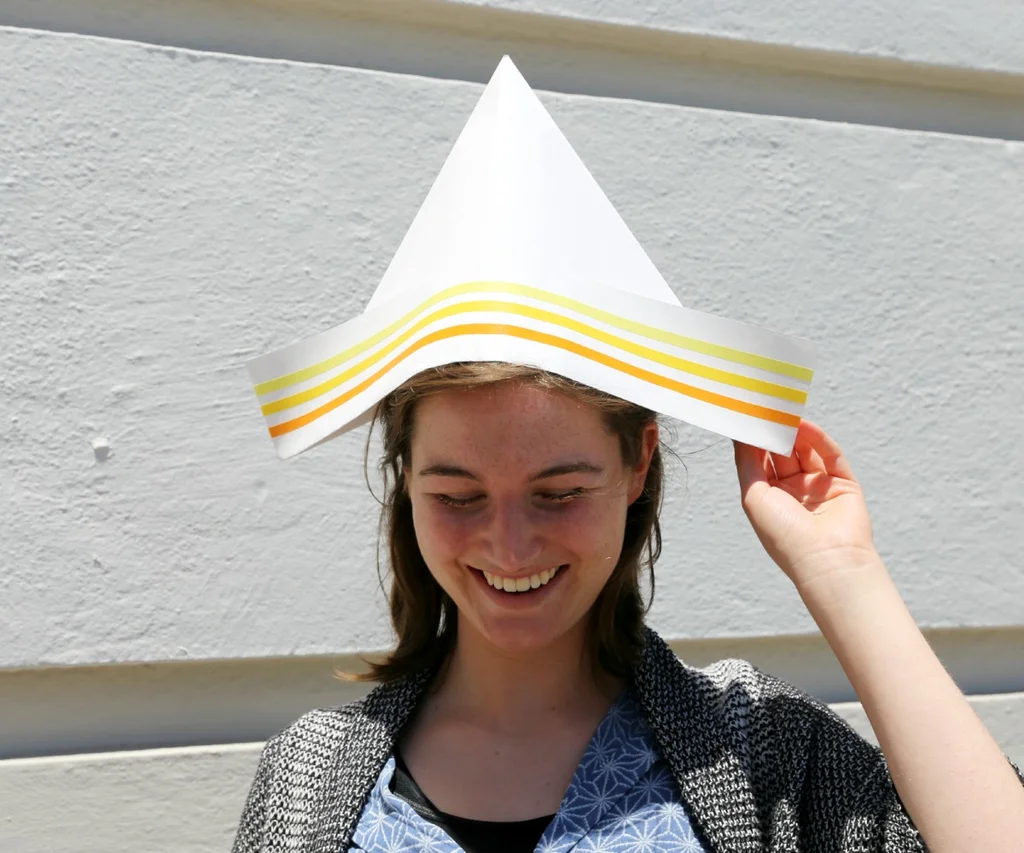
Have you ever aspired to stand out in a crowd or bring some whimsy into your day-to-day life? Maybe you’ve seen those charming paper hats and wondered, “Could I pull that off?” Or perhaps you’re channeling your inner Popeye or aiming for that effortlessly cool vibe seen at parties and gatherings. Whatever your reason, making a paper hat is a delightful way to spend some time and a fantastic opportunity to unleash your creativity. So, let’s follow this guide where you can transform a mundane piece of paper into something truly special with just a few folds.

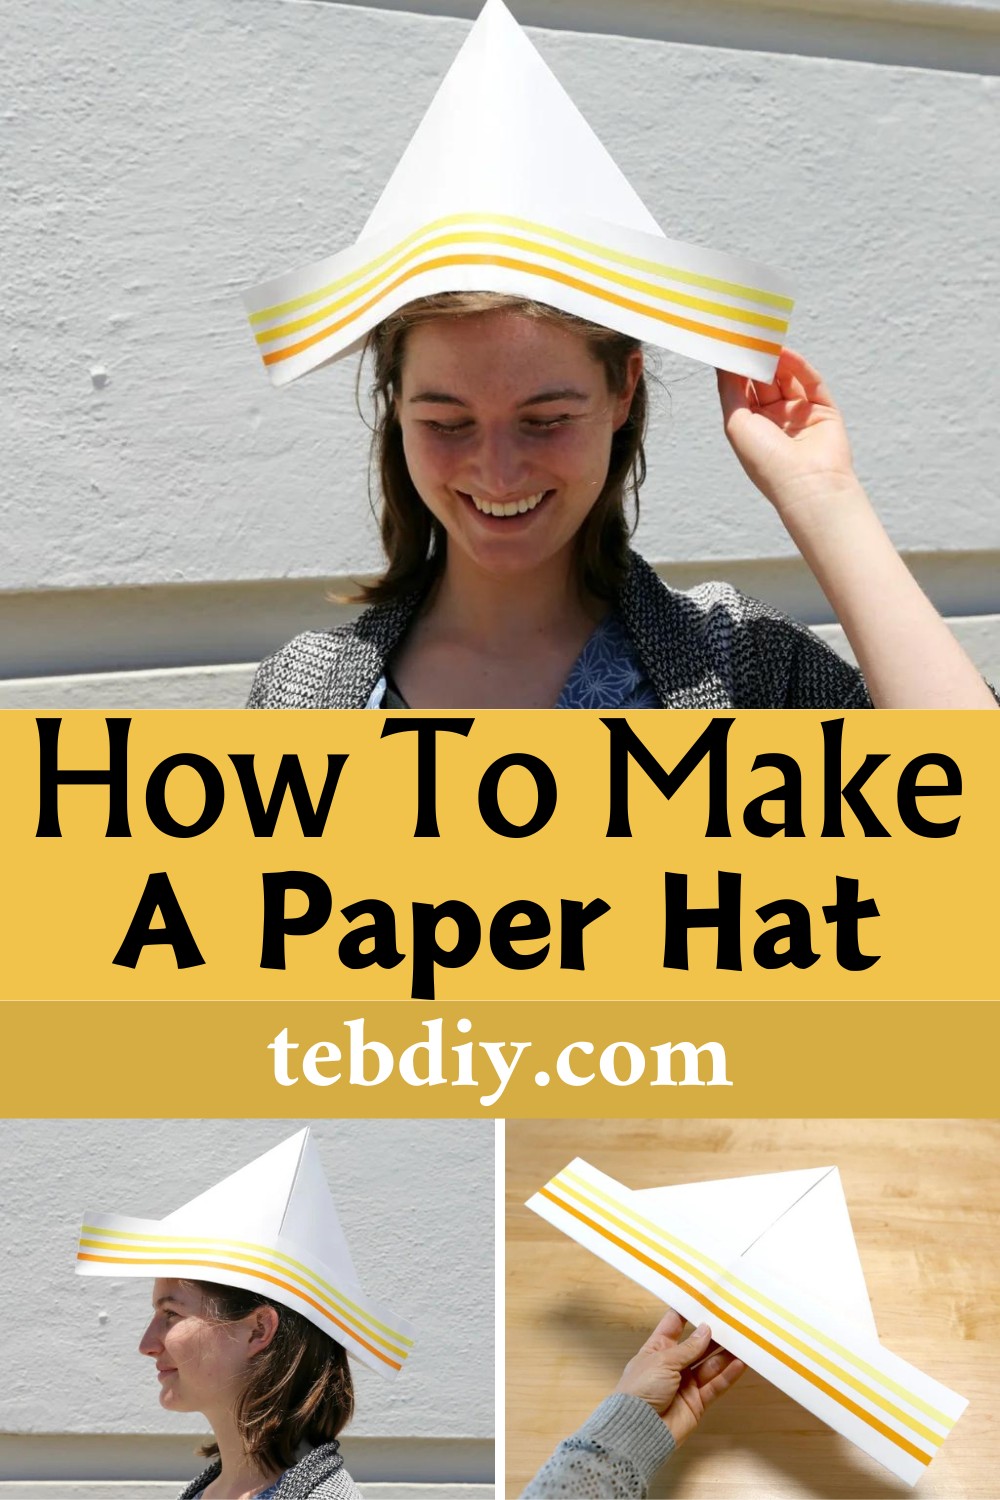
How To Make A Paper Hat
Materials Required:
A Large Piece of Paper:
For adults: Use a sheet of packing paper approximately 18″ x 24″.
For kids: A slightly smaller sheet, about 15″ x 20″, will do.
Alternatives: Without packing paper, feel free to use wrapping paper, newspaper, or even an unfolded paper shopping bag. Just keep in mind that newspaper ink might leave traces on your hands.
Tools Needed:
Your hands and creativity are the primary tools here. For decorating, you might require:
- Pens, markers, or paint
- Stamps
- Washi tape
Step-by-Step Guide to Making Your Paper Hat:
Step 1: The Initial Fold
Lay your sheet of paper on a flat surface. Fold it in half horizontally with precision, aligning all edges perfectly to ensure a clean fold. This step forms the base of your hat and is crucial for the following steps.
Step 2: Peaks of Creativity
This step starts shaping the character of your paper hat. First, locate the center of your now-folded sheet. This is where the peaks or corners will be directed. Fold the sheet in half again, but this time, only make a crease halfway down from the top to mark the center. Unfold and then fold the two top corners to this center line, creating two flaps in the middle. Firmly press along the folds.
Step 3: Crafting the Brim
The hat’s brim not only adds to its style but also helps maintain its structure. Carefully fold the two flaps located at the bottom upwards. Adjust the size of the brim to your liking by folding more or less.
Step 4: Personalize Your Creation
This is where the fun begins! Your paper hat is now ready for some personal touches. Feel free to let your imagination run wild. Add colors, patterns, or any designs you like using markers, paint, or stamps. Washi tape can be a great addition for those who seek a less messy option and still want to add a pop of color.
Step 5: Wear It Proudly
Congratulations! Your paper hat is now complete. Wear it proudly, knowing you’ve created a unique piece to turn heads and spark conversations.
Conclusion
Whether crafting with kids, preparing for a themed event, or simply exploring your creative side, making a paper hat is an accessible and enjoyable project. So next time you come across a piece of paper, remember that you can turn it into something wonderful with just a few folds.
Leave a Reply