
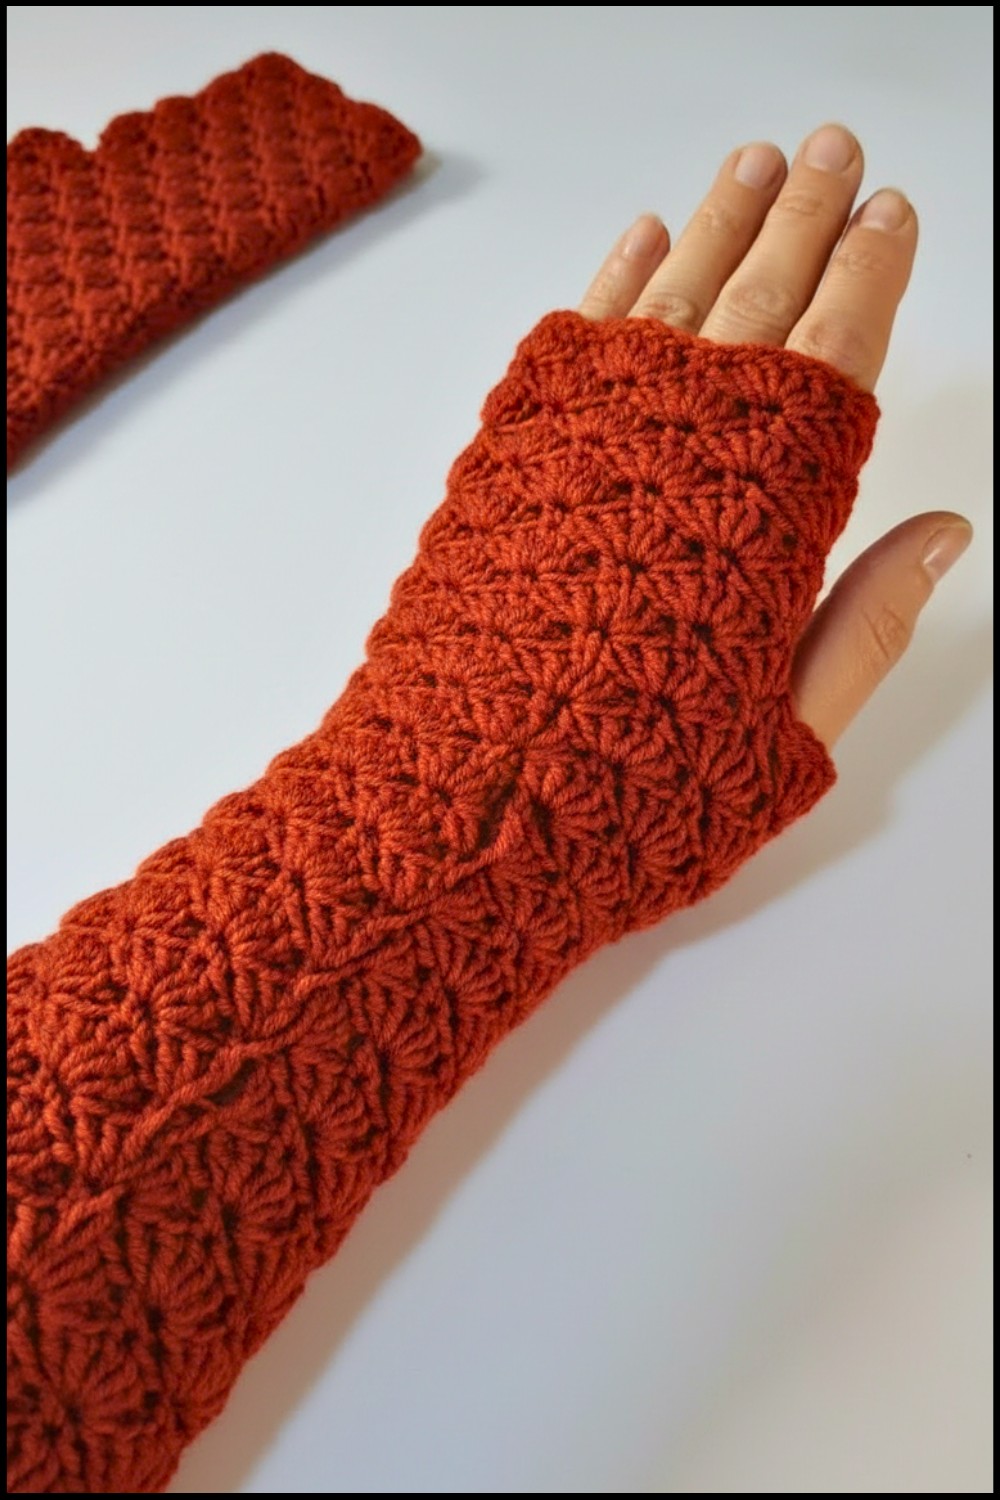
Keep your hands warm and fashionable with crochet gloves that bring the perfect mix of comfort, charm, and style for every chilly day or special occasion.
Stylish Crochet Gloves Pattern to Keep You Warm & Happy
Who doesn’t love keeping their hands warm while looking stylish? Crochet gloves are a stunning way to combine fashion and coziness! Whether you’re making them for chilly days or simply to accessorize, these handmade gloves are filled with charm and personality. With endless designs, from simple and sweet to intricate and eye-catching patterns, crochet gloves are perfect for every occasion.
They can be made in vibrant colors, delicate textures, or even with elegant embellishments to match your unique style. These gloves are also incredibly useful—they add warmth while letting you move your hands freely, making them great for daily wear or gifting to friends and family. Crochet gloves are a lovely addition to your wardrobe, blending comfort and beauty in every stitch.
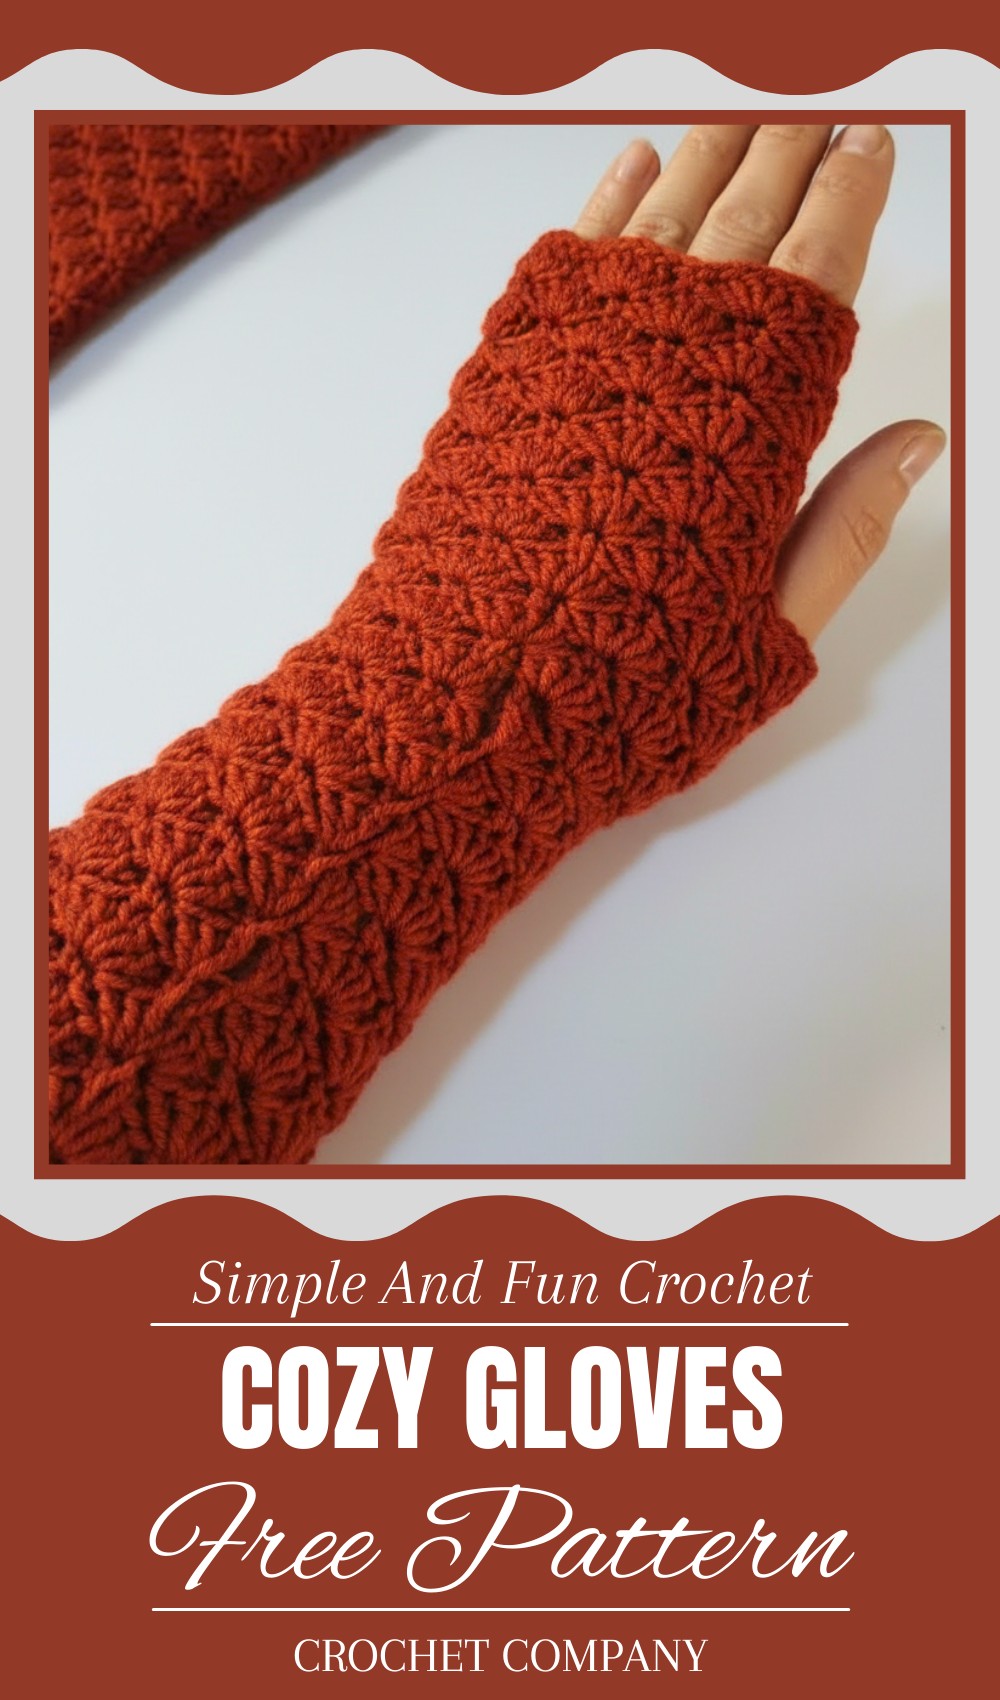
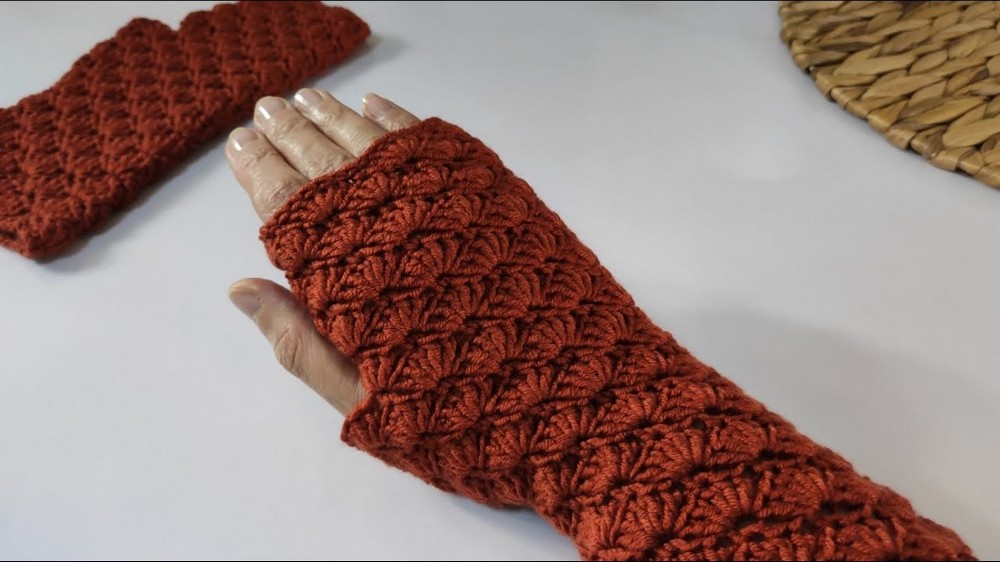
Crochet Pattern: Shell Stitch Gloves
Pattern Level: Beginner-Friendly
(Basic knowledge of chains, slip stitches, filling stitches, and shell stitches required.)
Materials Needed
- Yarn: Himalayan thread or any medium-weight yarn
- Crochet hooks: 4mm and 3.5mm
- Stitch marker (optional)
- Scissors
- Tapestry needle (for sewing and weaving in ends)
- Measuring tape (to measure around the hand)
Stitches Used
- Chain (ch)
- Slip Stitch (sl st)
- Filling Stitch (sc): Equivalent to single crochet, worked for the base.
- Double Crochet (dc): Used to make shell stitches.
Special Features
- Custom-Fit Design: The width and length of the gloves can be adjusted to fit any hand size.
- Vocabulary for Multipurpose Use: The stitch pattern used here can also be applied to making scarves and hats for a matching set.
- Elegant Shell Design: The intricate shell stitch adds a touch of sophistication.
Step-by-Step Pattern
Step 1: Measuring the Foundation Chain
- Start with a 3.5mm hook to make the foundation chain.
- Create a starting knot and chain a number equal to the circumference of the hand you’re making the gloves for.
- Ensure that the total number of chains is a multiple of 6 for the shell pattern.
- Example: For a medium size, chain 36 chains (6 x 6 = 36).
- Adjust the foundation chain to form a loop, making sure the chain does not twist.
Step 2: Row 1 (Base Row)
- Switch to a 4mm hook for the actual project to allow stretch.
- Slip stitch into the first chain to join the foundation into a round.
- Chain 1, and work 1 filling stitch (sc) into each chain, starting from the second chain.
- Mark the first stitch with a stitch marker to locate the start of each round.
- Continue working 1 filling stitch (sc) into each chain around.
At the end of Row 1, you should have the same number of stitches as your original chains. Example: 36 stitches.
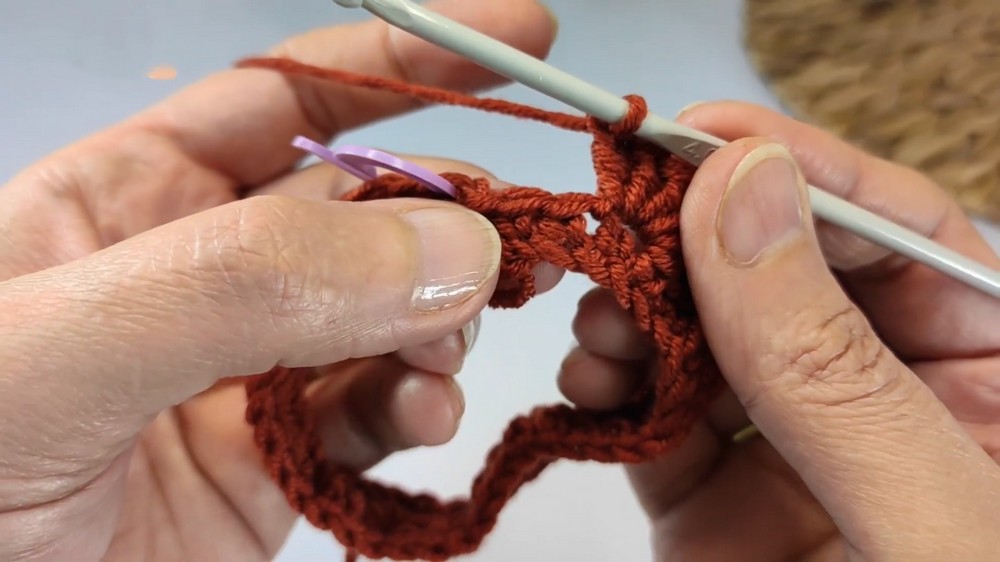
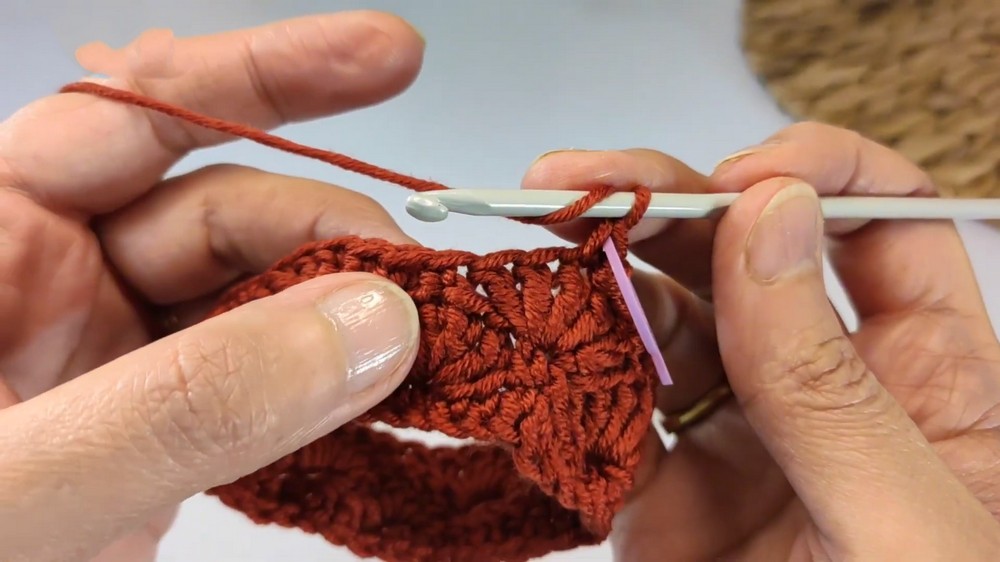
Step 3: Row 2 (Start the Shell Stitch)
- Chain 1, and work 1 filling stitch (sc) into the first stitch (mark this stitch).
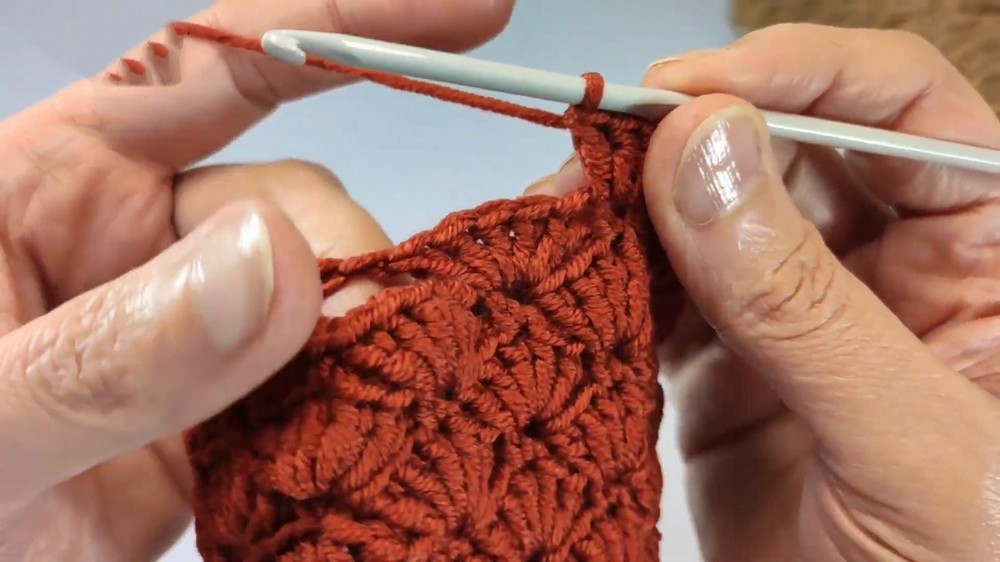
- Skip 2 stitches, and in the third stitch, work 5 double crochet (dc) into the same stitch (this forms a shell).
- Skip 2 stitches, and in the following stitch, work 1 filling stitch (sc).
- Repeat the pattern: 1 filling stitch (sc), skip 2 stitches, 5 dc (shell stitch), skip 2 stitches around.
- At the end of the row, there should be 2 stitches remaining. Skip these and join the round with a slip stitch into the first filling stitch.
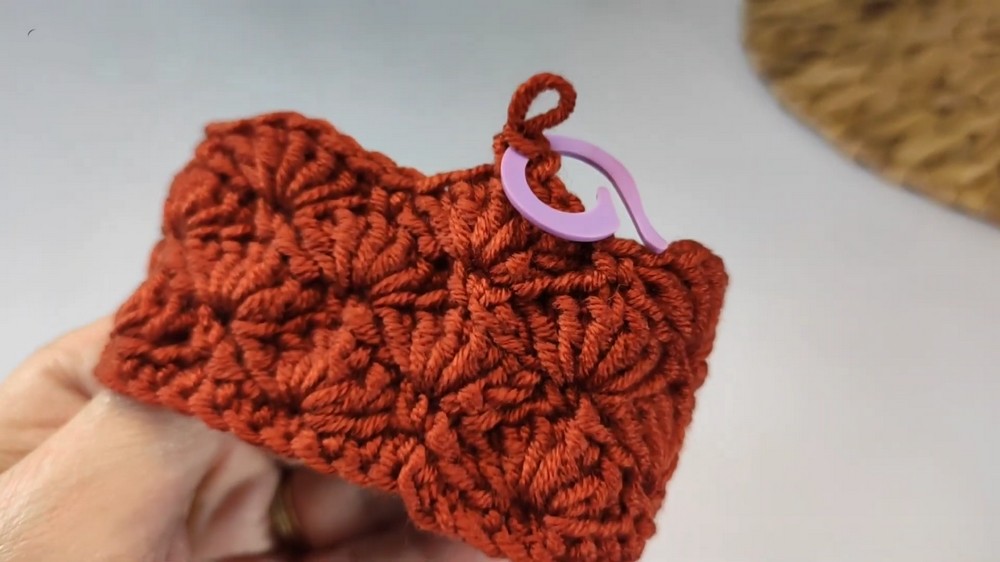
Step 4: Row 3 (Aligning the Shells)
- Begin by slip-stitching into the middle of the nearest shell (column 3 of the shell).
- Chain 3 (counts as the first double crochet), and work 4 more double crochet stitches into the same filling stitch. This creates a new shell.
- Skip to the next shell’s third stitch, and work 1 filling stitch (sc) into this stitch.
- Repeat: Shell stitch (5 dc) into each filling stitch, and 1 sc into the middle of each corresponding shell (column 3) from the previous row.
- Close the round by slip-stitching into the top of the chain-3 from the beginning of the row.
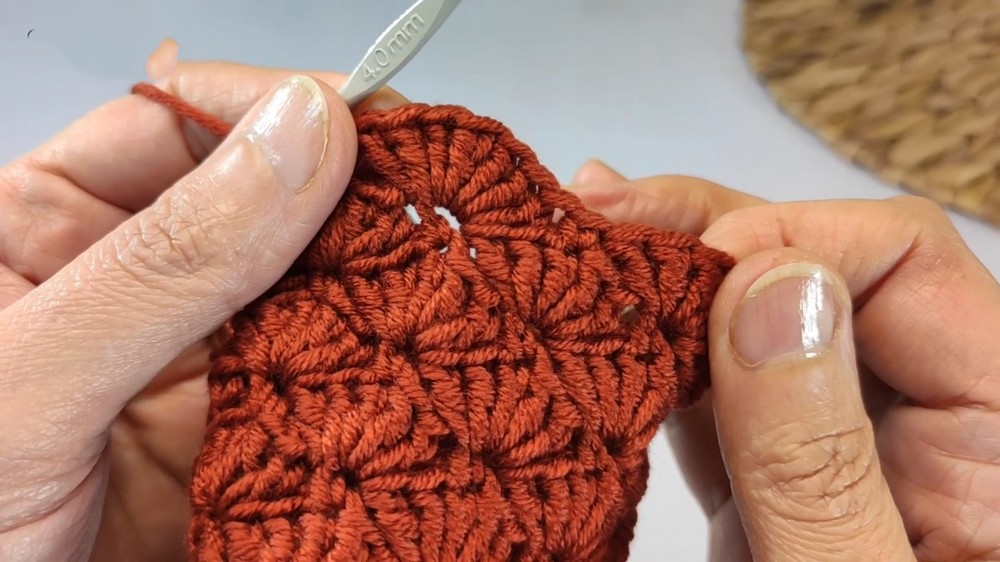
Step 5: Row 4 and Onward (Repeating Rows)
- For Row 4: Start by slip-stitching into the third column of the nearest shell. Begin with 1 sc into the middle of the shell and continue the pattern.
- Alternate between filling stitches and shells:
- Sc into column 3 of each shell, and shell (5 dc) into each filling stitch from the previous row.
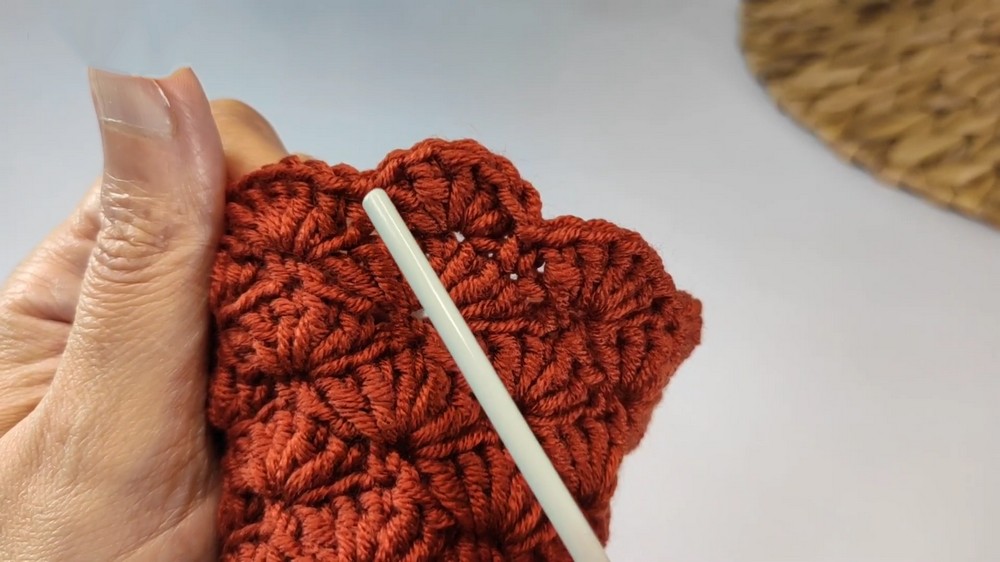
- Repeat Rows 3 and 4 alternately until the length of the glove reaches the desired length for the hand.
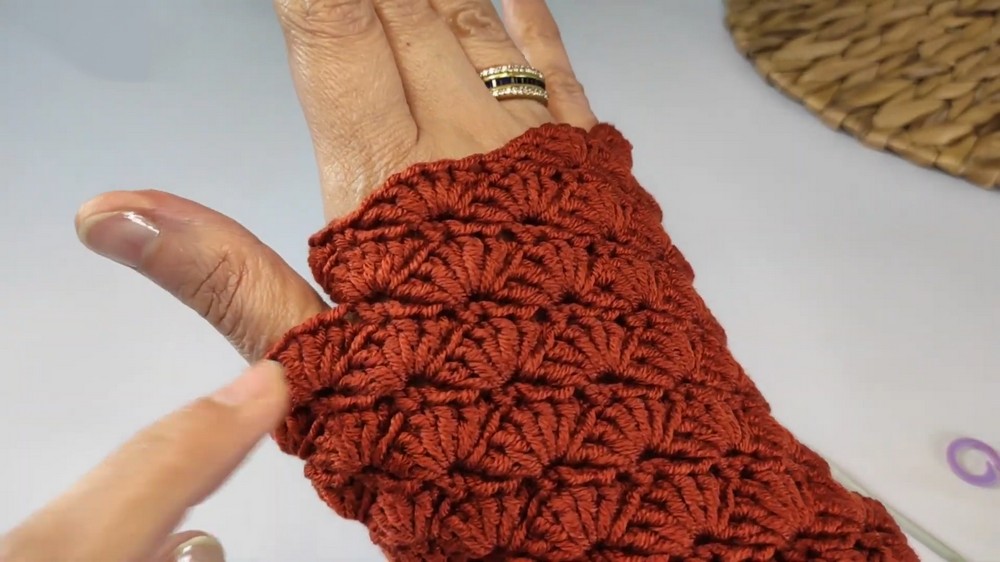
Step 6: Creating the Thumb Opening
- For the thumb space, divide the glove into two equal halves by counting the shells.
- Example: If there are 6 shells in total around the circumference, place 3 shells on one side and 3 on the other.
- To create the thumb gap:
- Instead of continuing the pattern over these stitches, chain 1 and skip these shells to create an open space for the thumb.
- Resume the shell pattern on the opposite side of the thumb.
Step 7: Adding Length Above the Thumb
- After completing the thumb section, continue the shell stitch pattern above the gap until the glove reaches the desired length.
- Adjust the number of rows depending on whether you want short gloves or longer ones.
Step 8: Final Touches
- Secure the stitches by working the last row in slip stitches.
- On the last row, work 1 slip stitch into each stitch around, including filling stitch rows and shell stitches.
- After the final slip stitch, cut the thread and use a tapestry needle to weave in the excess yarn.
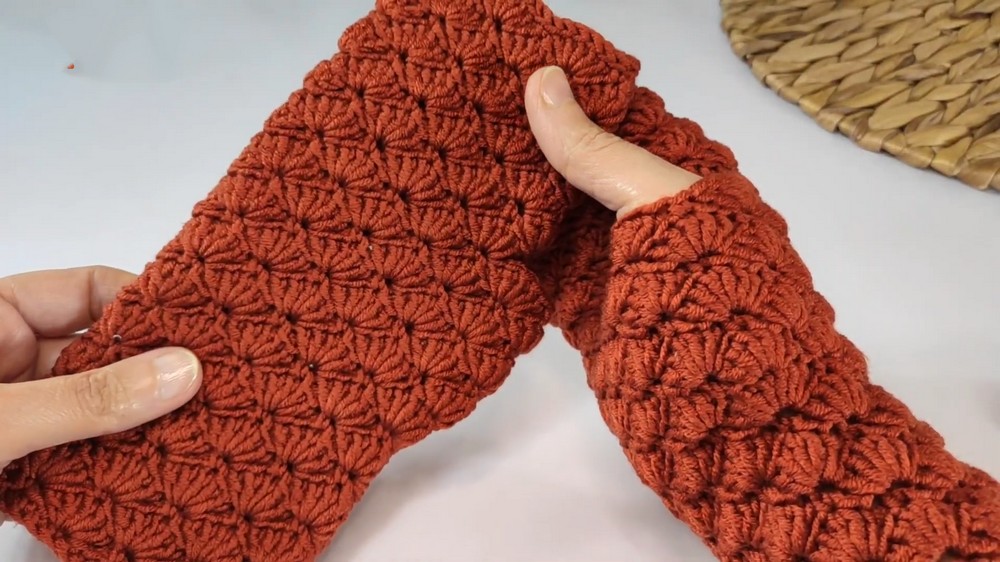
Repeat the same pattern for the second glove.

Tutor’s Suggestions
- Customization: Use a gradient or multi-colored yarn for a more unique design.
- Matching Set: Combine this pattern with the shell stitch scarf or hat for a beautifully coordinated winter set.
- If the shell stitch feels tight around the wrist area, use a larger hook like 4.5mm for the base rows.
Uses
- These gloves are perfect as a winter accessory for warmth with a stylish touch.
- Suitable for any age and gender with minor adjustments in size and color.
- Lovely as a handmade gift for your loved ones.
Tip
When starting the shell pattern, mark the third stitch of each shell from the previous row. This makes it easier to align the filling stitches and shells without losing your place.
Conclusion
You’ve successfully completed the delicate and elegant shell stitch gloves! These gloves highlight both warmth and style, making them a versatile addition to any wardrobe. Experiment with thread colors, additional embellishments, or create a matching set to further enjoy this lovely pattern.
Leave a Reply