
Bring life to your accessories with a vibrant crochet flower bag that’s eye-catching, practical, and perfect for adding charm to any occasion.
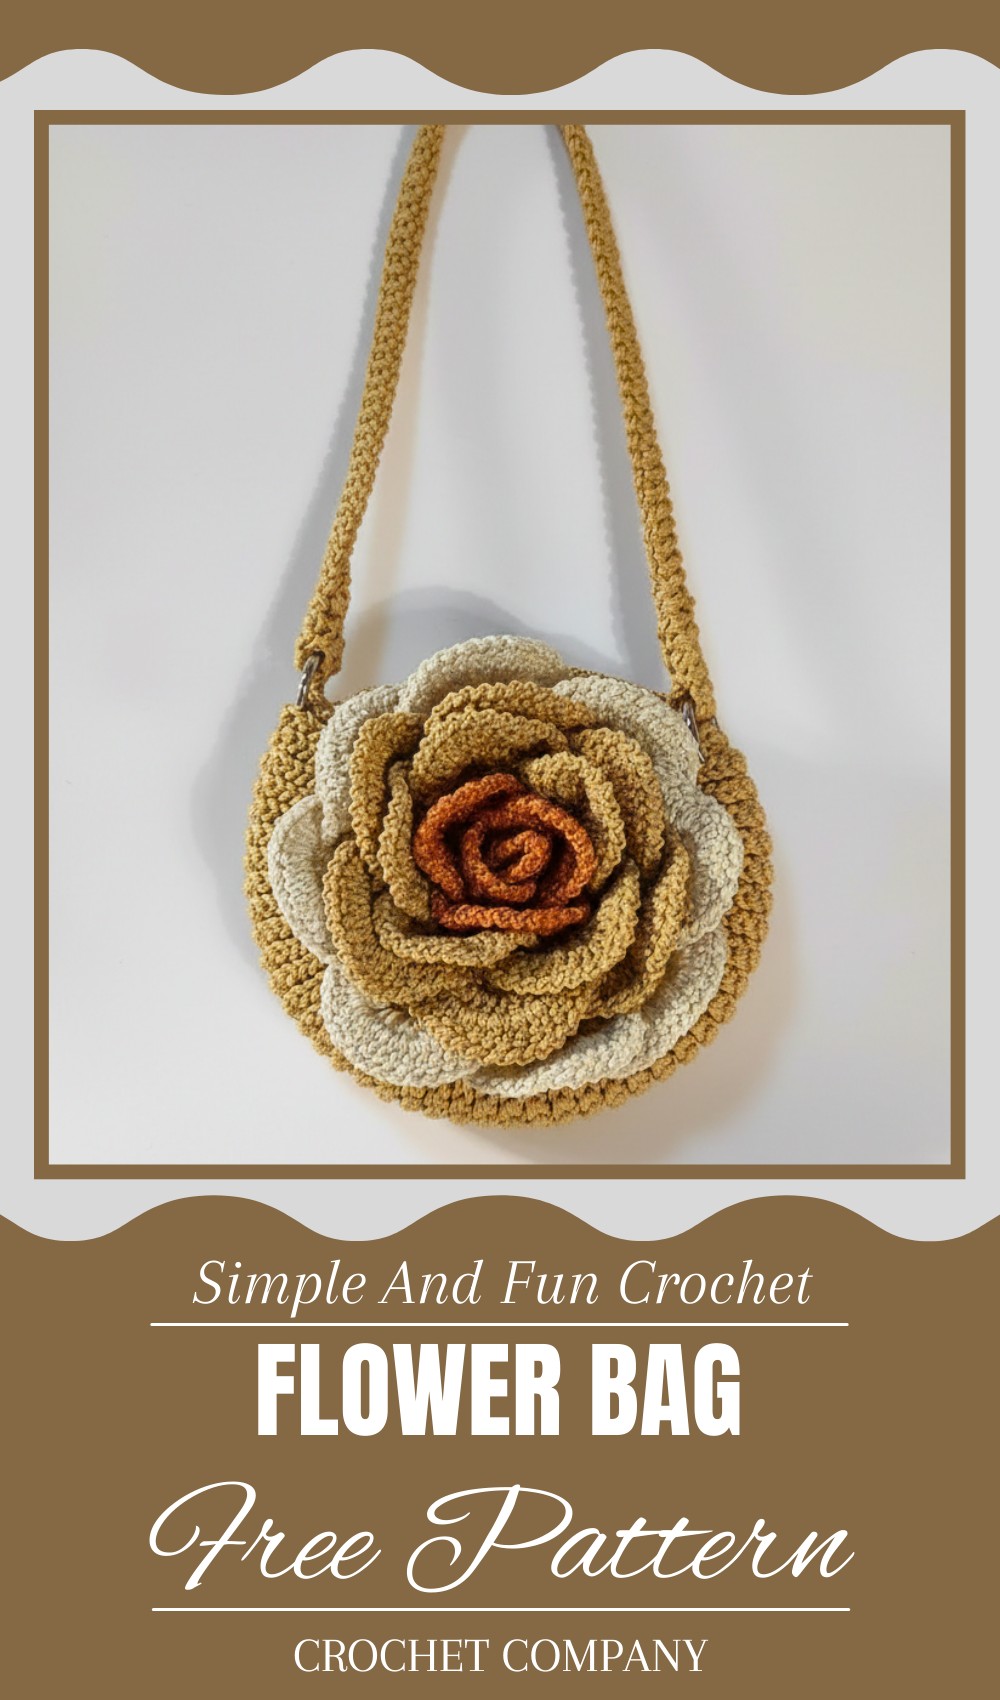
Crochet Flower Bag Pattern Perfect for Any Adventure
Strolling through a bustling market, and your eyes catch a glimpse of vibrant colors woven into a beautiful bag, capturing the essence of blossoming gardens. At the heart of this charm is a crochet flower bag pattern, a delightful design that combines the elegance of flowers with the functionality of a bag. These bags boast a unique appearance, with intricate flower motifs that add a touch of nature’s beauty to your everyday accessories.
They’re not just visually appealing but also versatile, perfect for both casual outings and special occasions. The crochet design allows for customization, letting you choose colors and sizes that match your personal style. Soft yarns create a comfortable, lightweight bag that’s easy to carry all day long. It’s not just a bag; it’s a statement piece that adds color and life to any wardrobe, offering both practicality and artistic flair.
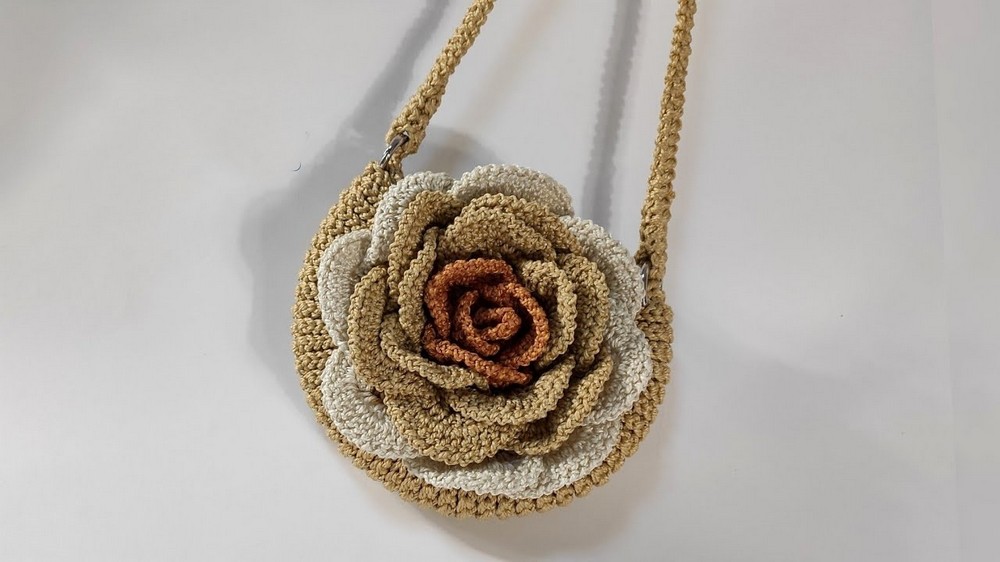
Crochet Pattern: Elegant Rose-Shaped Bag
Pattern Level: Beginner-Friendly
(Some experience in working in back loops and puff stitches will be helpful.)
Materials Needed
- Thread: Thin macrame thread (2 spools for the bag base, 1 spool for petals)
- Crochet hook: 4mm for the bag base, 3.5mm for petals
- Scissors
- Stitch markers (optional)
- Tapestry needle (for sewing and weaving ends)
- Bag rings or magnets for handles (optional)
- Measuring tape
Stitches Used
- Chain (ch)
- Slip Stitch (sl st)
- Double Crochet (dc)
- Puff Stitch (with 3 yarn overs)
- Filling Stitch (similar to single crochet, worked in back loops)
Step-by-Step Pattern
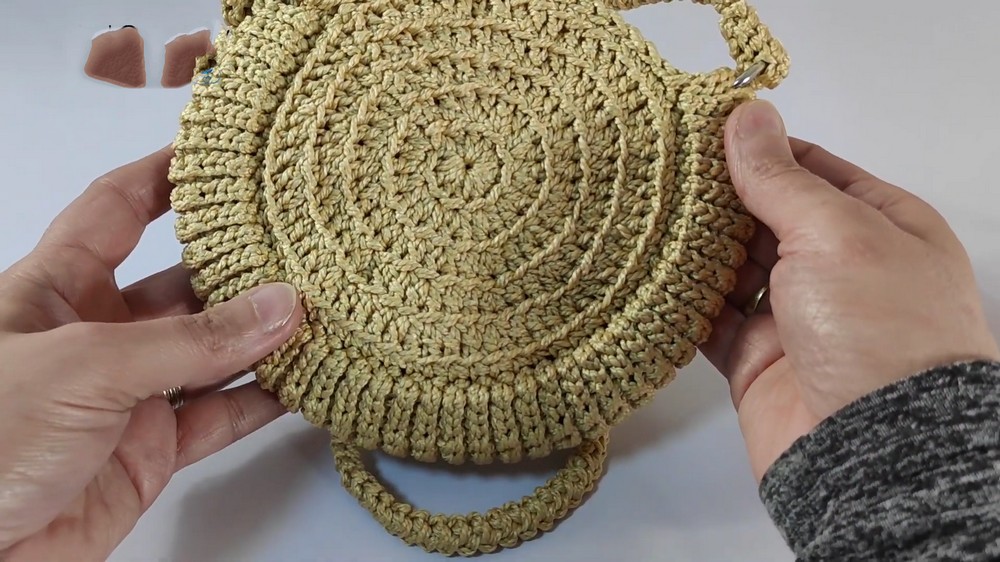
Bag Base (Circle Bottom)
Step 1: Starting the Circle
- Create a magic circle, and work 3 chains (counts as the first dc).
- Inside the circle, work 11 double crochets (dc) to make a total of 12 dc.
- Pull the small thread end to close the circle tightly, and join with a slip stitch in the top of the starting chain.
Step 2: Line 2 – Increasing the Circle
- Chain 3 (counts as the first dc), and in the same stitch, work another dc.
- Work 2 dc in each stitch around (in the back loop only).
- At the end of the row, you should have 24 stitches.
- Join with a sl st in the top of the 3rd chain to finish the round.
Step 3: Line 3 – Build the Circle
- Chain 3, and in the first stitch, work another dc (increase).
- In the next stitch, work 1 dc (back loop only).
- Repeat the pattern: Increase (2 dc), 1 dc around the circle.
- At the end of the row, you should have 36 stitches.
- Join with a sl st in the top of the chain-3.
Step 4: Line 4 – Further Expansion
- Chain 3, work another dc in the first stitch (increase).
- Work 1 dc in each of the next 2 stitches (back loop only).
- Repeat the pattern: Increase (2 dc), 1 dc, 1 dc until the round is complete.
- At the end of the row, you will have 48 stitches. Join with a slip stitch.
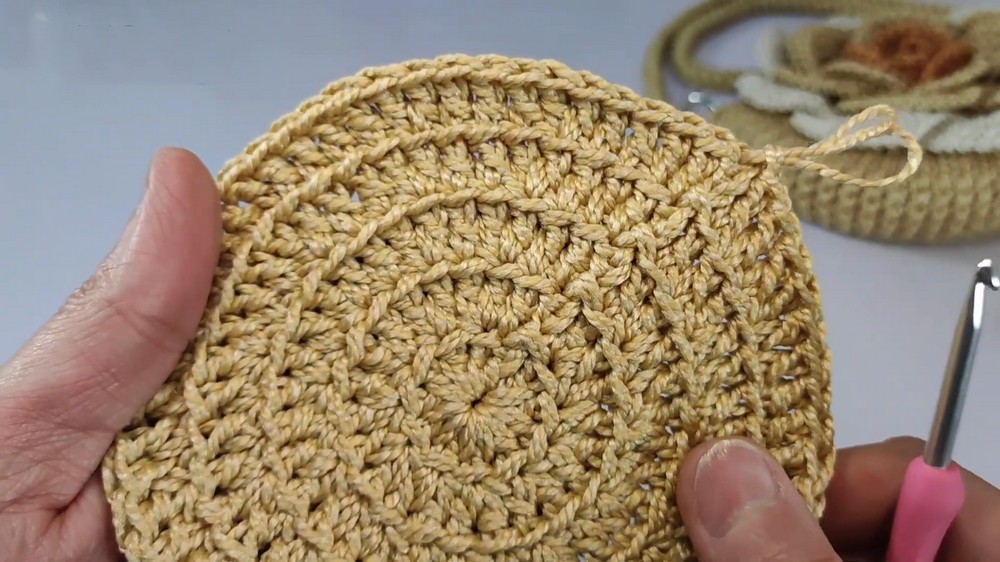
Step 5-6: Continue Expanding the Circle
- Repeat the process by working increases in the first stitch and adding more single dc stitches between increases with each round:
- For Line 5: Increase (2 dc), followed by 3 individual dc stitches. Total: 60 stitches.
- For Line 6: Increase (2 dc), followed by 4 individual dc stitches.
- Stop when the base circle is the desired size for your bag.
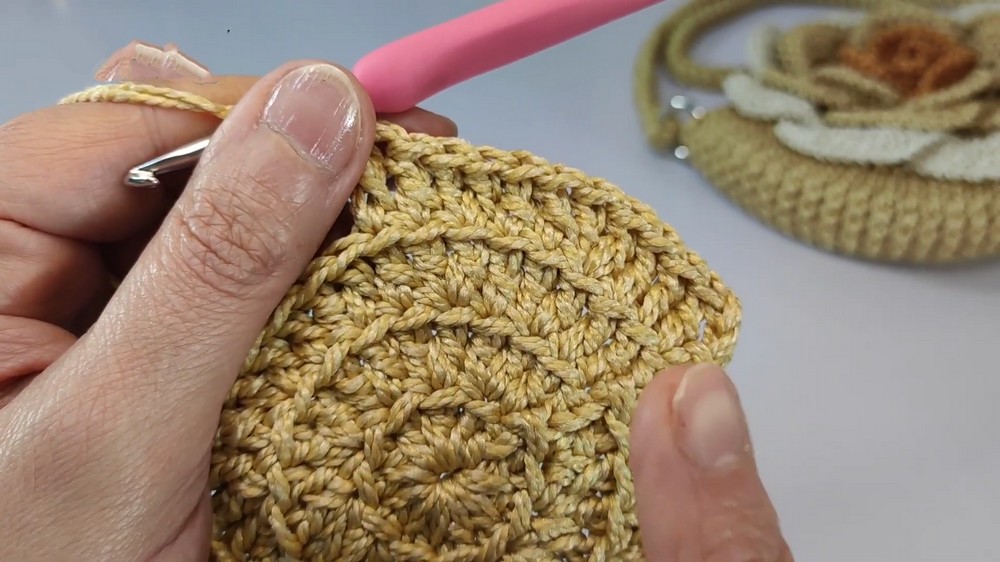
Step 6: Adding Texture (Filling Stitch)
- Chain 1 and work 1 filling stitch in the back loop of each stitch around the edge of the circle.
- Continue around until the entire edge is worked in filling stitches for a polished, rounded look.
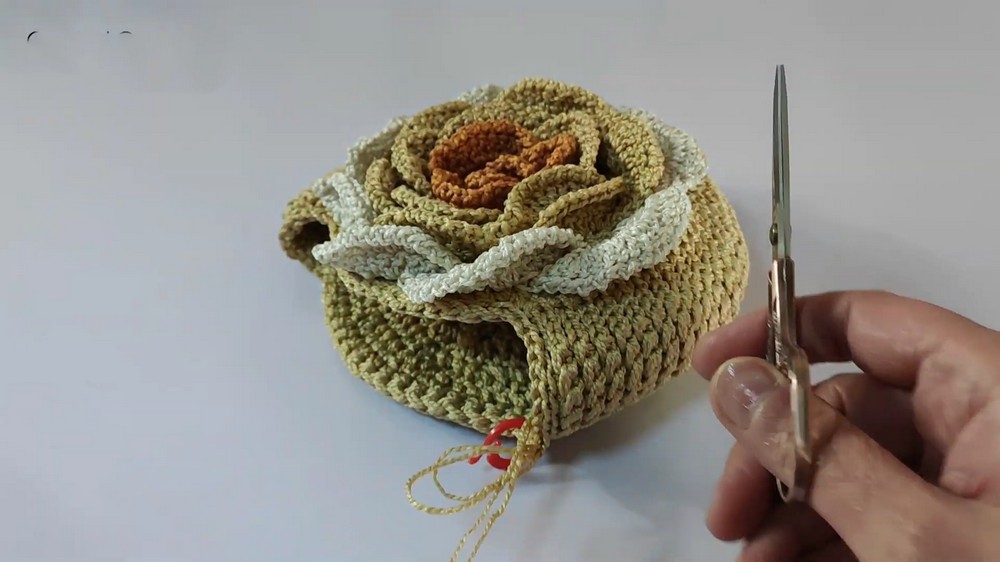
Rose Flower (Decoration)
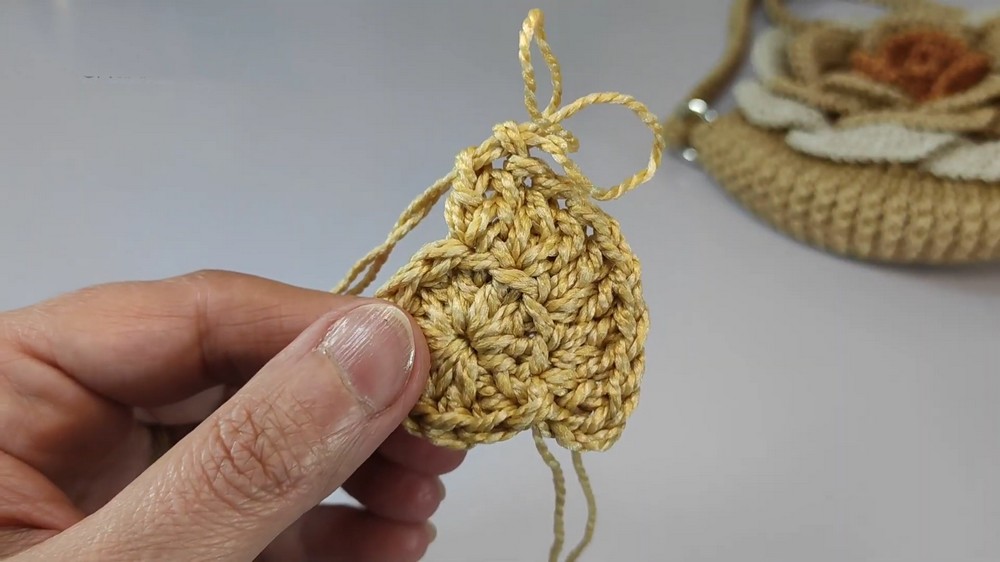
Step 1: Creating the Petals
- Start with a magic circle using 1 strand of thread (smaller hook, 3.5mm).
- Work 12 double crochets (dc) in the circle, then close the magic circle with a slip stitch.
Step 2: Building Layers of Petals
- In Round 2, work 3 chains, and in each stitch work 2 double crochets (24 total).
- In Round 3, use slip stitches to attach new petals. Work 3 dc in each chain of the previous round, then join the petal.
- For each round, increase the number of stitches. The petals should expand into a rose shape naturally.
Step 3: Attaching the Rose to the Bag
- Use a tapestry needle to gently sew the rose to the front of the bag. Position it neatly in the center for balance.
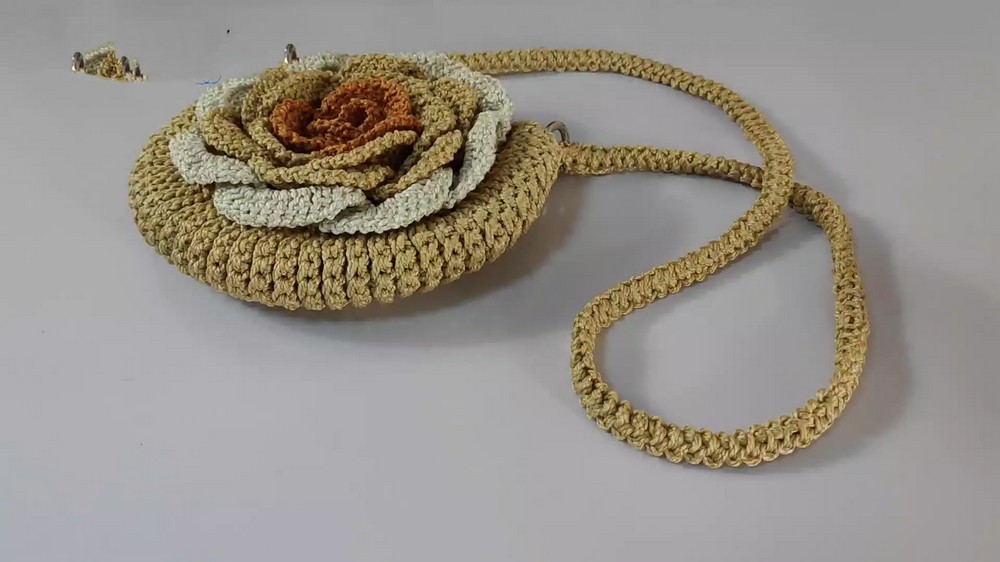
Bag Handles
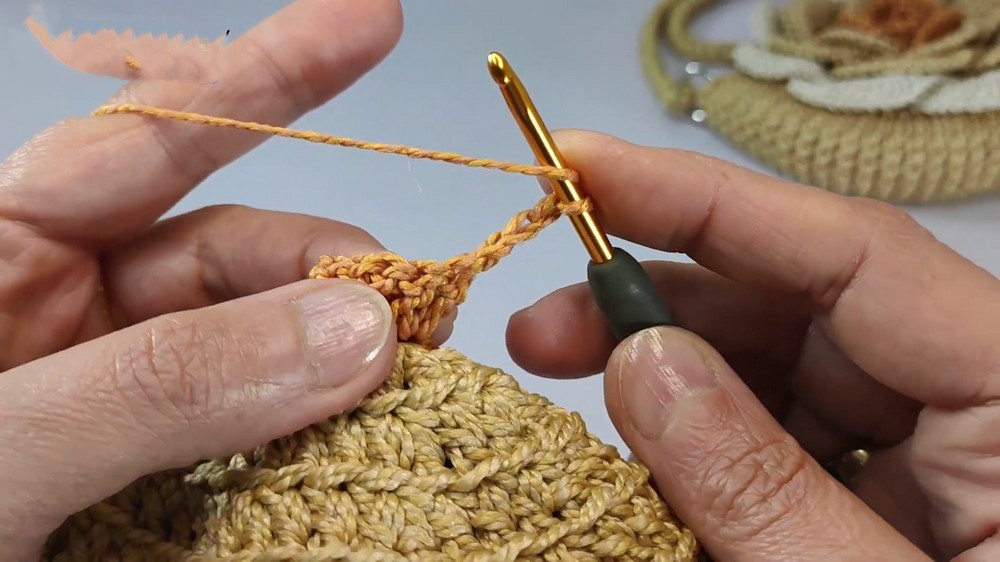
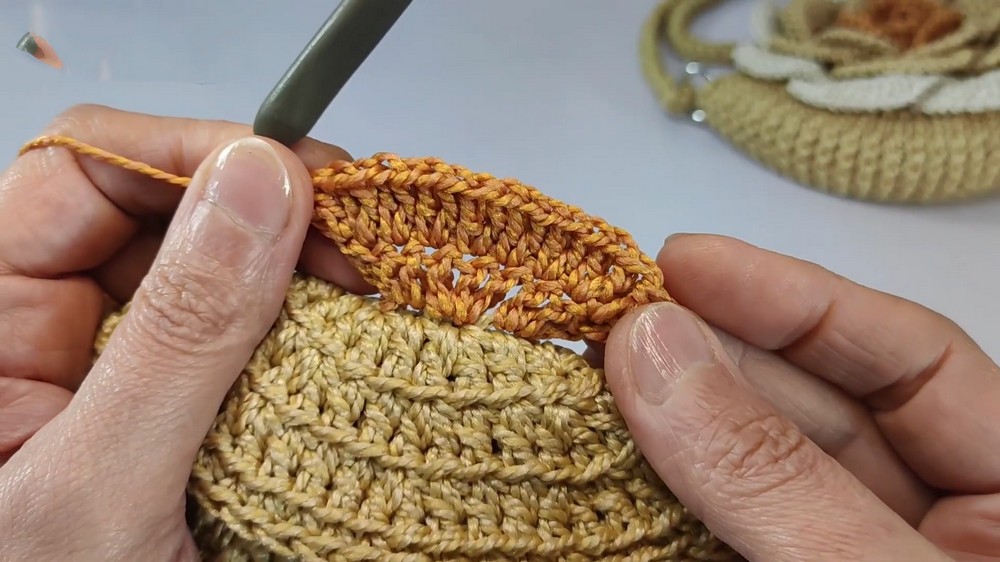
Step 1: Crocheting Handles
- Use 2 strands of thread, and start with 25cm of starting chain (or adjust to your desired length).
- Work 3 chains, then pull thread through each chain using a puff stitch technique to create a sturdy handle.
- Repeat until the required length is achieved.
Step 2: Attaching the Handles
- Use metal rings or sew the handles directly to the bag.
- Ensure the stitches are strong and secure.
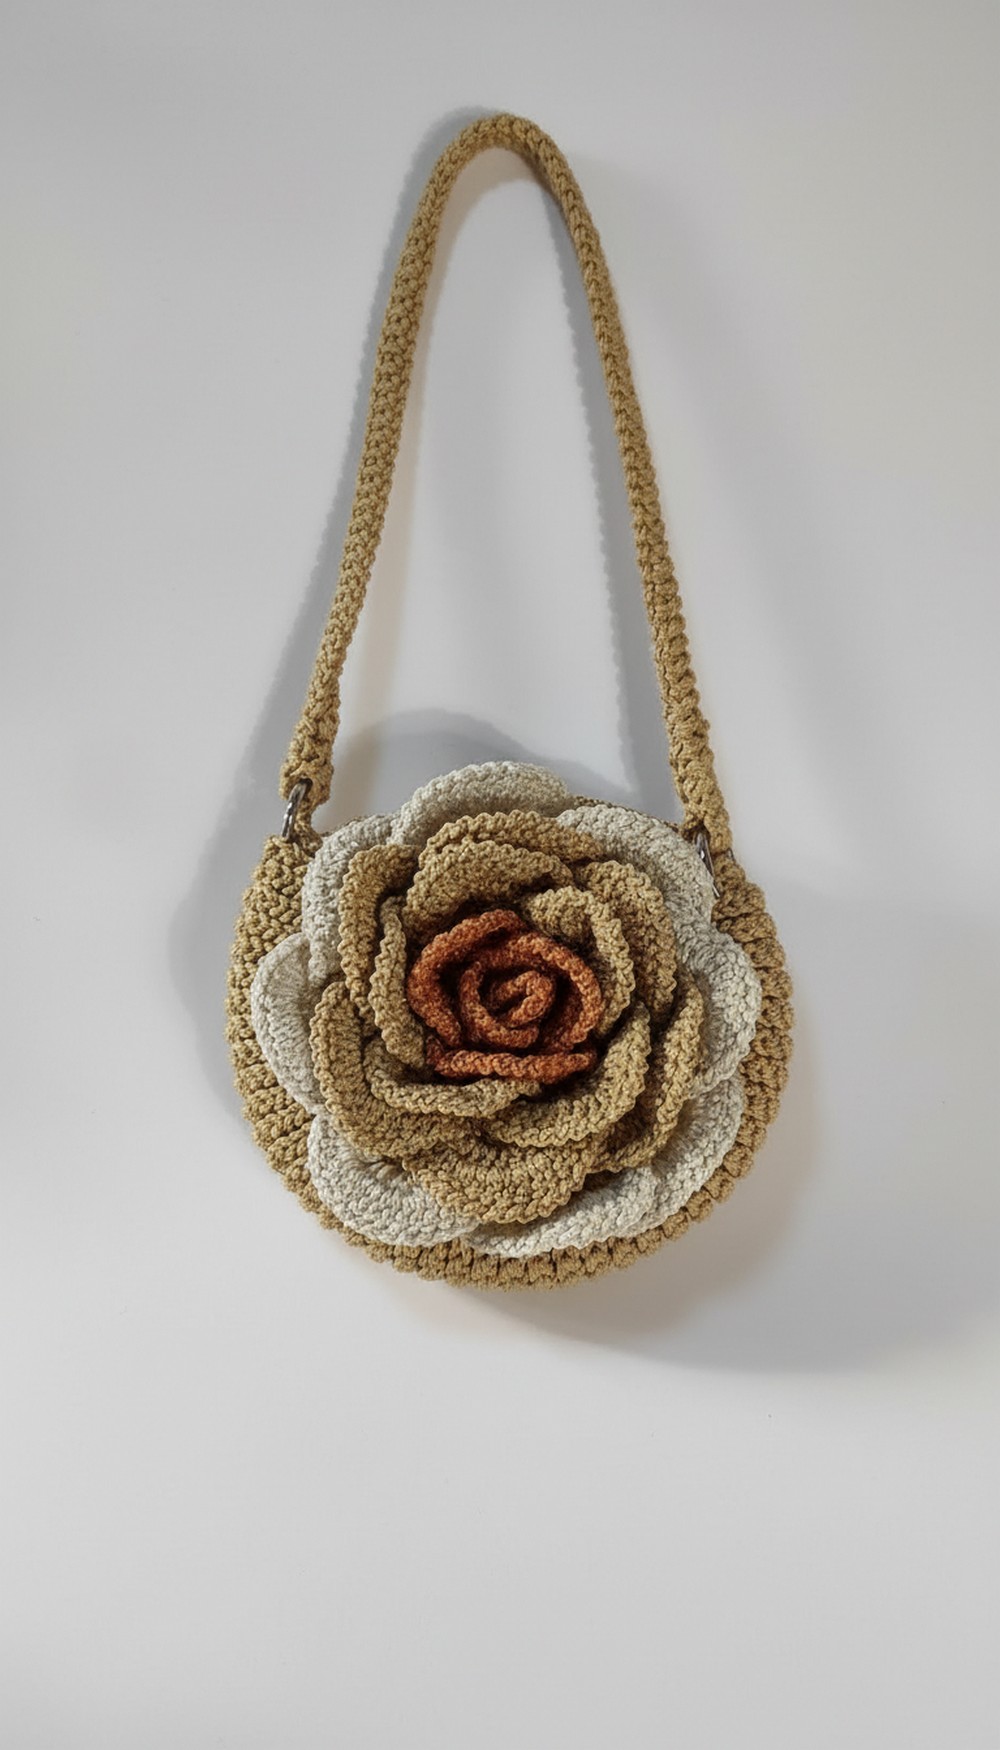
Special Features
- Rose Decoration: The 3D rose design adds elegance and uniqueness to your bag.
- Lightweight Design: Made with single-strand and double-strand techniques for balance and functionality.
- Customizable Handles: Handles can be made longer or shorter as needed.
Tutor’s Suggestions
- For additional flair, use a contrasting color for the rose petals or add beaded embellishments.
- Use magnets or button closures for a practical, polished finish.
Uses
- A chic bag for carrying light essentials.
- Perfect as a casual summer accessory.
- Makes an excellent handmade gift for loved ones.
Tip
When working on the petals, ensure your tension remains consistent so the rose pattern stays balanced and symmetrical. Take your time adding details like stitches and straps—attention to detail makes the finished product look professional!
Conclusion
Congratulations on completing this stunning rose-shaped bag! It’s an elegant and artistic project that’s both practical and beautiful. Feel free to share your work and inspire others with this timeless design.
Leave a Reply