
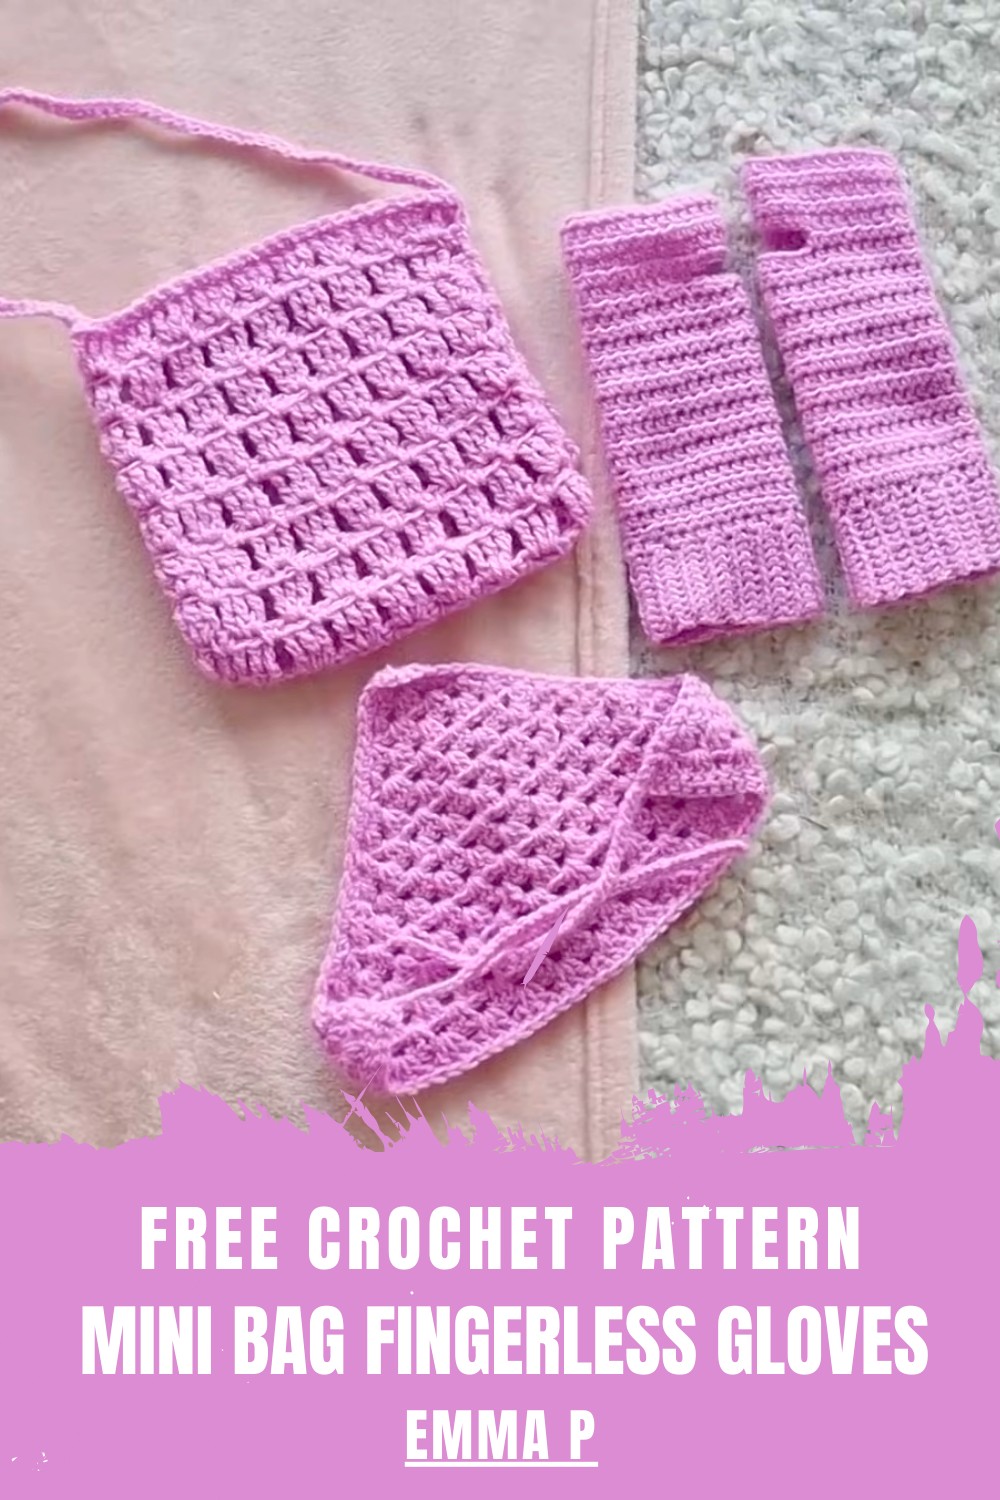
Show your unique style with this free crochet bag and fingerless gloves pattern, perfect for adding warmth and flair to your everyday outfits.
No need to worry about chilly hands or losing small things in your pocket when stylish solutions are here. Using the crochet bag & fingerless gloves pattern brings warmth and organization in one easy project. This glove leave fingers free so you can do daily tasks but keep your hands comfortable. The bag is simple to carry and just the right size for special things like keys or snacks. .
Free Crochet Bag & Fingerless Gloves Pattern for Beginners
Bright colors and soft yarn make every finished piece look beautiful and feel gentle on the skin. Anyone can follow the simple steps and enjoy making something useful even with little experience. Sharing this creation with family or friends adds joy and helps everyone stay cozy and neat—perfect for days where you want extra comfort and a little splash of color
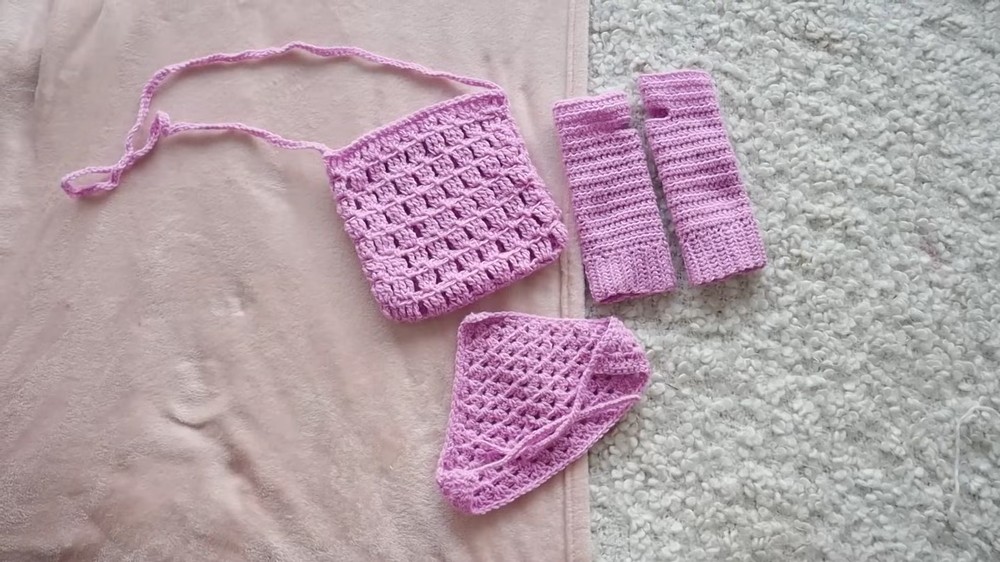
Crochet Wrist Warmers, Bandana, and Bag Set
Materials
- Yarn: 100 g / 290 m DK (lightweight/#3) yarn; sample uses James Brett Top Value (Color: Clement)
- Hook: 4 mm (US G-6) crochet hook
- Tapestry needle (for weaving in ends)
- Scissors
- Tape measure
- Two stitch markers
Key Abbreviations (US Terms)
| Abbreviation | Meaning |
|---|---|
| ch | chain |
| sc | single crochet |
| hdc | half double crochet |
| tr | treble crochet |
| sl st | slip stitch |
| st(s) | stitch(es) |
| FLO | front loop only |
Special Notes
- Project uses a single 100 g skein; adjust yardage if making a larger set.
- Gauge for pieces is not critical; adjust as preferred for fit.
- Work loosely when slip stitching seams to keep stretchy.
Pattern
1. Fingerless Gloves (Make 2)
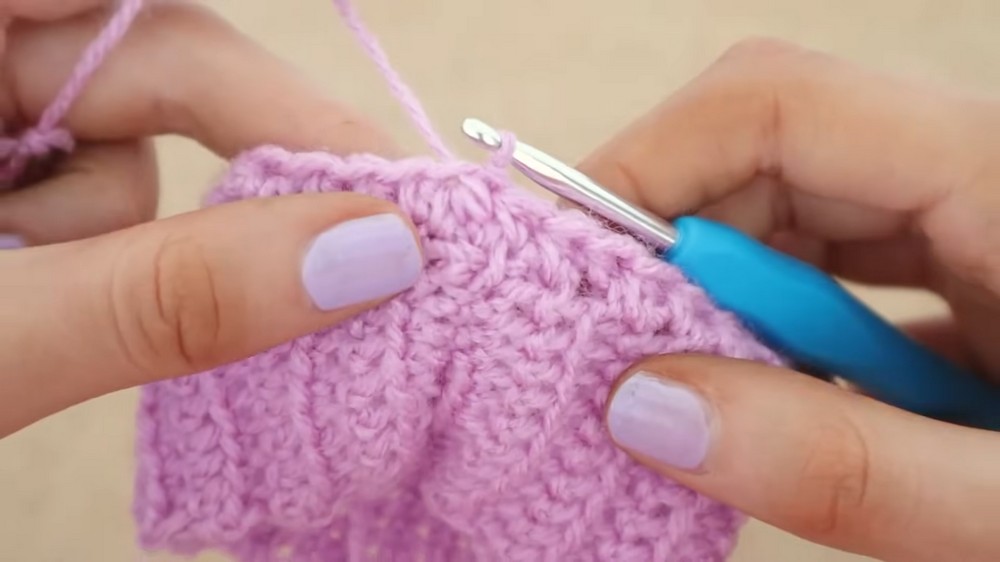
Ribbing Cuff
- Ch 11.
- Starting in 2nd ch from hook, sc in each ch across. (10 sts)
- Ch 1, turn. FLO sc in each st across. (This creates ribbing)
- Repeat Step 3 until cuff measures 8″ (20 cm) (approx. 30–34 rows; number not critical).
Seam Cuff to Form Tube
- Fold strip in half, aligning short edges.
- Join with sl st through both layers from end to end to form a tube.
- Do not fasten off; do not turn—you will work in rounds for the hand.
Main Body
- Ch 2. Work 32 hdc evenly around the cuff opening. (Work 1 hdc in each rib or row-end)
- End round: sl st to the top of the starting ch-2 or first hdc to join.
- Ch 2, turn. Skip the first st. Hdc in each stitch around. Sl st to join round.
- Repeat previous round (skip first st, hdc in each st) for 5½” (14 cm) or 18 rounds.
Thumb Hole
- Place stitch markers into the 6th and 13th sts from the round seam on the right side for Glove 1 (from the left for Glove 2).
- Work hdc as established, stopping at first marker. Instead of continuing, ch 7.
- Skip the marked sts (the section between markers including the stitches with markers).
- Resume hdc in the next st after second marker. Continue round.
- Sl st to join round as established.
Above the Thumb
- Ch 2, turn.
- Resume working in pattern: hdc in each st and in each ch (from the thumb opening).
- When working into the chain (from thumb opening), hdc into the chain itself (one loop is fine).
- Continue for 4 more rounds, or until total glove height is 9″ (23 cm) from cuff edge.
- Fasten off. Weave in ends.
Second Glove
- Repeat as for first glove, but place thumb markers starting from the opposite edge to create left and right gloves.
2. Bandana
As described; original design credited to “Aaron Bees.”
- Starting at center point, increase to a triangle measuring 7″ high and 15″ across bottom.
- Ties: Ch 7½” (19 cm) each side.
- Use your favorite triangle kerchief pattern or adjust as desired for yardage.
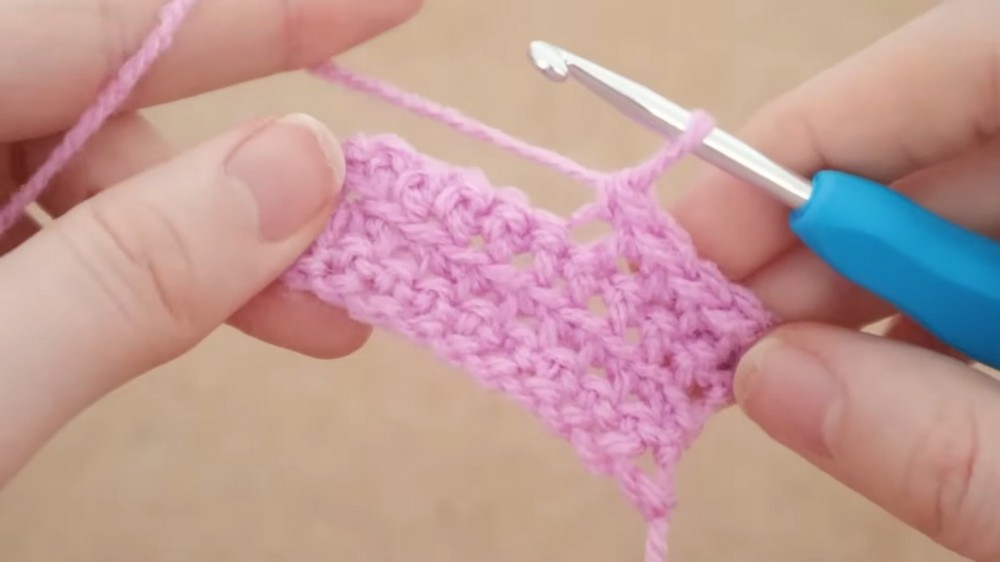
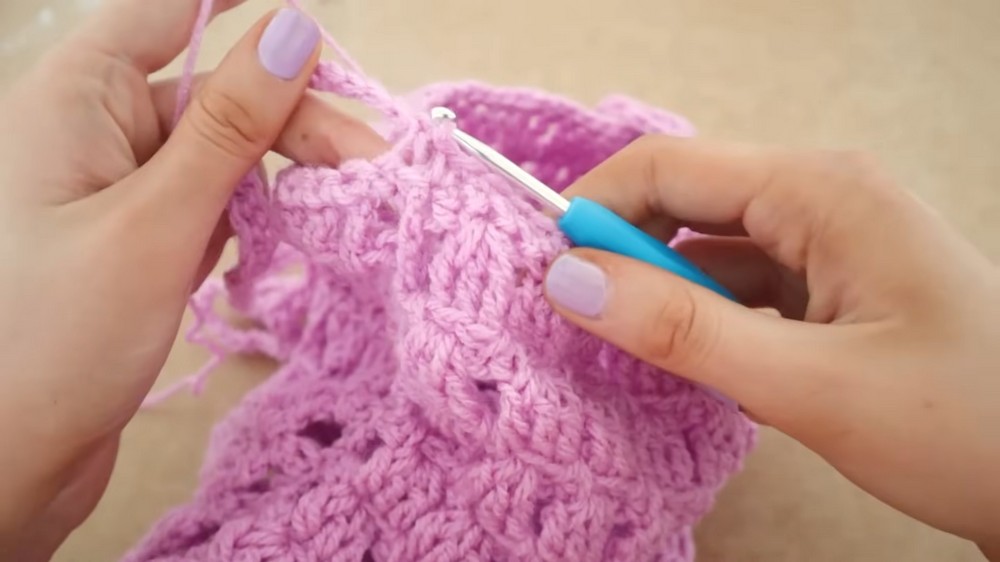
3. Treble Bag
Body
- Ch 34 (approx. 8″; must be an even number).
- Row 1: Sc in 2nd ch from hook, sc across row.
- Row 2 (RS): Ch 4 (counts as first tr). Yarn over twice, insert hook into 3rd st; make 3 tr in the same st (first space group).
- Count 3 sts; into the 3rd st work 3 tr in the same st.
Repeat across, placing 3 tr in every 3rd st. Put a single tr in the very last st. - Row 3: Ch 1, turn. Sc in first st, sc in “large space” between clusters, Ch 2, 2 sc in next “large space,” ch 2, repeat.
At end, 1 sc in large space, 1 sc in top of ch-4 turning chain from previous row. - Row 4: Ch 4, turn. Work 3 tr in each ch-2 space across. At end, work 1 tr in last st.
- Repeat Rows 3-4 for 32 rows or until the piece measures 18″ (46 cm).
Seaming
- Fold piece in half, matching sides for a bag shape.
- Slip stitch up one side: Attach yarn at one bottom edge, working through both thicknesses, sl st up to opening. Fasten off.
- Repeat on the other side.
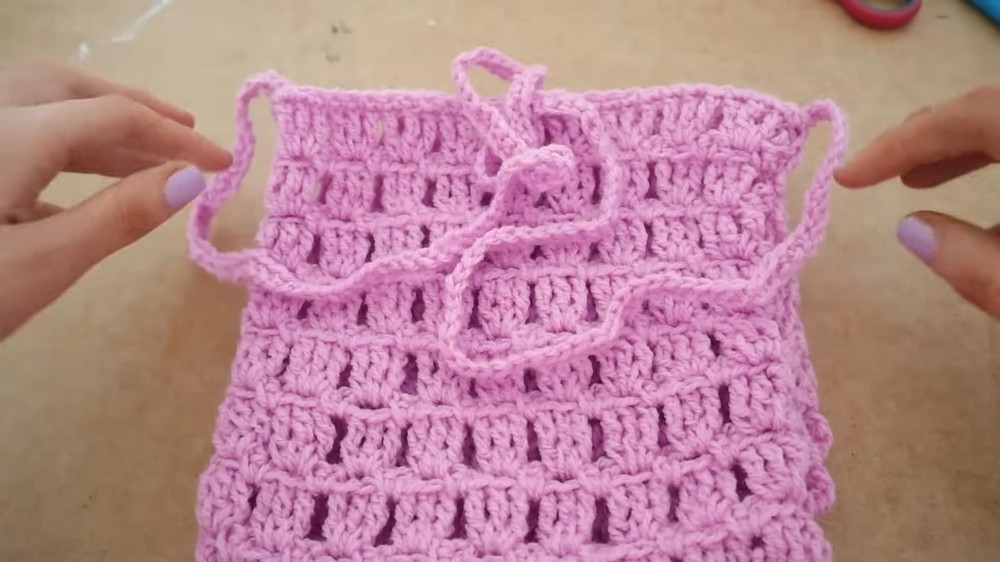
Handle
- With RS facing and attached yarn at the top of opening, ch 140–165 for strap (customize for your comfort).
- Attach with a sl st to top edge on opposite side.
- Single crochet all along the top edge between handles.
- Continue in sc up the chain for the handle, across the top of the bag to the opposite handle, and down the second handle.
- At starting point, sl st to join, ch 1, fasten off. Weave in ends.
Conclusion
This three-piece set (fingerless gloves, bandana, and treble bag) is quick, practical, and fun to make with just 100 g of DK yarn. Each piece uses simple stitches with a splash of visual interest from front loop ribbing, large treble clusters, and sculptural finishing. Wear together for a charming matching look, or gift as a cozy handmade trio.
Pattern Correction & Tips
Correction
- Make sure to slip stitch neatly through the chains not the large open spaces when seaming the bag for a neat and sturdy edge.
- Don’t work the thumb hole into the marked stitches—work before and after each marker to form the opening.
Tips
- When working hdc into foundation chain (bag start and glove cuff), take care to place stitches evenly for a tidy edge.
- Try on the glove before finishing to adjust fit: add/subtract rows or chains as needed.
- For the bag handle: Single crochet down both sides for strength. A loose chain may stretch with use.
- Use stitch markers to keep track of “beginning of round” and thumb placement; this ensures accuracy, especially if making gloves for both hands.
Leave a Reply