
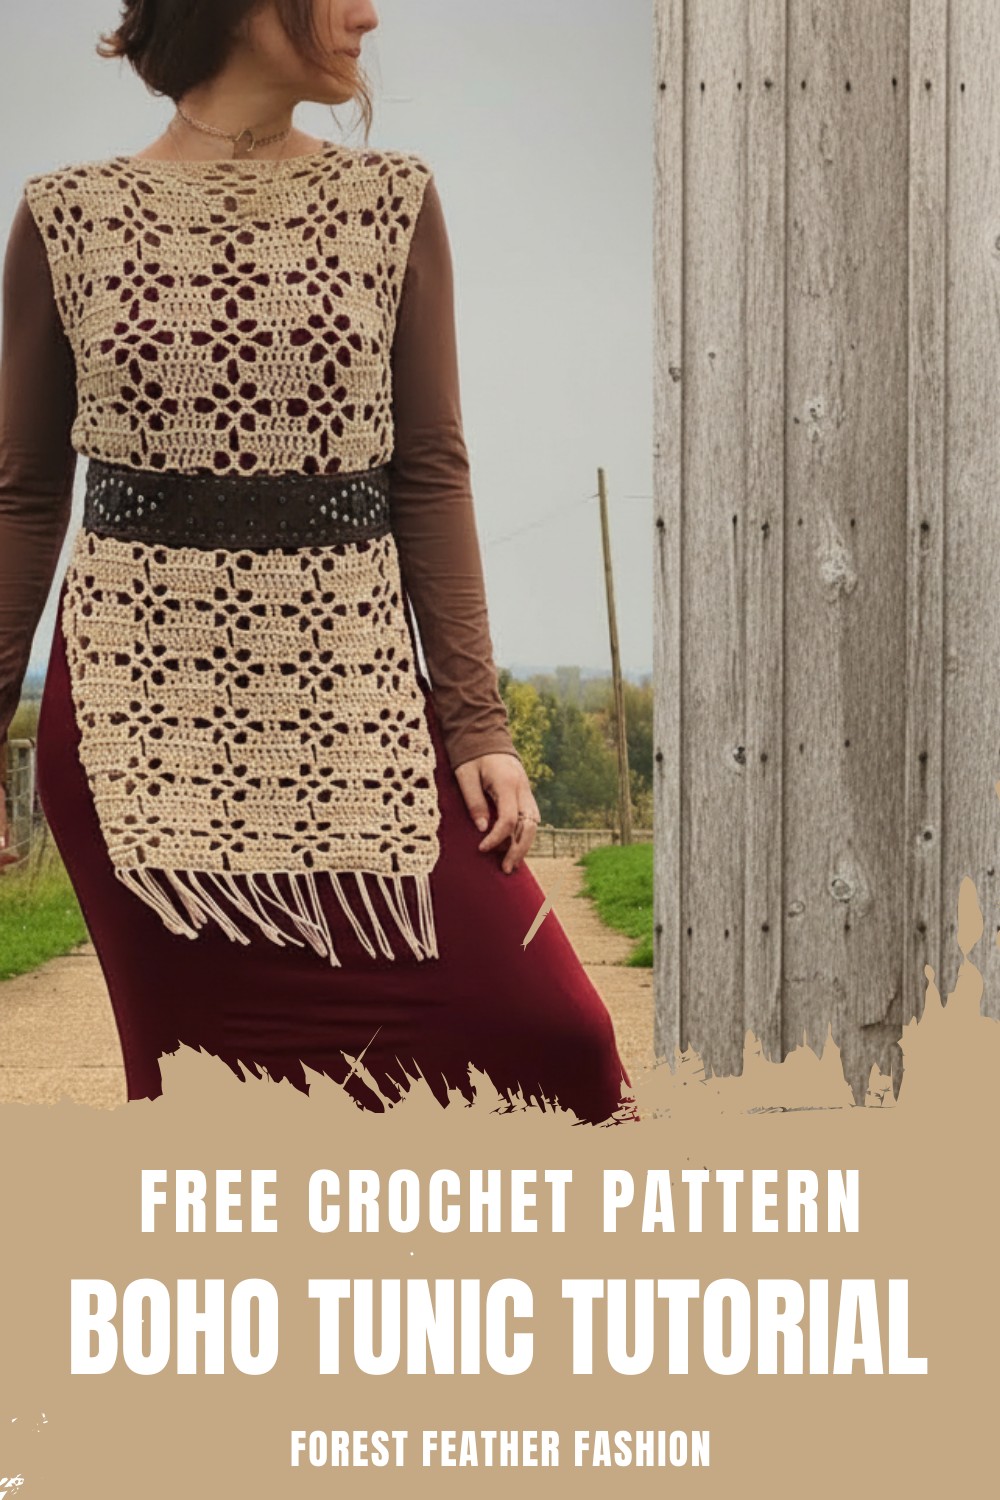
Bring your ideas to life with a Crochet Boho Tunic Pattern that combines effortless style and comfort, offering endless ways to express your creativity and flair!
Turn heads with the effortless charm of a boho crochet tunic! This flowy, versatile garment is perfect for layering over jeans, pairing with leggings, or wearing as a breezy beach cover-up. Its relaxed silhouette invites endless customization, from airy lace details to playful fringe or tassels.
Crochet Boho Tunic Pattern That’s Effortlessly Chic
Perfect for those who adore timeless yet free-spirited styles, this tunic strikes the balance between comfort and elegance. Boho tunics are a fantastic project to play with color gradients, funky stripes, or even neutral tones for a more minimalist look. It’s a wardrobe essential with endless opportunities for personal flair.
Bohemian-Style Tunic Crochet Pattern
Skill Level
Beginner to Intermediate
- Requires knowledge of basic stitches such as chain (CH), double crochet (DC), and single crochet (SC).
- Ideal for those exploring wearable crochet designs.
Finished Size
- Width: Customized to your shoulder measurement, with added ease for bust size.
- Length: Customized based on your preference (suggested length: 26 inches for a tunic).
This is a tailored pattern based on your measurements.
Materials Needed
- Yarn:
- Medium-weight yarn (Size 4, cotton-acrylic blend recommended).
- Example Color: Light beige; adjust based on your style preference.
- Hook:
- Suggested: 6 mm hook for a relaxed stitch.
- Use a smaller or larger hook for tighter or looser stitches.
- Tools:
- Measuring tape.
- Scissors.
- Yarn needle for sewing seams and weaving in ends.
- Stitch markers.
- A book (for cutting tassels).
Gauge
While this pattern isn’t fixed to gauge, use the following for reference:
- Diamond Motif Section: 1 diamond = approximately 4 inches wide.
Check measurements with a ruler to ensure your desired tunic width and length.
Tips Before You Start
- Tailoring: Measure yourself carefully to customize the panels to your fit.
- Shoulder-to-shoulder width.
- Preferred garment length.
- Add 2–4 inches to your width measurement for added ease if you have a larger bust size.
- Relaxed Stitch: Use a larger hook to maintain softness and flow in the tunic.
- Customization: Change yarn color for unique style or add extra tassels for flair.
Special Techniques
- Measuring Using Multiples:
- The starting chain is worked in multiples of 12 + 2. Adjust the chain length based on your shoulder measurement.
- Creating Tassels:
- Use a book to wrap the yarn evenly for consistent tassel length.
Pattern Instructions
Step 1: Taking Measurements
- Measure your shoulder-to-shoulder width.
- Example: 17 inches wide.
- Add 2–4 inches for a comfortable fit, especially if you have a larger bust size.
- Measure the preferred tunic length.
- Example: 26 inches long (to sit just over the upper thighs). Adjust as needed for shorter or longer garments.
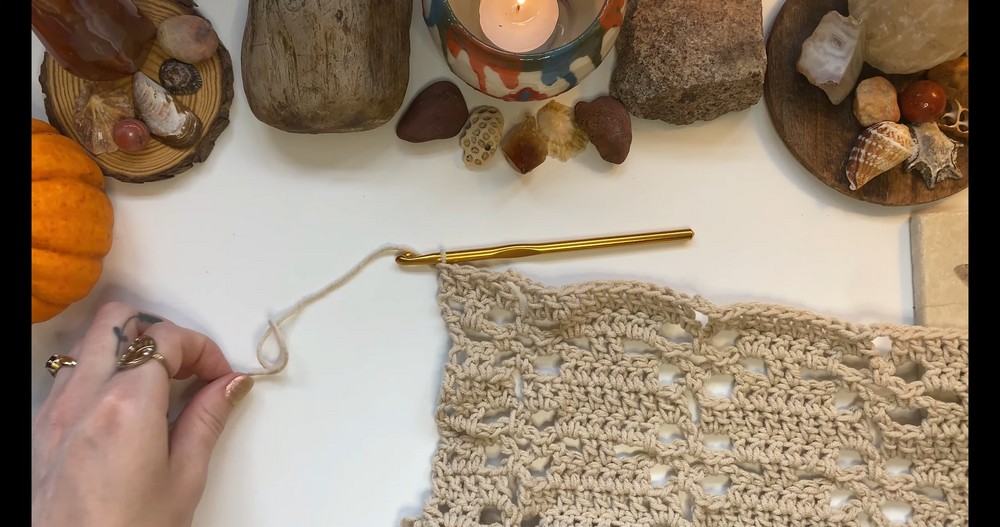
Step 2: Foundation Chain
- Create a slip knot and insert your hook.
- Chain in multiples of 12 + 2 based on your shoulder measurement.
- Example: CH 62 chains (5 diamond motifs across).
Ensure the chain matches your measurement and adjust as needed to get multiples of 12 + 2.

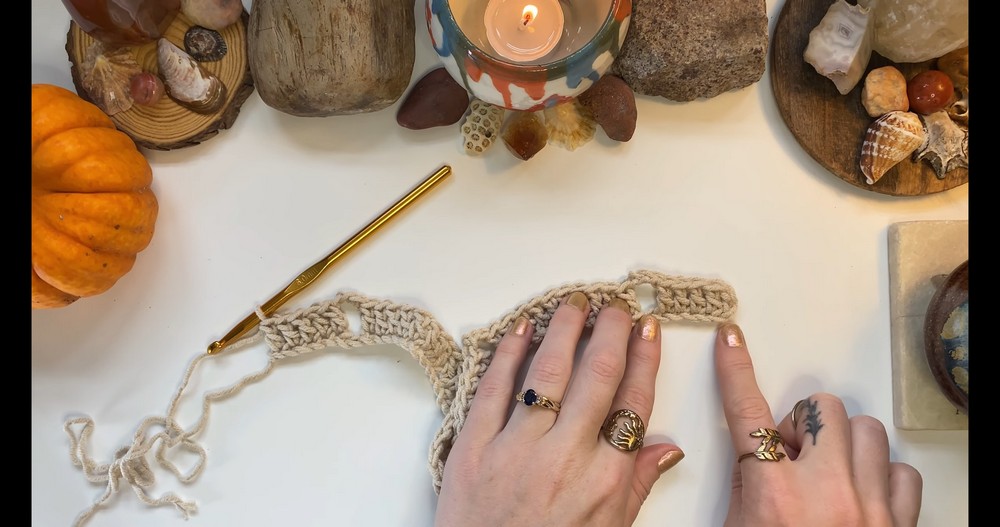
Step 3: Row 1
- CH 4 (counts as 1 DC).
- Yarn over and insert a DC into the 4th chain from hook.
- Work 1 DC into the next 3 chains (total: 5 DC for the row’s edge).
- CH 3, skip 2 chains, and DC into the 3rd chain.
- Work 1 DC in the next 9 chains for a total of 10 DC in this section.
- CH 3, skip 2 chains, and repeat 10 DC sections across the row.
- End with 5 DC in the last 5 chains.
Step 4: Row 2
- Turn your work and CH 3 (counts as 1 DC).
- Work DC into the next 2 stitches for a total of 3 DC.
- CH 3 and insert a SC into the chain 3 space.
- CH 3, skip 2 DC, and work 6 DC in the next 6 stitches.
- CH 3, skip 2 DC, and insert a SC into the chain 3 space.
- Continue the pattern across the row: alternating 6 DC sections and single crochet into chain spaces.
- End the row with 3 DC (last stitch worked in the turning chain of the previous row).
Step 5: Row 3
- Turn your work and CH 6 (counts as 1 DC + CH 3).
- Insert a SC into the chain 3 space.
- CH 3, insert a SC into the next chain space.
- CH 3, skip 2 DC, and work 2 DC into the next 2 stitches.
- Continue the pattern across the row: alternating chain spaces and double crochet clusters.
- End the row with CH 3 + DC in the turning chain from the previous row.
Step 6: Row 4
- Turn your work and CH 3 (counts as 1 DC).
- Insert 2 DC into the chain space.
- CH 3, insert SC into the next chain space.
- CH 3, insert 2 DC into the chain space, then DC across the next two DC stitches.
- Continue alternating 2 DC clusters and single crochet across the row.
- End with 3 DC in the final chain space/turning chain.
Step 7: Row 5
- Turn your work and CH 3.
- Work DC into the next 2 stitches for a total of 3 DC.
- Insert 2 DC into the chain space.
- CH 3, insert 2 DC into the next chain space.
- DC across all stitches in the next section.
- Continue pattern and end with 3 DC in the last chain space/turning chain.

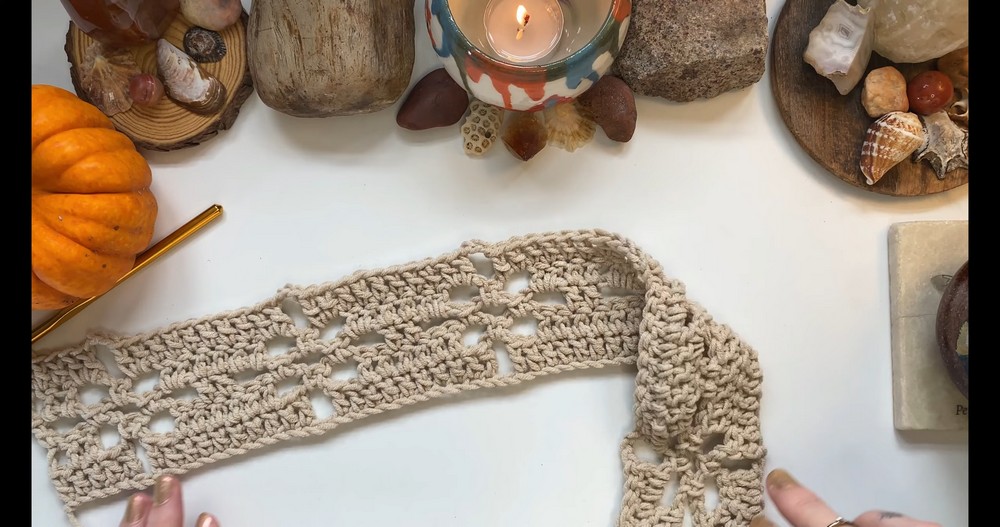
Step 8: Repeat Rows 2–5
Repeat rows 2–5 until your rectangular panel reaches your desired length.
For Example: Create 12 diamonds down the panel for approximately 26 inches in length.
Step 9: Making the Second Panel
- Create a second identical panel using the same pattern.
Step 10: Joining Panels
- Place both panels right sides facing inward.
- Use stitch markers to position:
- Neck hole width: Place markers where you’d like the neck opening.
- Armholes: Position markers under the 4th diamond motif or wherever feels comfortable.
- Side seams: Sew down to the hips or adjust based on your style preference.
- Use a yarn needle to sew the panels along the neck opening and sides.

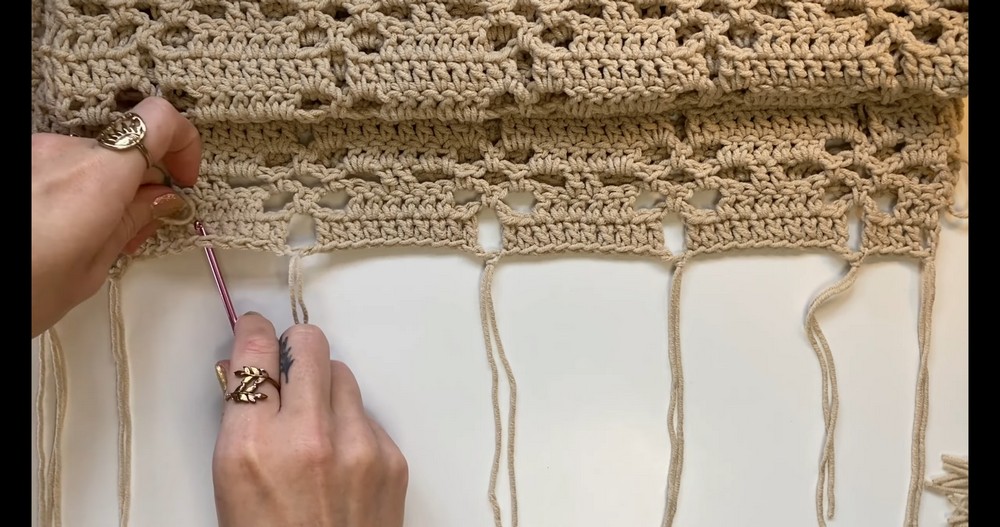
Step 11: Adding Tassels
- Use a book to wrap yarn for tassels. Cut evenly.
- Attach by folding the yarn in half, inserting through a chain space, and pulling the tails through the loop.
- Trim tassels evenly and steam them straight if desired.
Conclusion
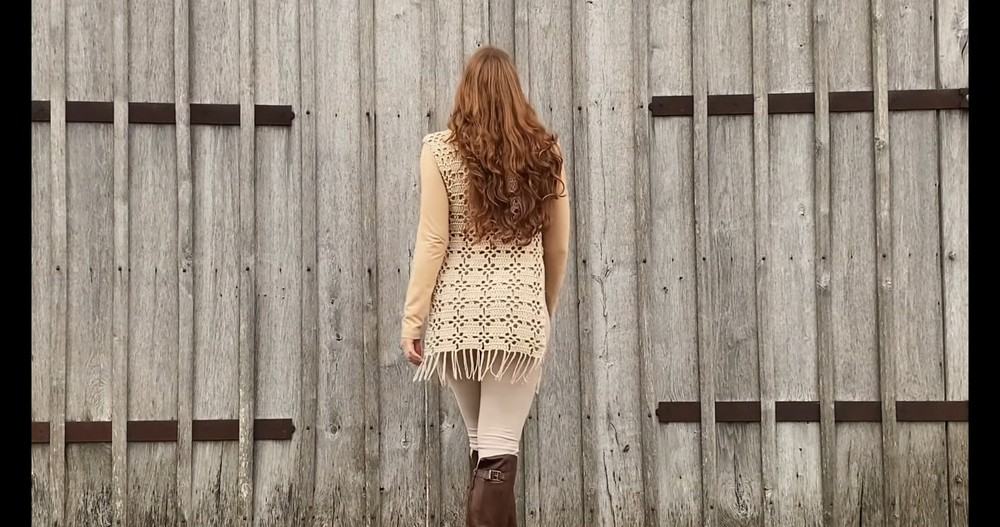
Congratulations! You have created a stunning bohemian-style tunic tailored to your own measurements. This versatile piece can be worn casually or styled up for an elegant look.

Tips and Final Thoughts
- Blocking: If using natural fibers or blends, block your tunic for better shape.
- Personalization: Add extra tassels or experiment with color combinations for unique designs.
- Pattern Correction: Ensure accurate stitch counts when chaining and joining panels.
Leave a Reply