
Highlight your style with this Free Crochet Bag Pattern that’s guide you to cute and practical accessory perfect for everyday Gorgeous looks.
Timeless Crochet Bag Pattern That Feels Like Luxury
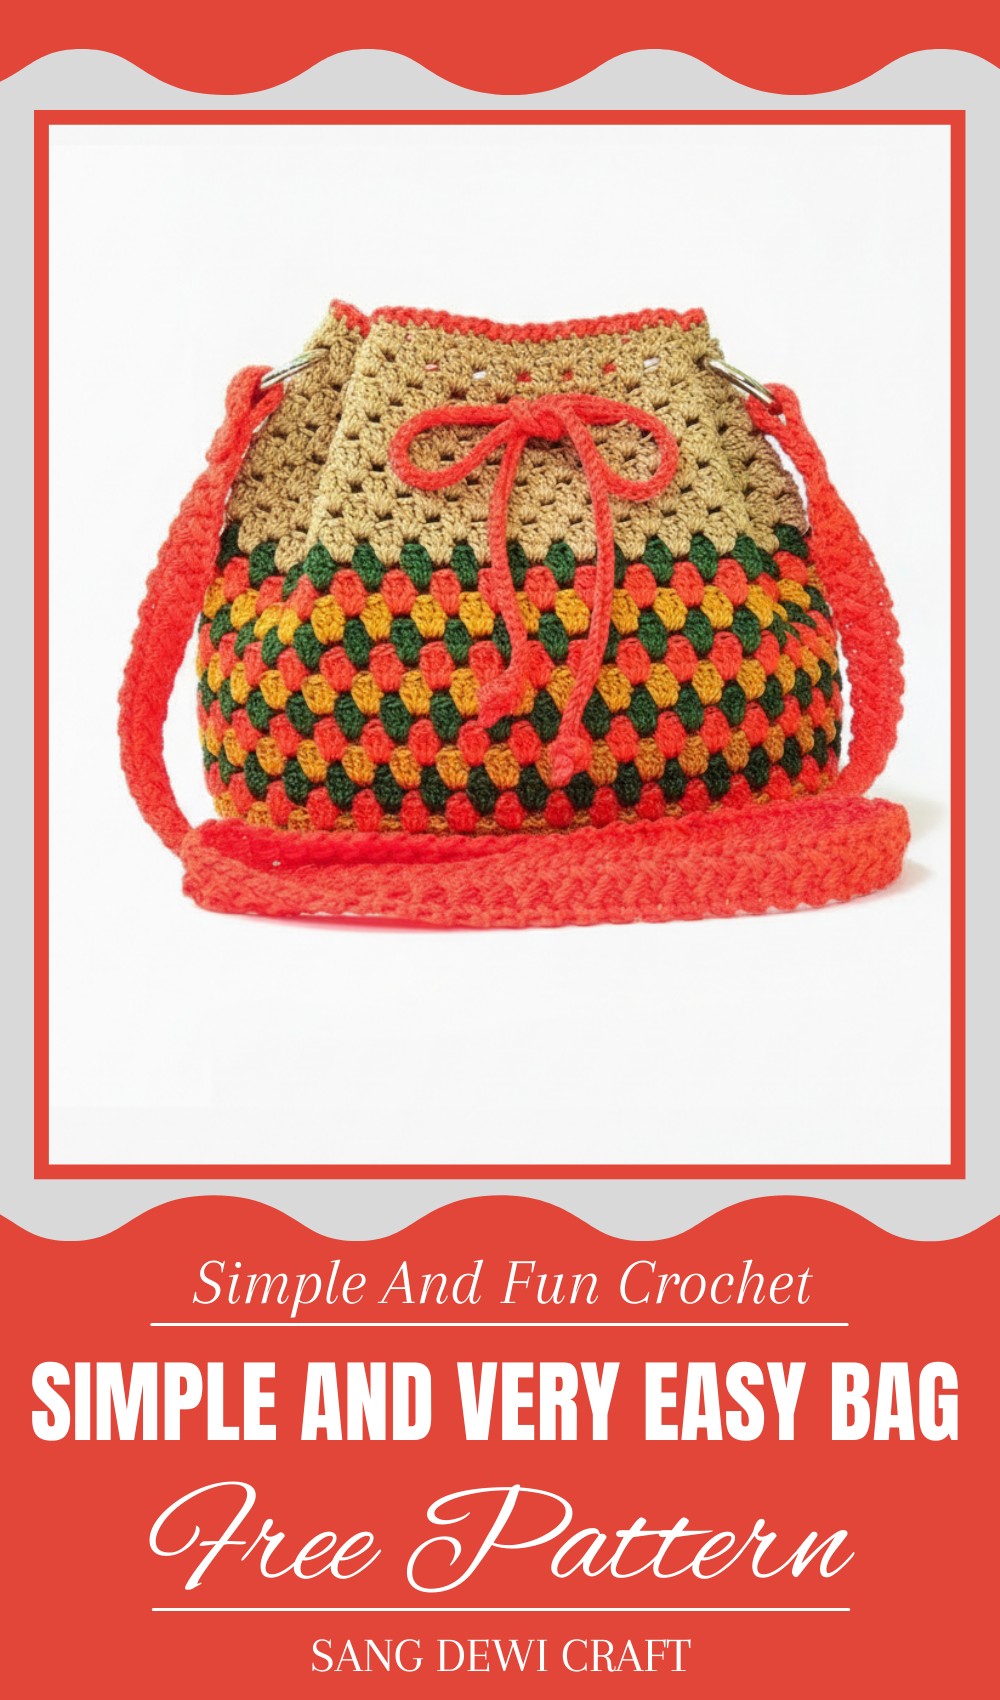
A handmade bag is a beautiful and practical accessory that stands out with its unique charm. This bag is not only stylish but also sturdy, making it perfect for everyday use or special occasions. With its intricate crochet bag pattern and vibrant colors, it can match any outfit and add a touch of elegance to your look. Whether you need a bag for shopping, carrying books, or even for a picnic, its versatile design fits every purpose.
Its lightweight and eco-friendly nature makes it a great alternative to plastic bags, showing care for both fashion and the environment. Perfect for a casual outing, a party, or even as a thoughtful gift, it offers endless possibilities. Each bag reflects the love, patience, and creativity put into its making, giving it a personal touch. Whether simple or detailed, it’s an accessory that combines beauty and function effortlessly, while showing off your unique style.
Materials
- Yarn: Nylon polypropylene thread, D27, 2mm, 3-ply. Alternatively, you can use any durable thread of your choice.
- Hook Size: Number 4 crochet hook.
- Additional Tools:
- Scissors
- Tapestry needle (optional for weaving ends).
- 2x removable round rings (3 cm).
- Stitch markers (optional).
- Ruler or tape measure for accuracy.
Key Abbreviations
- ch: Chain
- sc: Single Crochet
- sl st: Slip Stitch
- dc: Double Crochet
- long sc: Long Single Crochet (explained further in the pattern)
- skip: Skip a stitch or space
- st: Stitch
Pattern Instructions
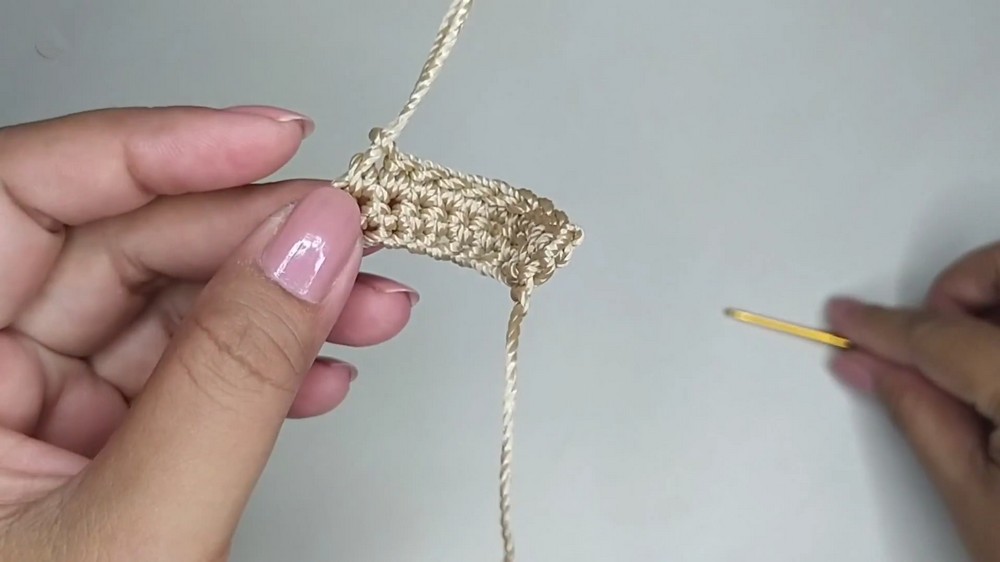
Step 1: Create the Base
- Start with a slip knot.
- Chain 40 chains, then add 1 extra chain to serve as the turning chain.
- In the 2nd chain from hook, work 1 sc.
- Work 1 sc in each hole across the chain.
- At the end of the row, add 1 chain, turn your work, and repeat 1 sc in each hole across.
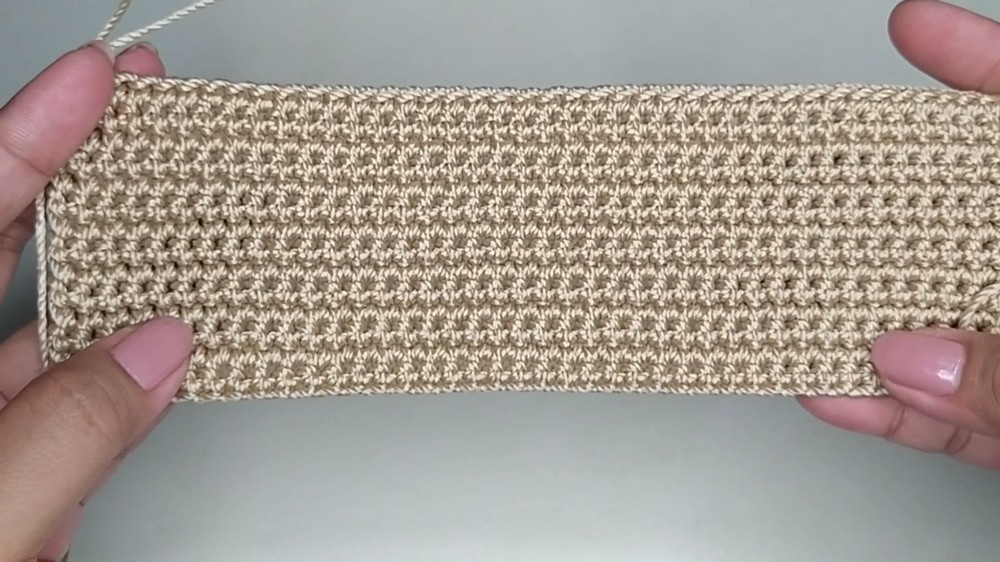
- Continue working back and forth for 14 rows until the base is complete.Note: To customize the width of the bag, increase or decrease the number of starting chains.
Step 2: Crochet Around the Base to Build Bag Sides
- Once the base is complete, single crochet around the edges of the rectangle to start forming the sides.
- At every corner, make 2 sc in the same hole for smooth edges.
- Count the total stitches around the base to ensure they are a multiple of 3 (required for the upcoming pattern motif).
- If the stitch count is not a multiple of 3, add extra single crochets to adjust as necessary.
Measure your work: Base Dimensions = 20 cm (L) x 7 cm (W).
Step 3: First Round of the Scallop Pattern
- Begin the first patterned round by chaining 3 chains (this counts as 1 dc).
- In the same hole, make 2 dc (3 dc in total for this shell).
- Skip 2 holes, then in the 3rd hole, make 3 dc in the same hole.
- Repeat this sequence (3 dc in one hole, skip 2) all the way around the base.
- Join the round with a slip stitch in the top of the starting chain.
Step 4: Adding Color and Continuation of the Shell Pattern
- Change to a new thread color if desired.
- Chain 1, then work 1 sc in the same hole.
- In the next hole, begin a new shell pattern. Make 3 dc in 1 hole, skip 2 holes, and repeat as before.
- Continue working this scallop pattern in rounds until the desired bag height is achieved.Example from video transcription:
- For each new color, complete 4 rounds.
- Continue until you have 10 rounds in the main color.
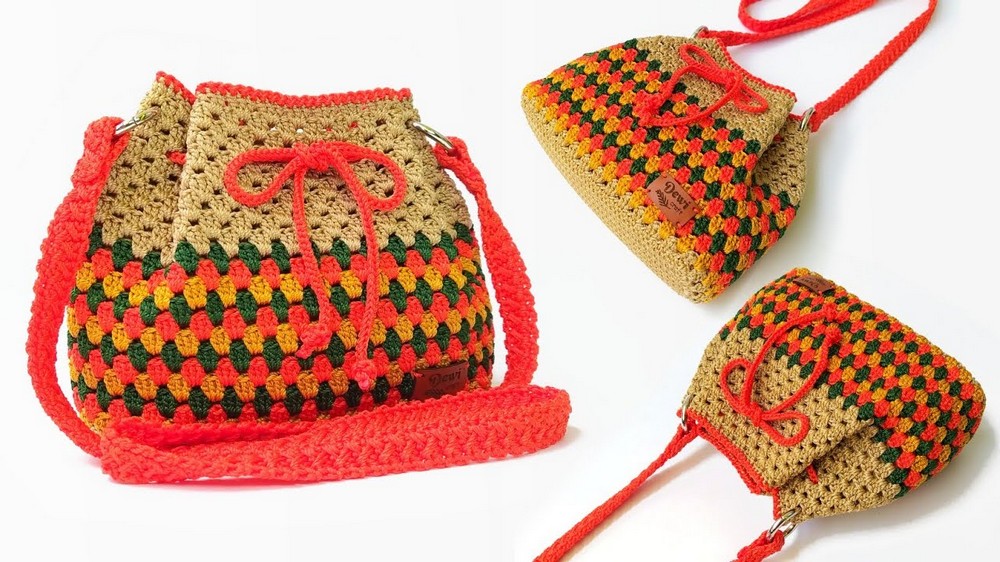
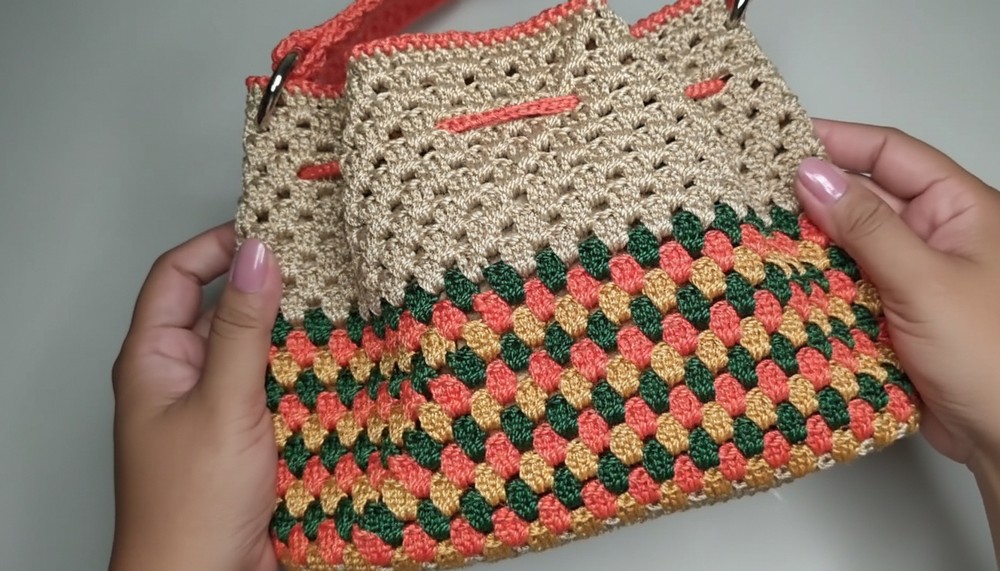
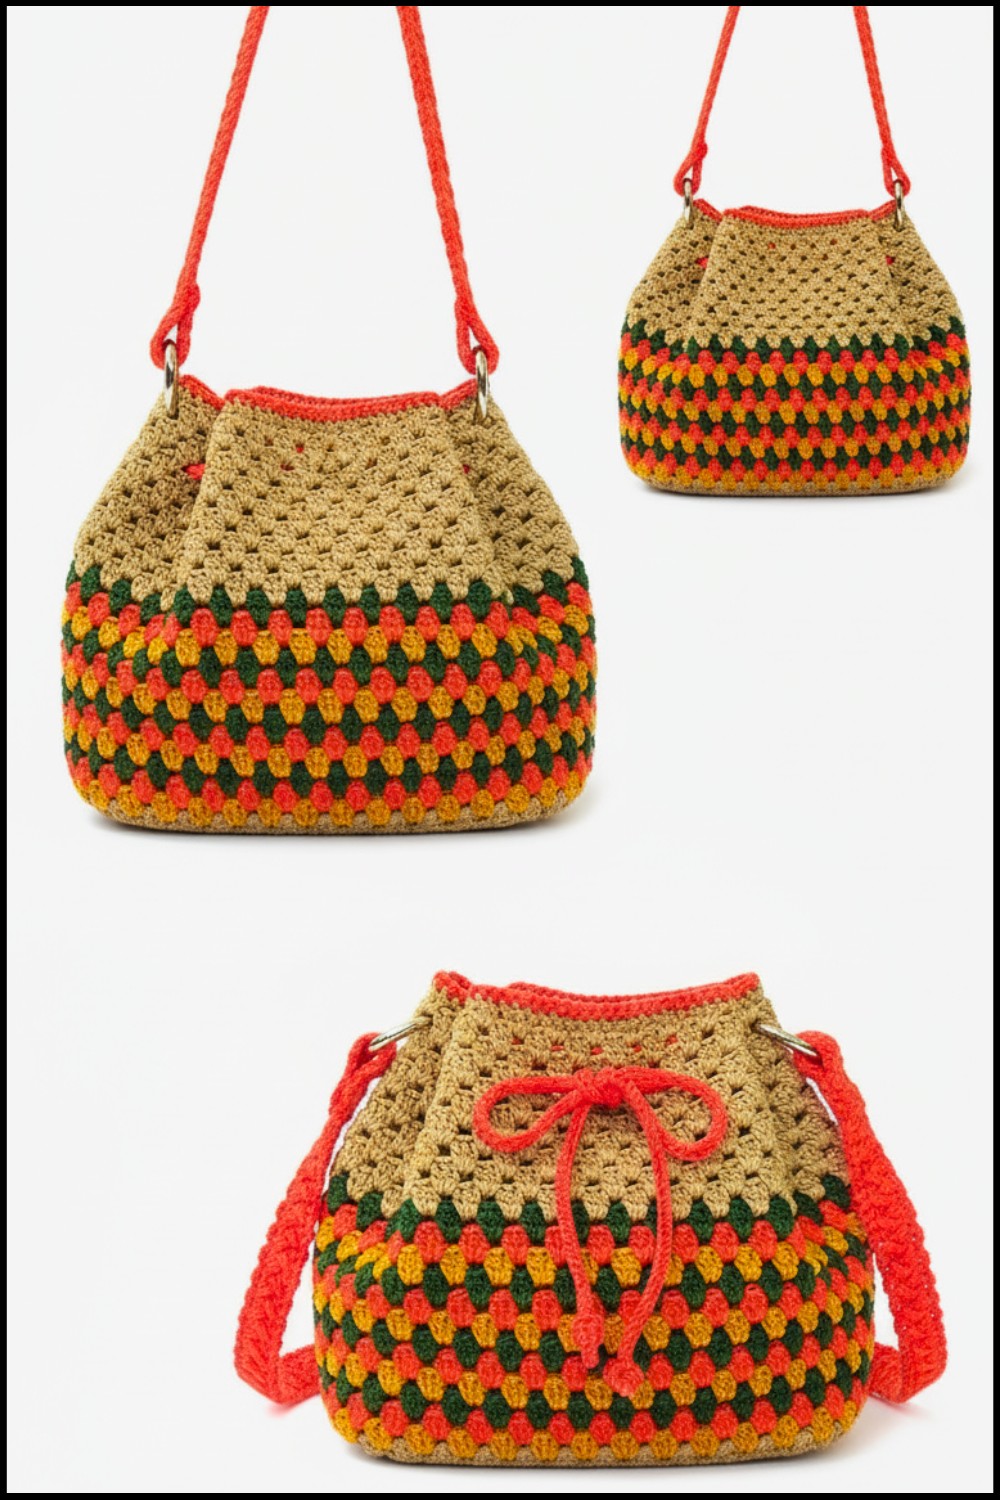
Result: Scallop pattern with alternating colors in your desired height (Bag Height = 18 cm in this example).
Step 5: Bag Strap
- Start with a slip knot.
- Chain 5 chains.
- In the 2nd chain from the hook, work 1 sc.
- Continue working 1 sc in each chain until the end of the row.
- Chain 1, turn, and repeat 1 sc in each hole for the next row.
To Create the Texture:
- On every 3rd stitch, make 1 long sc (insert your hook one row below the current row).
- Continue building your strap until it reaches the desired length.
Example from the video transcription: Bag strap length = 120 cm.
Step 6: Drawstring
- Use 2 strands of thread together for extra durability.
- Start with a slip knot, then chain as long as needed for the drawstring.
- In this example, the drawstring length was 80 cm.
Step 7: Assemble the Bag
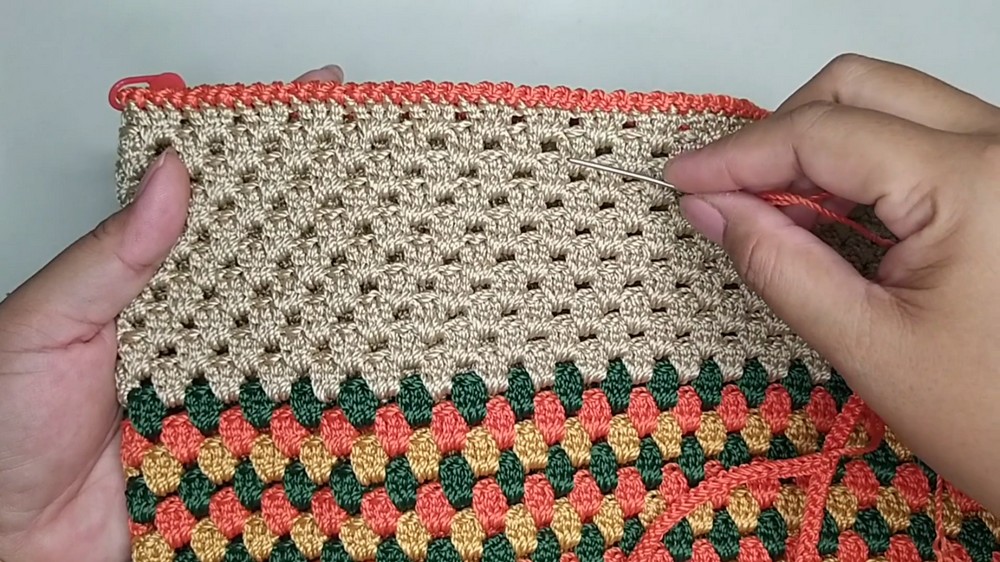
- Attach the bag strap by sewing it securely to the sides of the bag using additional thread. Use the round removable rings (3 cm size) for mounting if desired.
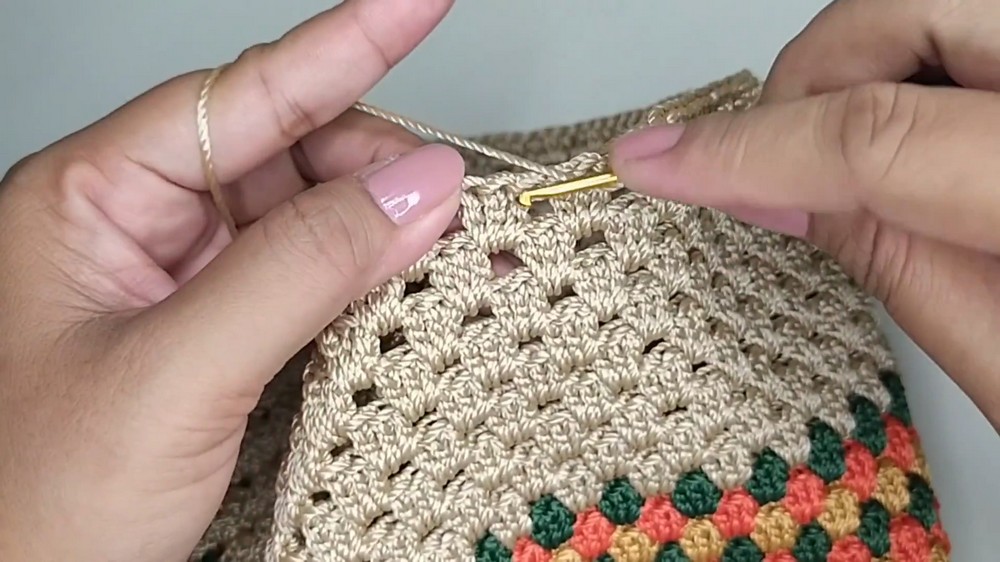
- Weave the drawstring into the 3rd row of the scallop pattern from the top of the bag. Ensure both ends meet, then tie them securely.Measurements for the bag:
- Length: 27 cm
- Height: 18 cm
- Weight: 190 grams
Customization Ideas
- Strap Design: Experiment with different strap patterns (e.g., a braided strap for added style).
- Alternative Threads: Use cotton, jute, or raffia for a different appearance.
- Size: Adjust the initial chain count and rows to create smaller or larger bags.
- Appliqués: Add buttons, flowers, or other embellishments for personalization.
Special Notes
- Tension Control: Keep your tension consistent throughout to ensure an even shape.
- Color Changes: To achieve clean transitions between colors, secure the ends carefully.
- Durability: Ensure all knots and seams are tightly secured for long-lasting use.
- Optional Lining: Add fabric lining for extra strength and sturdiness (refer to the video description for a tutorial).
Conclusion
This crochet bag is an elegant and practical accessory to add to your collection. The scalloped design and customizable features allow you to craft a one-of-a-kind item unique to your personal style. This tutorial includes detailed instructions and plenty of opportunity for creativity.
Pattern Corrections and Tips
Corrections:
- Make sure the stitch counts around the base are a multiple of 3 to maintain the flow of the shell pattern.
- Ensure all corners are reinforced with 2 sc in the same hole for smooth edges.
Tips:
- To avoid fraying or unraveling, weave in loose ends securely with a tapestry needle.
- Use stitch markers to evenly mark where straps and drawstrings are attached.
- For a polished look, block the finished bag to shape it evenly.
Leave a Reply