
Style your look with this unique crochet cross bag pattern that offers beauty and practicality while being perfect for everyday essentials.
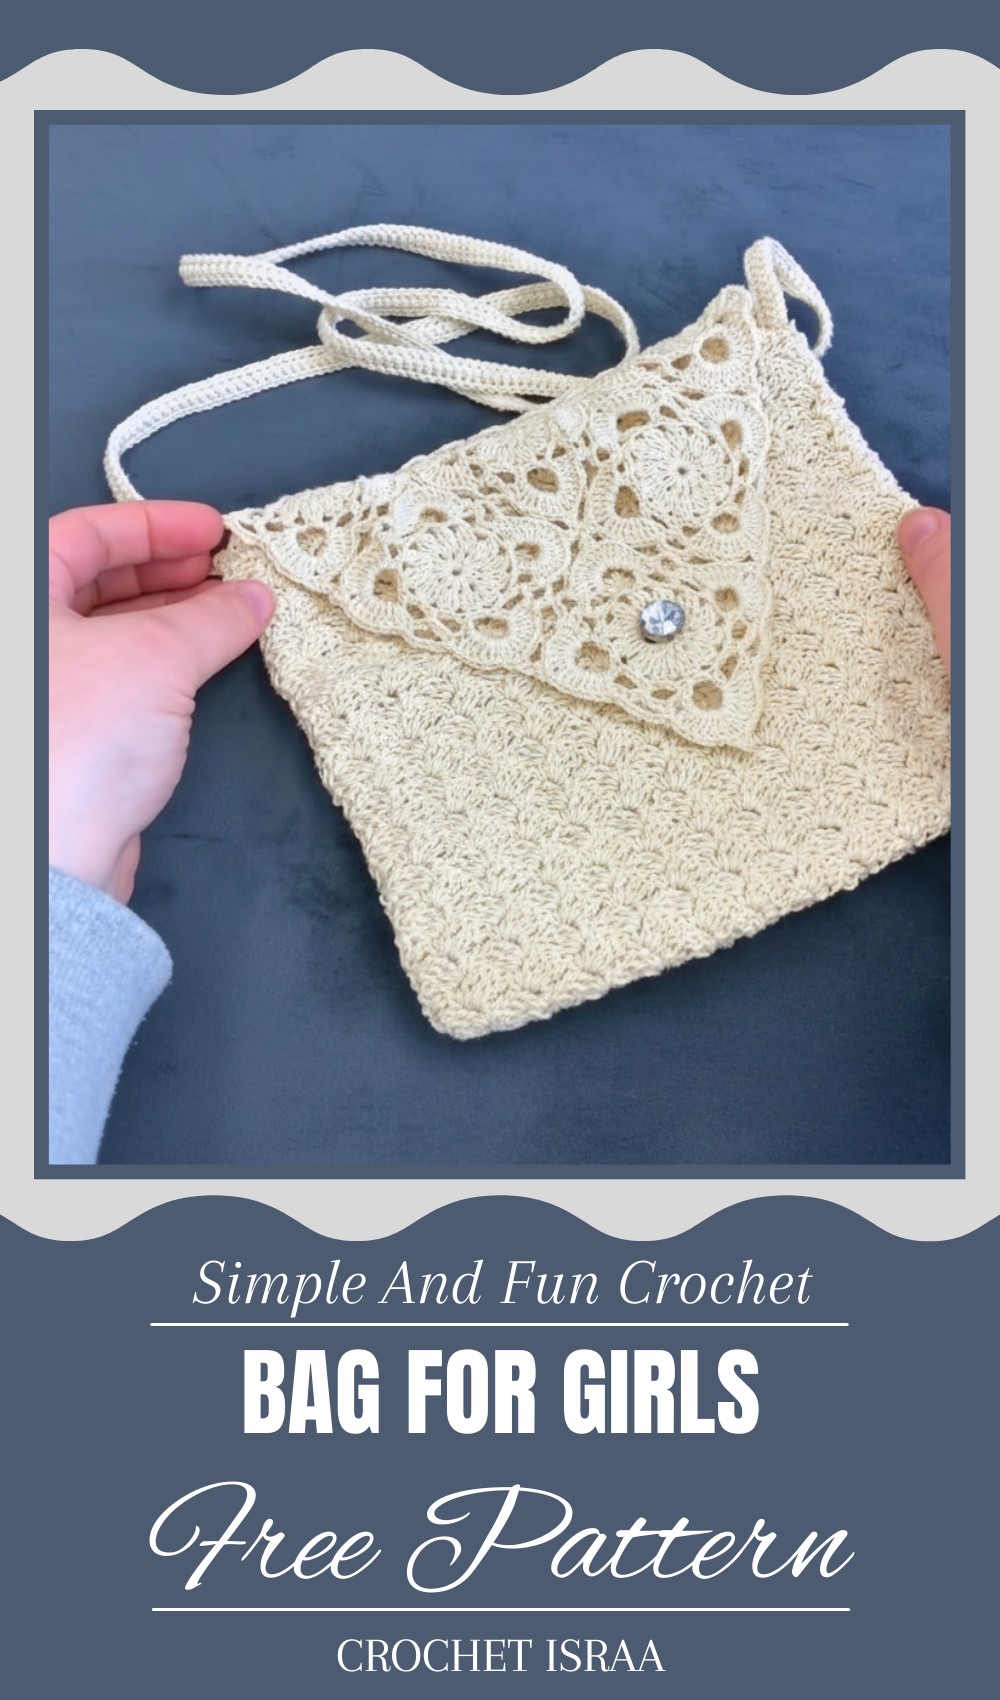
A crochet cross bag is a versatile accessory designed for both style and practicality. Its beautiful texture and intricate pattern instantly add elegance to your look, making it perfect for any occasion. Ideal for carrying your everyday essentials like a phone, wallet, or keys, it is lightweight and comfortable to use whether you’re running errands or enjoying a casual outing. The handmade charm of this bag makes it stand out, offering a unique and personal touch to your wardrobe.
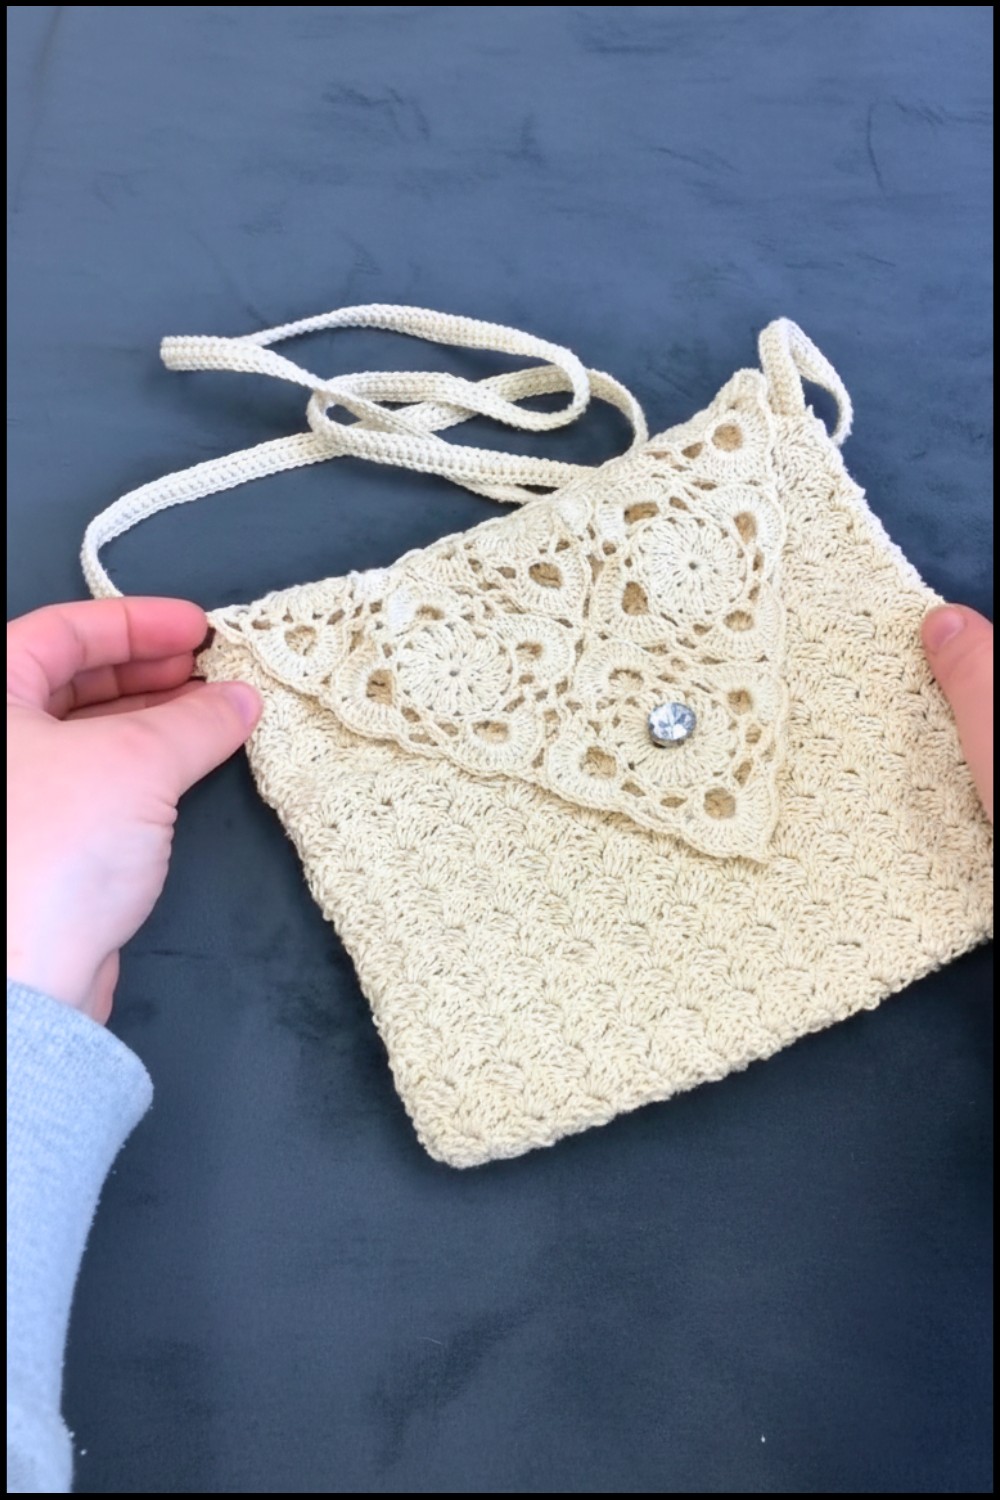
Step-by-Step Crochet Cross Bag Pattern for Stunning Results
With endless customization options, including colors and designs, you can crochet one that complements your personality and preference. This bag is not only functional but also makes a great gift for a loved one, showcasing thoughtfulness and creativity. Whether you’re dressing up for an event or just need an easy-to-carry companion for a day out, a crochet cross bag combines timeless beauty with practicality in the most delightful way.
Materials Needed
- Yarn: 100% Cotton, ~100g (DK weight recommended).
- Hooks:
- 2 mm crochet hook.
- Optional: 1.75 mm crochet hook if tighter tension is required.
- Notions:
- Scissors.
- Tapestry needle (for sewing squares together and weaving ends).
- Markers for placement in assembly.
Skill Level
Intermediate: Includes working in the round, cluster stitches, picot stitches, and assembly techniques.
Key Abbreviations (US Terms)
- ch: Chain.
- sc: Single Crochet.
- dc: Double Crochet.
- tr: Treble Crochet.
- sl st: Slip Stitch.
- Cluster Stitch: Yarn over, insert hook, pull through, yarn over, pull through two loops. Repeat until four loops are on the hook. Yarn over and pull through all loops.
- Picot Stitch: Ch 3, sl st in the third chain from the hook.
Special Notes
- Measure your bag during assembly to ensure consistent sizing.
- You will create three full squares and three half-squares for the main body of the bag, which are sewn together to form a unique and functional design.
- Gauge is not critical, but ensure the squares are symmetrical for clean assembly.
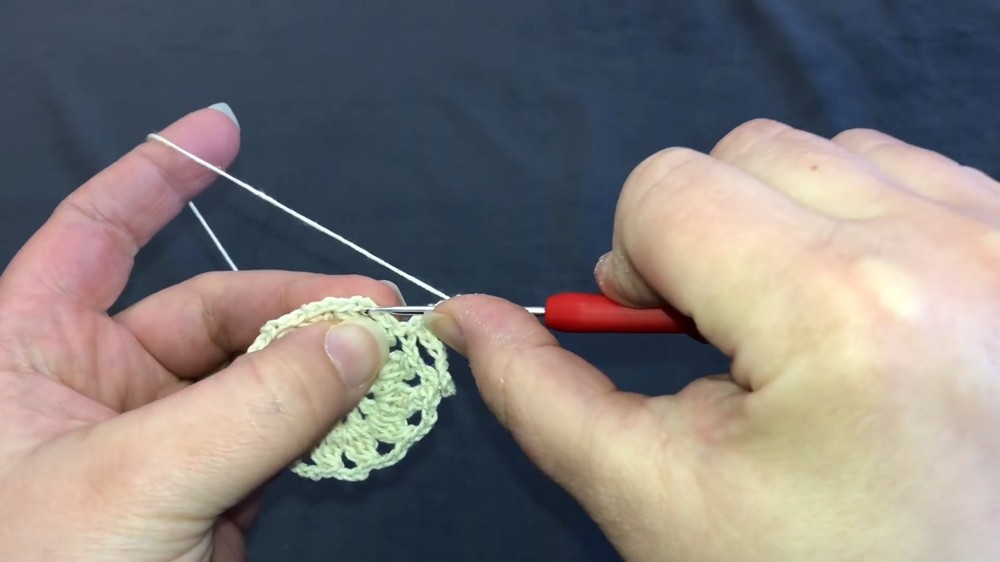
Step 1: Full Square Pattern
Foundation:
- Start with a slip knot, then ch 8.
- Join with a sl st in the first chain to form a circle.
Round 1:
- Ch 4 (counts as 1 dc and 1 ch).
- Inside the ring, repeat (1 dc, ch 1) eleven more times.
- You should have a total of 12 dc with 1 ch space between each.
- Join with a sl st in the third chain of the starting ch 4.
Round 2:
- Sl st into the first ch space, then ch 2 (counts as part of the cluster).
- Work a cluster stitch into the same space.
- Ch 3, then in the next ch space, work another cluster stitch.
- Repeat (Cluster Stitch, ch 3) around, working into each ch-1 space.
- Join with a sl st in the first cluster stitch.
Round 3:
- Sl st to the first ch-3 space, then ch 8.
- Skip the next 3 sts, sc in the fourth stitch.
- Ch 5, skip the next 3 sts, sc in the fourth stitch.
- Ch 7, skip the next 3 sts, sc in the fourth stitch.
- Repeat this pattern of (ch 5, ch 7) until the end of the round, with a sc in the fourth stitch each time.
- Join with a sl st in the starting ch 8.
Last Round:
- In the first ch space, ch 3, then work 6 dc in the same space.
- Work a Picot Stitch, followed by 7 dc in the same ch space.
- In the next ch space, sc in the third chain, ch 5, sc in the third chain.
- Continue the sequence (7 dc, Picot Stitch, 7 dc in one space; sc in the third chain of the next space).
- Repeat until the end of the round, then join with a sl st in the starting chain.
Make 3 full squares.
Step 2: Half-Square Pattern
Foundation:
- Start with a slip knot, then ch 5.
- Join with a sl st in the first chain to form a circle.
Round 1:
- Ch 4 (counts as 1 dc and 1 ch).
- Inside the ring, repeat (1 dc, ch 1) seven more times.
- Join with a sl st.
Round 2:
- Work the Cluster Stitch pattern from the full square (1 cluster stitch, ch 3 in each ch space).
- Stop halfway through the circle, turn your work, and fasten off.
Round 3:
Follow the same stitch pattern as the full square, stopping midway per round.
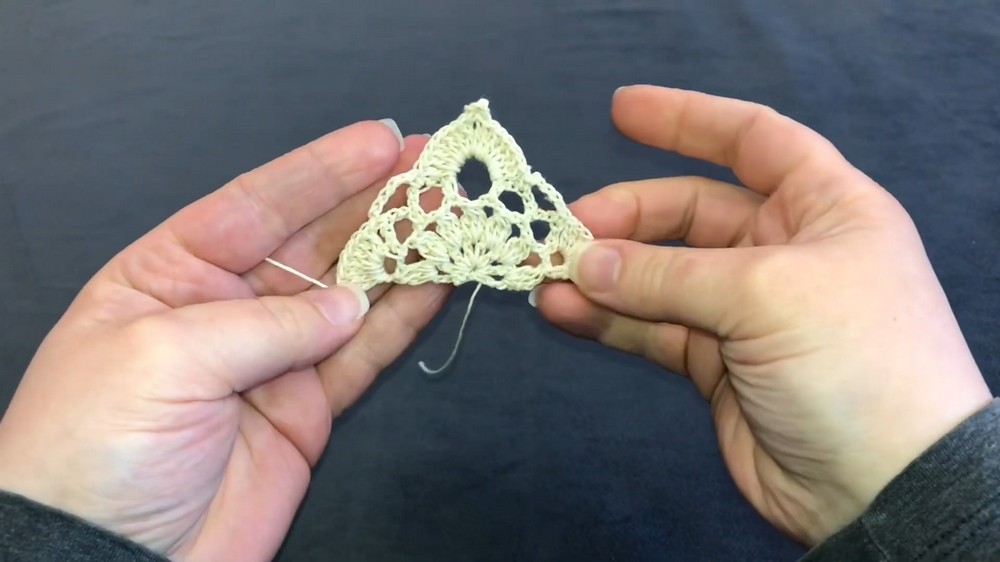
Make 3 half squares.
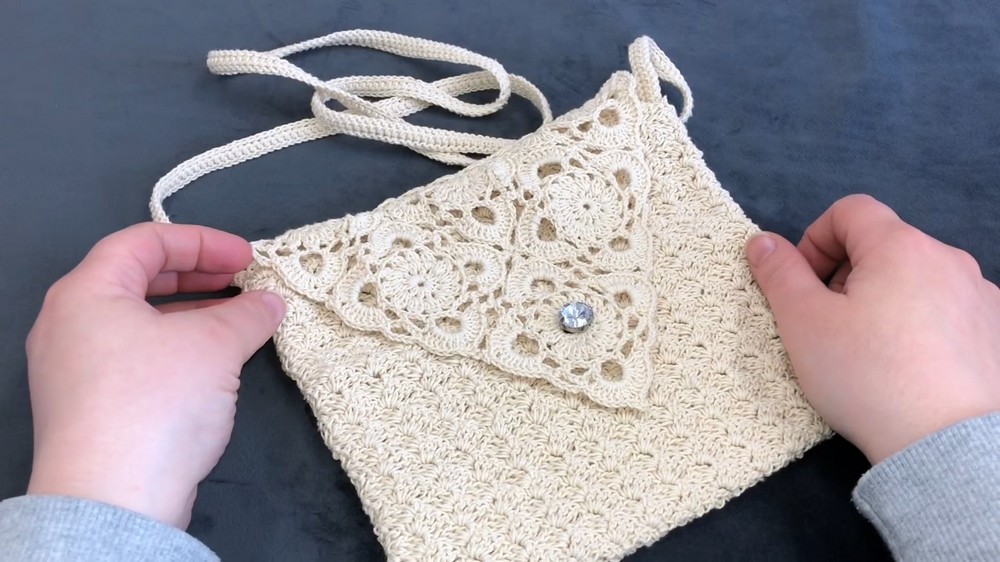
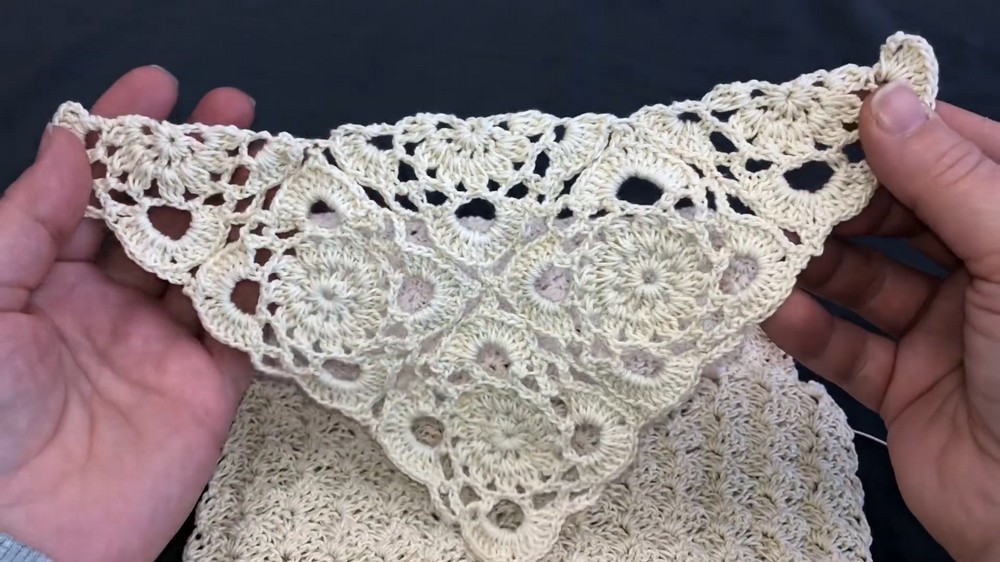
Step 3: Assembly
- Arrange the three full squares and three half-squares with the half-squares forming the bag’s “top” edges.
- Sew the pieces together using a tapestry needle, ensuring clean seams.
- Leave an opening at the top.
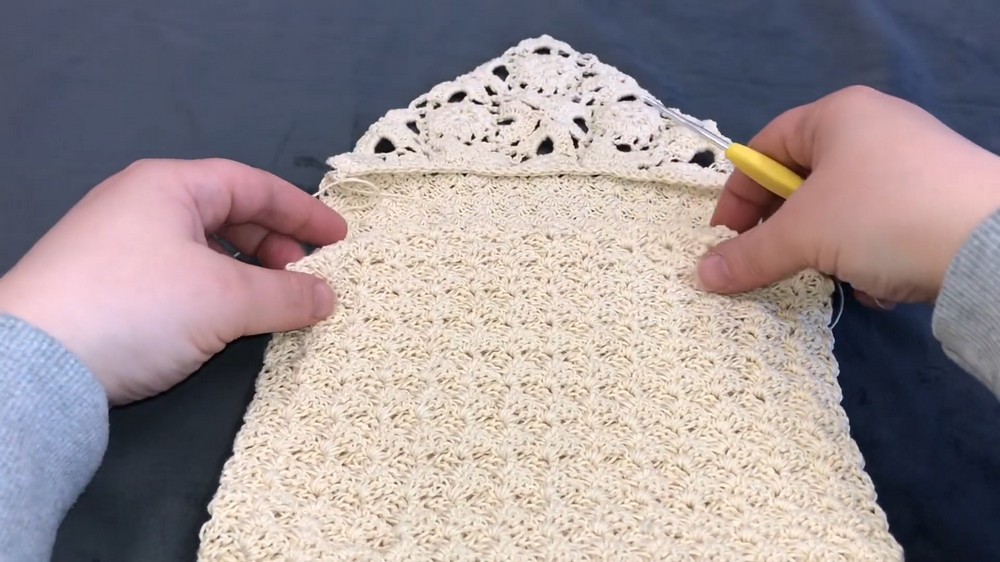
Step 4: Edging
- Insert your hook at any corner and ch 1.
- Work 2 sc in each ch space, and 1 sc between the chain spaces along the edges.
- At corners, work 3 sc in the same space for crisp turns.
- Continue until you complete the edging and join with a sl st in the first sc.
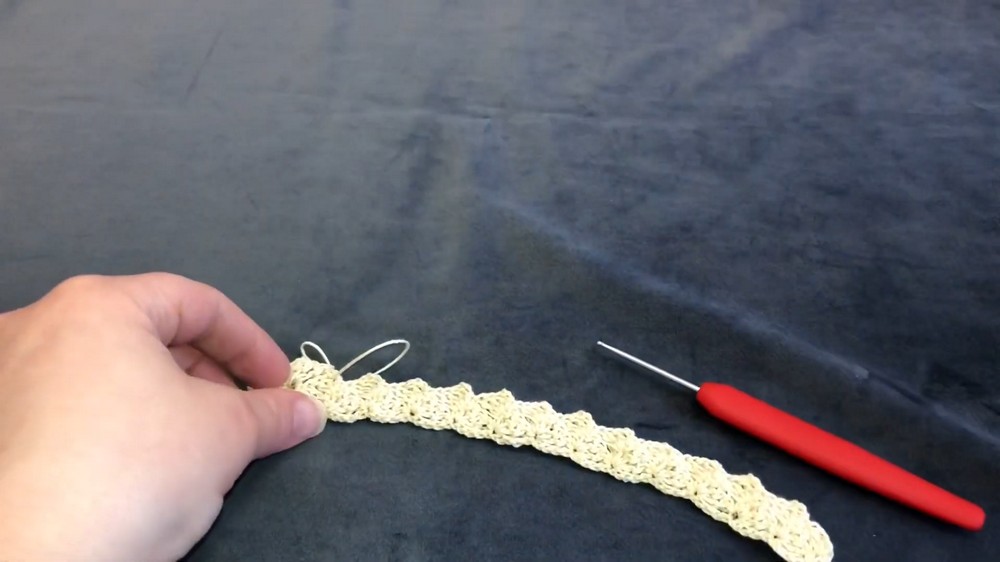
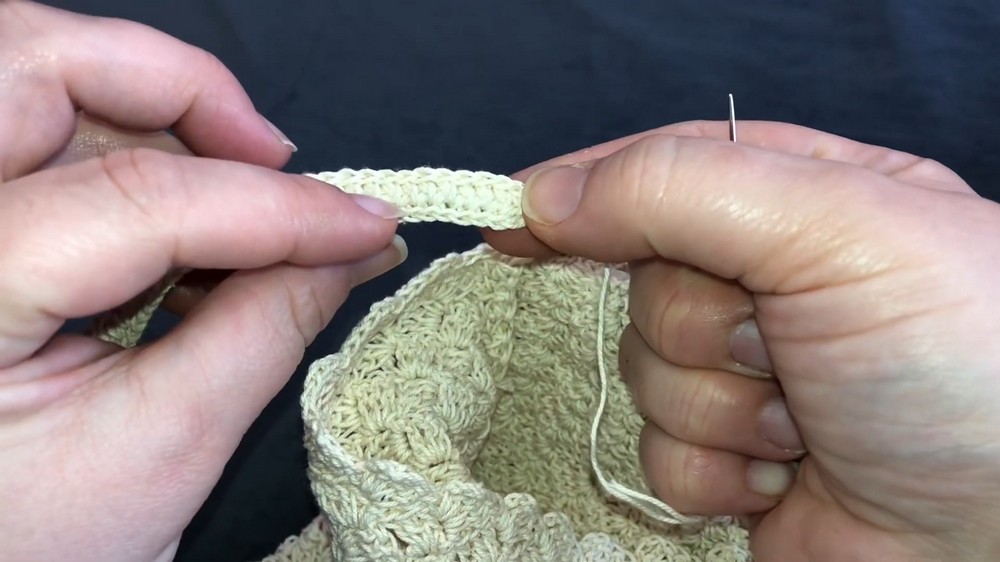
Step 5: Handle Pattern
- Start with a slip knot, then ch 2.
- Turn, and work 1 sc in each loop.
- Turn again, and repeat 1 sc per loop to create a sturdy handle.
- Continue until the handle measures 100 cm.
Step 6: Finishing Touches
- Use silicone glue or sew both ends of the handle securely to the bag.
- Weave in any loose ends.
- Block the bag lightly to give it a polished shape.

Tips for Success
- Block individual squares before assembly to ensure uniform sizing.
- Use markers during assembly to align pieces perfectly.
- If the bag feels too floppy, line it with fabric for additional structure.
Conclusion
Congratulations on completing your crochet bag! With its intricate square motifs and sturdy construction, this bag is a perfect accessory for any season. Customize it with colors, embellishments, or add a lining for a more polished look. Versatile and fun, it’s a timeless piece to add to your crochet collection.
Pattern Corrections
- If tension is uneven, work initial chains with a larger hook and switch to specified hooks for body work.
- Keep track of rounds to avoid missing picots or chain spaces during finishing rounds.
Leave a Reply