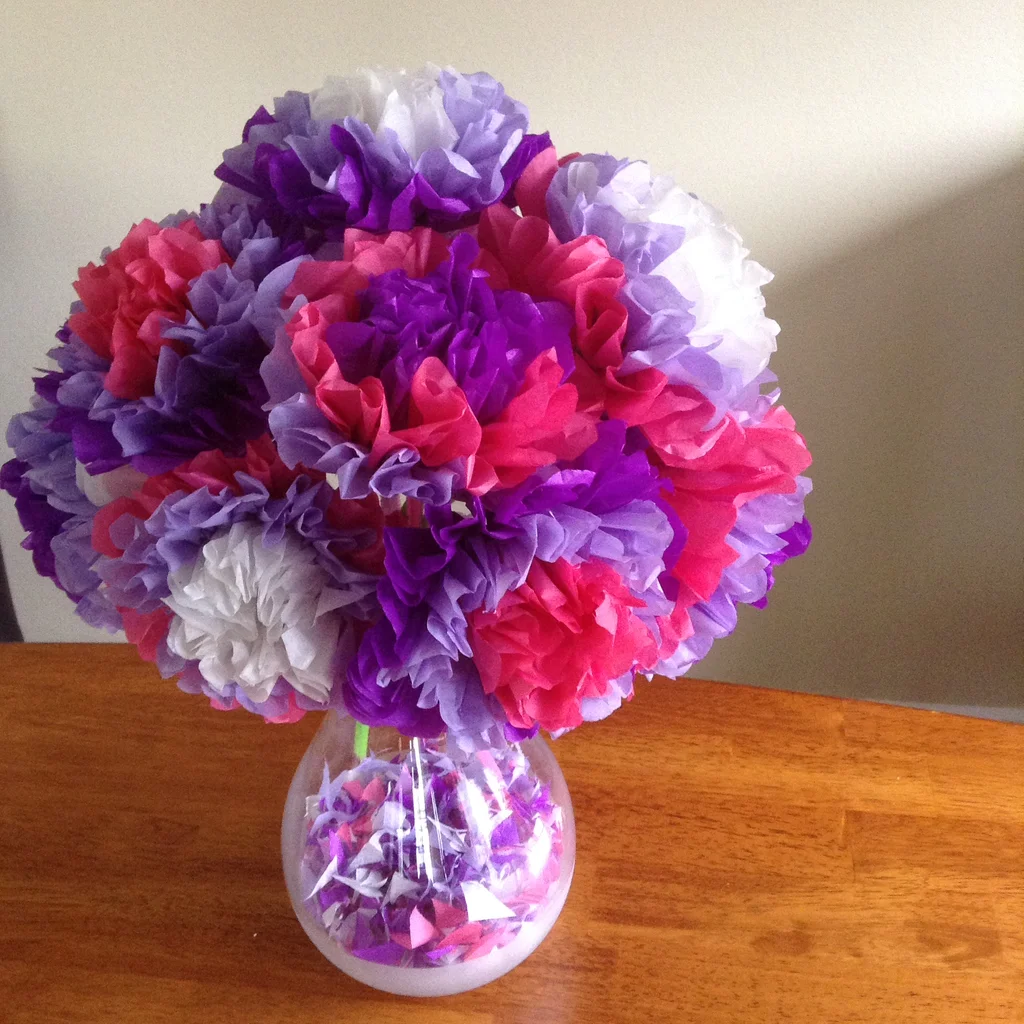
Looking for a quick and fun DIY project that offers a huge payoff? These eye-catching tissue paper flowers are just what you need. Not only are they incredibly simple to make, but they are also highly customizable and can infuse any room with a pop of color. They can remain vibrant for a long and are an excellent handmade gift option. So, if you’re ready to spark into this hour-long adventure that will litter your space with a bloom of colors, let’s dive right in!

Easy Tissue Paper Flowers

Materials needed
- 12 Sheets of Tissue Paper (20″x26″ or 20″x30″)
- 12 Pipe Cleaners or other Flexible Wire
- A Vase
Optional:
- Ribbon to decorate the Vase
- Scotch Tape to attach the Ribbon to the Vase
- A Ruler or Measuring Tape
Tools used
- Scissors

Step-By-Step Guide
Step 1: Preparing Your Paper
Place three sheets of unfolded tissue paper onto a flat surface, stacking them neatly.
Step 2: Folding The Paper
Next, position the tissue paper stack in a portrait format. Then, begin folding: take the bottom edge and fold it over one inch, flip it over, and fold it back on the alternate side. Continue this process on the paper, aligning each fold to approximately one inch. Your tissue paper stack should now resemble an accordion.
Step 3: Crafting Your Flowers
Fold the ‘accordion’ in half, wrap an inch and a half of a pipe cleaner around it, then twist the pipe cleaner to fasten the flower to the stem. Add two more pipe cleaners in the same manner on each side, roughly 6-7 inches away from the center.
Now, divide the paper into three equal-sized parts (approximately 6-7 inches long), and adjust pipe cleaners if needed. Trim rounded edges on each end of your flowers.
Step 4: Fluffing and Finalizing Your Flowers
While gripping your stem (pipe cleaner), carefully unfold the flower accordion and pull the top layer towards yourself. Gently separate the other two layers by pulling the middle and bottom layers upward. Flip the flower and apply light pressure from the stem to the edge.
Step 5: Arranging Your Flowers
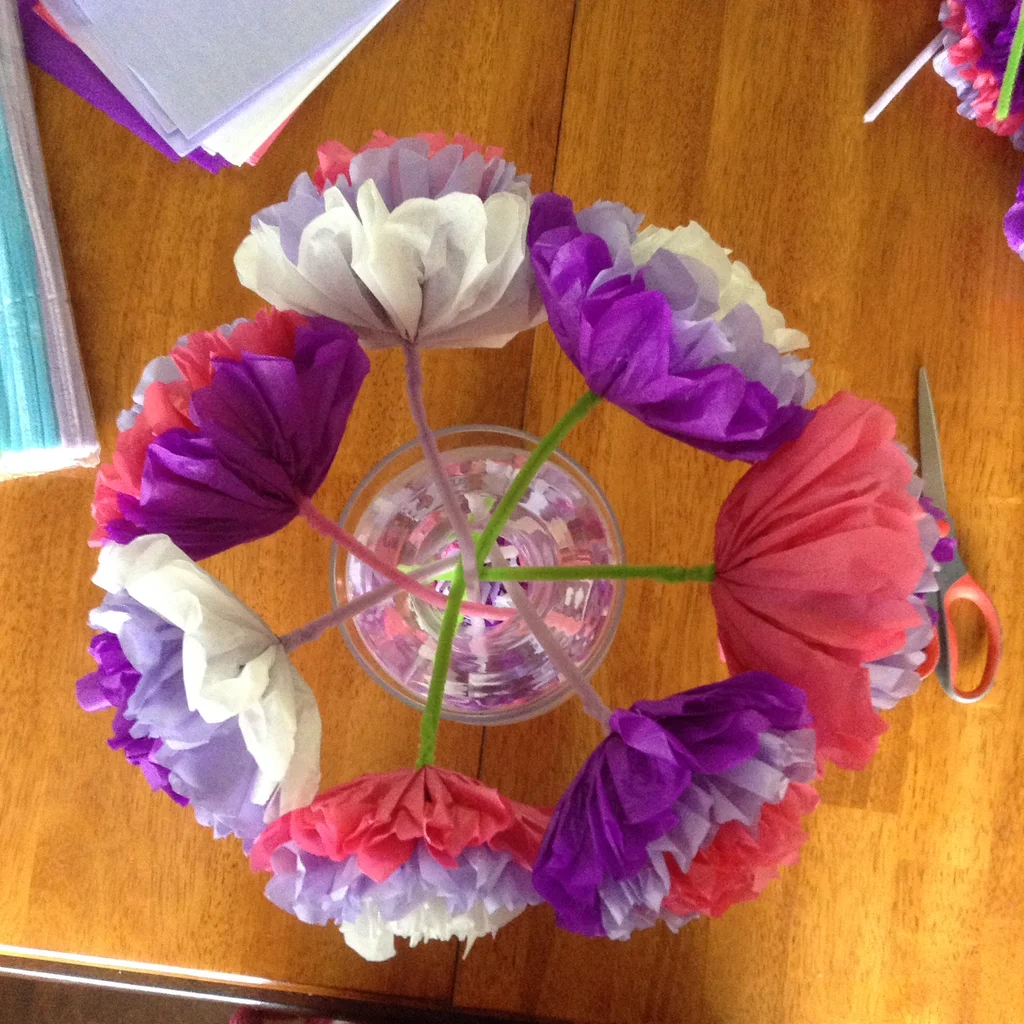
In the vase, bend your flower stems slightly for the first two layers, ensuring your flowers are orienting outwards. For the final layer, add one to three more flowers. Adjust your flowers until you are content with your arrangement.
Voila! Now you know how to craft and arrange your bouquet of tissue paper flowers. Enjoy this beautiful craft and experiment with various color combinations. Have fun, and feel free to reach out if you need assistance or questions answered.


Leave a Reply