
Bloom your creativity with this free crochet rose flower pattern made simple so anyone can enjoy beautiful handmade flowers in every corner.
A small flower made from yarn can brighten even the simplest space and bring a gentle smile to anyone’s face. This soft and lovely blossom looks just like a real rose with petals that curl and gather in layers to make it special. Using a Crochet Rose Flower pattern anyone can make a rose in any color they like—red for love yellow for friendship or pink for happiness.
Stunning Crochet Rose Flower Pattern Free for Beginners

This pretty flower lasts for years without water or sunlight and is easy to handle every day. The rose can be used on a hat or headband attached to a bag or scarf or even made into a single bloom as a gift for a friend. Gentle on hands and simple to use this idea lets people fill their home or heart with beauty that will not fade. Each finished rose shares a little warmth and kindness and brings happiness every time you see it.
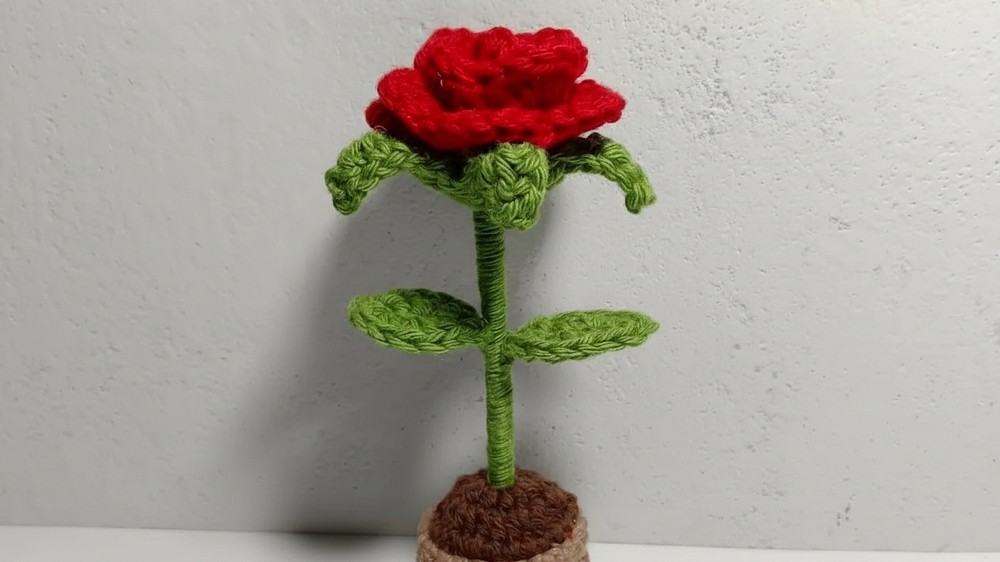
Mini Crochet Rose for Flowerpot – Step-by-Step Pattern
Materials
- Yarn: Small amounts of cotton or acrylic yarn in red, green, and yellow or desired flower colors (suitable for an amigurumi hook size)
- Hook: Crochet hook suitable for yarn weight (e.g., 2.5–3.5 mm)
- Scissors
- Stitch separator/marker
- Yarn/tapestry needle
- Wooden skewer or stick (for stem)
- Hot glue or craft glue
Key Abbreviations (US Terms)
| Abbreviation | Meaning |
|---|---|
| ch | chain |
| sc | single crochet |
| hdc | half double crochet |
| dc | double crochet |
| sl st | slip stitch |
| st(s) | stitch(es) |
| rep | repeat |
| sp | space |
| MR | magic ring (adjustable ring) |
Special Notes
- The pattern uses basic stitches and techniques suited for beginners.
- For best results, use a firm yarn and work with a tight tension.
- Some assembly with glue is required at the end.
- For the flower stem, a skewer, toothpick, or craft stick may be covered with green yarn or left plain.
Pattern
1. Rose Petals
With flower color (e.g., red):
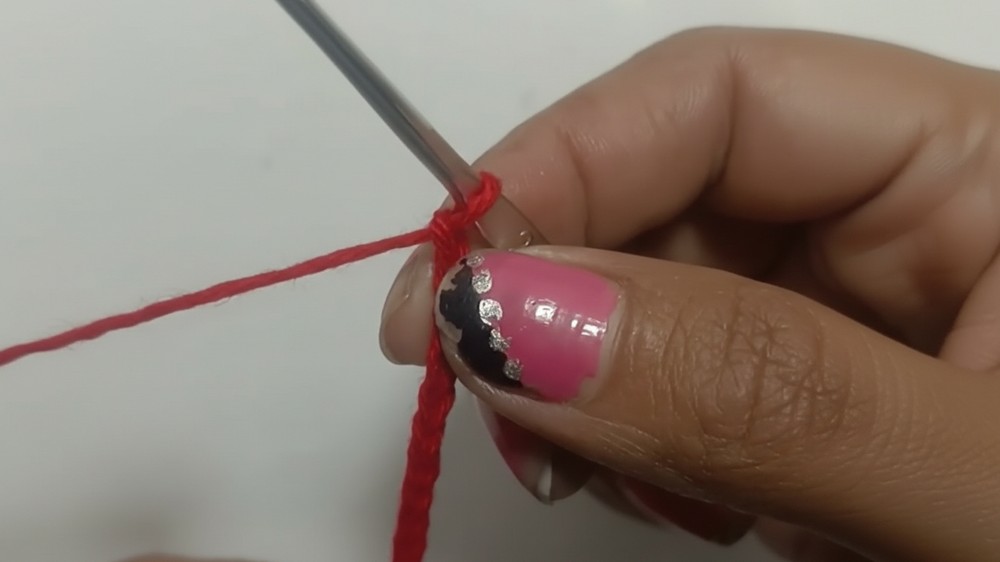
Foundation:
- Ch 24.
Row 1:
- Sc in 2nd ch from hook, and in each ch to end (23 sc).
- Turn work.
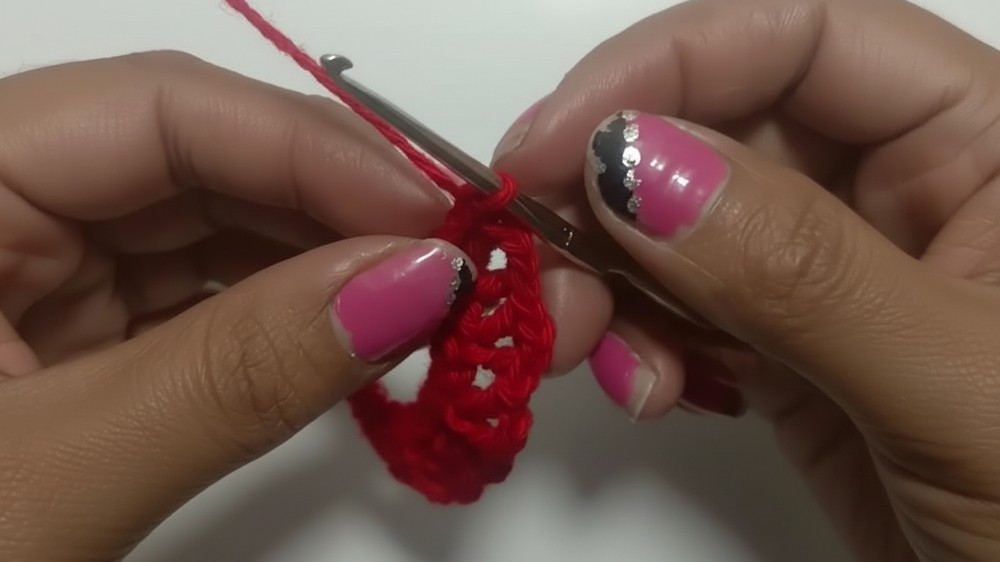
Row 2 (Petal Bases):
- Ch 5 (counts as initial petal arch).
- In same st, dc (US double crochet) into same st.
- Skip next st, [dc in next st, ch 2, dc in same st] – rep from * across to end.
- (You will end with one st left unworked. Dc in last st.)
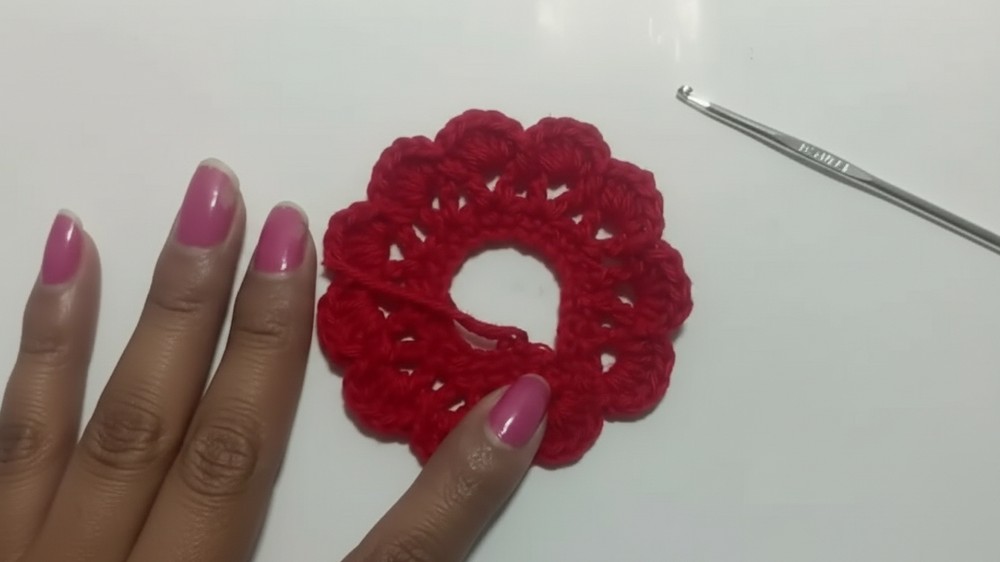
Row 3 (Petal Crowns):
- Ch 1, turn.
- In first ch-2 sp (center of first petal), work 5 dc (this forms a petal).
- Sl st into ch-2 sp of next petal.
- In ch-2 sp, work 5 dc. Sl st into next ch-2 sp – rep across for all petals.
- At end: In final ch-2 sp (or 5-ch turning ch at start), work 8 dc for a prominent center petal.
- Sl st to base of last petal to finish.
- Fasten off, leaving a long tail for sewing if not using glue.
2. Flower Center (Pistil)
With yellow yarn:
- Make a magic ring (MR).
- Ch 2, then work 9 dc into MR. (Including the ch-2, you will have 10 dc in total.)
- Pull to close ring, but not too tight (leave a hole for the stick/stem).
- Sl st to the top of the starting ch-2 to join.
- Fasten off, leaving a short tail for sewing or gluing.
3. Calyx (Green Base under Rose)
With green yarn:
- Ch 7.
- Starting in 2nd ch from hook:
- Sc in first ch,
- hdc in next ch,
- dc in next ch, dc again in same ch (2 dc in same st),
- hdc in next ch,
- sc in last ch.
- Continue working around:
- On the opposite side of the foundation chain, sc in same last ch,
- hdc in next ch,
- 2 dc in next ch,
- hdc in next ch,
- sc in last ch.
- Sl st to the first sc to join.
- Fasten off, leaving a tail for sewing or gluing.
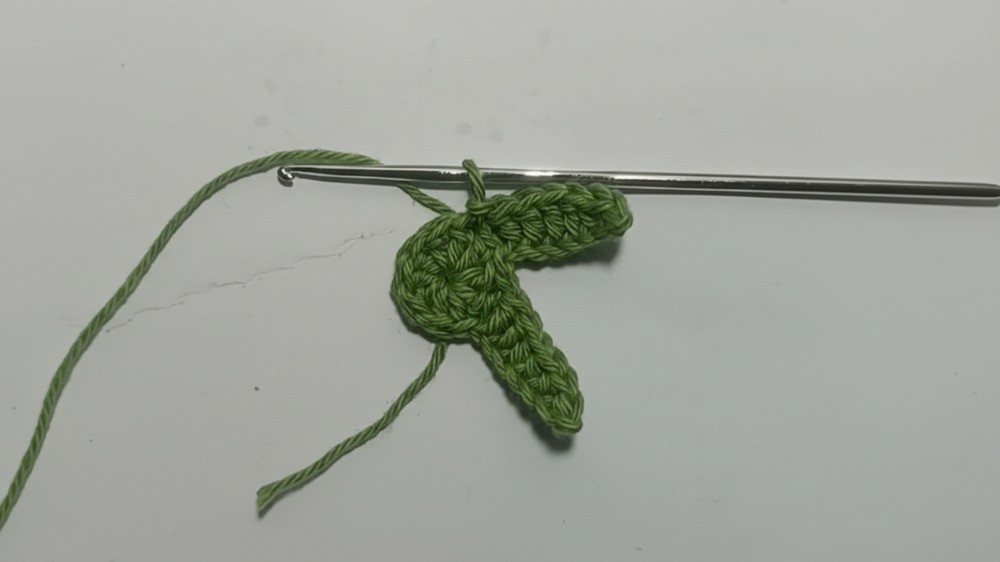
4. Leaf (Make 2)
With green yarn:
- Ch 6.
- Starting in 2nd ch from hook:
- Sc in first ch,
- hdc in next ch,
- 2 dc in next ch (same ch),
- hdc in next ch,
- sc in last ch.
- Turn to work into the foundation chain’s underside:
- Sc in same last ch,
- hdc in next ch,
- 2 dc in next ch,
- hdc in next ch,
- sc in last ch.
- Sl st to starting point to finish.
- Fasten off and weave in ends.
5. Assembly
A. Shaping the Rose
- Gently roll the rose strip into a spiral, forming overlapping petals as you go.
- Secure base with hot glue at each roll or use the tail to sew together at the bottom.
B. Attaching the Flower Center
- Place the pistil (yellow circle) into the rose’s center and glue/sew.
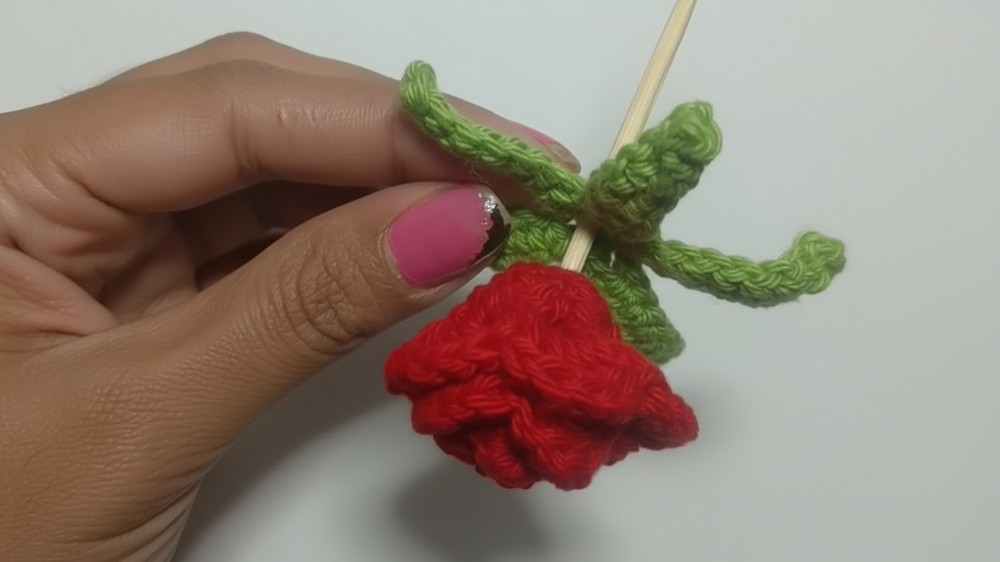
C. Creating the Stem
- Insert a wooden stick/skewer into the pistil’s remaining hole.
- Secure with glue (do not push too tightly; leave some play).
D. Calyx and Leaves
- Attach the green calyx to the bottom of the rose with glue or a few stitches, wrapping it around the base of the flower.
- Attach the leaves to the stem just under the calyx with glue.
E. Wrapping the Stem (Optional)
- For a neat finish, wrap green yarn up the stick (using glue as you go) to make a realistic flower stem.
F. Final Touches
- Insert your finished rose into the mini flowerpot.
Conclusion
You now have a mini crochet rose, perfect for a small flowerpot. This adorable decoration can be varied in color, petal number, and size, and is ideal for gifts, swaps, or festive table displays.
Pattern Correction & Tips
- Correction: Ensure even counting of chains and stitches to keep petal/leaf shape consistent.
- Tips:
- Don’t make the magic ring too tight; the stick should fit through the pistil center.
- Use small amounts of glue to avoid visible residue.
- If your petals curl or ruffle excessively, gently block or shape them before assembly.
- Use sharp scissors for clean thread trimming.
Leave a Reply