
Turn the nooks and crannies of your home into a DIY play house of imagination for your children by following this project. In these times when the outdoors tempts us with its open embrace yet obligations keep us tethered, building a rustic playhouse could be the perfect project to bring a smile to your family’s faces. Created from the whispers of the forest and the treasures found in one’s own backyard, this DIY rustic playhouse project promises not just a sanctuary for your little ones but a journey into creativity and resourcefulness.

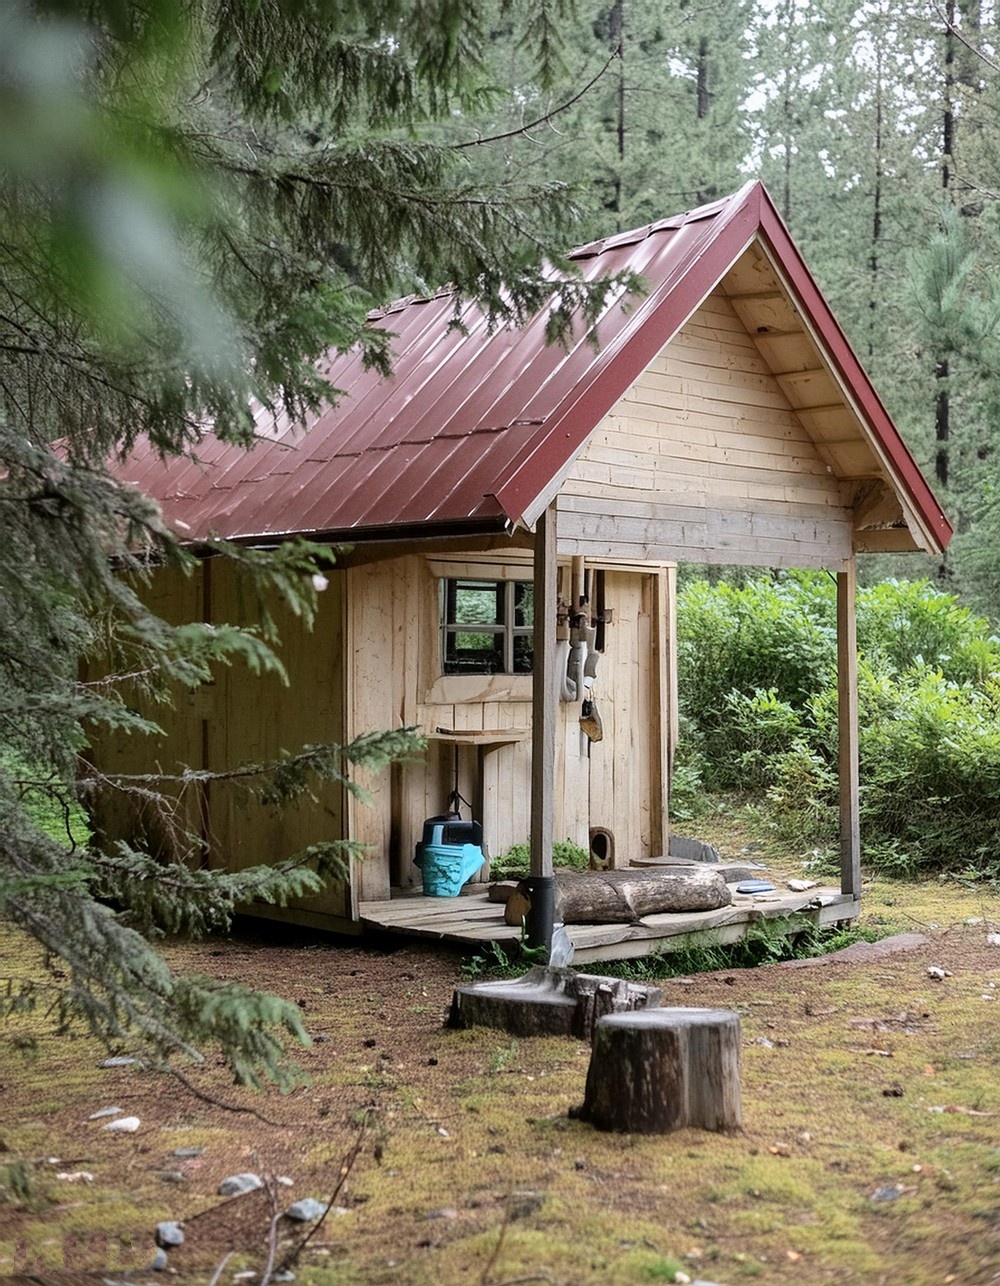
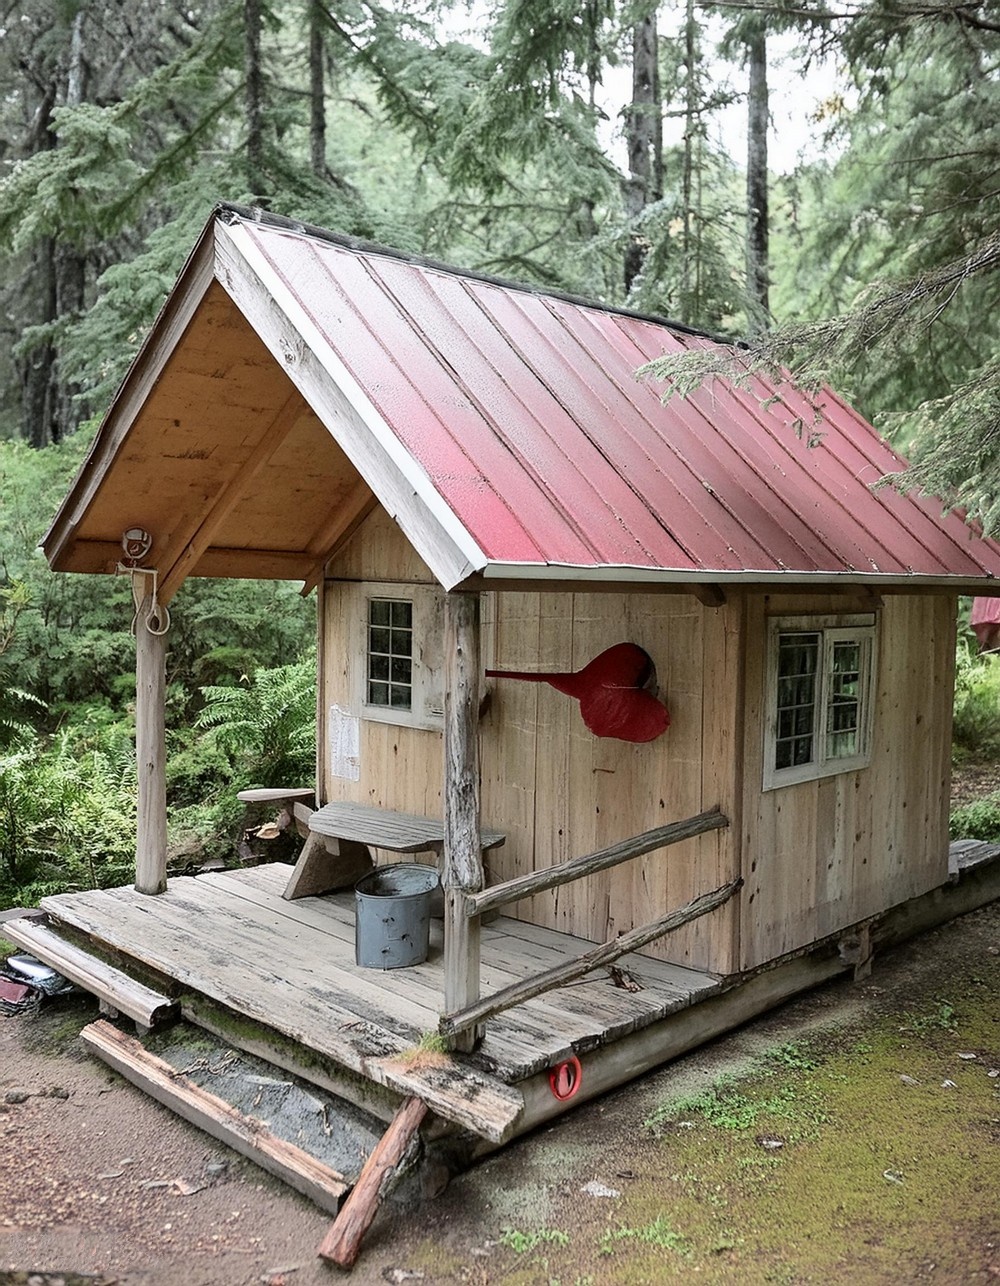
DIY Play House Project In Woods
Materials List
- Scrap lumber & wood (gather as much as you can)
- Old windows or panes like glass, lexan, or acrylic
- Aged roofing materials like tin, shingles, or cedar shakes
- Used siding (tin roofing or cedar shakes preferred)
- Logs (if accessible) for the structure, though dimensional lumber is equally good
- Pieces of OSB or plywood for walls
- Nails, screws, and scraps of rebar for joining and securing pieces
- Cinder blocks, rocks, or wooden blocks for the base
- Miscellaneous: Wood glue, old windows for hinges, driftwood for handles, and any decorative elements (like antlers or bells)
Tools Required
- A skill saw or handsaw
- Hammer
- Measuring tape
- Square and level
- Drill and jig saw
- Chainsaw (if logs are being used)
- Safety gear: glasses and ear protection
- Cut off disc or hacksaw

Building Process
Foundation and Base
- Choosing and Preparing the Location: Select a level spot conducive to supporting a small structure. Prepare the area by clearing any debris.
- Creating a Solid Base: Use cinder blocks, rocks, or wooden blocks to create a stable base. If available, logs can be notched to rest securely on these supports.
- Assembling the Foundation: Place logs or dimensional lumber to outline the playhouse’s base. Integrate crossbeams for added strength and attach plywood on top for the interior floor.
- Adding a Front Deck: Utilize old dimensional lumber to craft a charming front deck, providing a space for playful imaginations to unfold.
Building the Playhouse Structure
- Erecting the Frame: Start with four upright supports, followed by horizontal logs or beams to outline the playhouse. Incorporate additional supports for the roof ridge.
- Securing the Logs: Drill through the intersecting logs and hammer in pieces of rebar to secure the structure reliably.
Roof and Framing in Walls
- Constructing the Walls: Utilize salvaged 2x4s to frame the walls around pre-placed windows. Cover these frames with plywood or OSB, adjusting for windows.
- Installing the Roof: Attach 2x4s at intervals to support the roofing material. Secure the roofing and add a crafted ridge cap for weatherproofing.
Finishing Touches
- Crafting the Door: Construct a door using salvaged cedar and a piece of lexan for the window. Attach it with repurposed hinges.
- Enhancing the Porch: Assemble railings from beach wood or similar materials, ensuring they are securely glued and screwed in place.
- Interior Design: Install simple furniture like a small bed, a play kitchen, and shelves for a cosy interior atmosphere.
Final Product
After completing the structure and adding personal touches, stand back and watch as your children explore their new rustic playhouse. This project not only culminates in a beautiful play area but also instills a sense of achievement and fond memories.

Conclusion
Building a DIY rustic playhouse is more than a project; it’s an adventure that beckons the young and the young at heart into a world where imagination reigns. Through repurposing and creativity, you can bring to life a haven that will be the backdrop of many childhood adventures and stories. Dive into this project with enthusiasm and watch as your backyard transforms into a playground of dreams.
Leave a Reply