
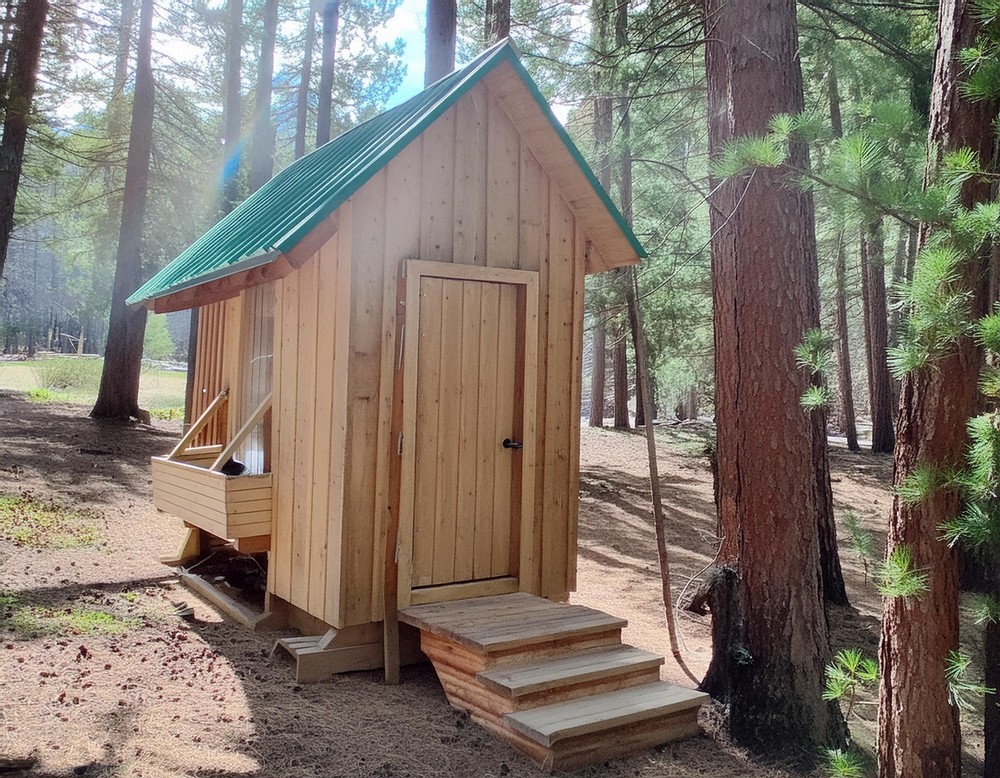
This DIY Easy-Care Henhouse project can be a fun journey, especially when it serves both a functional and personal purpose. Constructing a henhouse, for instance, is not just about providing shelter for your feathered friends; it’s about creating a safe haven that caters to their needs, while also ensuring ease of maintenance for you. With colder climates in mind, our envisioned henhouse is designed to be insulated and incorporate various features that ease day-to-day care. It will be best for building a cozy, secure, and space-efficient home for your hens, where every detail reflects the love and care you hold for them.
DIY Easy-Care Henhouse Project
Materials Needed
- Flooring: Two sheets of 3/4-inch tongue and groove plywood
- Interior Walls: Six sheets of 1/4-inch plywood
- Roof: Six sheets of 1/2-inch plywood; Six 12-foot sheets & three roof crown pieces of Lexan material; One roll of roofing felt
- Structural: 2 2x8s (16 feet long for skids); Around 80 2×4 studs; 36 2x6s (8 feet long for floor joists and roof trusses); 2 2x6s (10 feet long for the floor joists sides); 19 16-feet 1x12s & 10 8-feet 1x12s for siding and trim
- Fastening Materials: Approx. 1,600 3-inch nails
- Miscellaneous: 2 7-inch long 5/8-inch bolts for roost; 2 4-inch, 5/16-inch bolts and fender washers for legs; 25-foot roll of 1/2-inch wire mesh; Around five rolls of fiberglass insulation; Partial roll of linoleum flooring; Mastic for flooring; 2 quarts of water-based Varithane for sealing
Tools Required
- Power saws: Chop Saw, Table Saw, and Jigsaw
- Air Compressor and Staple Gun
- Drill/Driver
- Tin Snips and a sheet metal bending tool for the feeder
- Pop-Rivets
- Bolt Cutters
- Various mounting tools for PVC pipe and welded wire
- Four cinder blocks for foundation support
Additional Supplies for Special Features
- Water System: 7-gallon tank, barbed fittings, 1-inch diameter clear vinyl tubing, two 10-foot lengths of 3/4-inch PVC pipe, glue, fittings, and 20 water drippers
- Automated Pop-hole Door: Arduino Mega 2560 microcontroller, L298N motor controller, reed switches, kill switch, 24 volt DC motor, light duty pulleys, sheet of plexiglass, heavy-duty pulleys, light sensor, various wires, and a breadboard
Building Process
Planning and Foundation
Start by visualizing the henhouse’s layout to optimize space for the storeroom, nests, and other features. Construct the base using 2×8 skids to enable future mobility. Integrate cross members and diagonal supports for stability. Cover the skids with wire mesh to prevent rodent intrusion. Install 2×6 floor joists on 16-inch centers and adjust for plywood seam support. Add insulation and finalize with plywood flooring.
Wall Framework
Erect walls maintaining a standard 16-inch center spacing, adjusting as needed around predetermined features for additional support. The surprises in stud requirements underscore the importance of flexibility in supply estimation.
Roof Structure
Select between a ridge beam and trusses based on your preference and roof load considerations. Assemble heavy-duty trusses from 2×6 lumber, reinforcing with plywood gussets. The extra length on one side caters to the nest box protection.
Roofing
Cover the structure with plywood, sealing with roofing felt. Install Lexan panels for durability and light, using closure strips for support. The roof’s extended eaves offer additional protection against the elements.
Windows, Doors, and Ventilation
Install windows for ample light and ventilation, reinforcing with wire mesh and welded wire panels against predators. Consider the door placement carefully for ease of access and security.

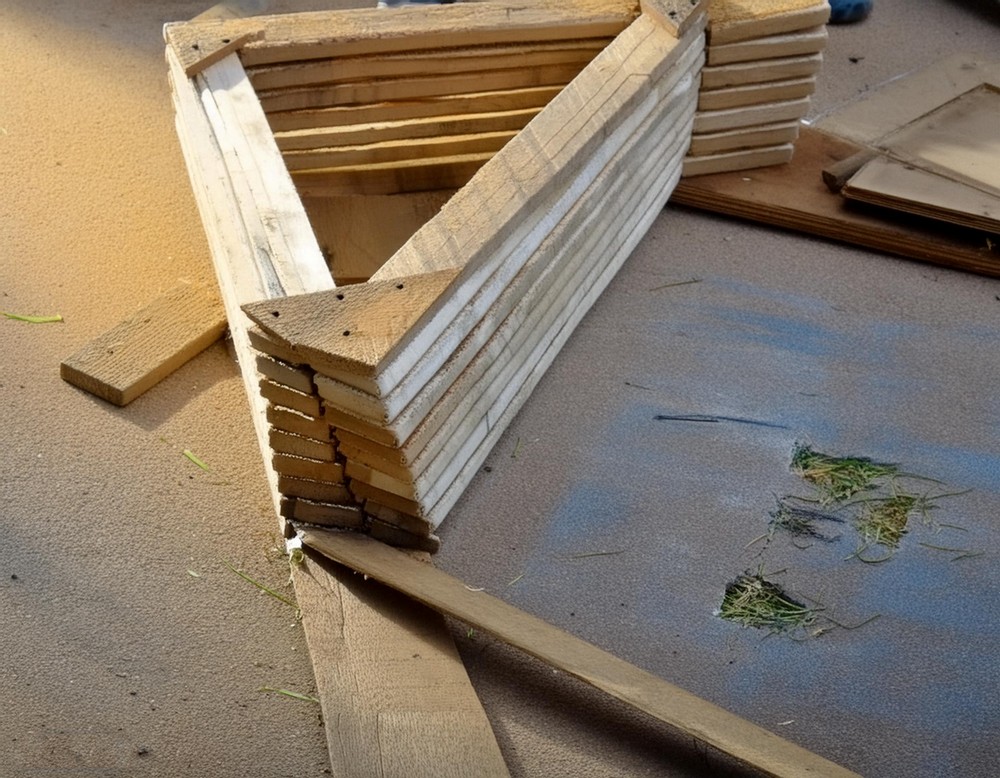
External Nest Boxes
Build external nest boxes for easy access and cleaning. Strategically place studs to support the nest box assembly, ensuring a seamless integration into the henhouse’s structure.
Finishing Touches
Predator-proof the base and windows, insulate the walls, and line the interior with plywood paneling. Seal the interior wood and lay down linoleum flooring for easy cleaning. Assemble and install the roost, feeding system, water system, and automated door to complete the henhouse.
Conclusion
While this project may seem daunting at first glance, breaking it down into these manageable steps can simplify the process. Not only will you end up with a functional and aesthetically pleasing henhouse, but you’ll also have the satisfaction of knowing you built a comfortable and secure home for your chickens. With patience and care, your feathered friends will thrive in their new environment, and you’ll appreciate the ease of maintenance incorporated into the design.

Leave a Reply