
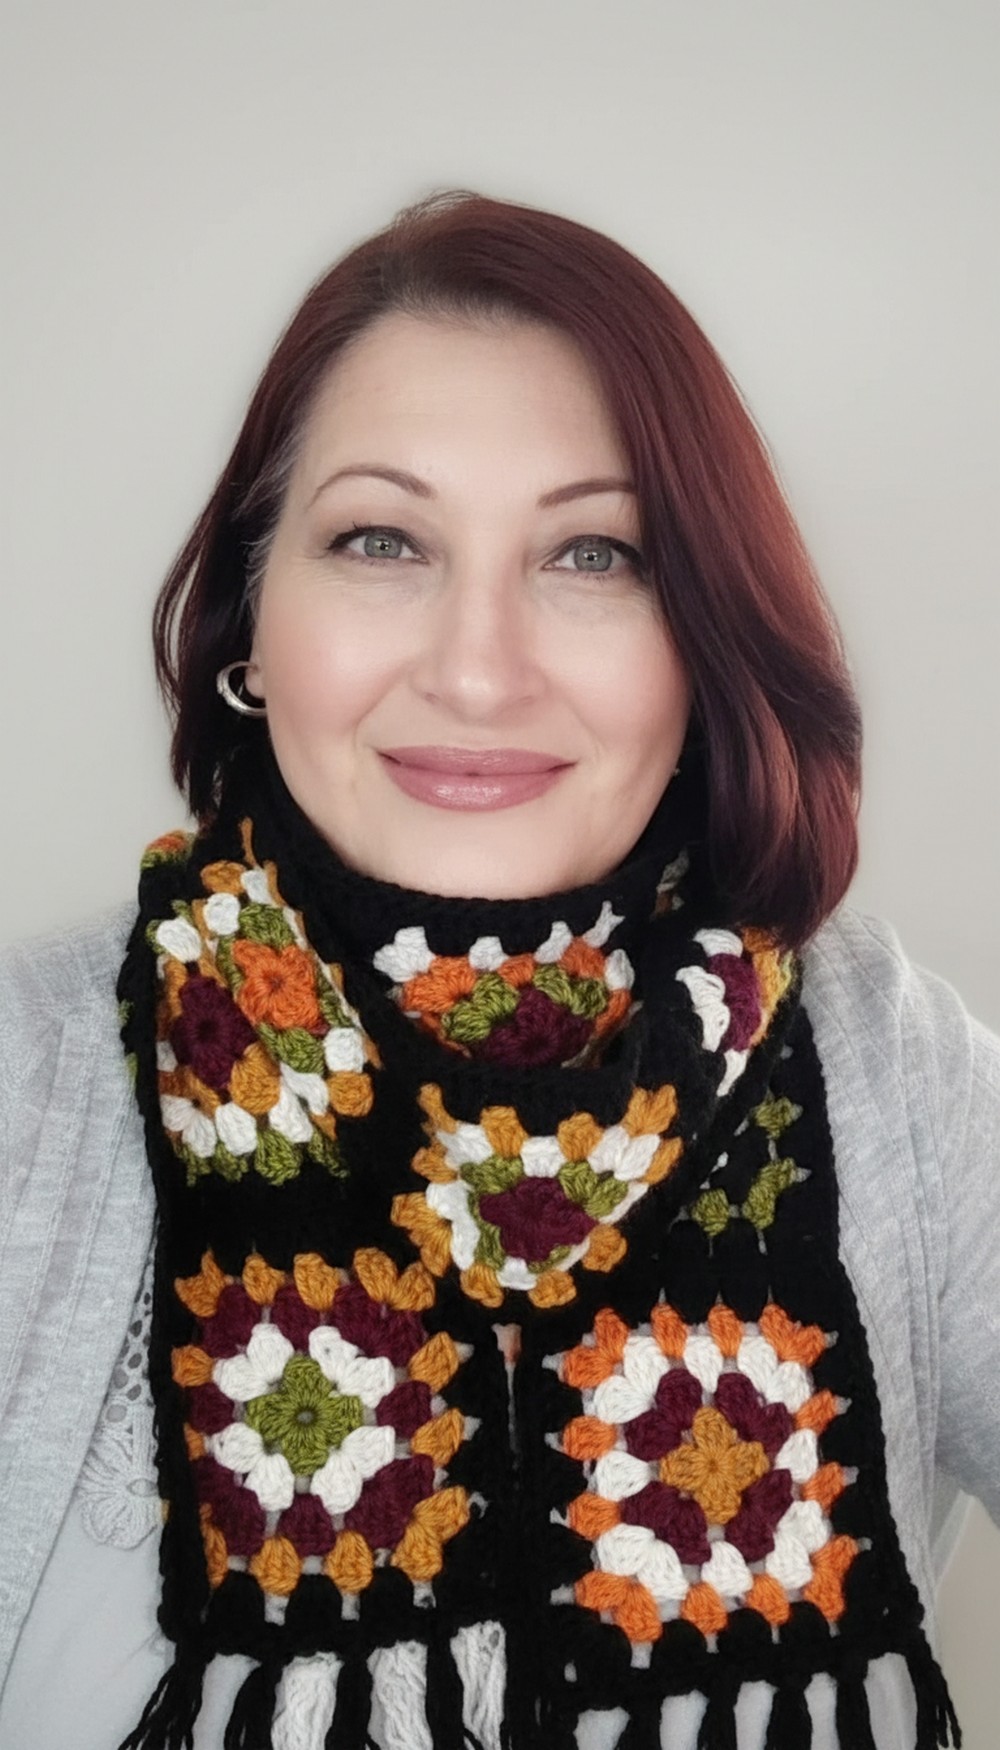
Warmth shines in this Crochet Granny Square Scarf Pattern with colorful motifs, soft drape, and a cheerful accessory for everyday outfits any season.
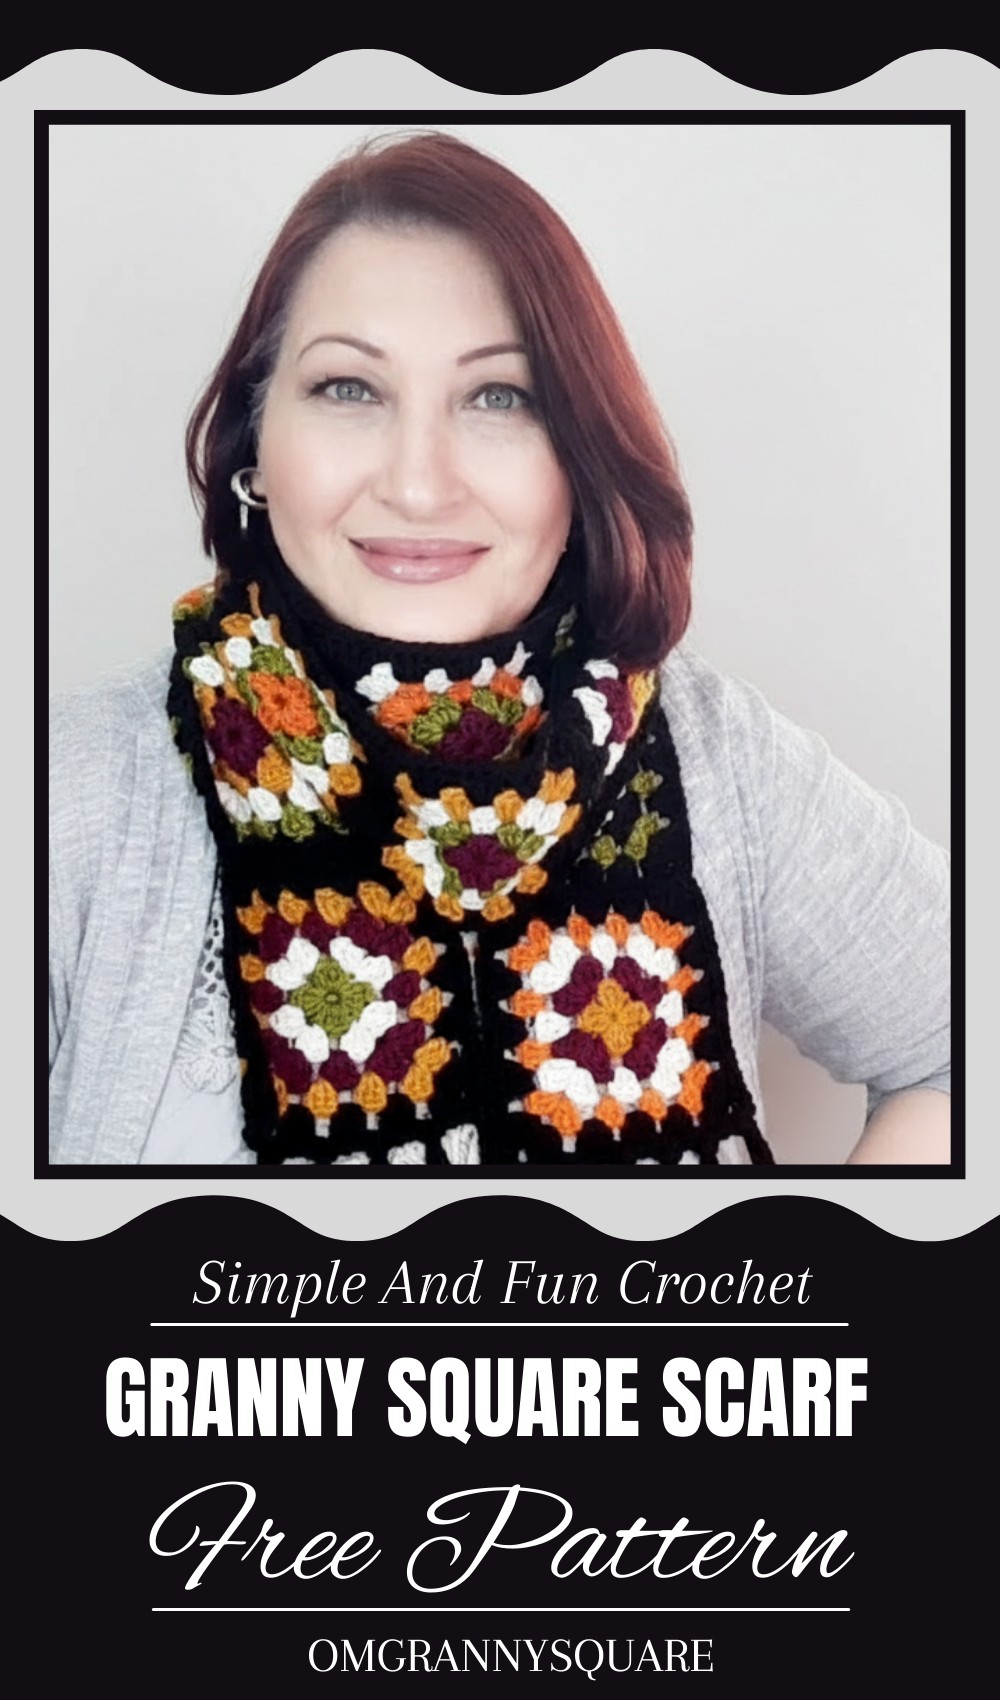
Charming Crochet Granny Square Scarf Pattern for Daily Comfort
Not all scarves are exciting or easy to make, but this granny square scarf breaks the mold beautifully. Its lively patchwork of colorful squares brings energy and charm to any outfit, making it far from ordinary. Lightweight yet warm, it’s perfect for those cooler days when you want comfort without bulk. Beginners will find this pattern approachable, as the simple granny square stitch helps build confidence while creating something stylish.

The classic handmade look adds a nostalgic, retro feel that enhances both casual and dressier ensembles. Versatile and fun, it’s an accessory that brightens your wardrobe and lifts your spirits. Crafting this scarf offers more than just a practical layer—it’s a joyful experience resulting in a vibrant, cozy piece you’ll love to wear year after year.
Retro Colorful Granny Square Scarf Crochet Pattern
Special Features
- Multi-color granny squares with frequent color changes, giving a vibrant retro look.
- Join-as-you-go technique makes assembling quicker and neater, avoiding sewing.
- Finished with a solid-colored tidy border and long tassel fringes.
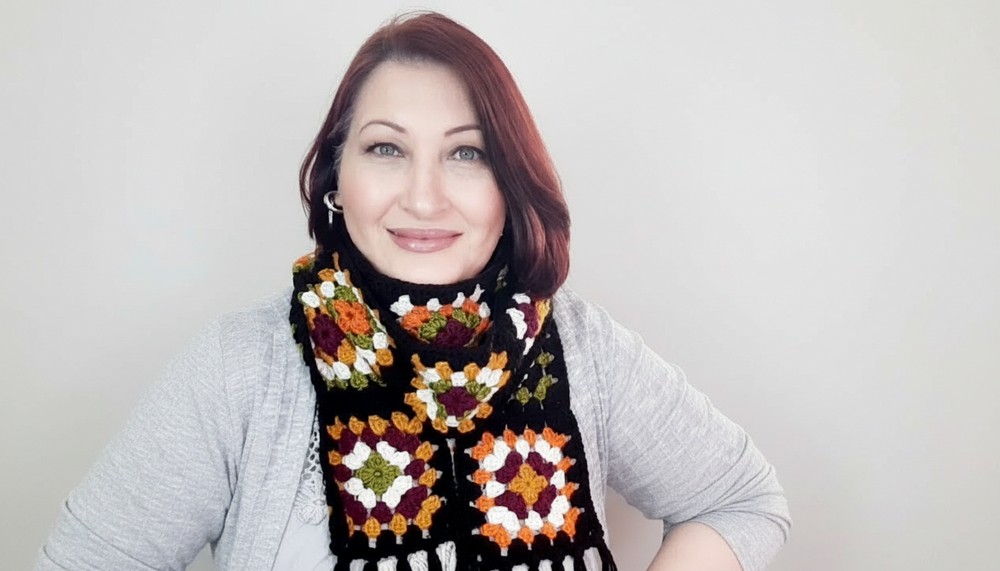
- Large enough to wear as a long scarf (the sample is as tall as the maker).
- Beginner-friendly with room to experiment with colors and size.
Difficulty Level
Beginner to Intermediate
Basic knowledge of granny squares, double crochet clusters, chain stitches, join-as-you-go, and simple edging techniques is required. Frequent color changes and working over straggler ends are involved.
Materials
- Double knit yarn in 6 colors: chocolate brown, mustard yellow, purple, olive green, burnt orange, and cream.
- 4 mm crochet hook (or size suitable for yarn).
- Yarn needle for weaving ends.
- Scissors.
- Measuring tool or knitting needle for fringe cutting.
Step-by-Step Pattern
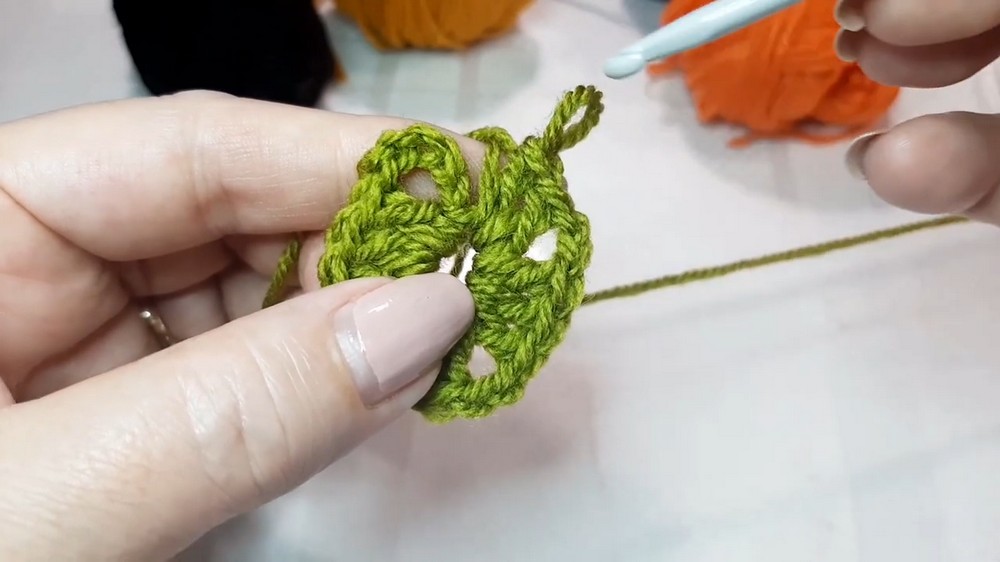
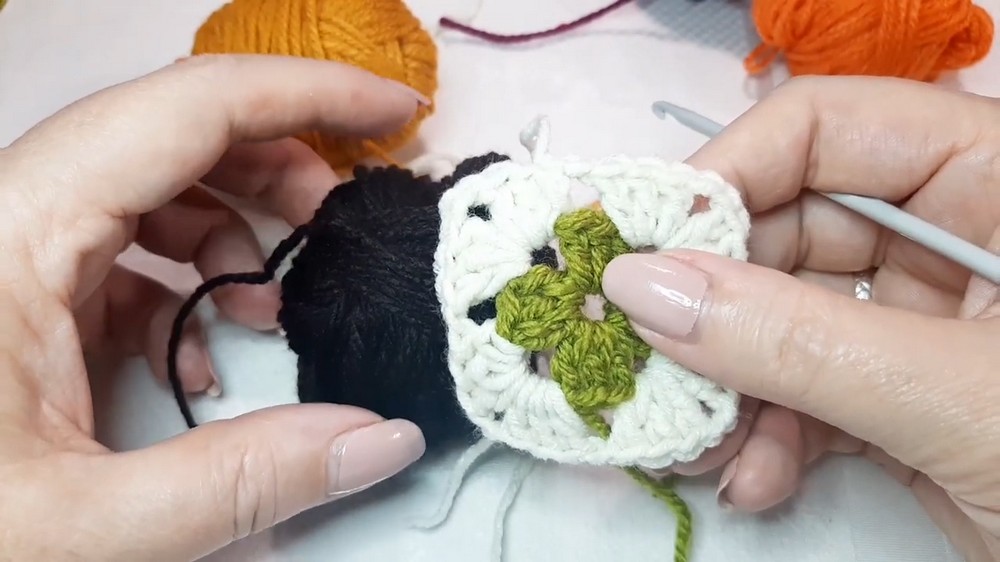
1. Make Granny Squares
Starting Round (Green yarn, for example):
- Make a slip knot.
- Chain 5, join with slip stitch to form a ring.
- Chain 5 again (counts as treble/double crochet + chain 2 corner).
- Work 3 double crochets into the ring.
- Chain 2 (corner).
- Repeat 3 double crochets, chain 2 three more times to form 4 corners.
- Slip stitch to the top of the initial chain-5 to join round.
- Change color at the end of this round.
Note: The initial chain 5 counts as 1 double crochet and chain 2 for corner.
Subsequent Rounds:
- Join new color in any corner (except corner you ended previous round).
- Single crochet into corner.
- Chain 2 (corner).
- Work 3 double crochets into same corner.
- Chain 1, then in the next 1-chain space, work 3 double crochets.
- Chain 1 between clusters.
- In each corner, work 3 double crochets, chain 2, 3 double crochets.
- Repeat rounds changing colors every round using the six chosen colors:
- Cream → Purple → Mustard Yellow → Brown (chosen as binding color for final round)
- End granny square rounds with the binding color (e.g., dark brown).
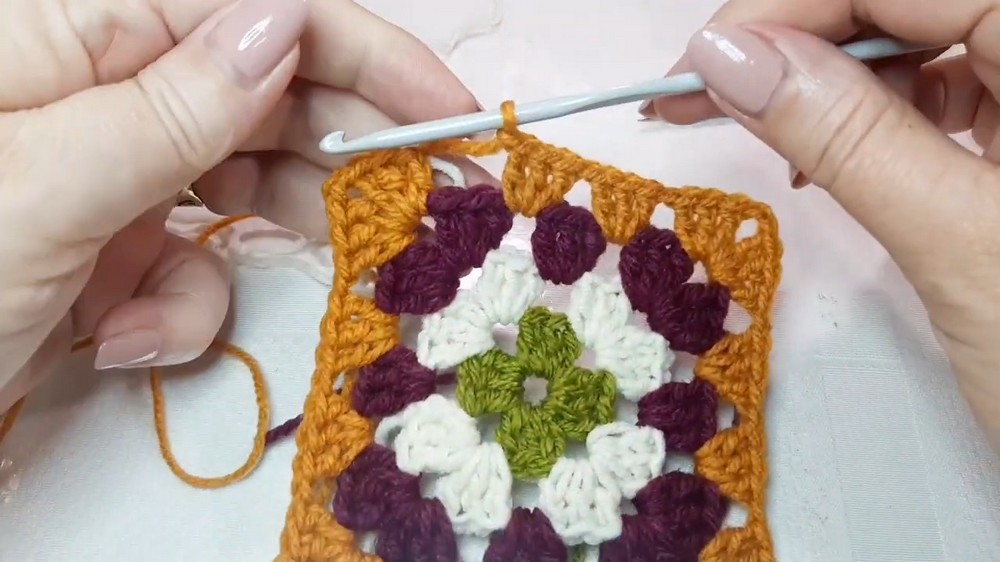
Work about 4 rounds per granny square or adjust to desired size.

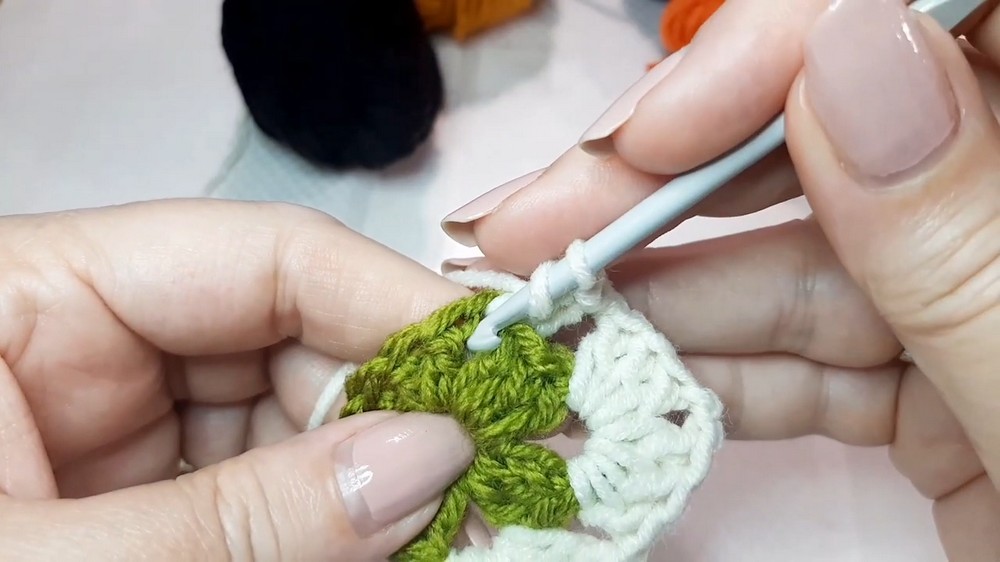
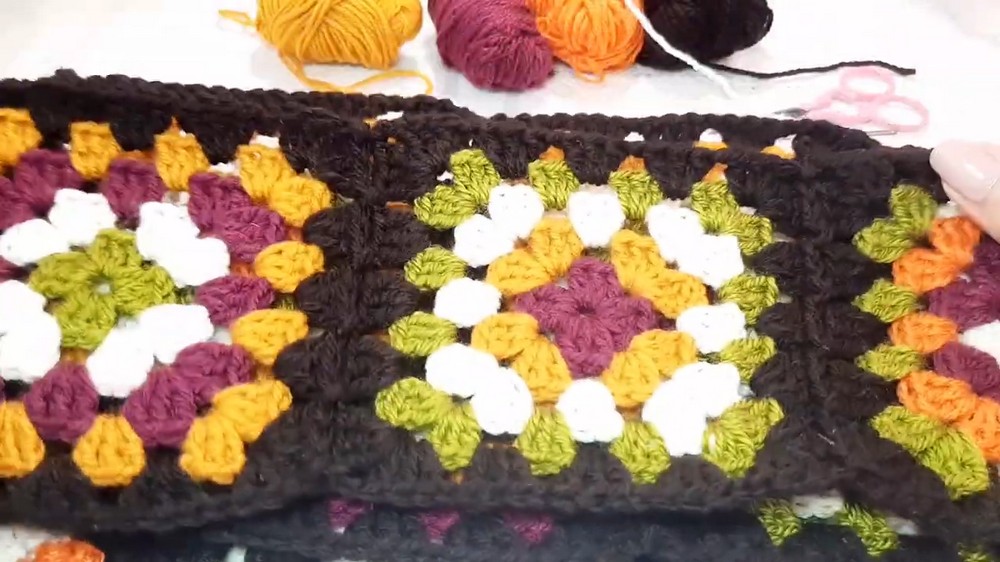
2. Join Granny Squares as You Go
- Start joining squares during the last round.
- For join-as-you-go:
- Do not chain 1 between 3-double-crochet clusters where you will join.
- Instead, slip stitch loose into the corresponding chain space on adjacent square from the top down.
- Continue cluster of 3 double crochets.
- Keep slip stitches loose for flexibility.
- Repeat for each adjacent granny square edge.
- This method avoids gaps and prevents the scarf from stretching too much.
3. Weave in Ends
- Use yarn needle to weave ends securely through stitches around corners and edges.
- Weave ends in at least 2 to 3 times for durability.
- Work in visible ends as you go to reduce bulk at the end.
4. Add Border Around Entire Scarf
- With binding color (dark brown), join yarn at any corner.
- Work single crochet stitches evenly around the entire edge.
- For corners, work 2 single crochets into the 2-chain corner spaces to turn.
- Continue single crochet stitches around until you meet the starting point.
- Join with slip stitch and fasten off.
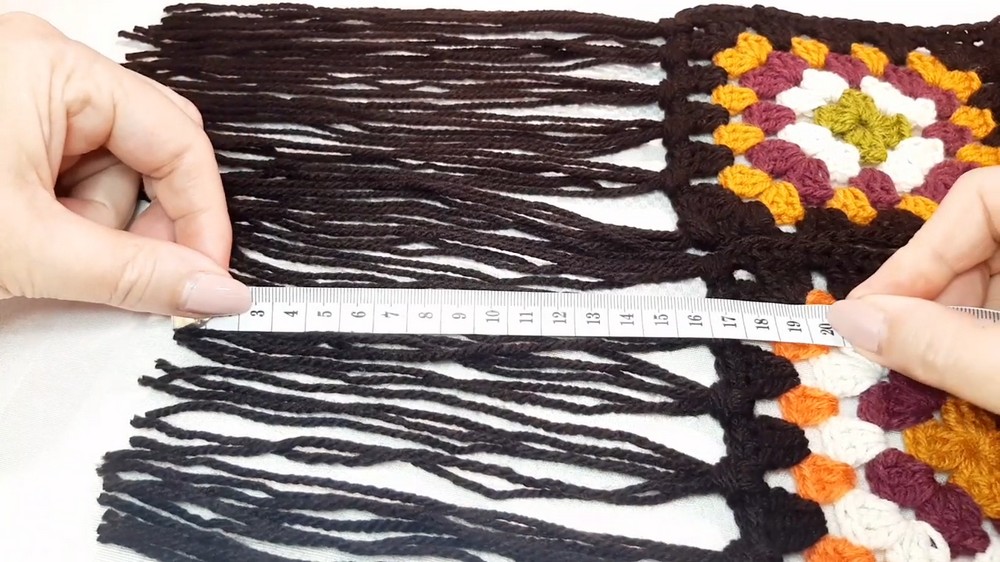
5. Fringe
- Cut yarn strands about twice as long as desired fringe length.
- For approx. 6 inches (16 cm) fringe, cut pieces about 18.5 inches (47 cm).
- Fold 3 strands in half to form one fringe.
- On the wrong side of the scarf, pull hook through a corner chain space, grab yarn loop, pull halfway through.
- Pull yarn ends through the loop and tighten to form fringe.
- Repeat for each corner chain space along one or both edges as desired.
- Trim fringe evenly.
Tutor’s Suggestions & Tips
- Work color changes smartly: Always start new rounds in a fresh corner without straggler clutter.
- Join squares loosely: Loose slip stitches when joining prevent stiffness and puckering.
- Work in ends regularly: Weaving ends during the project avoids overwhelming finishing work.
- Assess stitch spacing: When adding the border, stitch “as it presents itself” to avoid gaps or piling.
- Fringe slightly longer: Cut fringe longer than needed and trim after attaching for best look.
- Keep light colors away from strong lighting to avoid color washout on camera or photographs.
Uses
- Perfect for chilly weather as a warm and cosy scarf.
- Great statement accessory for vintage or retro styling.
- Ideal beginner to intermediate project for practicing granny square and join-as-you-go skills.
- Can be customized with any favorite colors or extended for a blanket or poncho by joining more squares.
Tip
When joining granny squares as you go, avoid chaining between clusters at the join edge. Instead, slip stitch loosely into the corresponding chain spaces of the adjacent square to maintain even fabric tension and prevent holes or sagging in the scarf.
Conclusion
This colorful retro granny square scarf is a heartfelt, expressive tribute to the love of crochet through generations and a fantastic addition to any wardrobe. The joyful use of warm colors combined with classic granny square construction and thoughtful finishing techniques makes this both a nostalgic and stylish project that you’ll love to wear and gift.
Leave a Reply