
Warm up your style effortlessly with this simple crochet hat pattern that turns soft yarn into a cozy, colorful, and comfy favorite accessory.
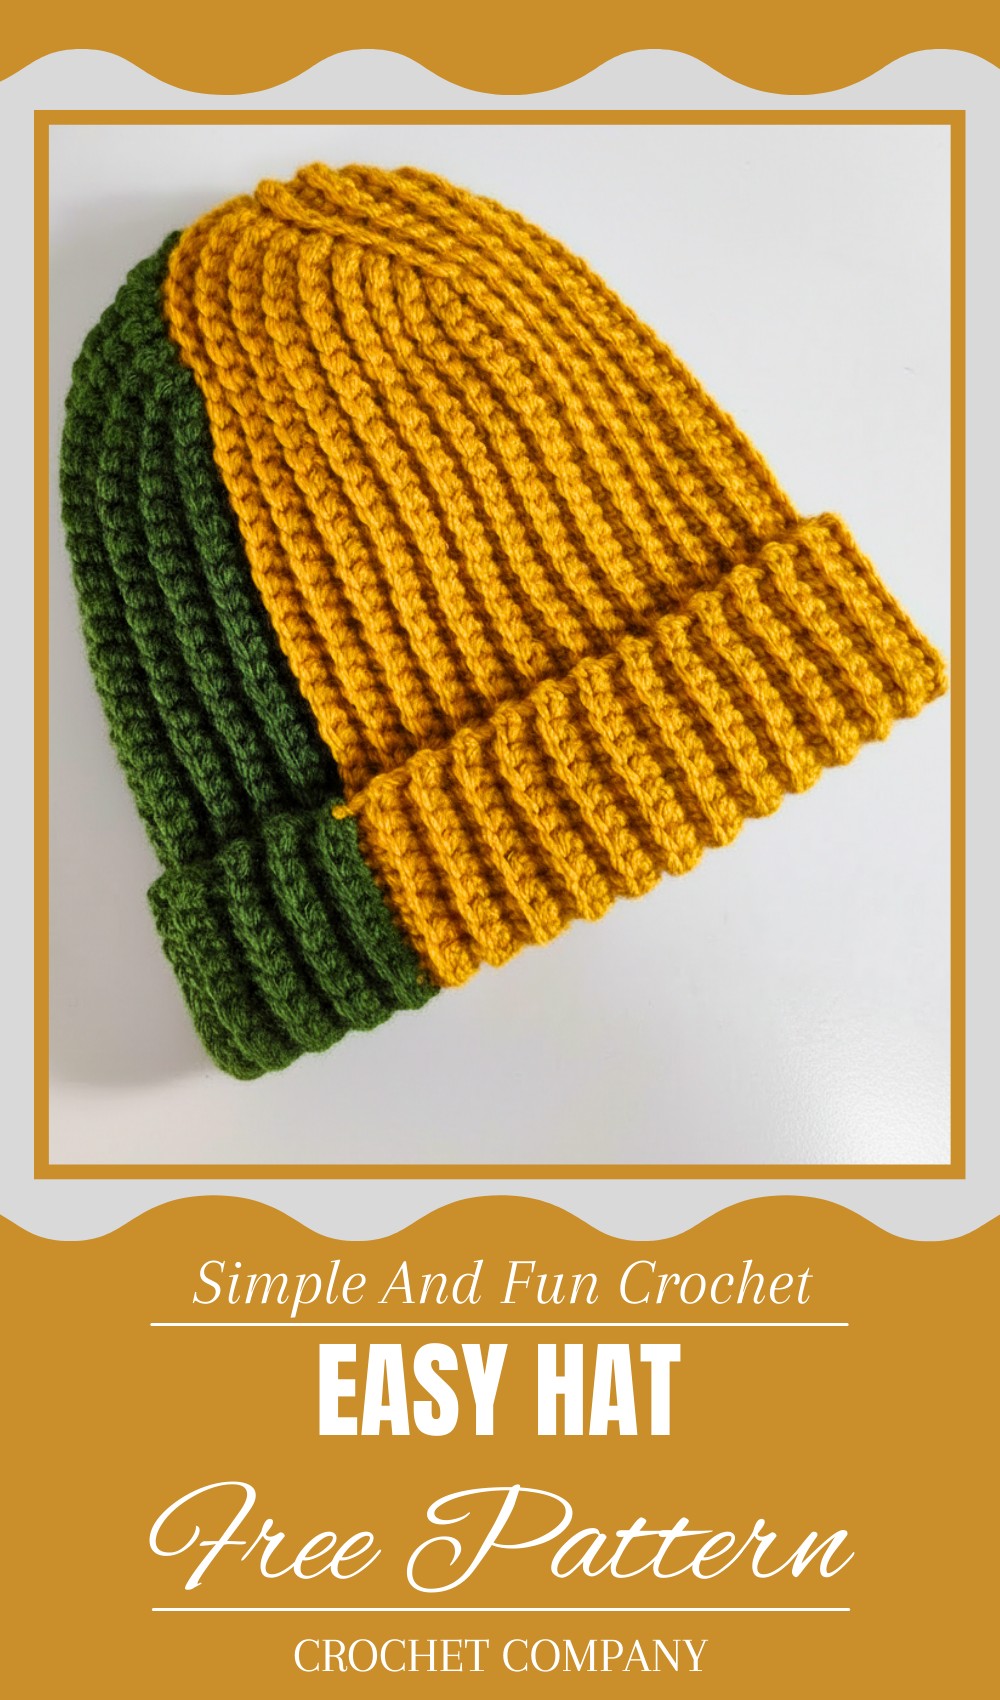
Soft & Snug Crochet Hat Pattern You’ll Want to Try
A chilly day when you want to stay warm but still look stylish and fresh. That’s when a crochet hat pattern becomes a wonderful friend. With soft yarn and creative stitches, this pattern helps you make a cozy hat that fits perfectly and feels gentle on your skin. Crochet hats come in many beautiful shapes, sizes, and colors, making them fun to wear and share. They can keep your head warm during cold weather or add a splash of color to any outfit.
People often use crochet hats as gifts because they show care and creativity. These hats are not only practical but also eye-catching, thanks to their unique handmade texture. Whether you want a snug beanie or a floppy sun hat, following a crochet hat pattern opens the door to endless possibilities, letting you craft something special and made just for you.
Simple and Easy Crochet Ice Cap Pattern
Materials
- Medium thickness yarn/thread (cotton or acrylic recommended)
- Crochet hook size 4.5 mm
- Stitch marker (optional)
- Yarn needle for weaving ends
- Measuring tape
Ice Cap Crochet Pattern
Difficulty Level: Easy
Special Features:
- Elastic and adjustable fit thanks to back loop single crochet (sc) rows
- Work in horizontal bands ensuring proper measurements
- Can be customized with colors and embellishments like pom-poms
Step 1: Measure and Plan
- Head circumference: approximately 48-52 cm
- Cap length: approximately 21-22 cm
- Add extra 5 cm to cap length for finishing and folding, so total length ≈ 27 cm
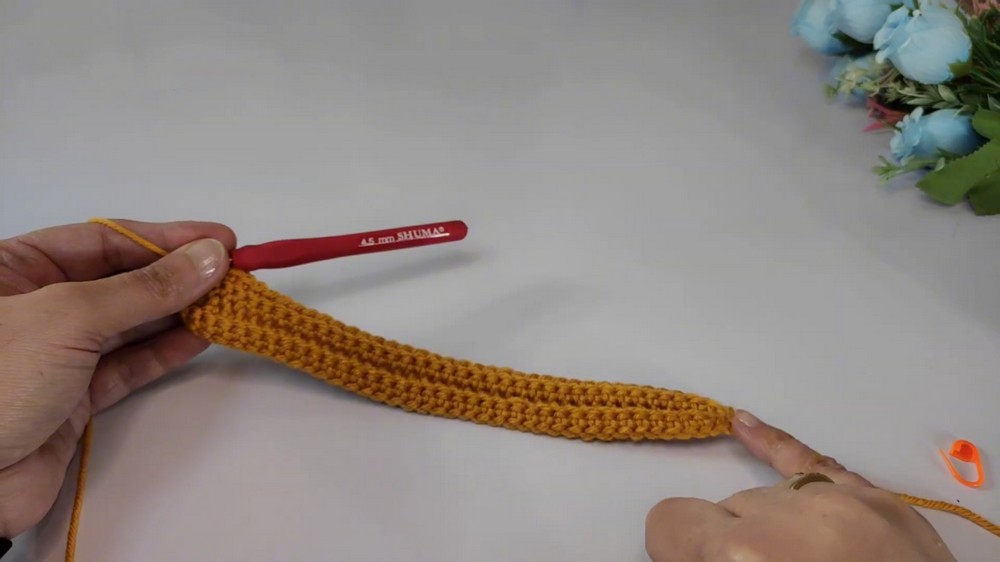
Step 2: Start Foundation Chain
- With medium thickness yarn and 4.5 mm hook, make a slip knot.
- Chain until length reaches approximately 27 cm. In the example, 44 chains equal this length.
- Mark chain number 9 for later reference.
Step 3: First Row – Single Crochets Across
- Chain 1 (counts as turning chain height).
- Beginning at chain 9, work single crochet (sc) stitches across the chain up to the end — 35 sc made in example.
- Join the row with a slip stitch into the last sc worked to close the row.
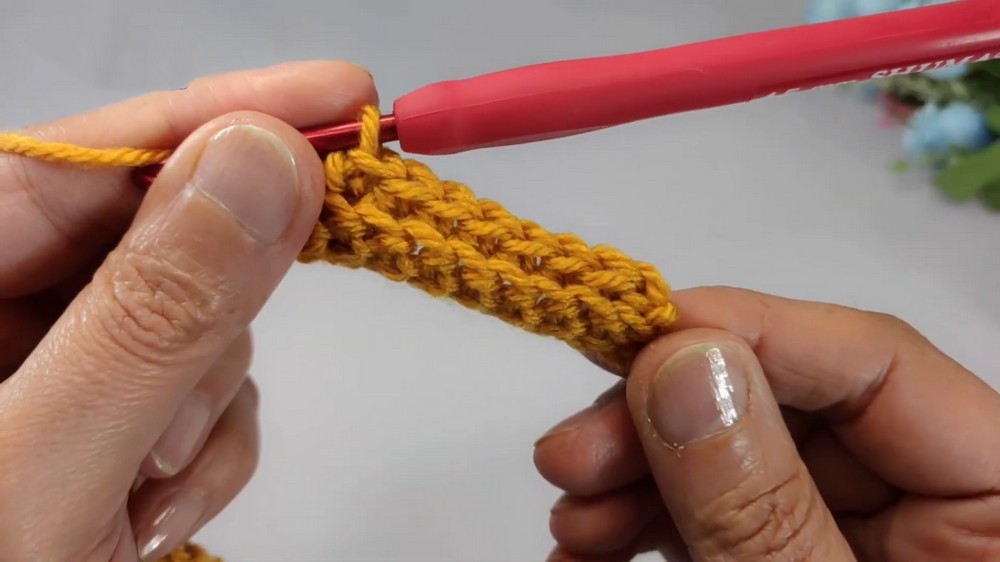
Step 4: Second Row – Back Loop Single Crochet (BLSC)
- Chain 1 to rise.
- Work single crochet only in the back loops of each stitch across the row.
- At the end, join with a slip stitch.
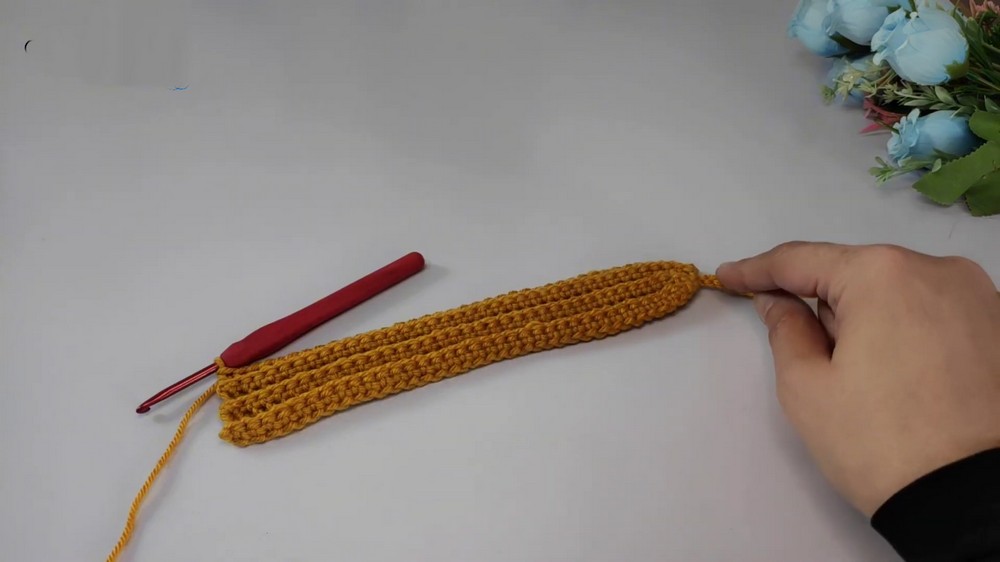
Step 5: Continue Working Rows in Back Loops
- Repeat Step 4 for rows 3 through 18, always working single crochets in the back loop only.
- For rows 3, 4, 5, etc., maintain the same stitch count and technique.
- At the end of each row, chain 1 and turn.
- Ensure the stitch count remains equal to the number of foundation chains (e.g., 44 stitches per row).
- By row 18, you complete the first group (approx. 9 chains × 18 rows).
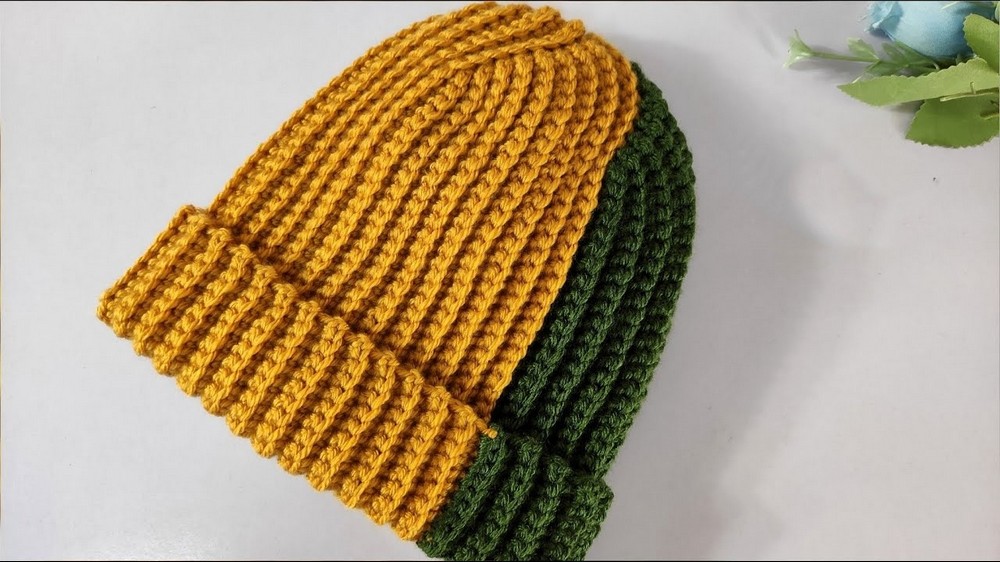
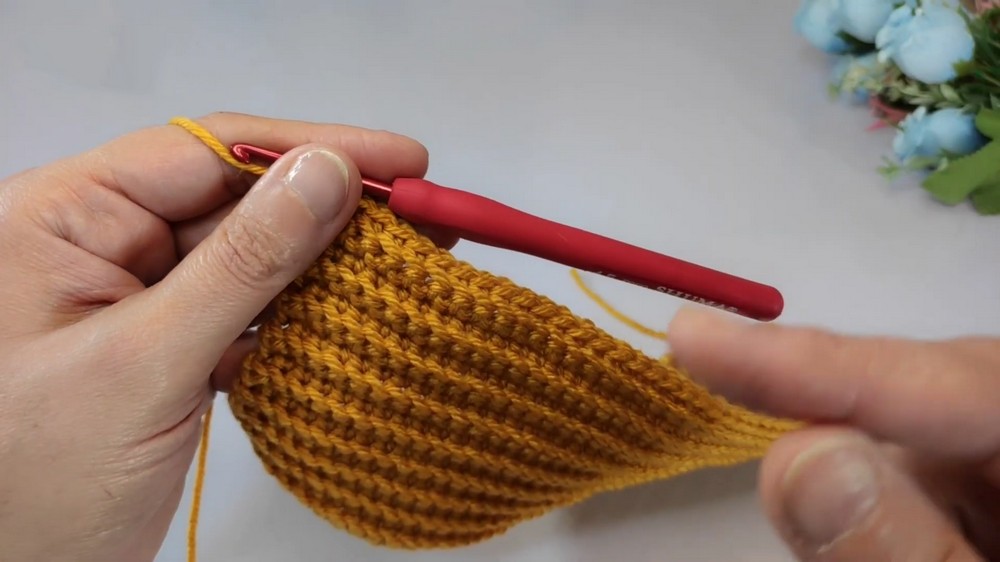
Step 6: Repeat Groups for Width
- The first group of 18 rows creates a panel approximately 9 chains wide.
- Repeat the 18-row group as many times as needed to reach desired ice cap width; example worked 4 groups totaling ~45 cm width, suitable for the target age range.
- Each new group begins by chaining 1, then working rows in back loops as before.
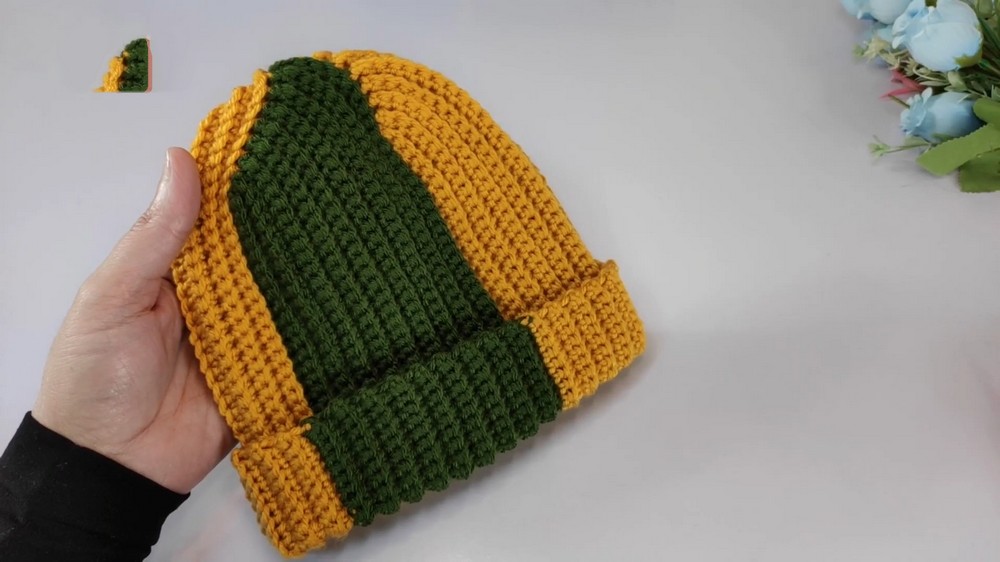
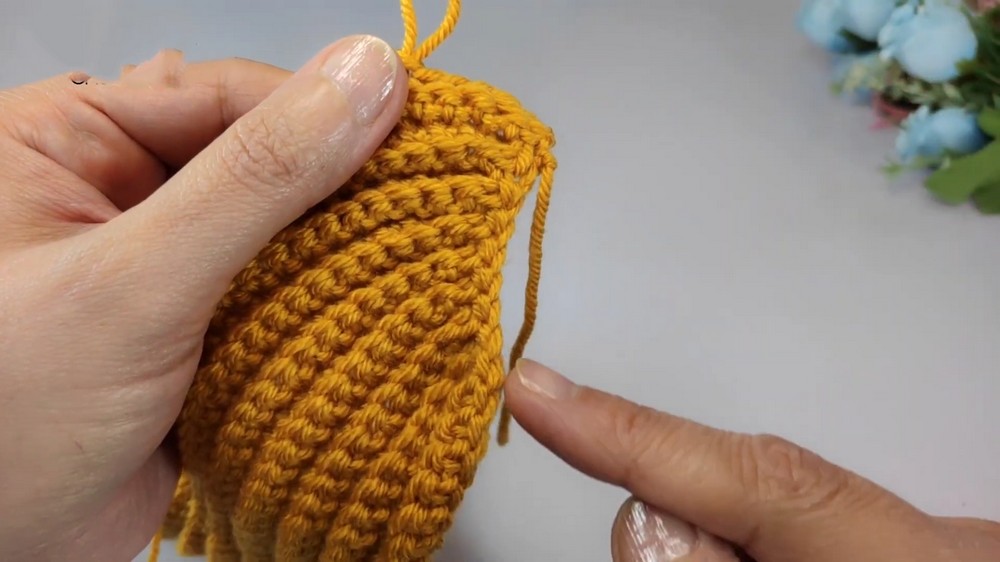
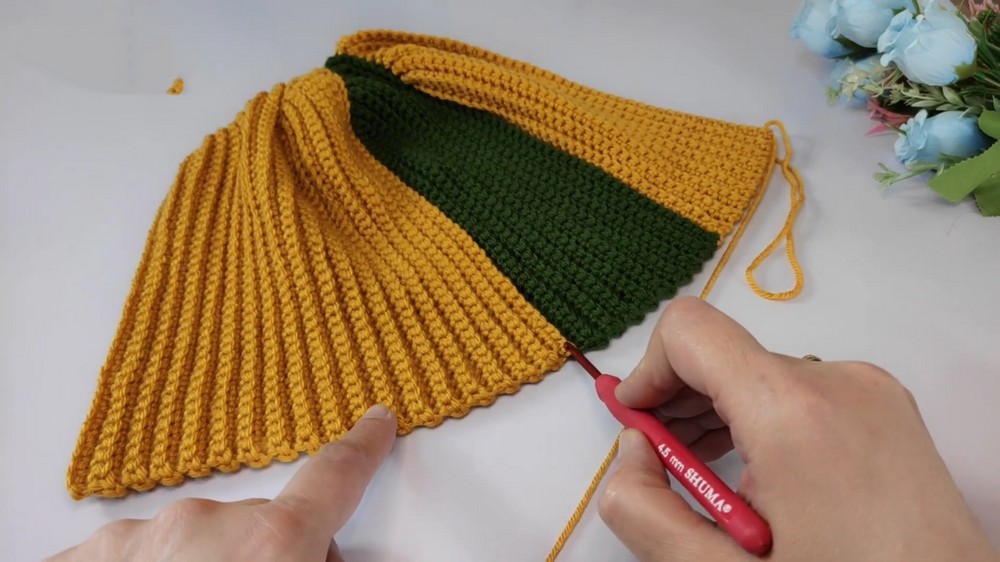
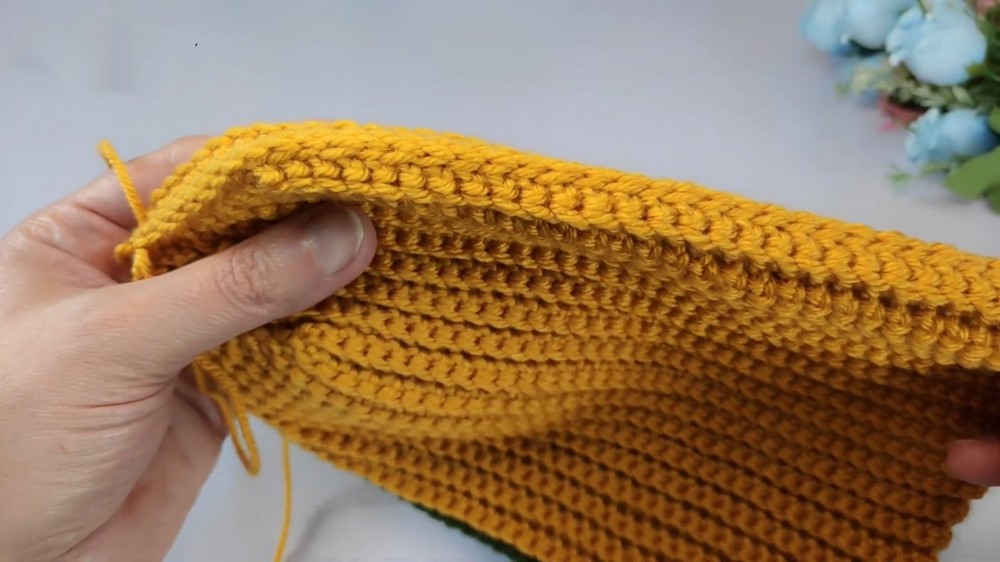
Step 7: Closing the Ice Cap
- Fold the crochet piece lengthwise to align the short ends.
- Using the same yarn and crochet hook, join the two edges by slip stitching through the back loops only on both sides, effectively seaming the cap’s sides evenly.
- Continue slip stitching evenly until fully joined.
- After the last stitch, chain 1, cut yarn leaving a tail, and pull the yarn through to fasten off.
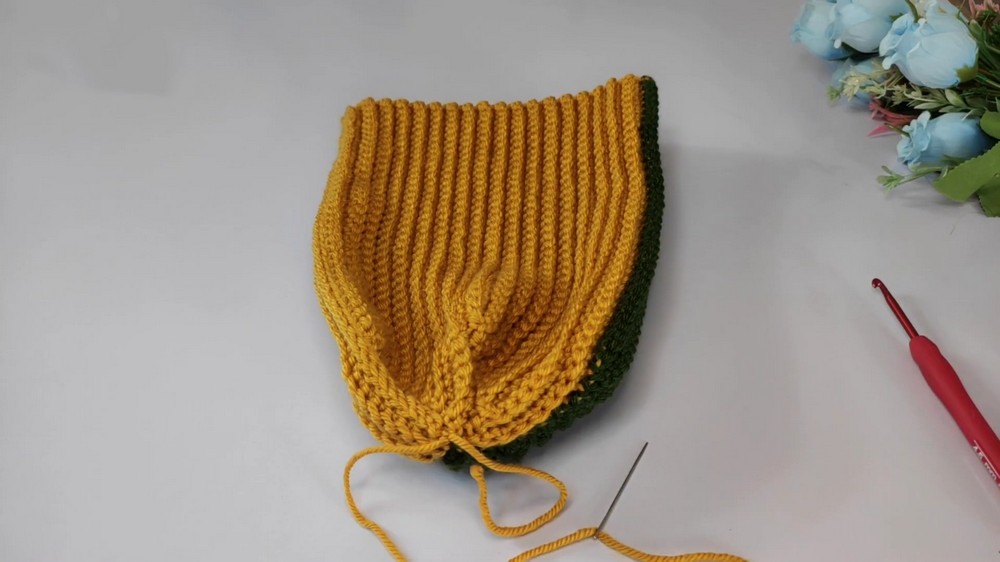
Step 8: Finishing Touches
- Weave in all loose yarn ends neatly using a yarn needle.
- Optionally, decorate with a knitted or crocheted wool ball (pom-pom) or other embellishments.
- The final cap length includes the additional 5 cm added for a comfortable fit and possible folding for style.
Special Tips and Tutor Suggestions
- Use back loop single crochet to provide texture and better elasticity—the cap stretches gently without losing shape.
- Always count stitches at the end of each row to avoid size inconsistencies (should match foundation chain count).
- The starting chain length determines the cap’s length; adding extra length ensures a good fit.
- When joining the piece, slip stitch through back loops to maintain the textured look on the outside.
- Choose soft, washable yarn for comfort and durability, especially for children.
Uses
- Comfortable, stylish kids’ winter ice cap
- Can be adapted to different sizes by modifying chain length and number of row groups
- Suitable as a quick gift or for seasonal wear
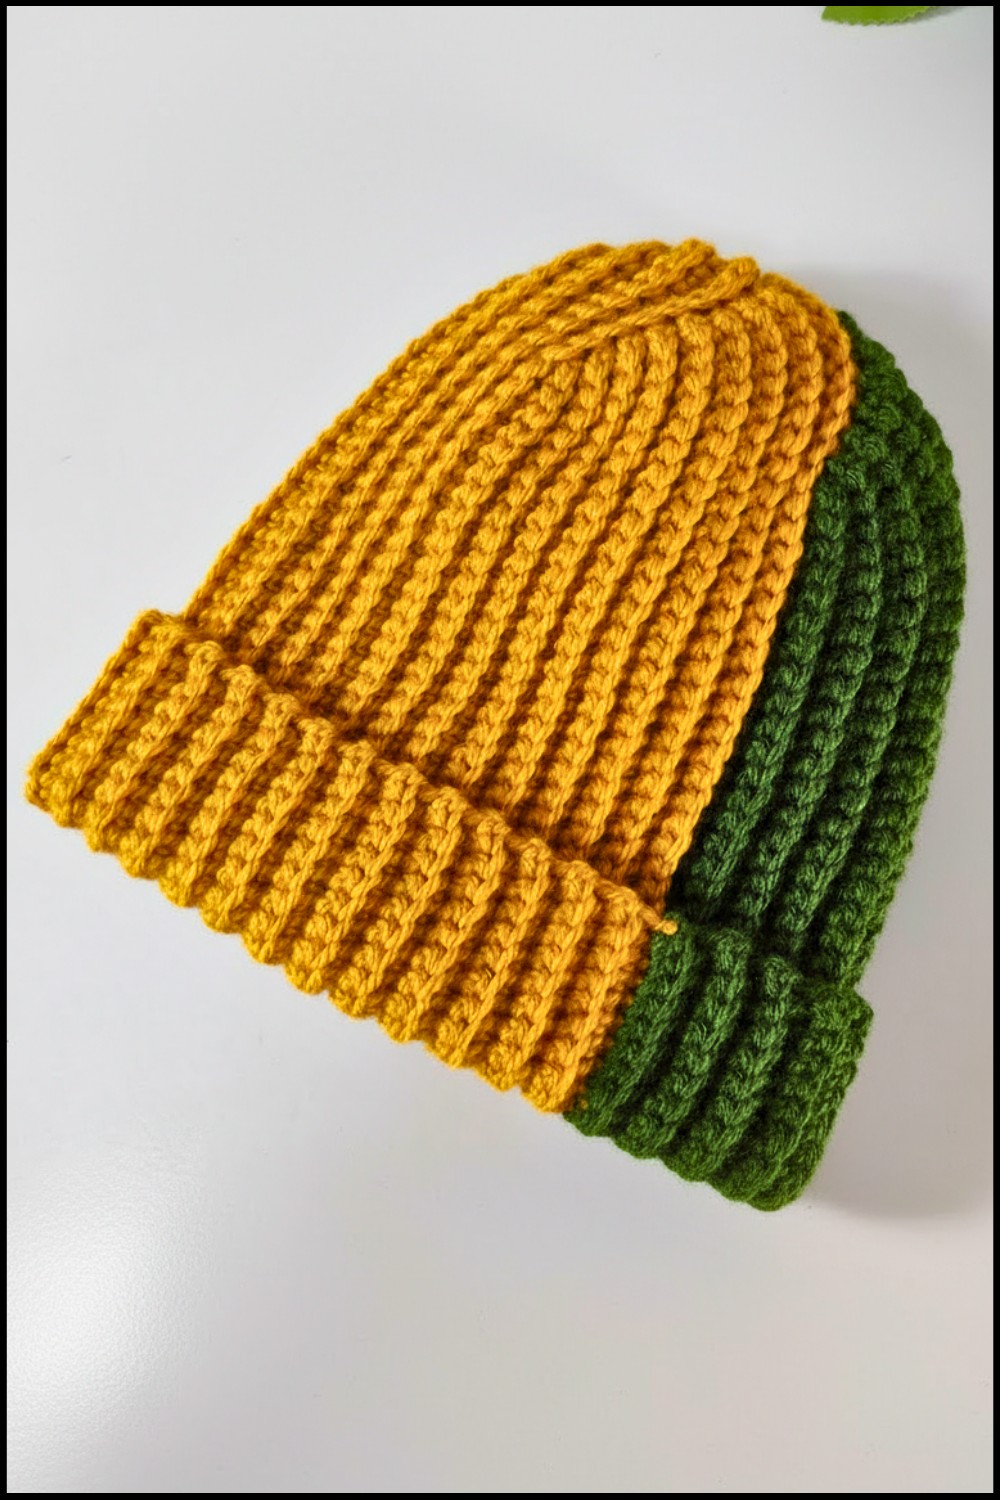
Conclusion
This easy-to-follow crochet ice cap pattern creates a cozy, flexible hat perfect for children aged 3 to 10 years. The project uses simple stitches and a repetitive group pattern to build width gradually, making it beginner-friendly. By crocheting in the back loops, the cap gains a lovely texture and stretch, while closing the edges with slip stitches guarantees a neat finish.
Leave a Reply