
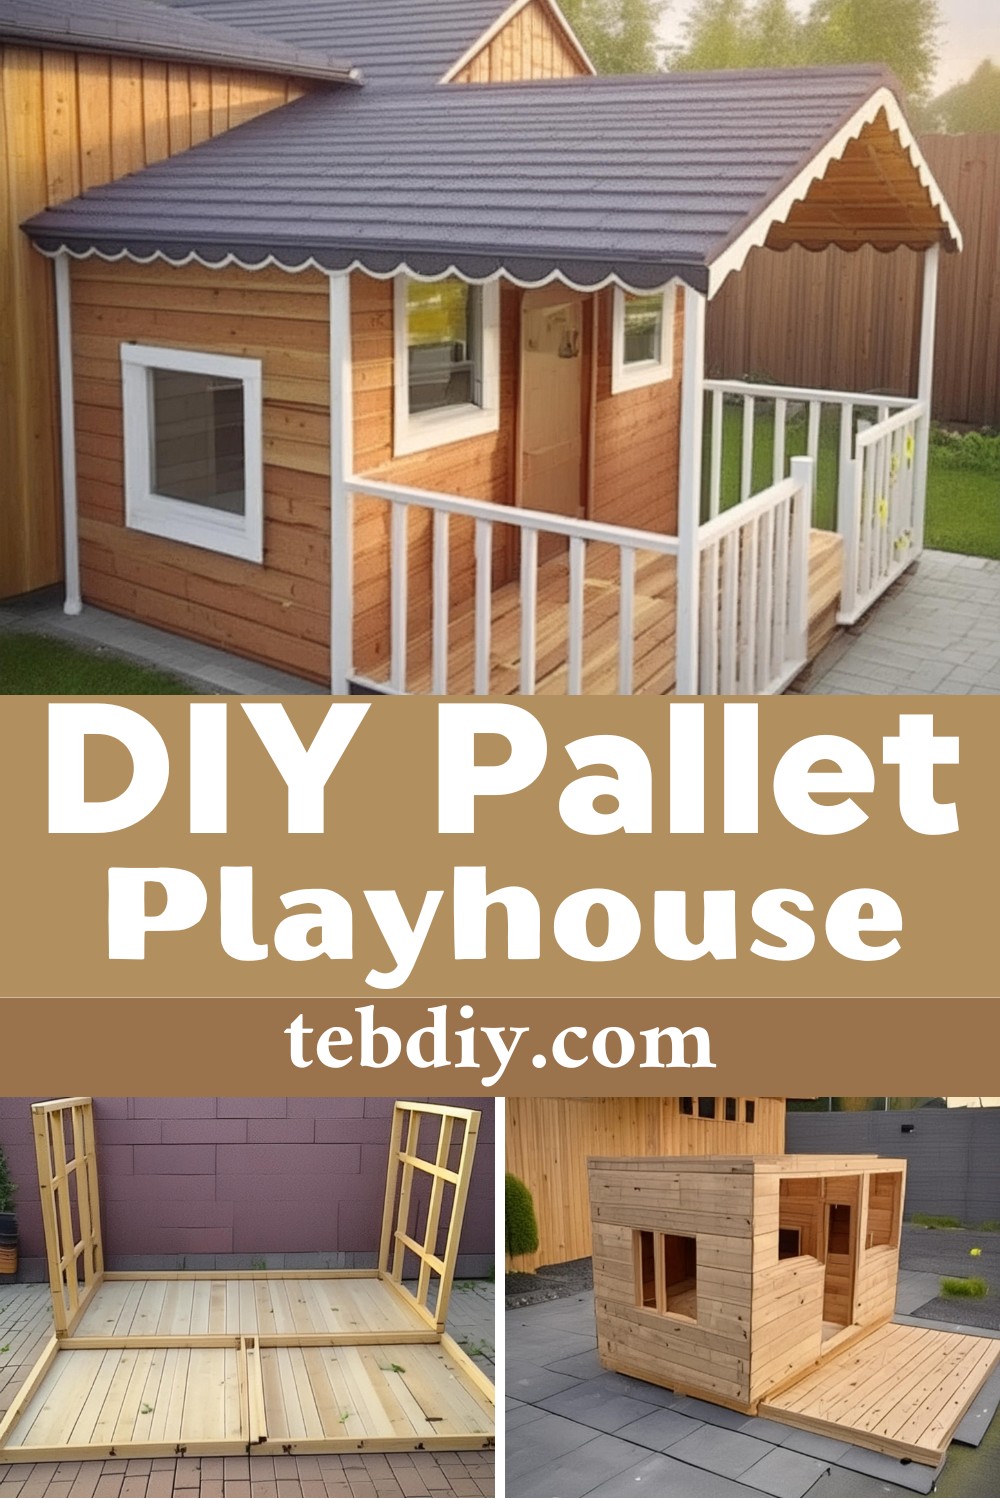
Put your hands on creating enchanting spaces out of the mundane by following this pallet project that’s not just about building a DIY playhouse but about transforming simple pallets into a realm of adventure and wonder for little ones. You can construct a beautiful playhouse with materials that once carried the weight of the world, now offering a lighter, whimsical escape for children. This isn’t just a DIY project; it’s a heartwarming challenge for anyone looking to bring joy and a touch of whimsy into their backyard.
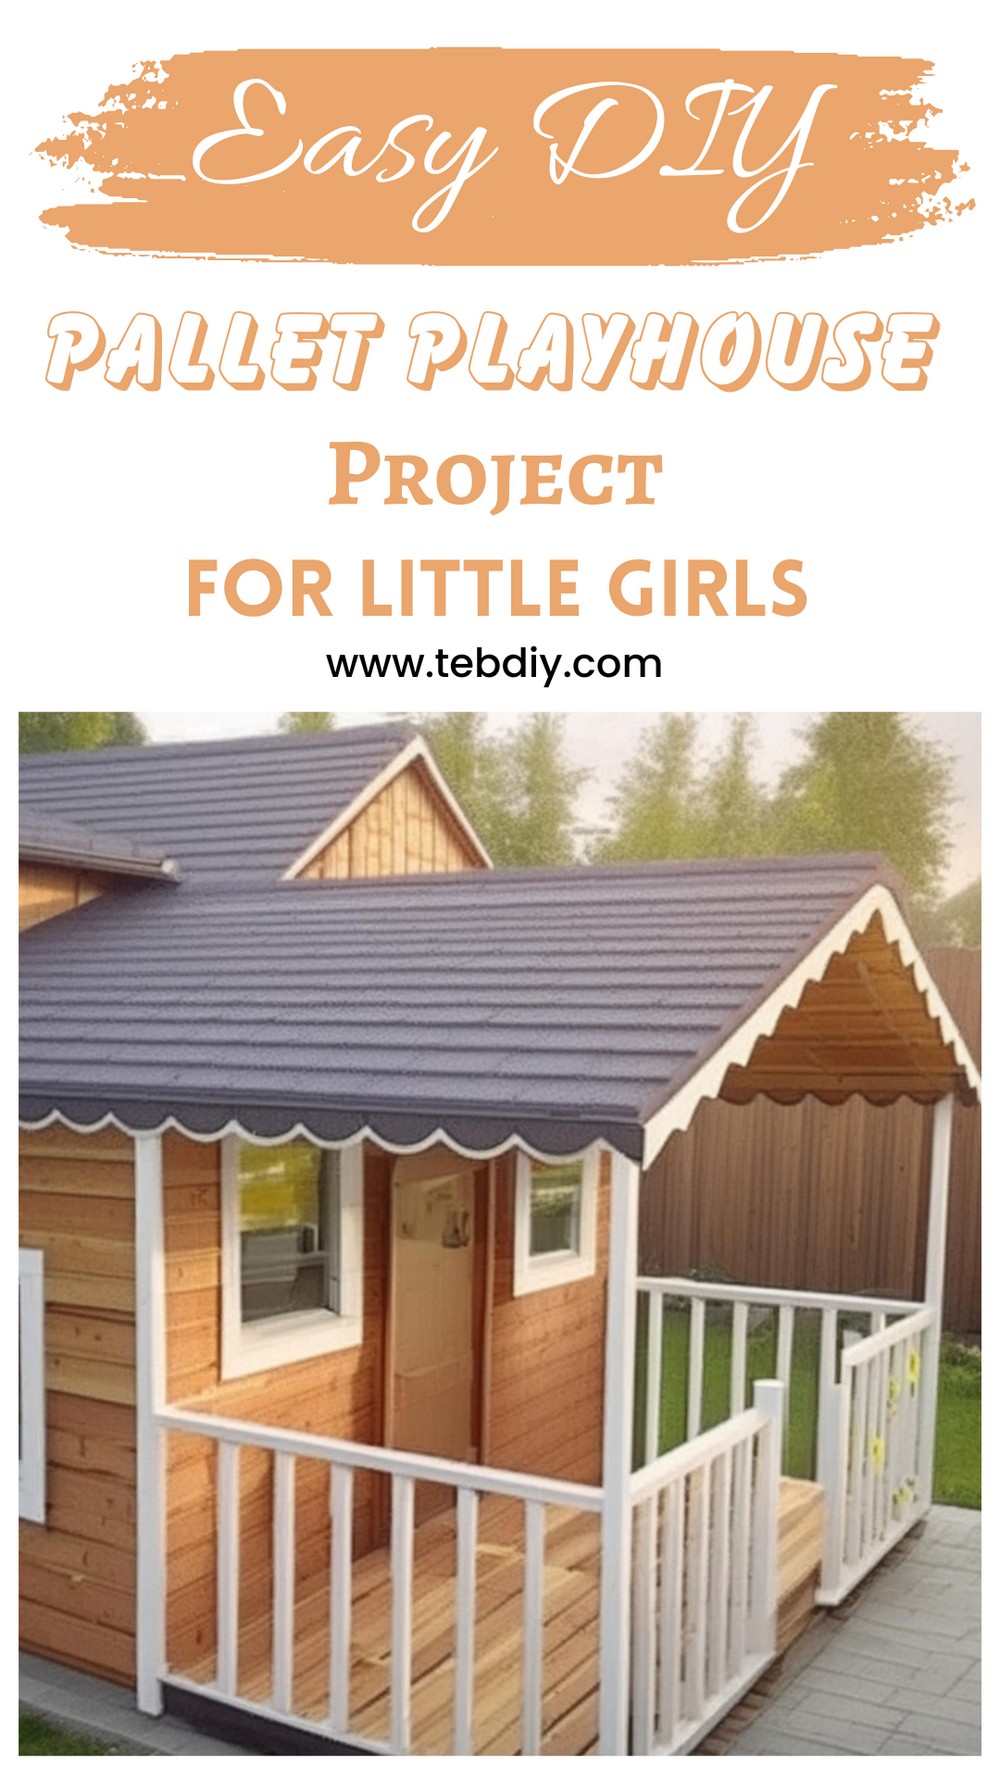
DIY Pallet Playhouse Project
Materials List and Tools Used
Materials Needed:
- Pallet planks and beams of various sizes (reclaimed from old, unused items)
- Screws
- Roofing material
- Paint
- Plexiglas (acrylic glass)
Tools Utilized:
- Google Sketchup (for planning)
- Big flat screwdriver or crowbar (for breaking apart pallets)
- Powered screwdriver (for removing screws)
- Hammer (for nails)
- Flat screwdriver (for staples)
- Sanding tool with sanding paper (grit 40 and 120)
- Saw (for cutting planks and beams)
The Making Process
Dreaming Up the Design
The foundation of every great project begins with a plan. Utilizing Google Sketchup, sketch out the playhouse’s dimensions and design, bringing your vision to life on screen before bringing it into the real world.
Deconstructing Pallets
The journey starts with breaking apart pallets to gather your materials. Armed with your tools, dismantle the pallets carefully, removing nails, screws, and staples as you go.
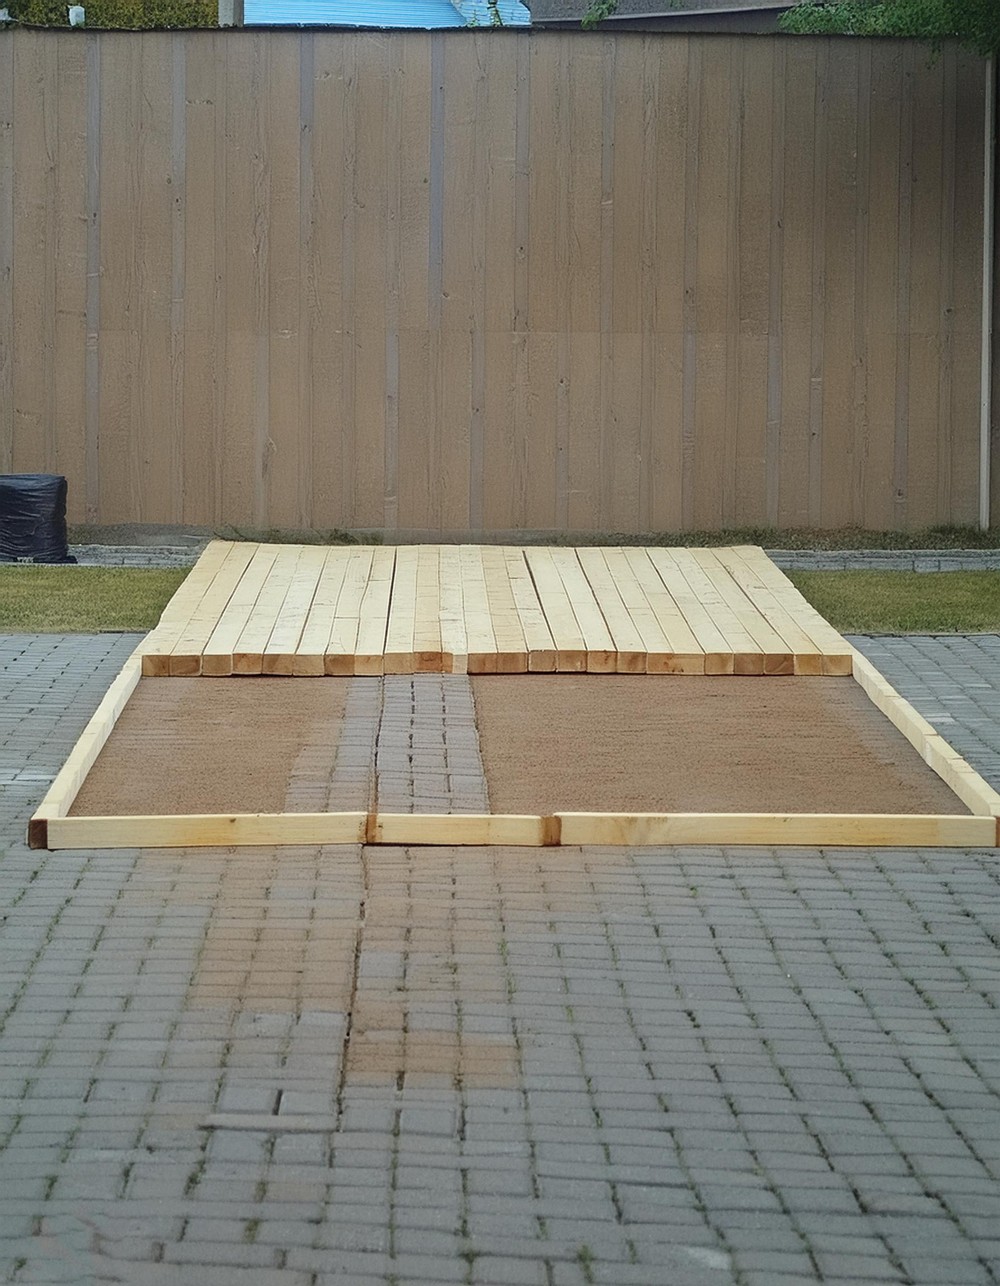
Laying the Groundwork
Construct a square base using planks, measuring and adjusting so everything fits snugly. This base sets the stage for the entire playhouse, so ensure everything is screwed together firmly.
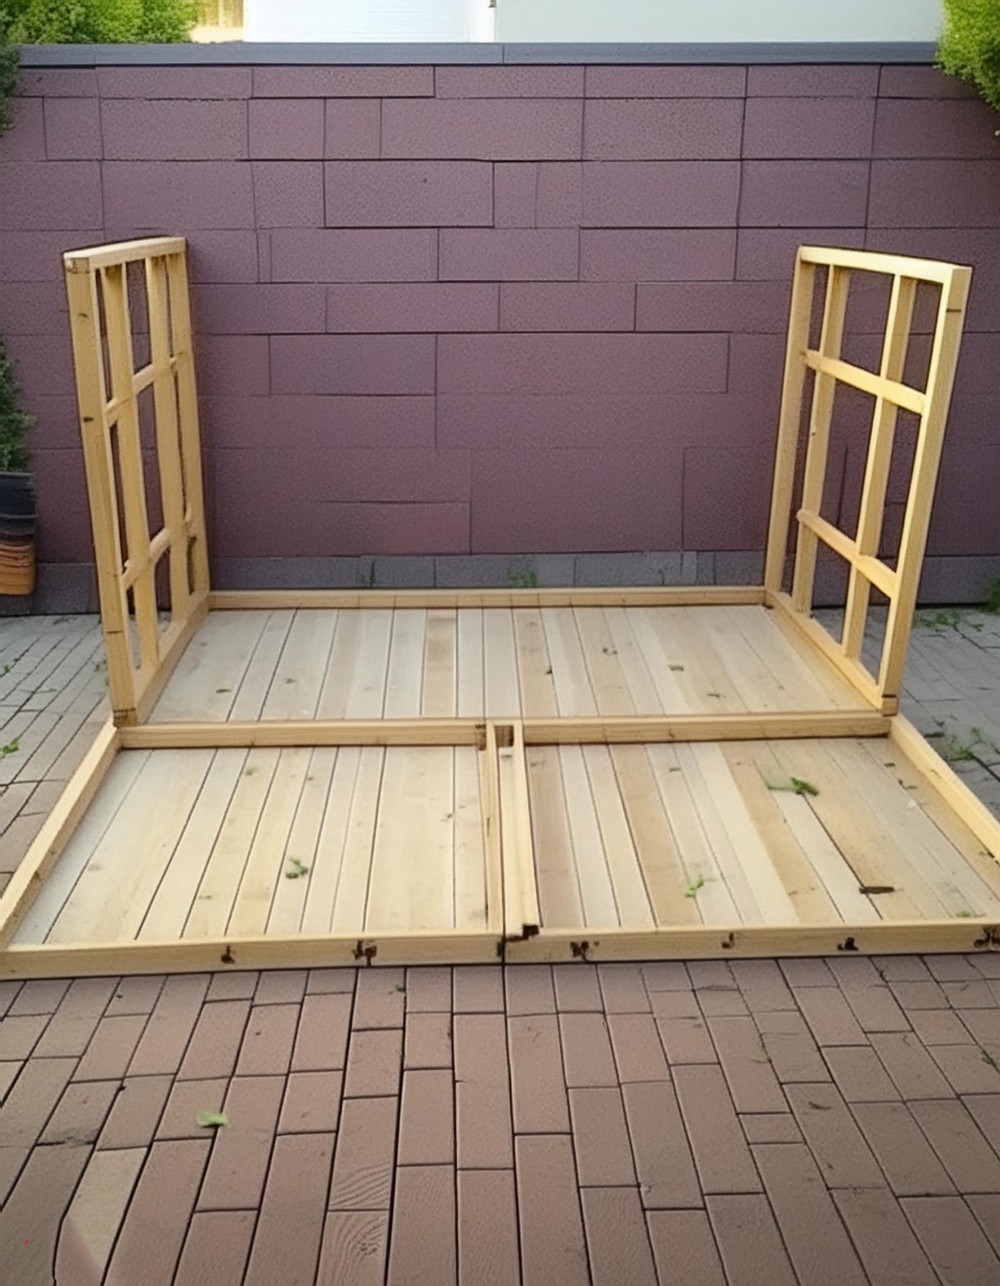
Erecting the Wall Frames
Create the walls by assembling frames for each side, incorporating openings for windows. These frames will be attached to the base, creating the skeleton of your playhouse.
Crafting the Front Frame
The front frame includes the doorway and a couple of window openings, requiring stability and precision. This is a crucial part of the structure, inviting children into this whimsical space.
Installing the Back Frame
The back frame ties everything together, ensuring the walls and the whole structure are sturdy and properly supported.
Attaching Side Planks
Cover the frame with pallet planks, starting at the bottom and working your way up, ensuring each plank fits perfectly.
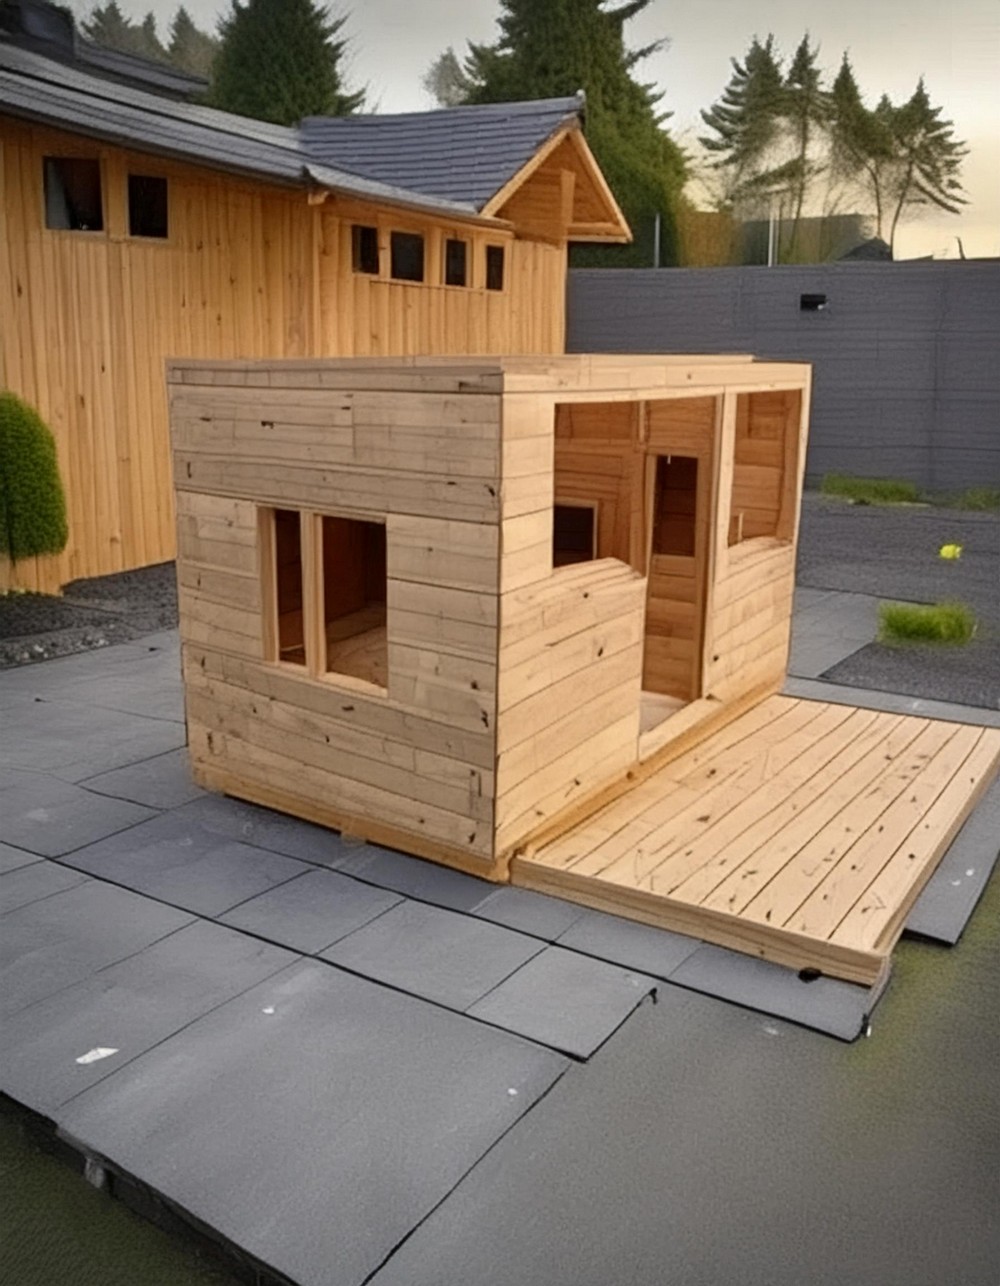
Building the Porch
Focus on the front of the playhouse, creating a welcoming porch space. This adds depth and character to the playhouse, making it inviting.
Plywood and Roof Construction
Using reclaimed plywood, construct the roof, ensuring it’s well-covered and secure. This shields the playhouse from the elements, keeping it cozy inside.
Smoothing Surfaces
Sanding is next, preparing the playhouse for painting and ensuring every surface is smooth and safe for little hands.
Protecting the Wood
Apply a protective coat to the wood, safeguarding your project from weather and pests, and ensuring longevity.
Playhouse Windows
Install windows using Plexiglas for safety, allowing for light and visibility.
The Roof’s Finishing Touches
Apply shingles to the roof, following guidelines to ensure they are installed correctly, providing the playhouse with a polished look.
Crafting the Door
Perhaps the most challenging part, the door requires patience and skill. This is where your playhouse becomes inviting, with a door that opens to imagination.
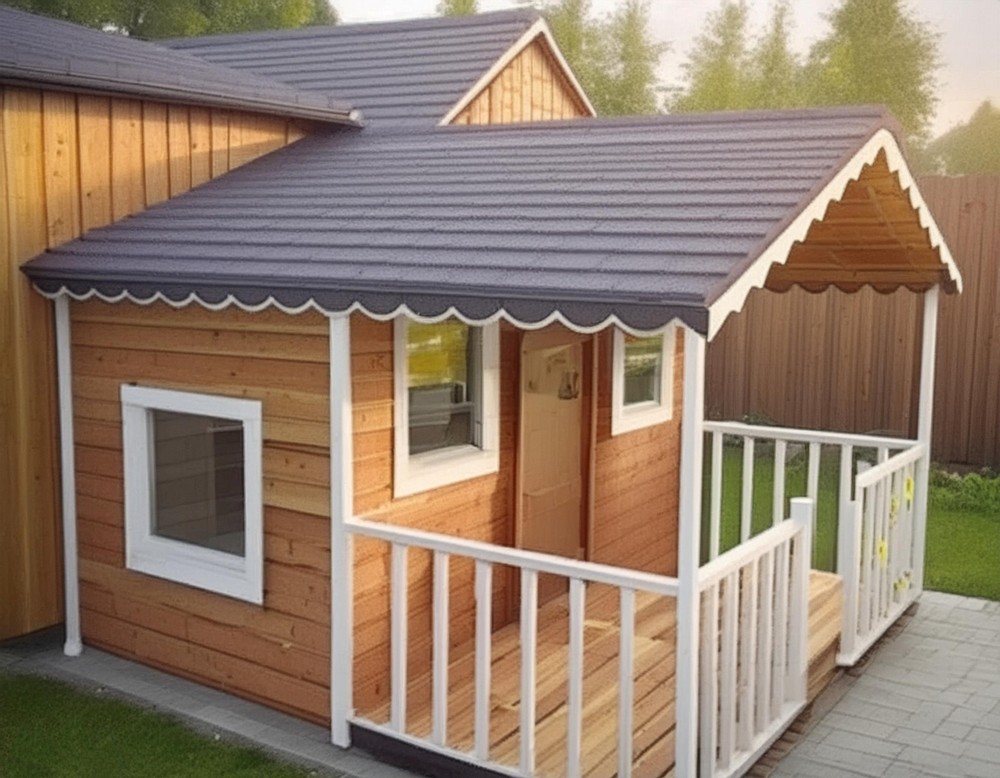
The Final Reveal
With paint and personal touches added, step back and admire the playhouse that you’ve brought to life from mere pallets.
Conclusion
This pallet playhouse project is more than just a structure; it’s a labor of love, a testament to creativity and the joy of DIY. It’s a place where your children can play, dream, and make memories, all within the walls of a playhouse that you built with your own two hands. Whether you’re a seasoned DIY enthusiast or a beginner looking to test your skills, this project promises a rewarding journey and a beautiful destination. Let the adventure begin!
Leave a Reply