
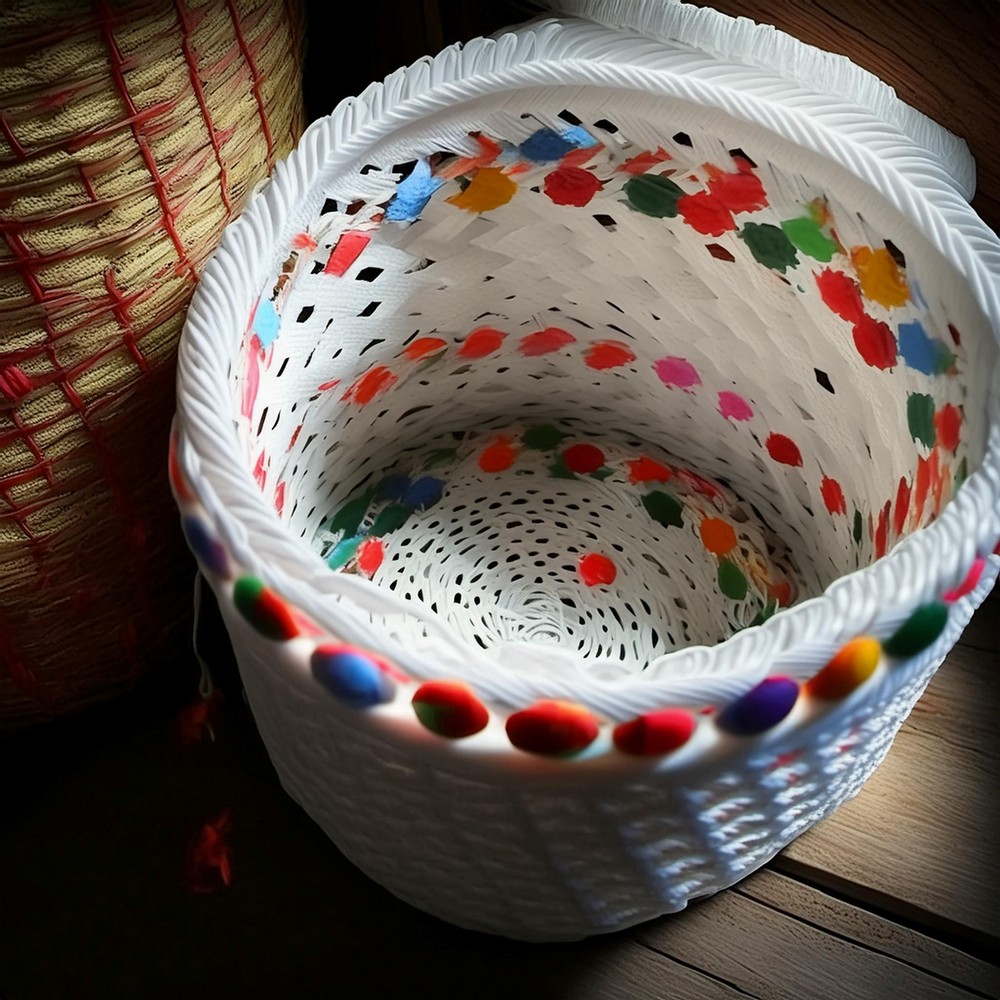
Have you ever gazed at the stack of plastic bags in your pantry and wondered if they’re destined for more than just a one-way trip to the landfill? Follow us to turn the ordinary supermarket bag into an extraordinary piece of handcrafted basketry. Not only will you gain a unique and practical household item, but you’ll also be partaking in an eco-friendly endeavour that upcycles these plastic wonders in a stylishly sustainable way. There is no need for knitting or crochet expertise – just a touch of sewing and the art of braiding are all required to bring this plastic bags basket to life.
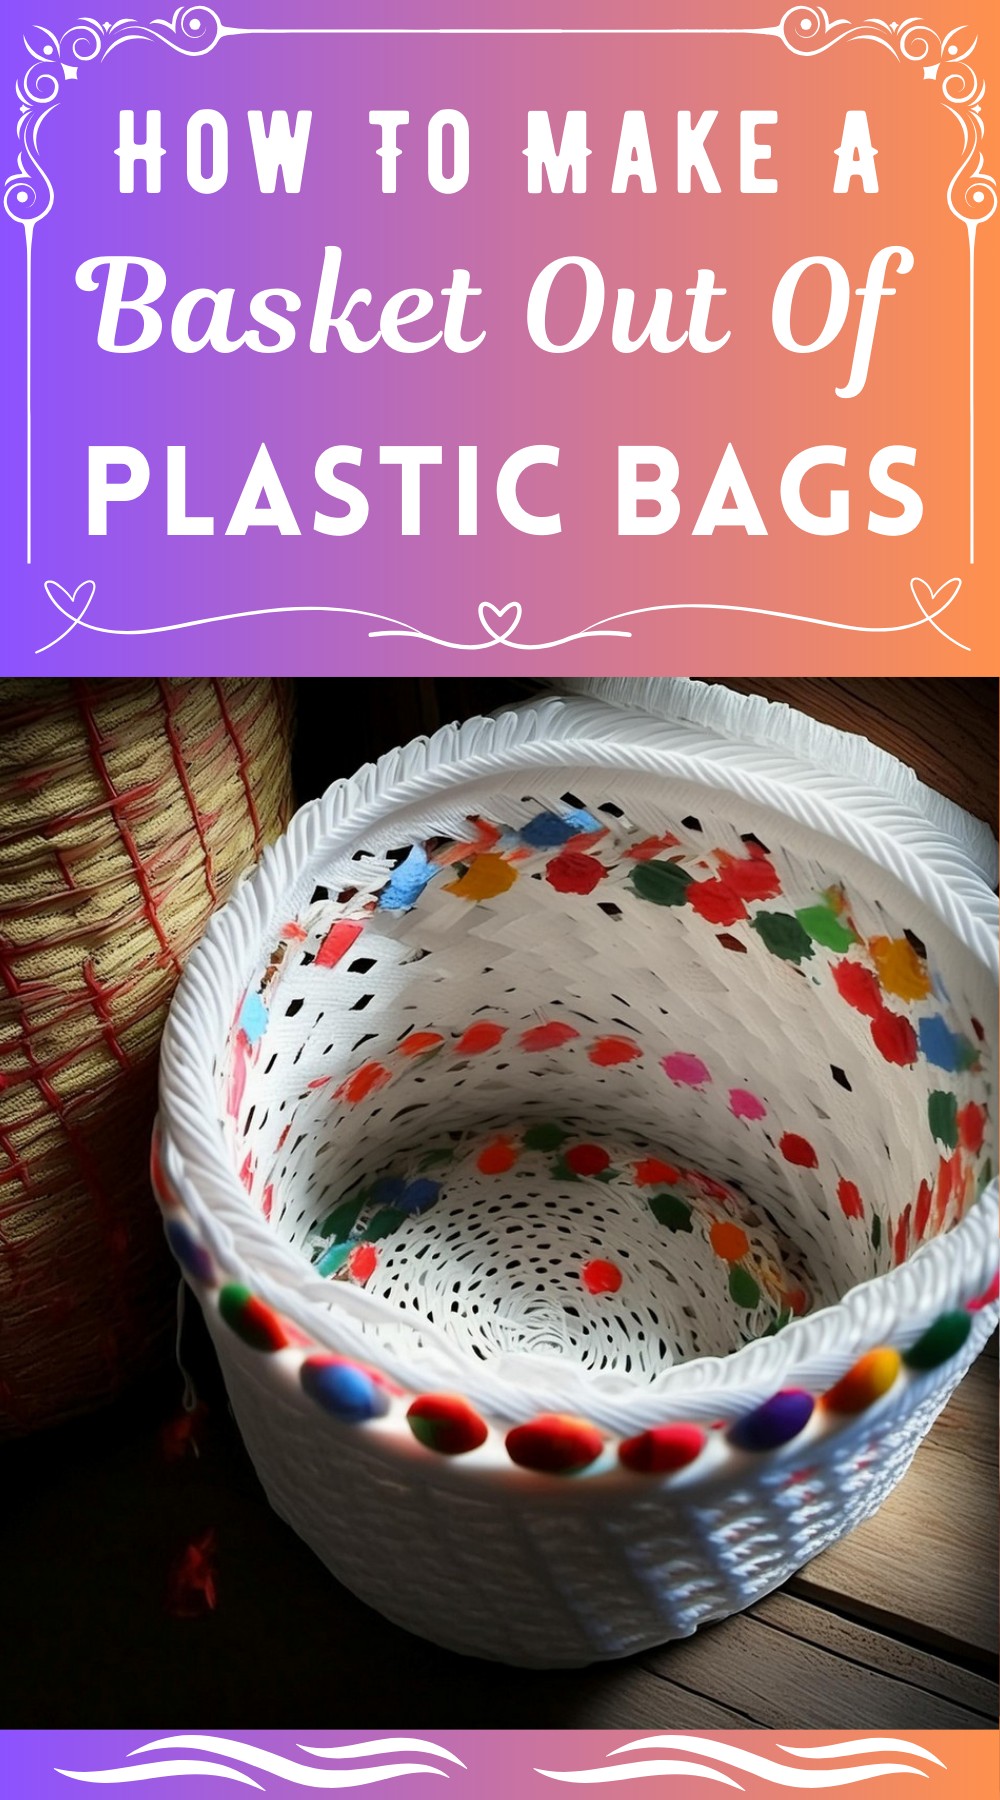
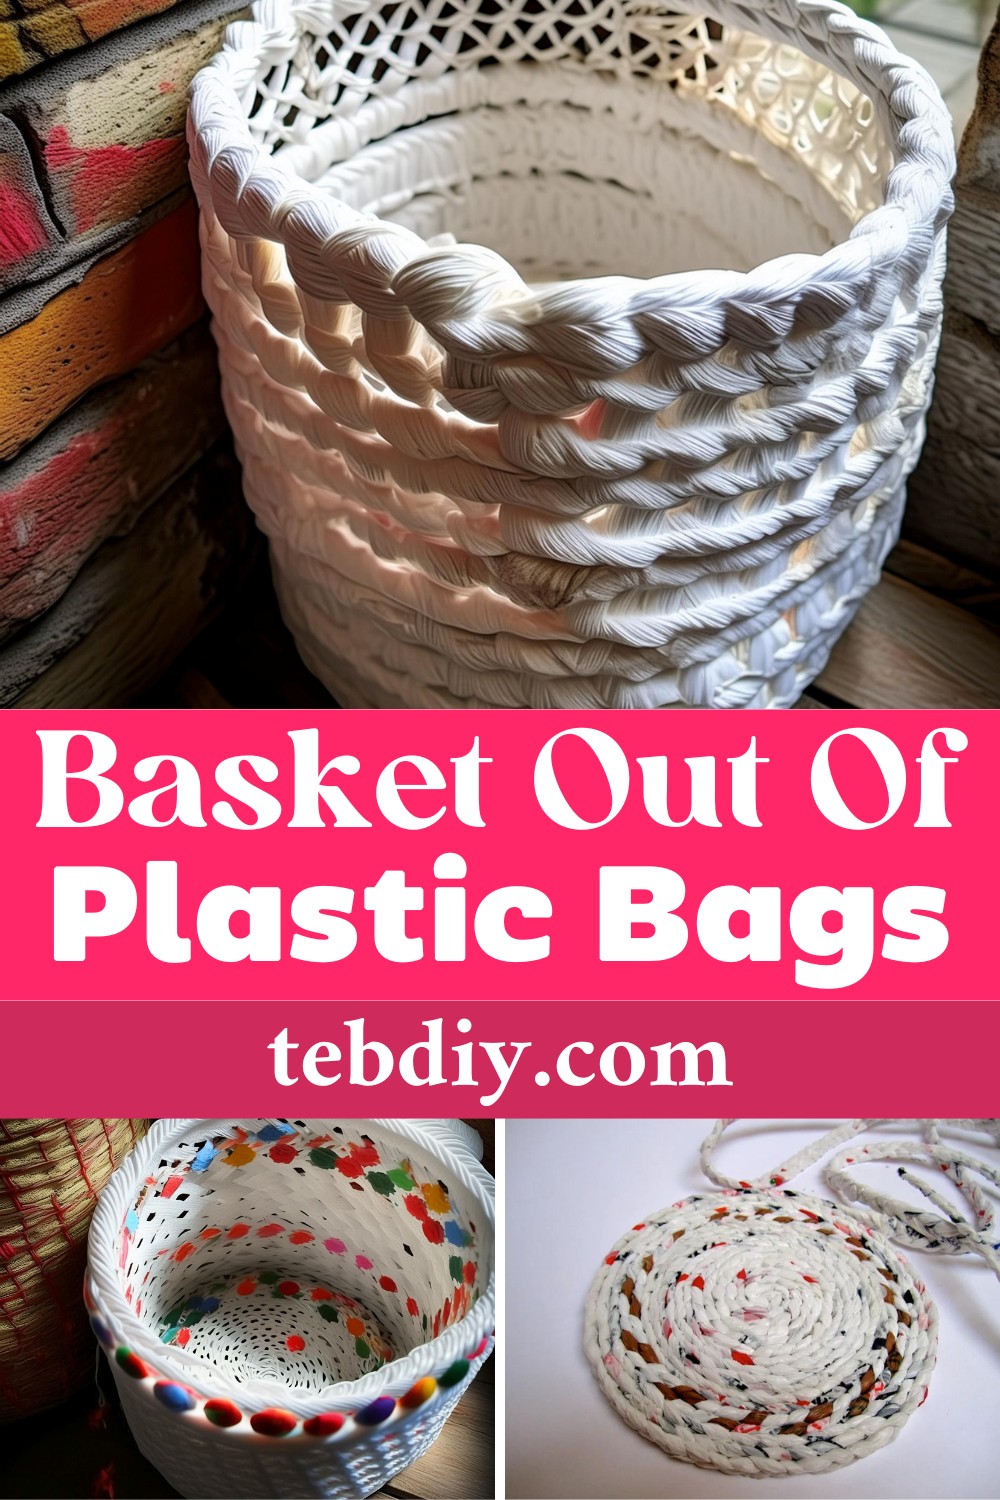
Plastic Bag Basket
Introduction: Reimagining Plastic Bags into a Chic Basket
Have you ever gazed at the stack of plastic bags in your pantry and wondered if they’re destined for more than just a one-way trip to the landfill? Follow us to turn the ordinary supermarket bag into an extraordinary piece of handcrafted basketry. Not only will you gain a unique and practical household item, but you’ll also be partaking in an eco-friendly endeavour that upcycles these plastic wonders in a stylishly sustainable way. There is no need for knitting or crochet expertise – just a touch of sewing and the art of braiding are all required to bring this project to life. Excited? Let’s give those plastic bags a glamorous new lease on life!
Materials and Tools
Materials:
- Sewing needles (preferably sharps or heavy-duty)
- White thread (polyester recommended for durability)
- A sturdy thimble (coin thimbles are highly suggested)
- 30 (or more for a larger size) plastic bags of various colors for a vivid finish
- Use thicker, opaque bags for a chunky braid
- Opt for thin, transparent bags for a subtle braid
Tools:
- A pair of scissors
- A nail or tape for securing the braid’s end
- A sewing pin or additional needle to pin the coil in place
Creating the Plastic Bag Basket
Step 1: Preparation of Strips
Begin by converting your collection of plastic bags into strips. The key here is width – aim for strips approximately 4 inches wide. Flatten your bag and chop off the top handles and the bottom seam. Then, start on one side, making an upward diagonal cut before carving out a straight line across to harvest your strip. Keep cutting toward the right, maintaining the initial diagonal trajectory with each strip. Assemble a few bags worth of strips to start.
Step 2: The Braid Begins
Now to braid! Fold each strip in half, creating pairs that will act as individual strands in your braid. Lodge the looped ends onto something steadfast like a nail, ensuring they’re neatly paired. Braid with a balanced tension – not too loose, not too tight – to craft a textured and stable weave.
Step 3: Braiding Techniques
There are two paths you can take:
- The “Short-Chained Approach”: Braid short sections by folding strips in half, braid, and sewing the ends, yielding several braids to be joined later.
- The “Continuity Method”: As you near the end of your braid, introduce new strips via simple knots, extending the braid without needing constant sewing, saving your time and fingertips.
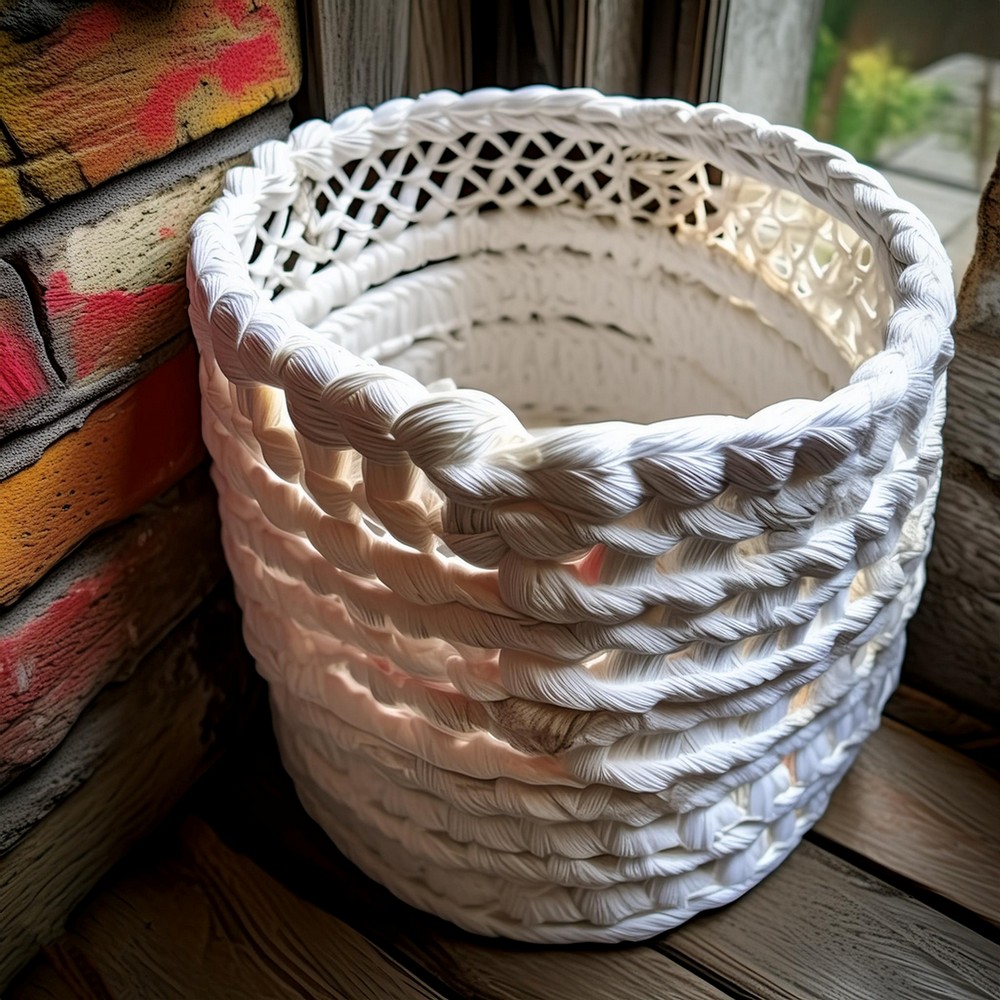
Foundation of the Basket: Once your braided rope measures 20-30 feet, it’s time to coil. Start with a tight coil for the basket’s bottom, securing it temporarily with a pin. Sew across the base – vertical, horizontal, and diagonal lines – to create a firm, flat foundation. The secret to a sturdy base is even spacing and tight, secure stitches.
Walls Ascending: With a generous length of double-threaded needle, begin shaping the basket’s side. Bring the braid from the base upwards and stitch it together, ensuring its sides remain orthogonal to the base. Continue this process with the same regularity, layer upon layer, until the walls reach your desired height.
Closing the Top: Arriving at the end of your rope, literally, tuck and fasten the last bit of braid behind the top row of your basket, trimming if necessary for a clean finish. Stitch it down to ensure it doesn’t unravel.
Step 7: Completing Your Creation
Double-check all your stitches for durability, especially at the basket’s bottom. Once everything holds firm, you can proudly declare the project complete!
Step 8: Final Touches and Care
A thimble will be your close ally throughout the process, aiding in pushing the needle through the tough plastic. Remember to change your fingers frequently to avoid soreness.
Bask in the glory of your new, handcrafted basket, an eco-friendly masterpiece born from the humblest of origins. Your once-lonely plastic bags have become a functional, stylish, conversation-starting piece. Basket-making might just have a new twist, and it’s plastic fantastic!
Leave a Reply