
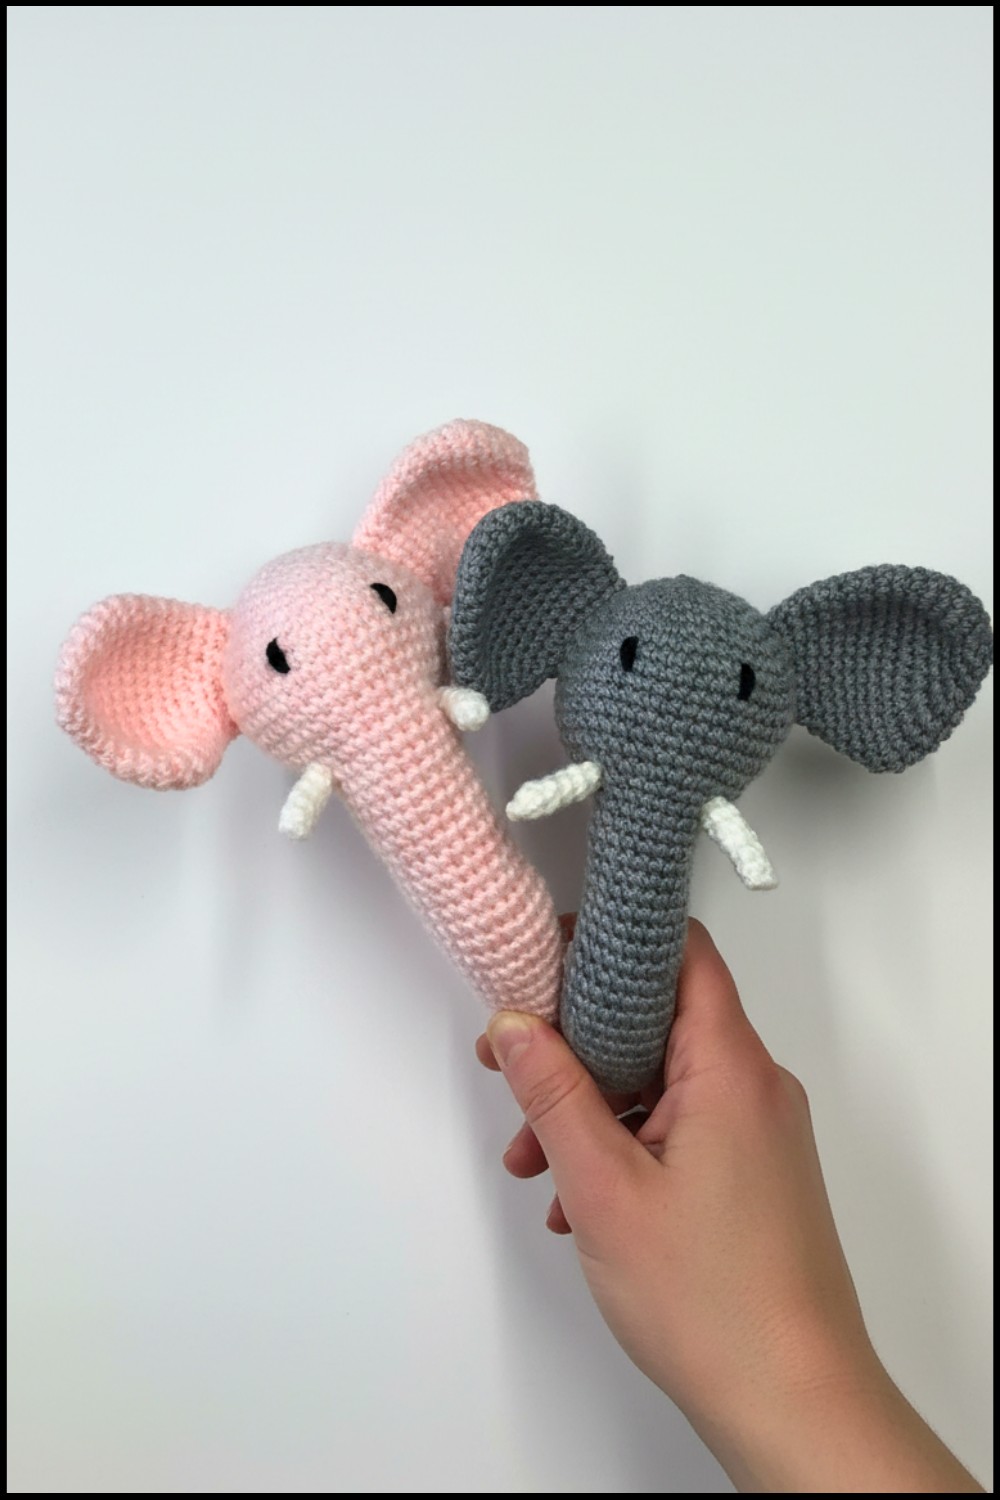
Give your baby a soft and soothing companion with this Crochet Elephant Rattle Pattern that is easy to hold and perfect for playtime and fun.
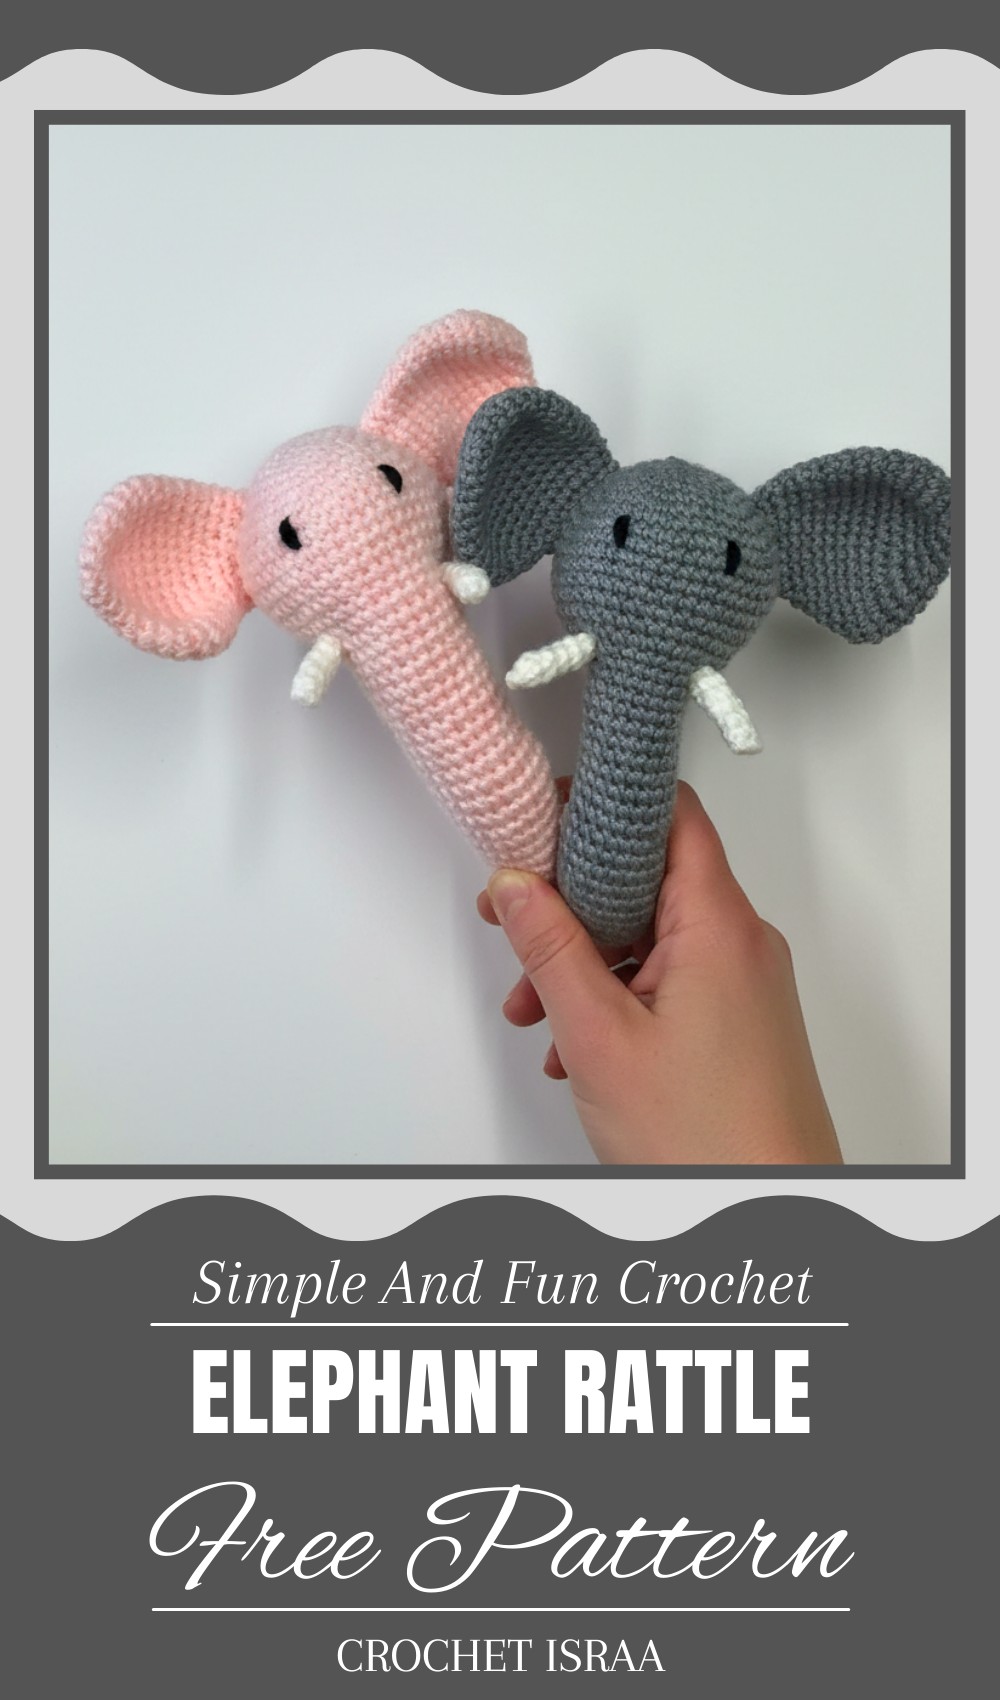
A delightful blend of softness and comfort this Crochet Elephant Rattle Pattern brings joy to both babies and parents alike. Thoughtfully designed with a whimsical elephant shape, it features a lightweight, baby-friendly structure that’s easy for tiny hands to hold. The gentle rattle sound adds a soothing sensory element, keeping babies entertained while encouraging exploration.
Free Crochet Elephant Rattle Pattern for Sweet Nursery Vibes
Made to be both practical and charming, this piece makes a lovely addition to any nursery, doubling as a toy and decorative treasure. The design focuses on safety and durability, ensuring it remains a favorite companion throughout a baby’s early days. Whether gifted for a baby shower or kept as a personal keepsake, its endearing style and secure form bring warmth and smiles to families. Each detail is meant to encourage moments of play while being a cherished item parents love to have for their little one.
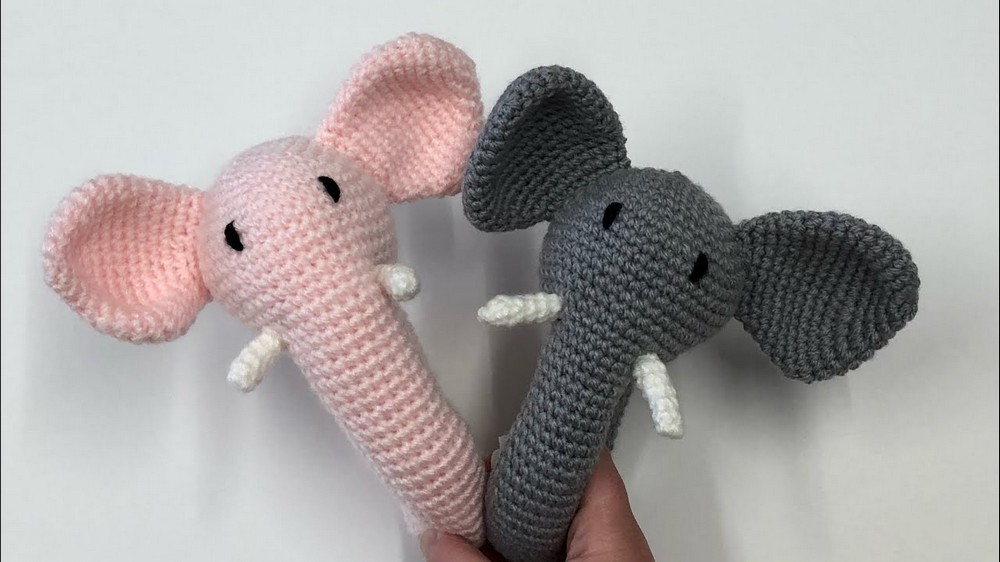
Crochet Elephant Rattle Pattern
Materials Needed
- Yarn: Baby-friendly yarn (soft and hypoallergenic; lightweight or DK recommended).
- Hook: 3.5 mm crochet hook.
- Stuffing: Fiberfill for stuffing.
- Rattle Insert (optional).
- Notions:
- Scissors.
- Stitch markers.
- Tapestry needle for sewing ends and assembling parts.
Skill Level
Intermediate: Includes working in the round, increasing, decreasing, shaping, and sewing parts.
Key Abbreviations
- ch: Chain.
- sc: Single Crochet.
- sl st: Slip Stitch.
- inc: Increase — 2 sc worked into the same stitch.
- dec: Decrease — single crochet two stitches together.
Special Notes
- Use stitch markers to track the beginning of each round.
- Ensure even tension throughout to maintain the symmetry of the elephant’s features.
- The rattle insert should be securely enclosed inside the stuffing for safety.
Pattern Instructions
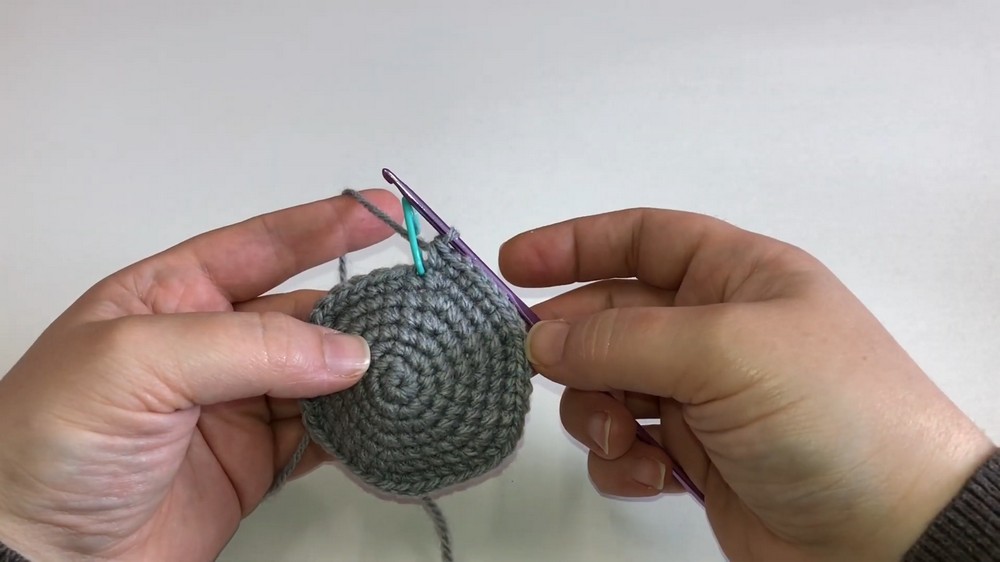
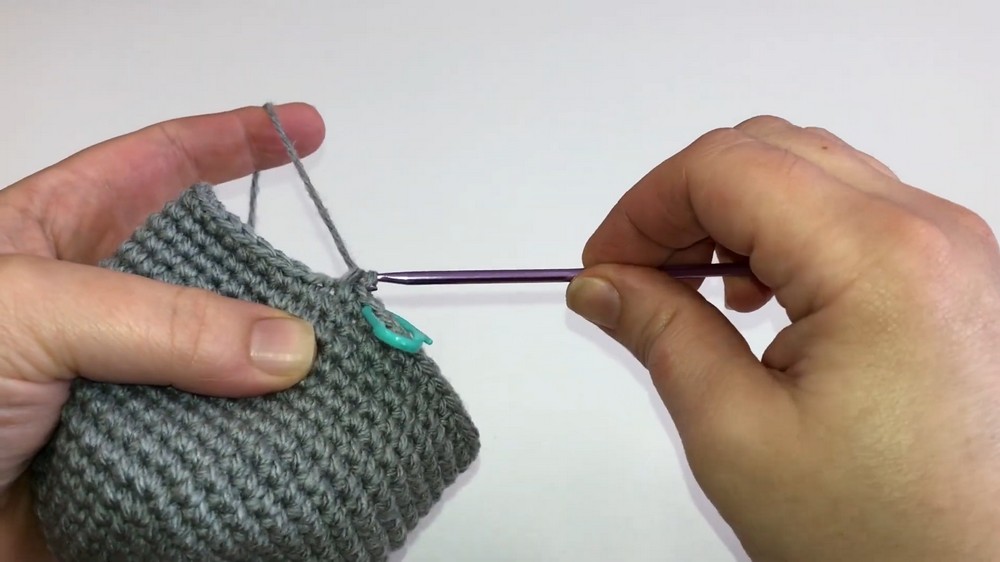
Step 1: Elephant Head
Foundation Round:
- Create a magic circle, then ch 1.
Round 1:
- Work 6 sc into the magic circle. Pull to close the circle.
Round 2:
- Work 2 sc in each stitch around (inc in every stitch).
- 12 sc total.
Round 3:
- Work 1 sc in the first stitch, then inc in the second stitch.
- Repeat (1 sc, inc) around.
- 18 sc total.
Round 4:
- Work 1 sc in the first 2 stitches, then inc in the third stitch.
- Repeat (2 sc, inc) around.
- 24 sc total.
Round 5:
- Work 1 sc in the first 3 stitches, then inc in the fourth stitch.
- Repeat (3 sc, inc) around.
- 30 sc total.
Round 6:
- Work 1 sc in the first 4 stitches, then inc in the fifth stitch.
- Repeat (4 sc, inc) around.
- 36 sc total.
Round 7:
- Work 1 sc in the first 5 stitches, then inc in the sixth stitch.
- Repeat (5 sc, inc) around.
- 42 sc total.
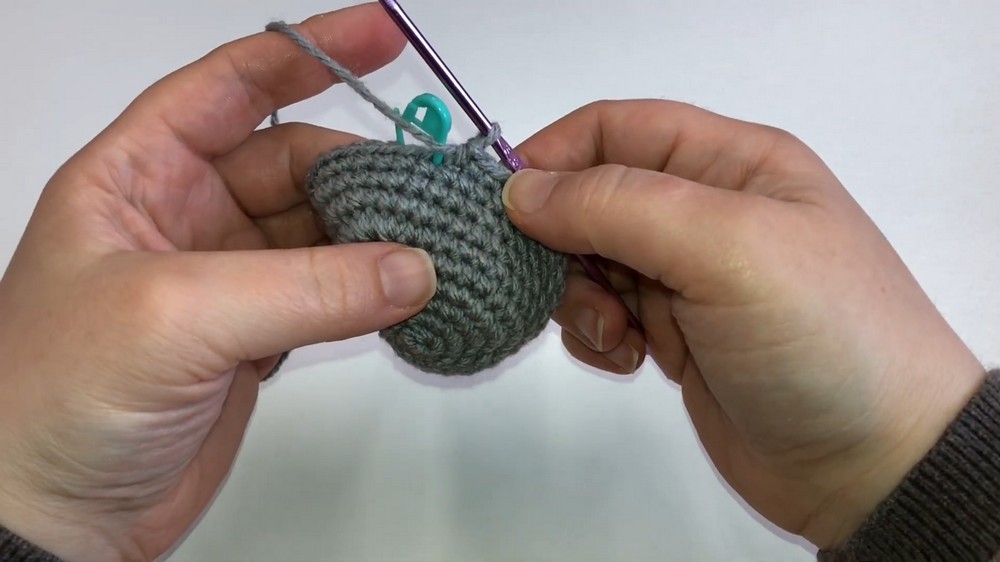
Round 8:
- Work 1 sc in the first 6 stitches, then inc in the seventh stitch.
- Repeat (6 sc, inc) around.
- 48 sc total.
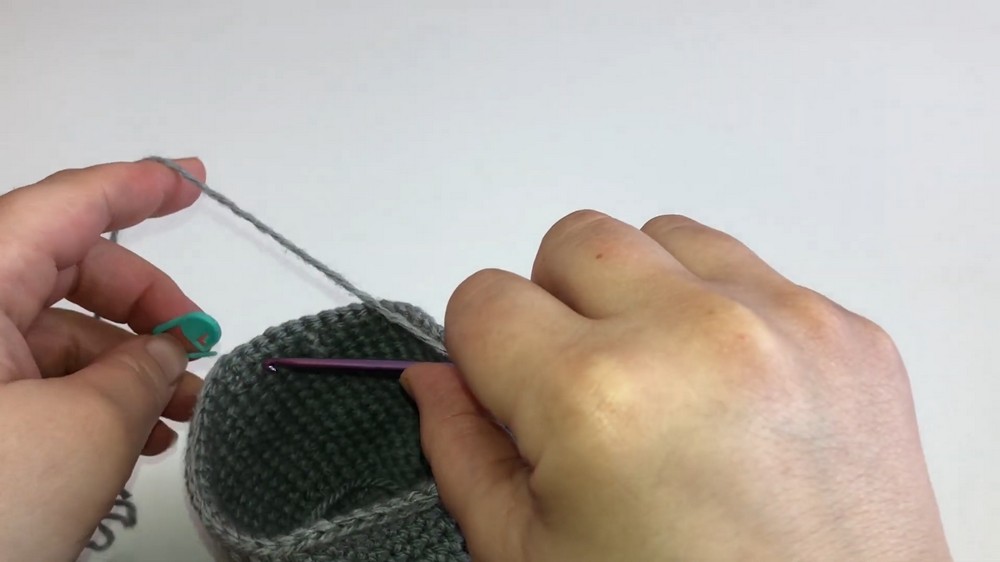
Round 9–20:
- Work 1 sc in each stitch around.
- Continue without increasing.
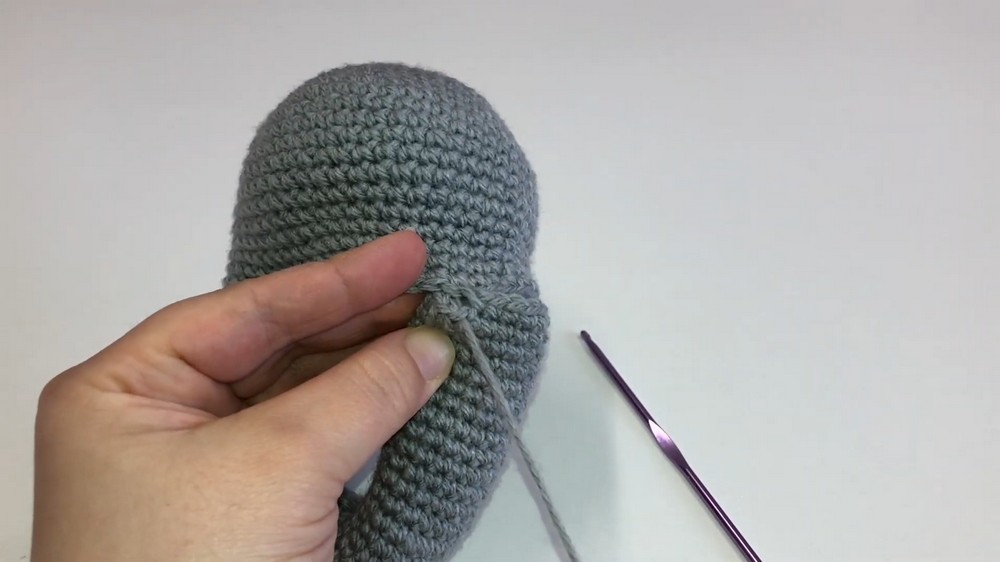
Round 21:
- Work 1 sc in the next 18 stitches, then skip 30 stitches.
- Join with 1 sc in the first stitch again.
Round 22-60:
- Work 1 sc in each stitch around.
- 18 sc total.
- Sl st in the last stitch, leaving a long yarn tail for sewing.
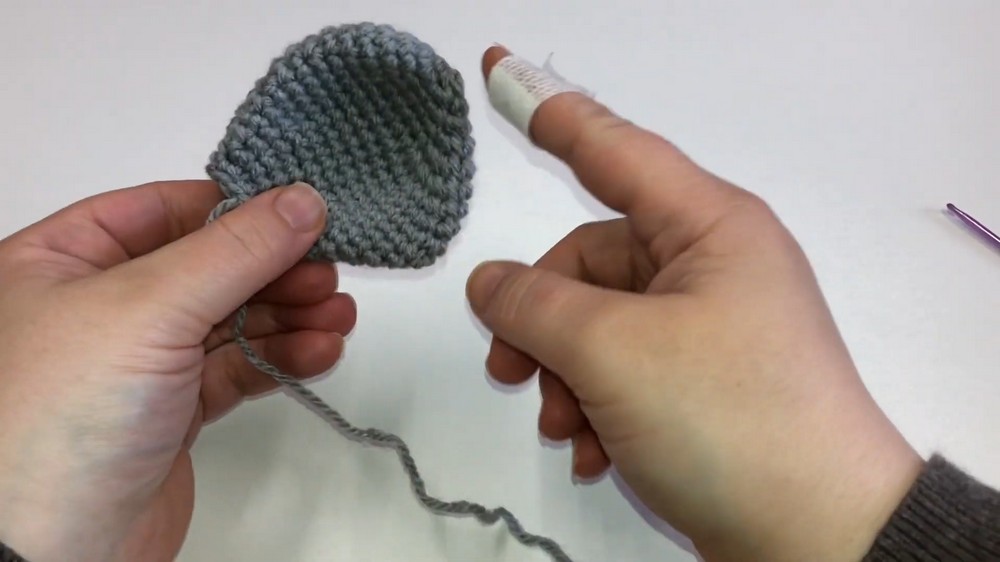
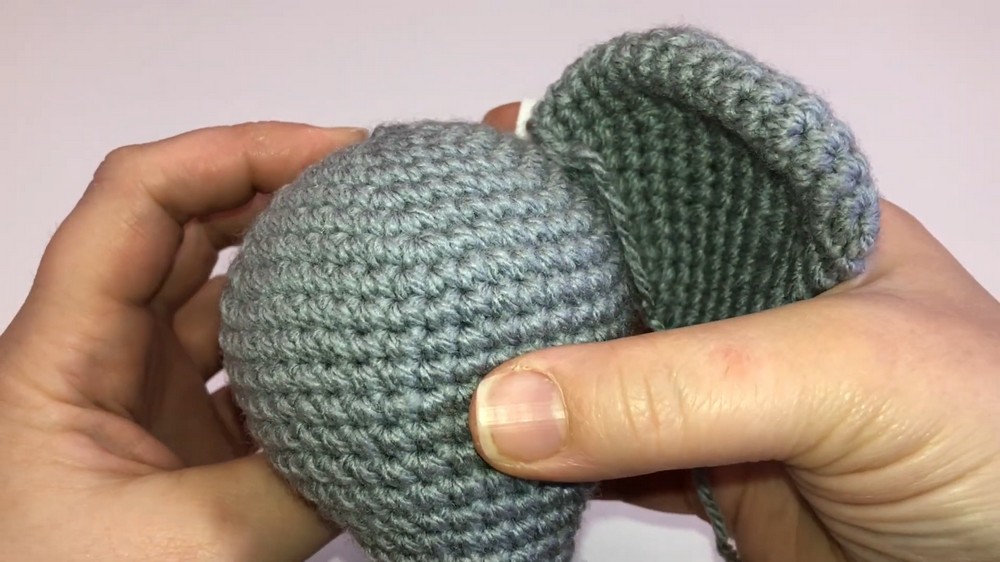
Step 2: Elephant Ears (Make 2)
Foundation Round:
- Create a magic circle, then ch 1.
Round 1:
- Work 6 sc into the magic circle.
Round 2:
- Work 2 sc in each stitch around (inc in every stitch).
- 12 sc total.
Round 3:
- Work 1 sc in the first stitch, then inc in the second stitch.
- Repeat (1 sc, inc) around.
- 18 sc total.
Round 4:
- Work 1 sc in the first 2 stitches, then inc in the third stitch.
- Repeat (2 sc, inc) around.
- 24 sc total.
Round 5–7:
- Work sc in each stitch around without increasing.
- 33 sc total by Round 7.
Round 8–10:
- Follow similar decreasing patterns as seen in the head construction:
- Work dec in key stitches for shaping.
Last Round:
- Finish with sl st, leaving long yarn tails for sewing to the head.
Step 3: Trunk
Foundation Round:
- Create a magic circle, then ch 1.
Round 1:
- Work 5 sc into the magic circle.
Round 2–5:
- Work 1 sc in each stitch around.
Last Round:
- Sl st and leave a long yarn tail for sewing.
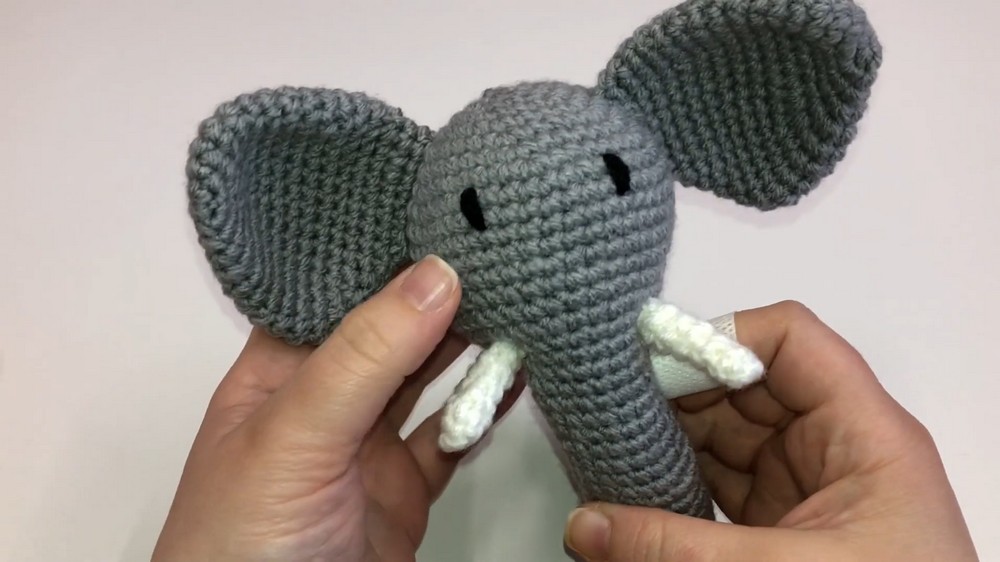
Step 4: Assembly
- Sew the ears securely onto the sides of the head using the tapestry needle.
- Stuff the trunk lightly with fiberfill, then sew it centered on the face below the eyes.
- Insert the rattle into the head and stuff the remaining space with fiberfill to ensure it is evenly shaped.
- Sew the opening shut securely, ensuring no gaps are left.
Tips for Success
- Use baby-safe yarn and materials since this rattle is for infants.
- Sew all pieces tightly to avoid choking hazards.
- Customize the design by adding embroidered facial features such as eyes or a smile, instead of using buttons or detachable items.
Conclusion
This charming handmade toy is a perfect keepsake for babies, offering both functionality and sentimentality. Its adorable design guarantees it will be a treasured gift at any baby shower. Happy crocheting!
Pattern Corrections
- If stitches feel too tight or loose, adjust hook size to maintain proper gauge for consistent shaping.
- Ensure symmetry in the placement of ears and other features.
Leave a Reply