
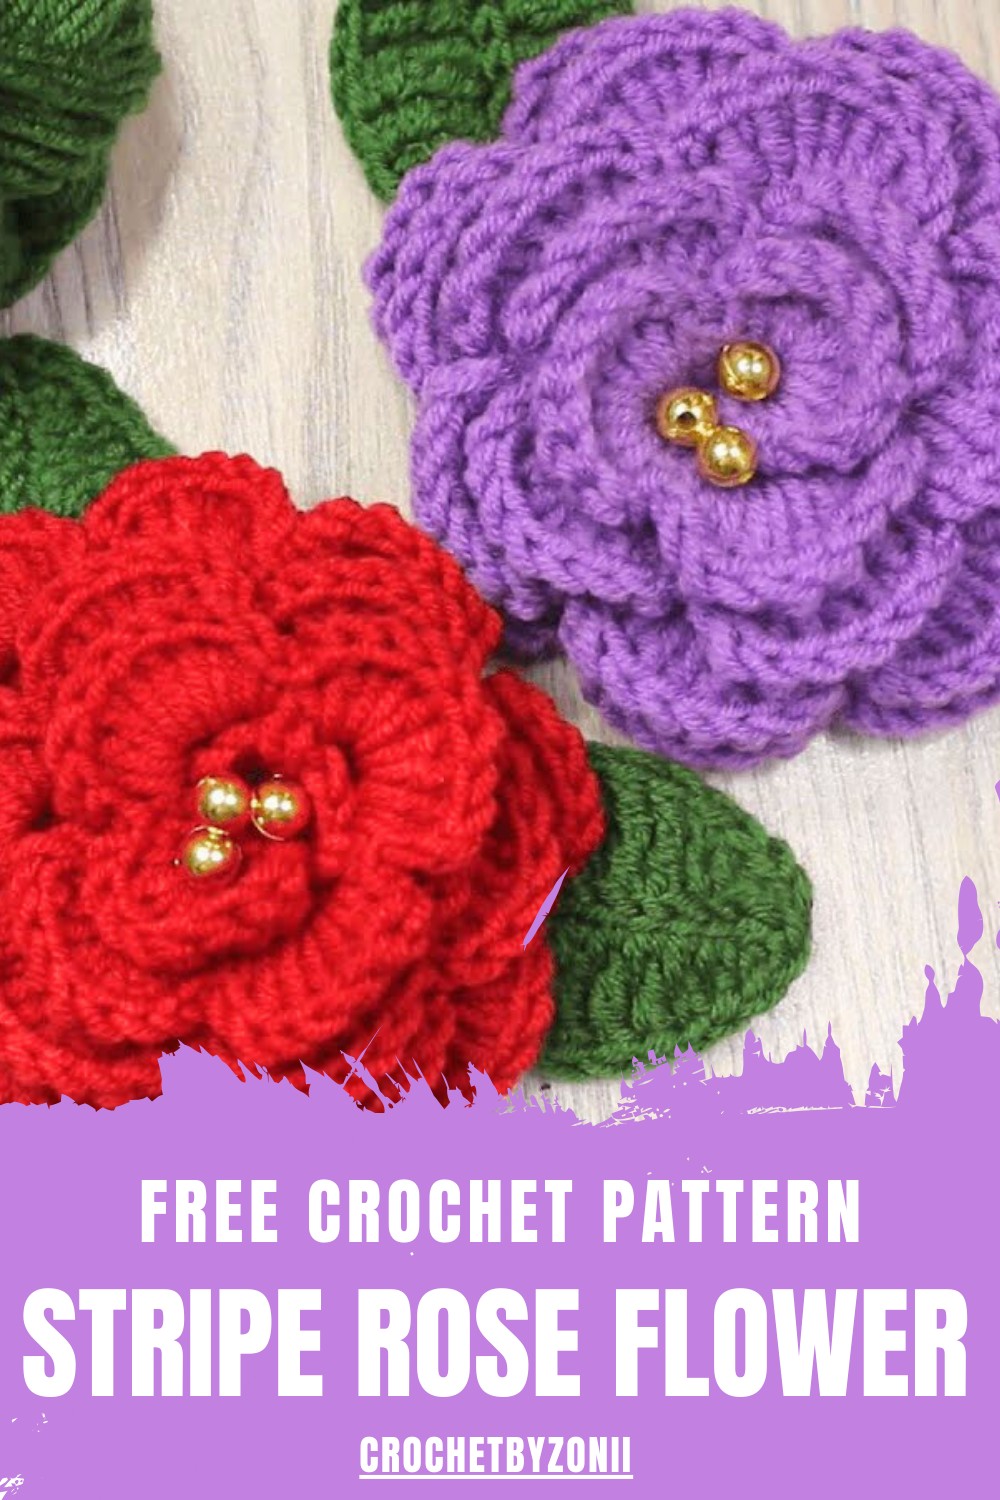
Celebrate creativity with this free crochet stripe rose flower pattern, perfect for adding timeless beauty and charm to your décor or accessorizing with flair.
A beautiful flower that never wilts can brighten up any space, and this crochet stripe rose does just that. This charming rose showcases intricate details with its layered petals and delicate striped design, making it look as elegant as a real flower but with the added bonus of lasting forever. Its soft texture and vibrant color options make it a perfect choice for decorating your home, adding a pop of charm to hats, bags, or even clothing.
Crochet Stripe Rose Flower Free Pattern for Your Living Space
The beauty of this crochet rose lies in its versatility, it works wonderfully as a thoughtful gift, a keepsake, or a stylish embellishment for craft projects. Whether displayed in a vase, attached to accessories, or used as a decorative touch, this flower creates a lasting impression. With its timeless design and endless creative uses, the crochet stripe rose is a lovely combination of art and practicality, perfect for any occasion.
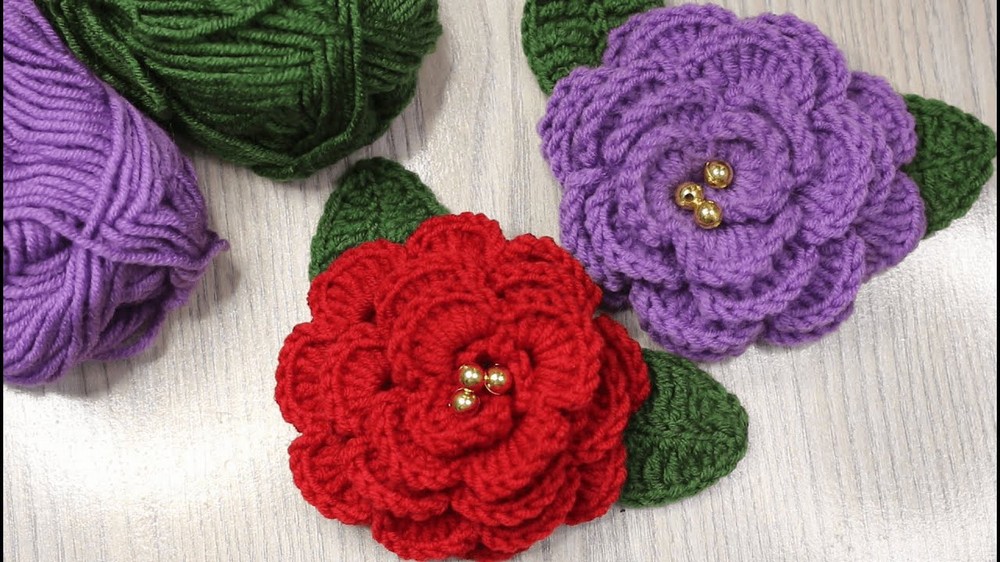
Crochet Flower and Leaf Pattern
Materials Needed
- Yarn: Medium-weight yarn (e.g., Category 4) in colors of choice (e.g., red or pink for the flower and green for the leaf).
- Crochet Hook: 3.5 mm hook.
- Tapestry Needle: For sewing and weaving ends.
- Scissors: For cutting yarn.
- (Optional): Fabric glue for additional security.
Gauge (Optional for this pattern)
The project does not require strict gauge specifications, as flower and leaf size may vary based on personal preferences. However, if you’d like consistency:
- 20–22 single crochets = 4 inches (10 cm) with 3.5 mm hook.
Finished Size
- The flower will measure approximately 2.5–3 inches in diameter (after twisting and stitching).
- The leaf measures 2–3 inches in length, depending on hook tension.
Pattern Overview
- Flower Base: Work a long strip using chains and simple crochets to form petals.
- Twisting & Stitching: Twist the strip into a rose shape and secure with stitches.
- Leaf: Crochet a simple, detailed leaf to complement the flower.
- Stem (Optional): Add a stem or additional leaves for customization.
Pattern Instructions
Flower Pattern
Step 1: Create the Base
- Start with a slip knot on your hook.
- Chain (Ch) 80.
- Turn and begin with single crochets (Sc).
- Row 1: Work 1 single crochet (Sc) into the first chain. Continue making 1 Sc into each chain across.
- You will have 80 single crochets at the end of this row.
- Row 2: Chain 1, turn. Work 1 single crochet (Sc) into the first stitch.
- Start Loops for Petals:
a. Chain 5.
b. Skip 2 stitches from the previous row, and single crochet (Sc) into the third stitch.
c. Repeat this sequence (Chain 5, skip 2 stitches, single crochet in the next stitch) until the end of the row. - This row creates a series of loops for the petals.
- Start Loops for Petals:
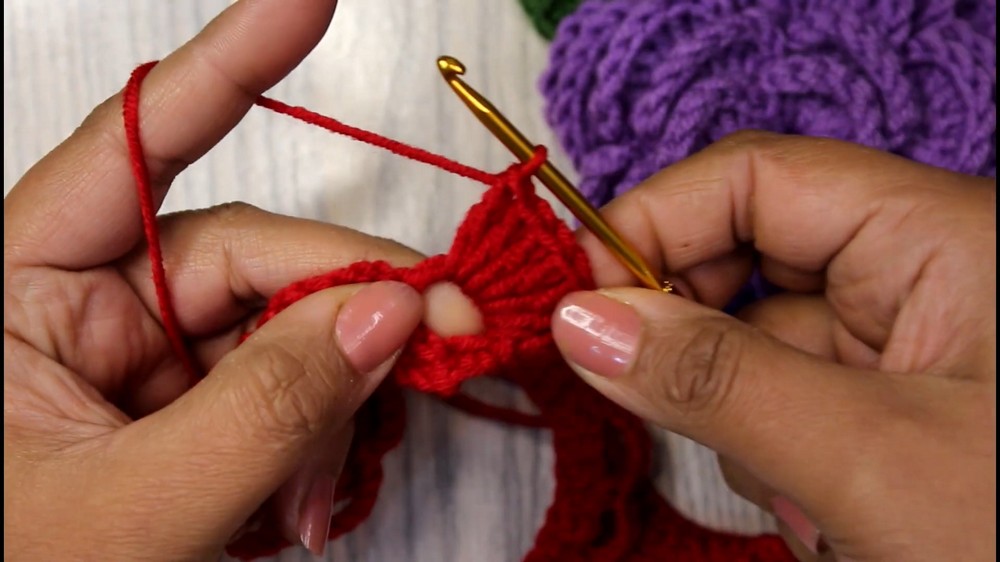
Step 2: Form the Petals
- Row 3: Chain 1, turn.
- Single crochet (Sc) into the first chain-space.
- Chain 1, and work 7 double crochets (Dc) into the same chain-space to create the petal.
- After completing 7 Dc, chain 1, and single crochet (Sc) into the same space.
- Repeat for Each Loop: Continue to the next chain space and repeat the sequence:
- Single crochet (Sc), chain 1, 7 double crochets (Dc), chain 1, and single crochet (Sc).
- Repeat this in each loop until you finish all petals.
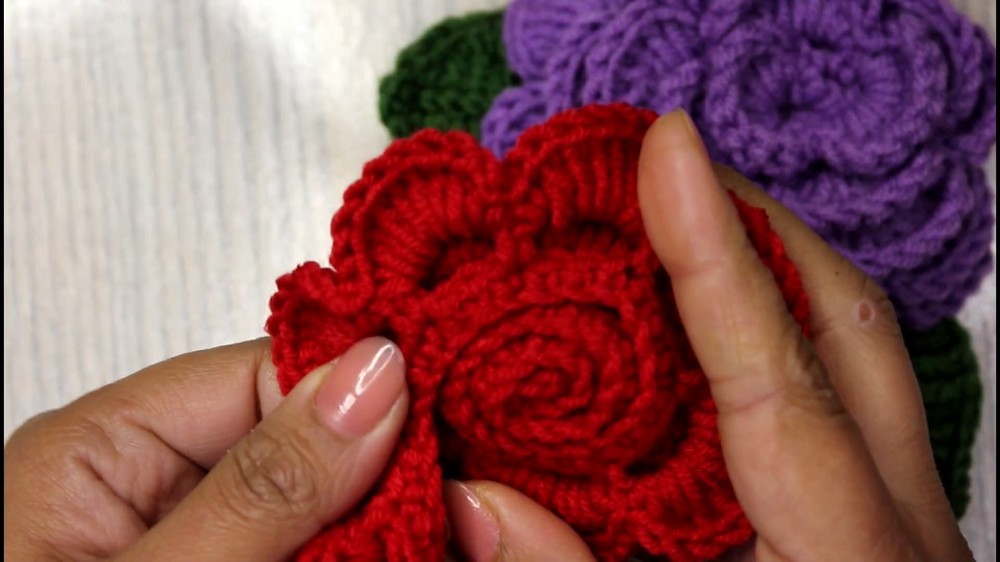
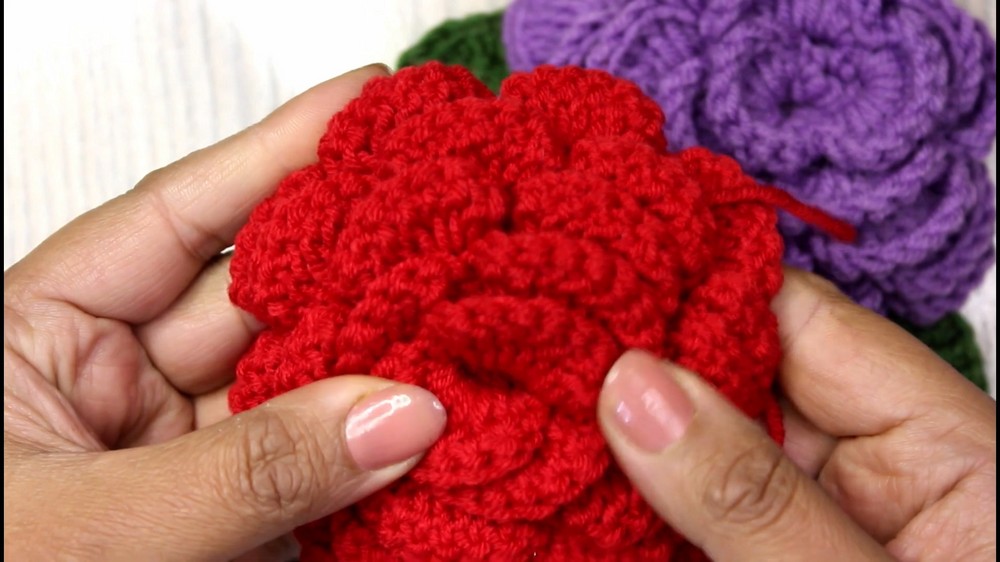
Step 3: Assemble the Flower
- Once all petals are completed, you will have a flat strip resembling petals.
- Twist the strip tightly and gradually form it into a rounded rose shape.
- Align the bottom edges while ensuring the petals overlap naturally for a layered rose appearance.
- Use a tapestry needle to stitch the bottom base of the flower to secure its shape.
Leaf Pattern
Step 1: Base of the Leaf
- Start with a slip knot on your hook.
- Chain (Ch) 15.
- Row 1 (First Half of Leaf):
- Work the following stitches into each chain:
- 1 Single Crochet (Sc) into the first chain.
- 1 Half Double Crochet (Hdc) into the next chain.
- 1 Double Crochet (Dc) into each of the next 2 chains.
- 1 Triple Crochet (Tc) into each of the next 6 chains.
- 1 Double Crochet (Dc) into each of the next 2 chains.
- 1 Half Double Crochet (Hdc) into the next chain.
- 1 Single Crochet (Sc) into the final chain.
- Work the following stitches into each chain:
- Turn your work to move along the other side of the chain.

Step 2: Mirror the Leaf
- Row 2 (Second Half):
- Repeat the same sequence worked on the first side:
- 1 Single Crochet (Sc), 1 Half Double Crochet (Hdc), 2 Double Crochet (Dc), 6 Triple Crochet (Tc), 2 Double Crochet (Dc), 1 Half Double Crochet (Hdc), and 1 Single Crochet (Sc).
- Repeat the same sequence worked on the first side:
- Finish the row with a Slip Stitch (Sl St) into the first stitch to join both sides.
Step 3: Add the Vein (Optional)
- To add the central vein:
- Work a line of single crochet (Sc) along the middle of the leaf, from the tip to the base.
Customization Ideas
- Color Combinations: Use variegated yarns for gradient effects.
- Add Beads: Incorporate beads into the petals for extra sparkle.
- Layering Flowers: Create multiple flower layers (large on the bottom, small on top) for a fuller rose.
- Bouquet: Combine several flowers and leaves into a bouquet by attaching them to floral stems.
Tips for Best Results
- Keep your tension consistent to ensure smooth petals and a uniform flower.
- When twisting the flower petals, experiment with tightness to achieve the desired fullness.
- Use a contrasting color for the leaf vein for added detail.
- Secure the flower with extra stitches or fabric glue for lasting durability.
Conclusion and Remarks
Congratulations! You have now completed a stunning crochet rose with a beautifully detailed leaf. This simple yet elegant project is perfect for beginners exploring crochet projects or for experienced crafters looking for customizable embellishments.
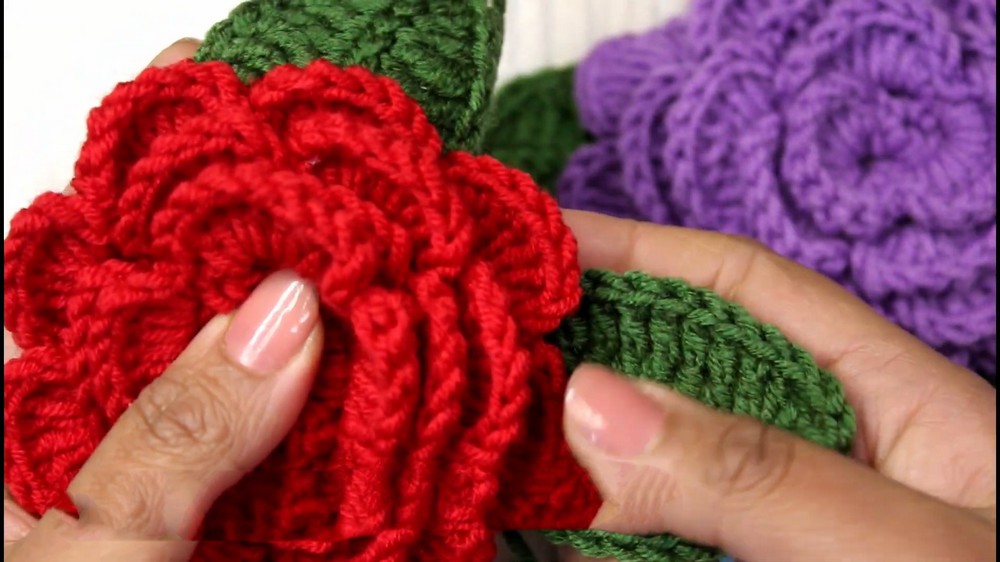
Final Look:
The flower has a soft, layered petal structure, while the leaf provides natural detail with its curved edges and vein. Together, they resemble a life-like rose, making them ideal for decorating your favorite items.
Leave a Reply