
Unlock the charm of a Free Crochet Window Pane Cropped Sweater Pattern that’s stylish, breathable, and perfect for upgrading your wardrobe with a unique flair.
There’s something special about wearing a trendy sweater that feels like a hug. The Free Crochet Window Pane Cropped Sweater pattern is a beautiful choice for anyone who loves fashion with a unique, handmade touch. Featuring an elegant windowpane design, this sweater stands out with its clean lines and cozy, breathable texture. It’s perfect for layering over a tank top or pairing with high-waisted pants, giving you a stylish look that works for both casual outings and special days.
Crochet Window Pane Sweater – Perfect for Any Occasion
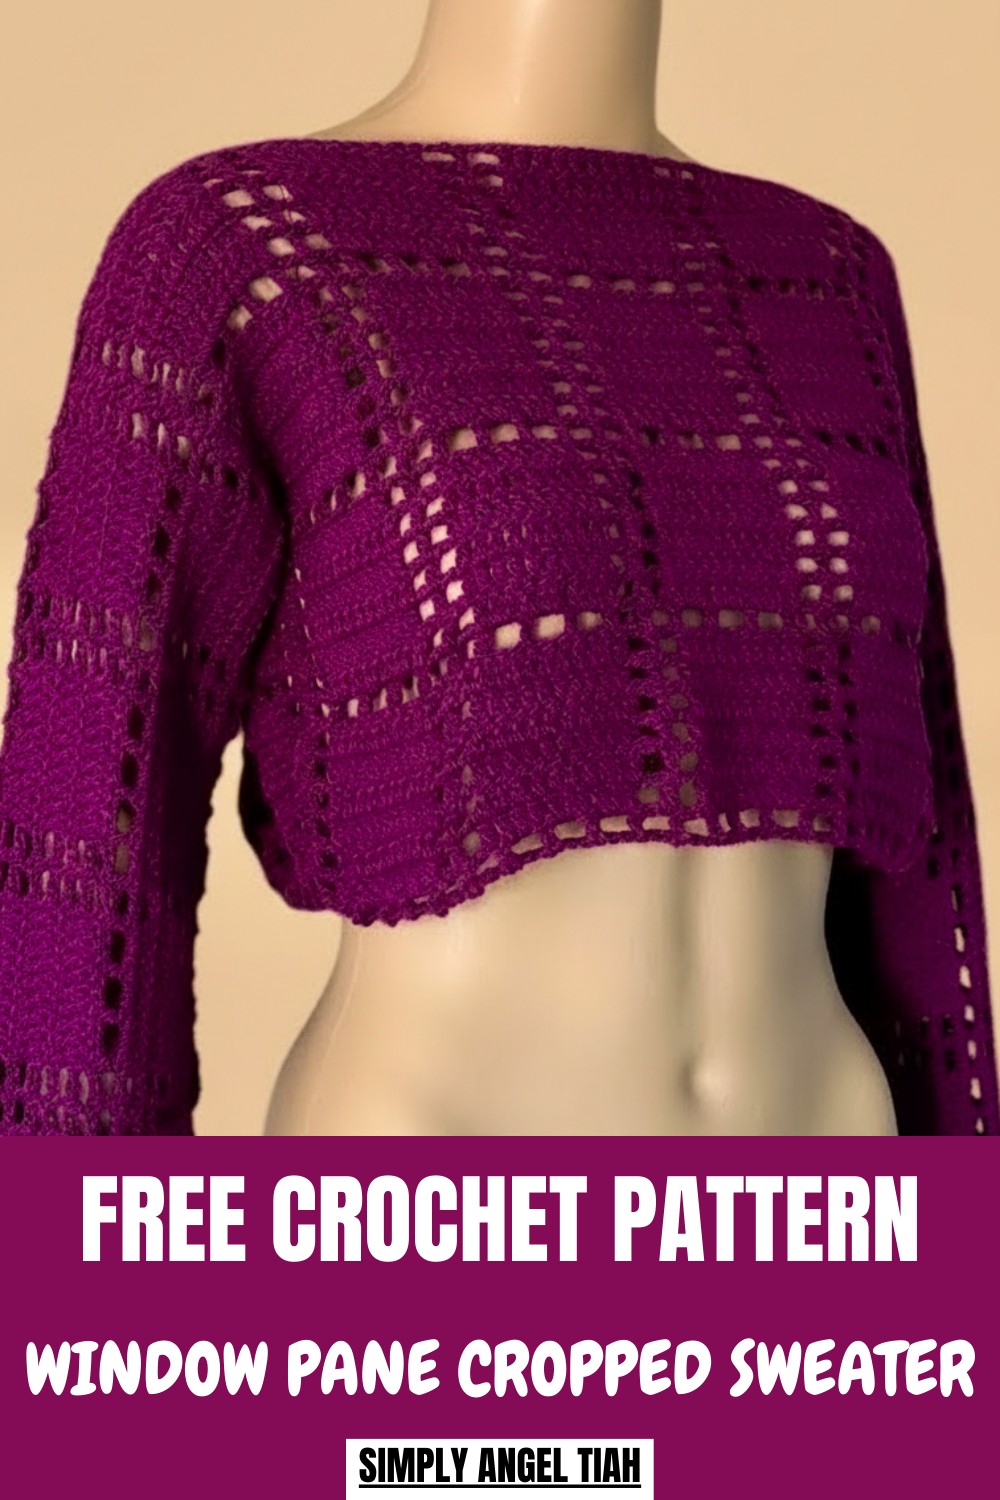
The cropped fit adds a modern vibe, while the classic crochet pattern keeps it timeless. Whether you’re relaxing at home or stepping out for a breezy evening walk, this sweater combines comfort and style effortlessly. With its versatile design, it’s the perfect addition to any wardrobe and a wonderful way to show off your creativity. This pattern makes it easy to create a garment that’s as special as you are.
Crochet Crop Raglan Sweater Pattern
Finished Size
- Bust Size: Approximately 34 inches (small size).
- Sweater Length: 12 inches (crop style).
- Sleeve Length: Measured from wrist to armpit; approximately 17 inches.
- Neckline Width: User-defined during assembly.
Materials Needed
- Yarn:
- Type: Azerite 100% Acrylic Yarn
- Weight: Lightweight #3
- Color Used: Purple (Color Code: 0303)
- Yarn Quantities: Approximately 5 skeins for the crop sweater (will vary depending on the size). Each skein contains 50g (140m).
- Crochet Hook:
- 5.0mm crochet hook (H-8 US).
- Other Tools:
- Stitch markers (optional, for marking parts like the neckline and panel alignment).
- Scissors.
- Darning/Tapestry needle for weaving in ends and joining panels.
- Measuring tape.
Gauge
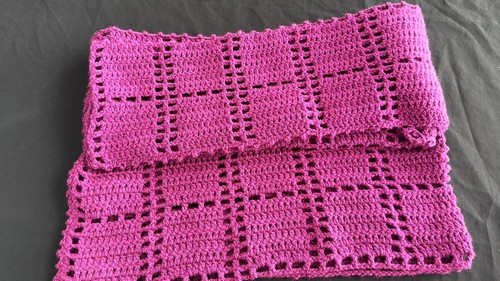
- Mesh Section: Approximately 1 box (comprising 10 solid stitches and 5 mesh stitches) measures 3 inches square.
Special Techniques
This pattern makes use of mesh designs, panel construction, and joining techniques. Key techniques include:
- Foundation Chains: Multiples of 15, enhanced with 9 extra chains for adjustments.
- Mesh Stitches: Chain 2 space paired with double crochets.
- Clean Joining: Stitch panels together by matching loops for a seamless finish.
- Length Customization: Measure against your body for exact fit.
Pattern Instructions
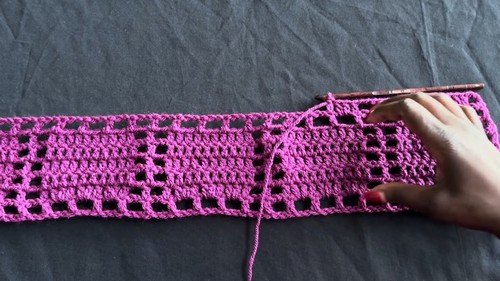
Step 1: Body Panels
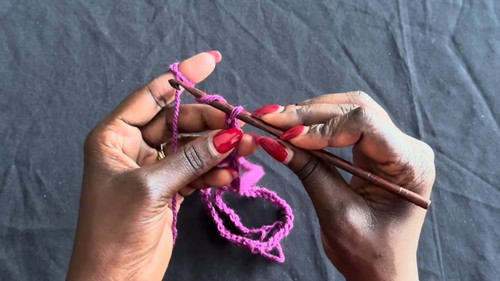
- Foundation Chain:
Work in multiples of 15, adding 9 chains extra for the start and end adjustments.
For a small crop sweater, chain 79 (70 chains for the repeat, 9 for adjustments).Tip: The final chain length depends on your bust measurement divided by 2 (front and back panels). - Row 1 – Mesh Setup:
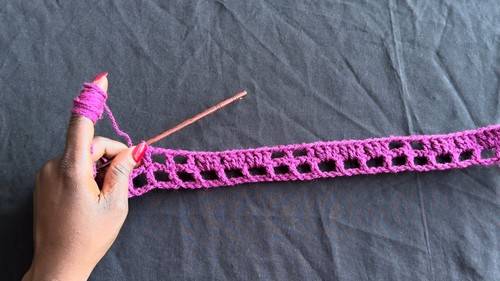
- Skip 6 chains, work one DC (double crochet) into the back loop of the 7th chain. [Mesh foundation creates a chain two double crochet sequence.]
- Chain 2, skip 2 chains, and work 1 DC into the back loop of the next chain.
- Repeat this mesh pattern until the end of the row.
- Row 2 – Solid Stitch Setup:
- Begin with a chain 4 and turn.
- Work 1 DC on top of the previous row’s DC stitch.
- Work 2 DCs into each chain-2 gap. Continue until 10 DC stitches are completed.
- Create a mesh section: chain 2, skip the chain-2 space, work 1 DC into the next DC stitch.
- Repeat alternating 10 solid DC stitches and mesh (5 stitches) until the end of the row.
- Continue Repeating Rows:
- Alternate between solid rows and mesh rows.
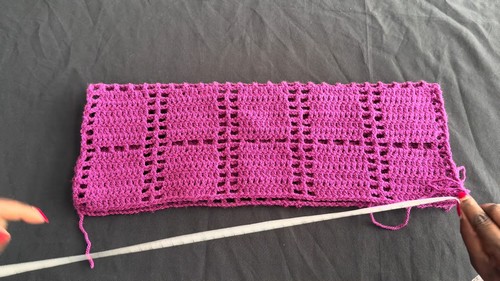
- Repeat this six-row sequence (one mesh row followed by five solid rows) until you achieve your desired panel length.
- For a crop sweater, follow the video example: 12 inches or 4 mesh boxes in total.
- Cut yarn, leaving a long tail for joining.
Step 2: Sleeve Panels
- Follow the exact same pattern as the body panels to make two identical sleeves.Customization Tip:
- Adjust sleeve width for looser or tighter fits based on the widest part of your upper arm.
- Sleeve length follows wrist-to-armpit measurement (approximately 17 inches).
Step 3: Assembly
- Neckline Assembly:
- Lay out the two body panels with insides facing each other.
- Decide width for the neckline (e.g., skip stitches until the shoulder row begins).
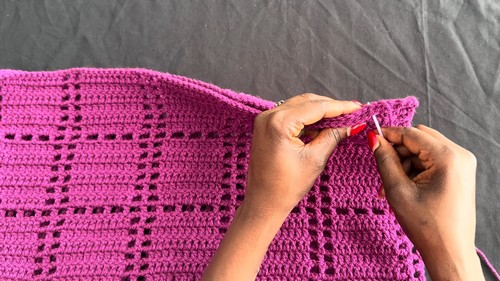
- Using the darning needle and leftover yarn, ensure both panels line evenly and stitch across the shoulder rows to create the neckline seam.Joining Technique:
- Begin with the first stitch from each panel, matching loops perfectly.
- Work through both strands of loops to secure tightly.
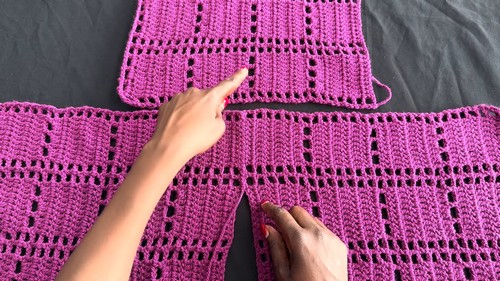
- Attach Sleeves:
- Place each sleeve panel flat against the body panels.
- Match the “mesh middle section” of the sleeve to the shoulder seam for even placement.
- Use stitch markers for easier alignment.
- Side and Sleeve Seams:
- Fold the sweater so both front and back body panels, along with sleeves, are inside out.
- Seam along each side, continuing through the sleeve to its edge.
- Repeat the process on both sides for uniform assembly.
Tips & Customization Ideas
- Length Adjustments:
- Add more rows of mesh and solid repeats for a longer sweater.
- Fit Adjustments:
- Choose wider or narrower panels for a loose or fitted look.
- When measuring for sleeves, ensure the sleeve opening fits the widest part of your arm.
- Neckline Customization:
- Try edging stitches around the neckline for a polished look.
- Add ribbing if desired using single crochet or slip-stitches.
- Color Options:
- Create a striped look by swapping yarn colors between panels.
- Mix and match prints for a bold design.
- Hem Options:
- Add ribbing or fringe detailing to the bottom of the sweater and sleeves for a unique finish.
Conclusion and Final Look
The Free Crochet Raglan Sweater (Crop Version) offers a cozy, lightweight piece that’s stylish and versatile. The mesh sections add texture, while the solid areas create a structured appeal. With the ability to customize color, length, and fit, this pattern is ideal for beginner to intermediate crocheters.
Leave a Reply