
Try stitching your way to stylish comfort with this free crochet short pattern which is for personalizing colors, sizes, and textures for every occasion.
Creating something by hand always carries a special charm, especially when it turns into a gorgeous piece of clothing. A free crochet short pattern offers a perfect way to craft a stylish and comfortable pair of shorts that fit beautifully into any casual or summer wardrobe. The intricate crochet design gives it a striking texture, making it not just a piece of clothing but a work of art.
Free Crochet Short Pattern You’ll Love to Wear Anywhere
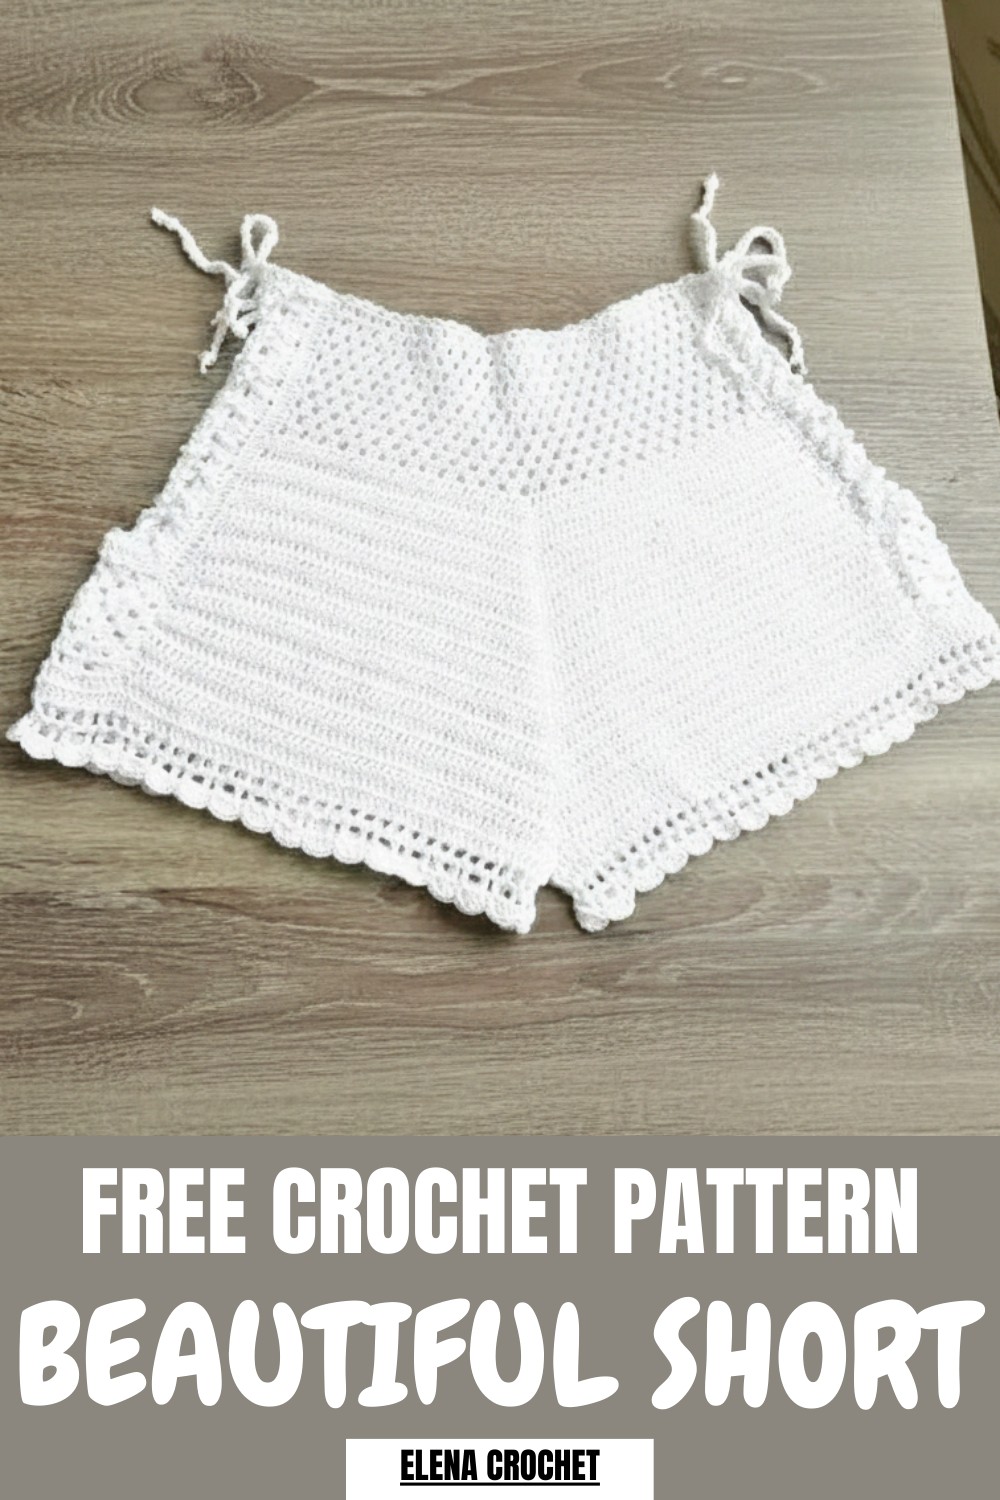
Its lightweight and breathable fabric make it ideal for sunny days or relaxed evenings indoors. The beauty of this pattern lies in its customization, you can choose your favorite colors, adjust the fit, and even personalize small details to match your preferences. Both practical and stylish, it’s a perfect choice for anyone who appreciates handmade creations. Whether as a thoughtful gift or a cozy addition to your own wardrobe, this crochet short pattern brings elegance and simplicity to everyday wear.
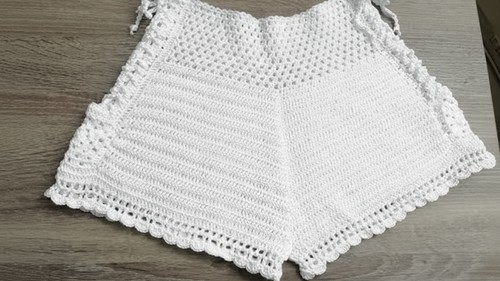
High-Waisted Crochet Shorts Pattern
Skill Level
Intermediate to Advanced. This pattern requires a good understanding of basic crochet stitches, increases, decreases, and working with shaping.
Materials
- Yarn: 100% mercerized cotton yarn, recommended DK weight. (Approximately 120–150 grams depending on size).
- Hook Size: 2.5 mm crochet hook.
- Additional Tools:
- Measuring tape (for accurate sizing).
- Scissors (for cutting yarn).
- Stitch markers or contrasting yarn (to mark the center and key points).
- Tapestry needle (for weaving in ends).
Abbreviations (US Terminology)
- CH: Chain
- SC: Single Crochet
- DC: Double Crochet
- HDC: Half Double Crochet
- SL ST: Slip Stitch
- SP: Space
- ST: Stitch
Special Notes
- Custom Fit Tips:
- Measure your waist and hips accurately to determine the number of chains and overall size.
- Plan final shorts length based on the number of rounds. Add or reduce rounds as needed.
- Adjusting for Sizes:
- The size chart provided (XS–XL) uses waist circumference as a guide. You’ll subtract 15 cm (6 inches) to account for the elasticity of the fabric when crocheting your starting chain.
- Pattern Symmetry: It’s best to ensure an odd number of rings or motifs when creating the waist and upper body sections. This makes dividing the front and back sections easier.
Measurements for Reference Sizes (Standard Waist Circumference)
| Size | Waist (cm) | Subtract (15 cm) | Net Circumference |
|---|---|---|---|
| XS | 68–75 | 53–60 | 53–60 cm |
| S | 76–82 | 61–67 | 61–67 cm |
| M | 83–89 | 68–74 | 68–74 cm |
| L | 90–96 | 75–81 | 75–81 cm |
| XL | 97–105 | 82–90 | 82–90 cm |
Pattern Instructions
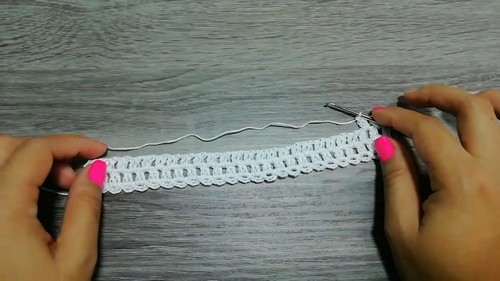
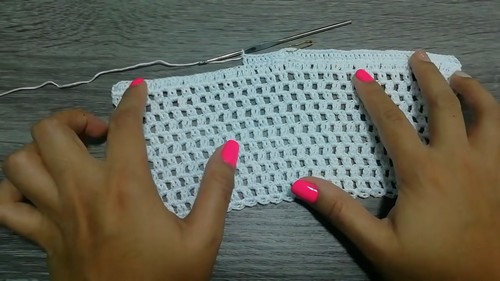
Step 1: Waistband
- Foundation Chain:
- Create a slip knot and crochet your initial chain to match the net circumference (post-subtraction) from your size measurements. E.g., for 28 cm width, I chained to create 25 rings.
- Ensure the number of chains makes an odd number of chain spaces/rings.
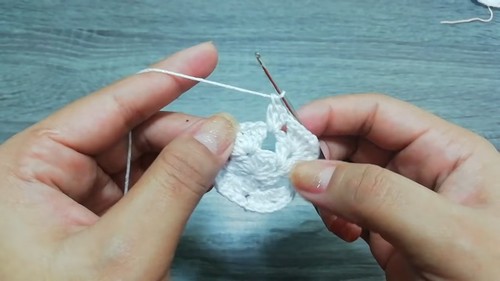
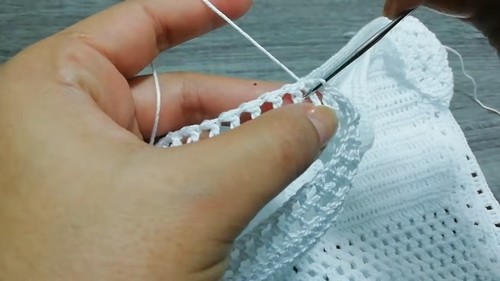
- Row 1: Starting Rings:
- CH 3 (counts as the first DC), work 1 DC into the first chain.
- CH 3, DC into the space between the previous CH-3 and the first DC.
- Repeat [CH 3, DC into space] until you reach the desired length (e.g., 28 cm for size S, approximately 25 rings).
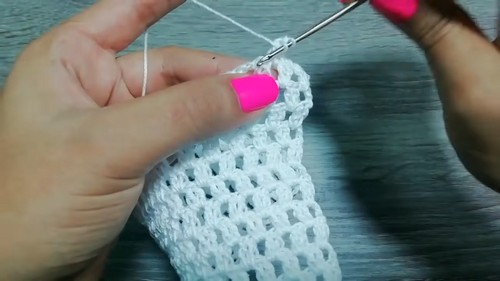
- Row 2 and Beyond:
- CH 3, work 2 DC into each chain space from the previous row.
- CH 1 between groups of 2 DC.
- Repeat until you reach desired waistband height:
- XS: 8 rows (approximately 8 cm tall).
- S: 9 rows (approximately 9 cm tall).
- M: 10 rows (approximately 10 cm tall).
- L: 11 rows (approximately 11 cm tall).
- XL: 12 rows (approximately 12 cm tall).

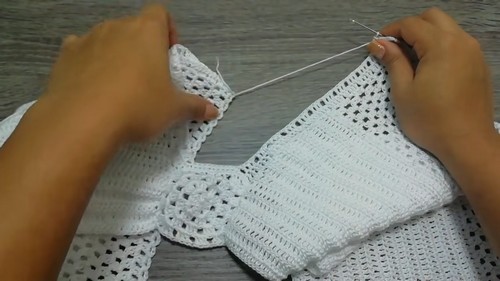
Step 2: Hip Section
- Dividing the Waistband Into Front and Back:
- Mark the front and back portions of the band by equitably dividing the total rings or chain spaces into two halves. (e.g., 25 rings ≈ 12 front, 12 back, with 1 centered ring left over).
- The front portion will be shaped flatter, while the back portion will have more rows and increased shaping.
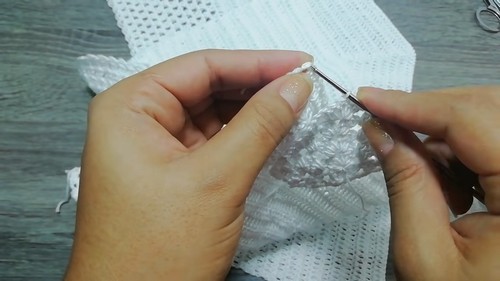
- Front Section:
- Work DC stitches in each space and stitch from the waistband foundation (no CH between groups).
- In the centermost space (marked), increase by working 3 DC into the same space.
- Mark the center DC of the increase with a stitch marker.
- Shaping the Front:
- Continue working rows of DC stitches, increasing in the center-most stitch of marked spaces every row until you reach 19 cm (for size S) in height.
- Stop further body increases and ensure symmetry when finishing.
- Back Section:
- Follow identical steps for the back as you did for the front, adding 4 extra rings/chains for more width and coverage.
- Work increases in the center-most marked point as shown above.
Step 3: Legs
- Dividing Legs:
- Once the front and back panels are complete, measure the crotch width (approx. 8 rows) to define the separation for the leg holes.
- Leg Work:
- Attach yarn at the crotch seam and work DC stitches around one leg hole.
- Continue evenly spaced DC rounds for two rounds.
- Final Leg Detail:
- For decorative finishing, work [HDC stitches, SC stitches, and chain spaces] around the leg opening.
- Repeat For Other Leg.
Step 4: Side Strips
- Add a drawstring/tie closure to the waistband loops created during the initial rows.
- CH approximately 215 chains (for a double-yarn pull) and thread the drawstring through the waistband loops.
Step 5: Finishing Touches
- Use a single crochet edging on all raw edges of the shorts for a clean finish.
- Weave in all loose ends.
- Block the shorts using steam or light blocking to set the shape and smooth out any uneven stitches.
Conclusion
Congratulations on successfully finishing your beautiful high-waisted crochet shorts! This custom creation is suitable for summer or lounging around, and the high waist provides both comfort and a flattering fit. By adjusting lengths or finishes, you can personalize these shorts to match your style.
Tips for Success
- Use a cotton-based yarn for breathable and stretchable fabric.
- Always measure your work regularly to prevent size discrepancies.
- Experiment with colors to add your unique twist—try multicolored yarn or stripes!
Pattern Corrections
- Ensure foundation chains result in an odd number of rings to correctly position increases.
- Count stitches carefully when adding increases and shaping the front/back portions.
Leave a Reply