
Carry your EarPods in style with this free crochet EarPod holder pattern, offering a simple and charming solution for protecting your EarPods every day.
Keeping your EarPods safe and tangle-free has never been this easy and stylish. With the free crochet EarPod holder pattern, you can create a handy and beautiful case that adds a touch of creativity to your everyday life. This holder is designed to keep your EarPods secure while making it easy to find them in your bag or pocket. Its compact size and charming design make it a unique accessory that stands out.
Free Crochet EarPod Holder Pattern for Music Lovers
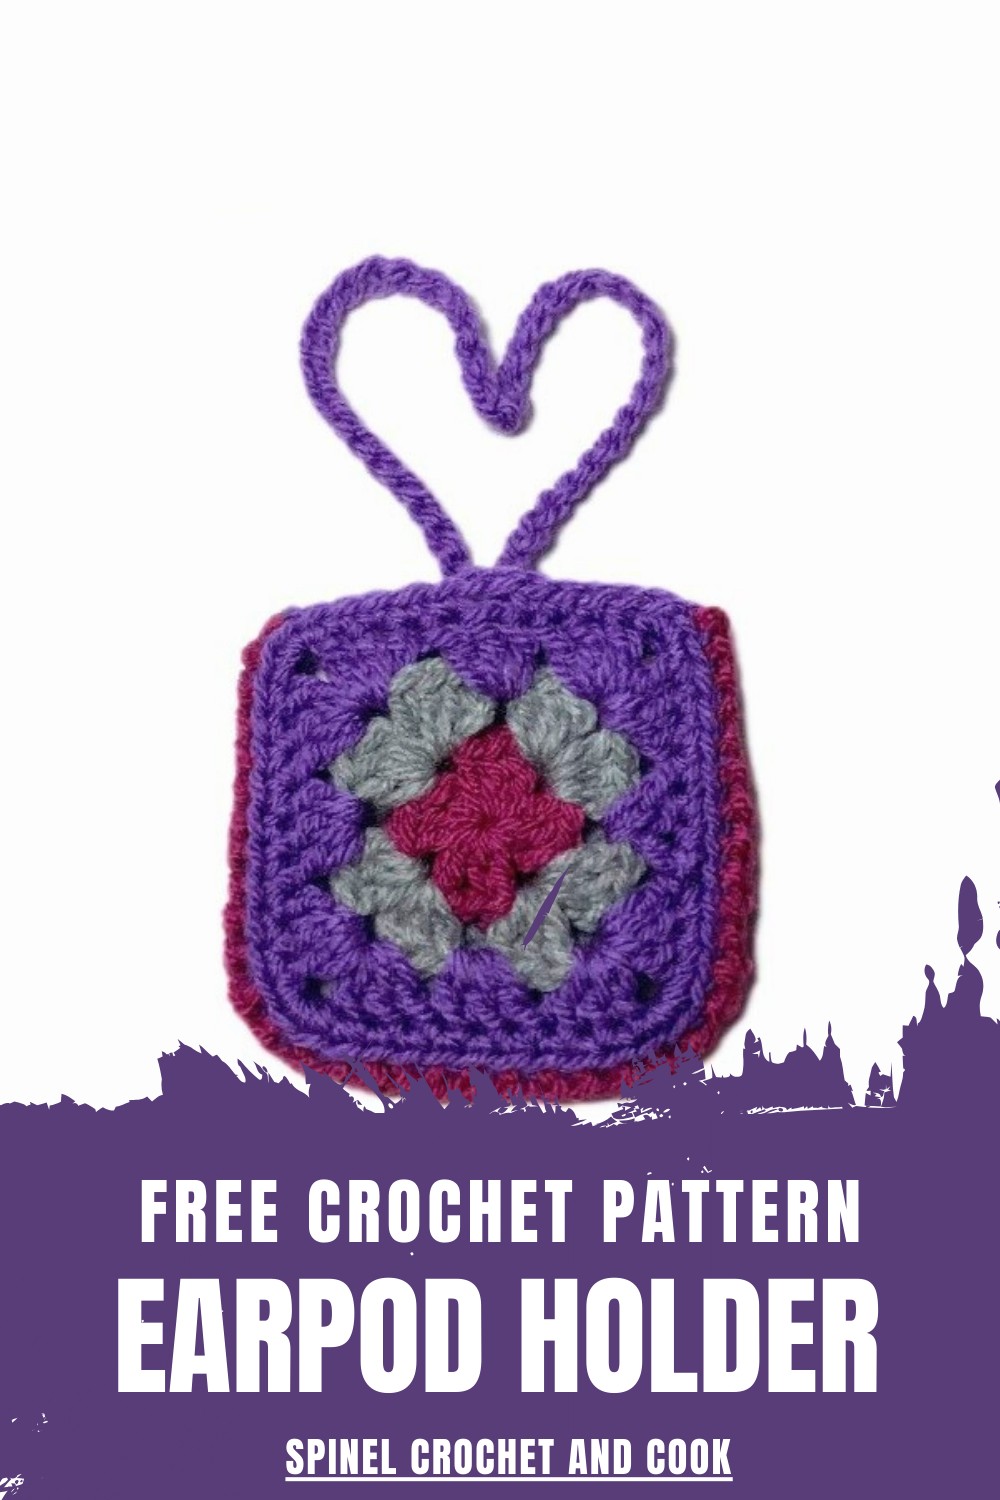
The soft crochet material not only protects your EarPods but also gives the holder an elegant and handmade feel. You can choose fun colors and patterns to match your personality and style. Whether it’s for yourself or as a thoughtful gift for a loved one, this crochet EarPod holder is as practical as it is eye-catching.
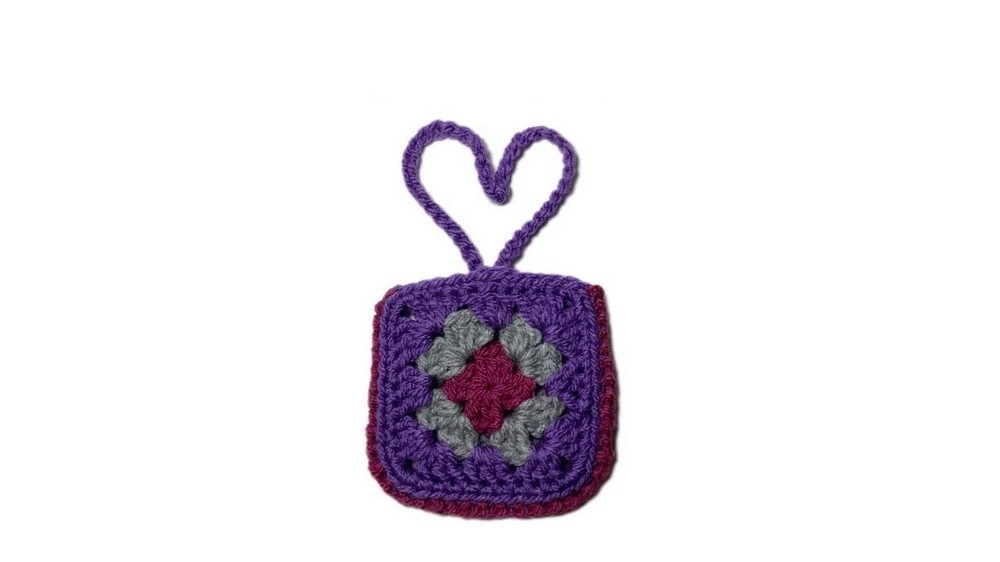
Granny Square Pouch Crochet Pattern
Skill Level
Beginner to Easy
Materials
- Yarn: Three colors of medium-weight yarn (e.g., worsted weight or acrylic yarn). Choose complementary colors for the granny square pattern.
- Hook Sizes:
- 4.5 mm hook for granny squares and loop.
- 3.5 mm hook for the joining and edging.
- Optional Tools:
- Tapestry needle for weaving in ends.
- Scissors.
- Stitch marker (optional).
- Small decorative items (e.g., sequins or buttons) for embellishment.
Gauge
Gauge is not critical for this project, but ensure that your stitches are consistent.
Key Abbreviations
- ch: Chain
- sl st: Slip Stitch
- dc: Double Crochet
- sc: Single Crochet
- yo: Yarn Over
- st(s): Stitch(es)
Special Techniques
1. Magic Circle (Magic Ring)
The magic circle is used to create a tight, seamless center for the granny square. To make:
- Loop the yarn around two fingers to form a circle, with the working yarn crossing over the tail at the back.
- Insert the hook under the first loop and pull the second loop through.
- Chain tightly to secure the ring.
Pattern Instructions
The pouch is made by creating two granny squares and joining them with a decorative edging.
Step 1: Granny Square (Make 2)
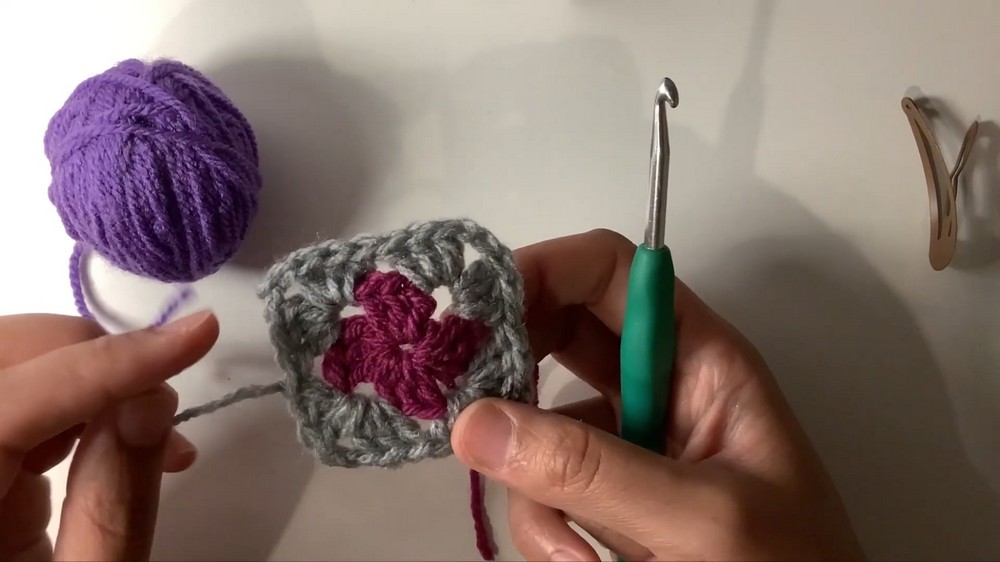
Round 1:
- Start with a magic circle.
- Chain 2 (counts as 1st dc). Work 2 dc into the ring.
- Chain 2 (corner), then work 3 dc into the ring. Repeat this step 3 more times to create 4 groups of 3 dc clusters, separated by chain-2 spaces.
- Pull the tail to close the center. Slip stitch into the top of the chain-2 to join.
- Chain 1 and fasten off.
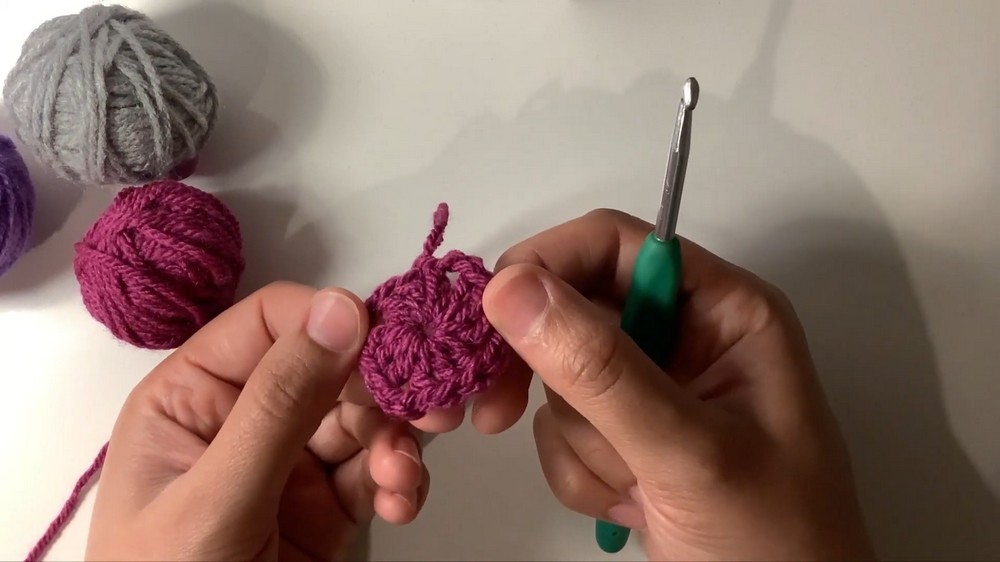
You should now have a square with 4 groups of double crochet separated by chain-2 spaces in the corners.
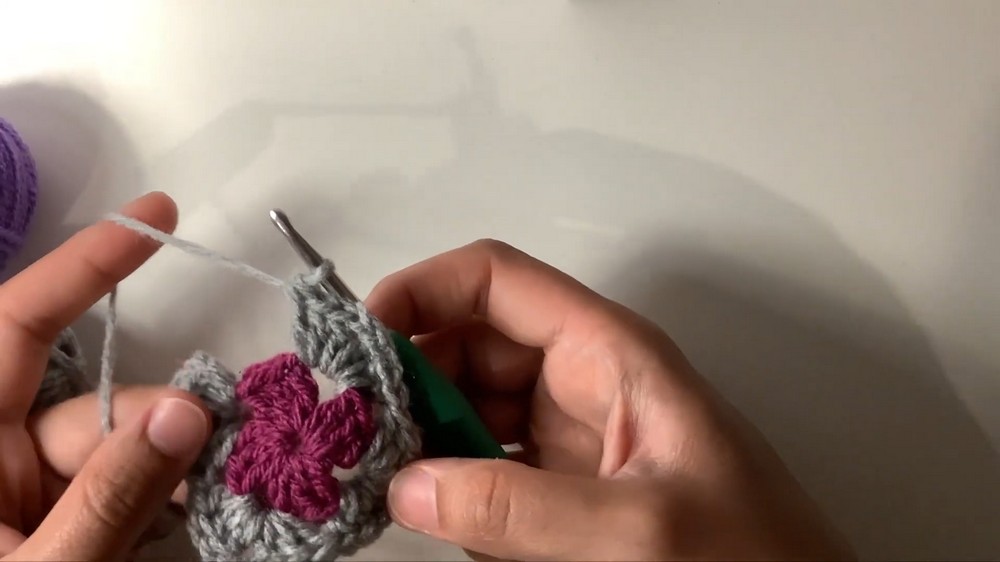
Round 2:
- Attach the second color yarn to any chain-2 corner space.
- Chain 2 (counts as 1st dc). Work 2 dc into the same corner space.
- Chain 2. Work 3 dc into the same corner space (corner is now formed).
- Without chaining, move to the next chain-2 corner space. Work 3 dc, chain 2, 3 dc.
- Repeat Step 4 for the remaining 2 corners. Join with a slip stitch to the top of the starting chain-2. Chain 1 and fasten off.
Round 3:
- Attach the third color yarn to any chain-2 corner space.
- Chain 2 (counts as 1st dc). Work 2 dc into the same corner space, chain 2, and 3 dc into the same space (corner is now formed).
- In the next space (between the granny clusters): Work 3 dc (side cluster).
- Move to the next chain-2 corner space. Work 3 dc, chain 2, 3 dc.
- Continue working 3 dc into side spaces and corner stitches (3 dc, chain 2, 3 dc) around.
- Join with a slip stitch to the top of the starting chain-2. Chain 1 and fasten off.
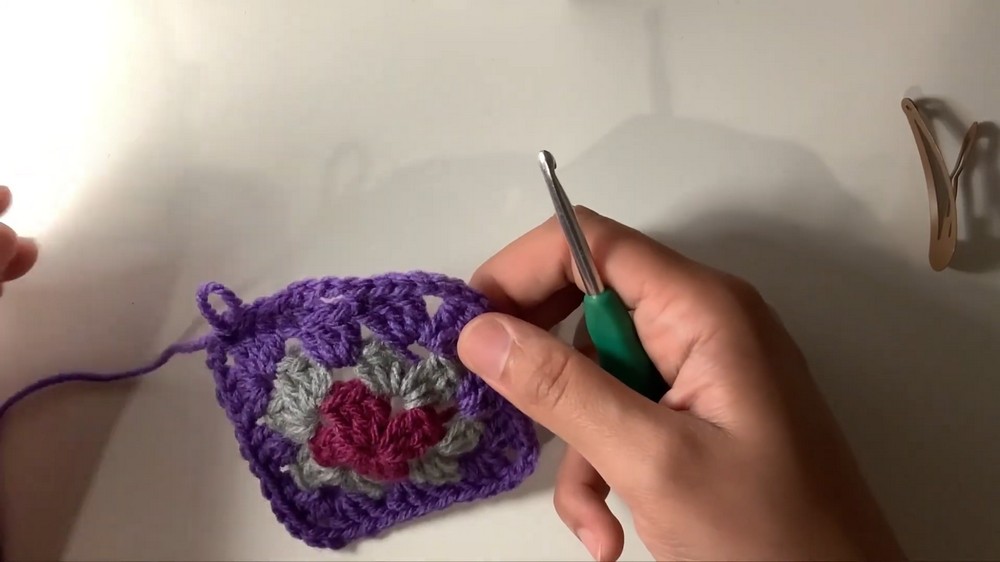
Step 2: Single Crochet Edging on Granny Squares
- Use the same color as your initial round for consistency. Attach the yarn to any corner chain-2 space.
- Work 1 sc into each stitch and 3 sc into each corner chain-2 space.
- Fasten off and weave in ends.
Repeat for your second granny square.
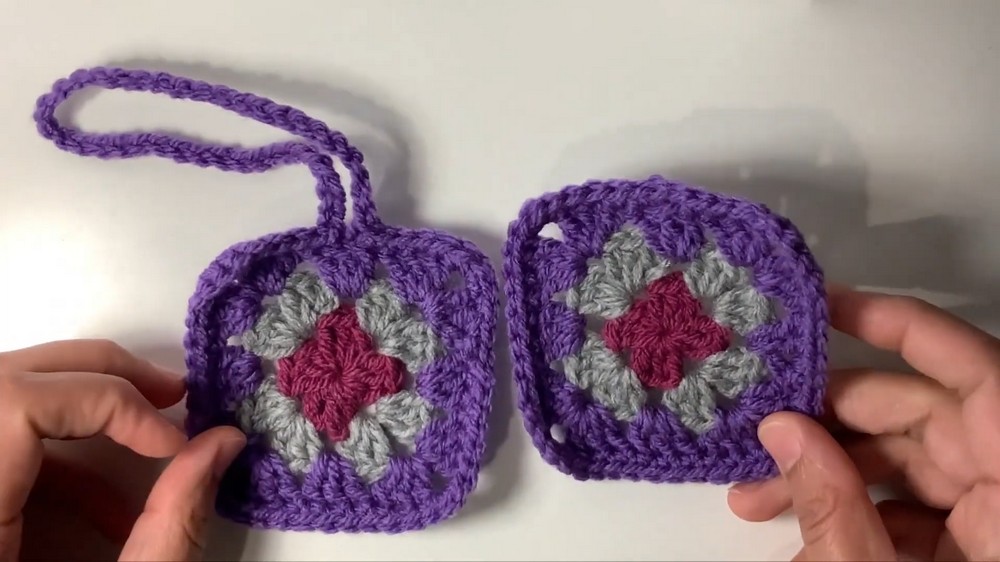
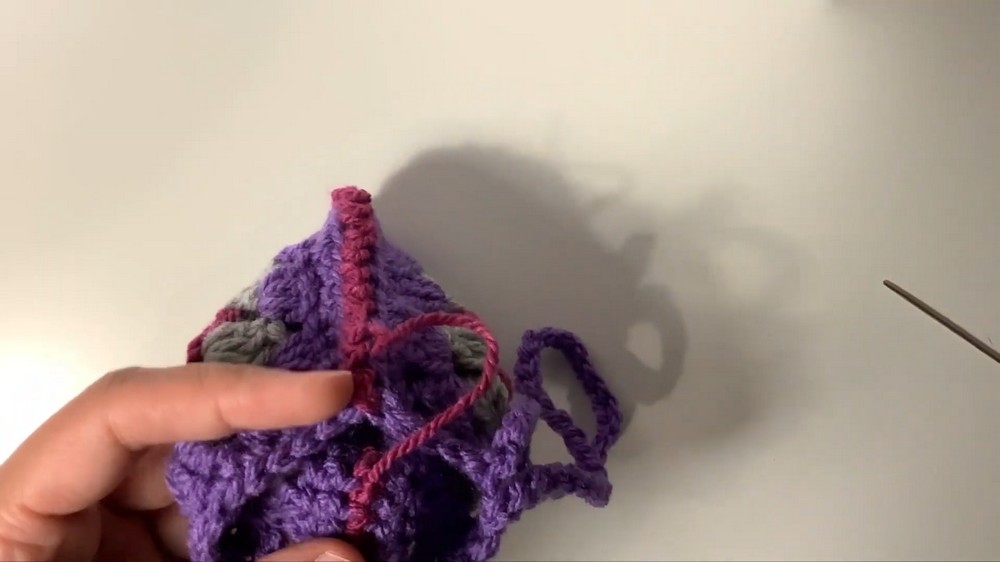
Step 3: Long Chain Loop
- Attach your yarn to the first granny square at the designated point where the loop will begin.
- Chain 40. (Adjust if needed for desired loop length.)
- Slip stitch into the starting point of the chain to form a loop.
- Fasten off and weave in ends.
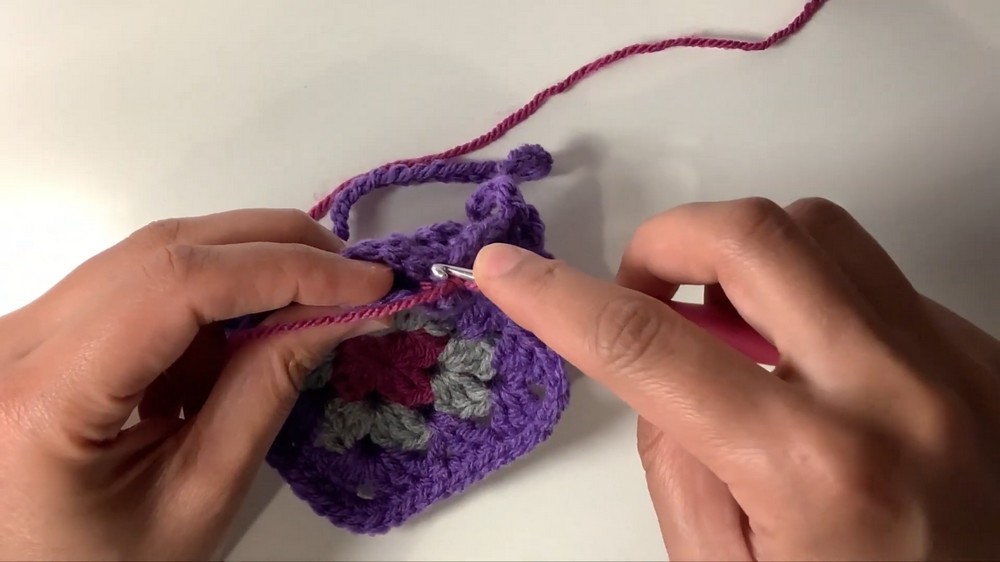
Step 4: Joining the Squares
- Place the two granny squares wrong sides facing each other. Use stitch markers to clip them together for convenience.
- With a 3.5 mm hook, attach a contrasting color yarn to the center stitch of any corner.
- Working through the back loops only, align the two squares and:
- Insert the hook through the back loop of the front square and the back loop of the back square, pull through and make a sl st.
- Continue slip stitching across all edges to join the two squares.
- Leave the top side open for the pouch. Fasten off and weave in ends.
Finishing Touches
- Ensure all ends are woven in securely using a tapestry needle.
- Use a smaller hook to tighten slip stitch joins if needed.
Final Assembly
- Place the side with the loop on top, ensuring that both granny squares align.
- Pass the long chain loop through the slit on the opposite square to close the pouch.
- Decorate with buttons, beads, or fringes for added personality, if desired.
Final Words
Congratulations on completing your Granny Square Pouch! This project is a wonderful small item to make as a gift or a functional accessory for your bag. Customize the pouch by experimenting with colors or adding extra embellishments like small tassels or beads.
Pattern Corrections
- Ensure symmetry by keeping consistent stitch counts when joining squares.
- Take care to align the single crochet stitches on both squares during the slip stitching for a neat and polished finish.
Tips for Success
- Switch hooks as needed to avoid puckering when joining edges or creating the edging.
- Weave in ends after each round if possible to maintain a clean and tidy finish.
Leave a Reply