
Grab the free Crochet Ophelia Vest pattern and whip up a playful, comfy layer that turns simple outfits into fun, head‑turning looks in no time.
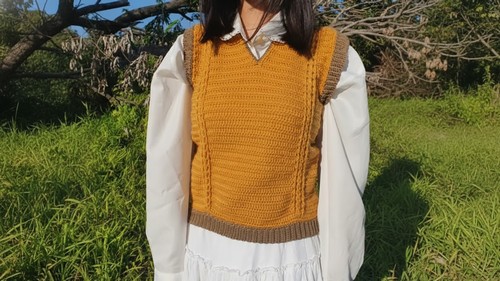
A handmade vest can turn any outfit into something special, and the Ophelia Vest is no exception. With its elegant and timeless style, the free crochet Ophelia Vest pattern helps you create a lightweight, breathable piece that’s perfect for layering in all seasons. It features a gorgeous textured design that adds a cozy, artisanal touch to your look, whether paired with dresses, jeans, or skirts.
Free Ophelia Vest Crochet Pattern for Every Season’s Outfit
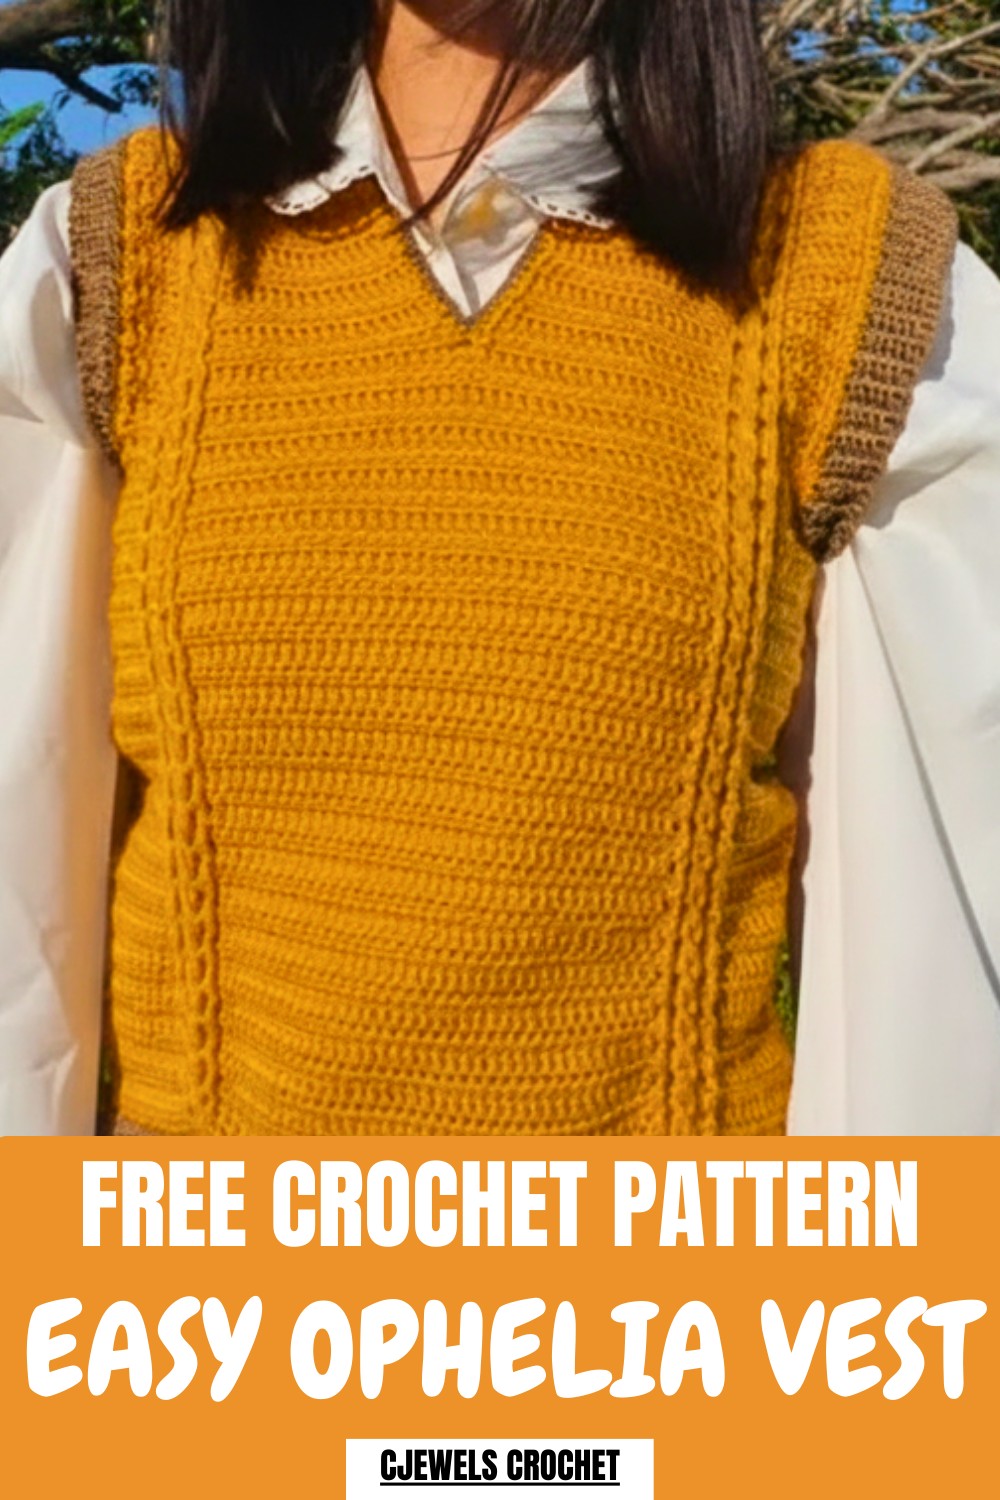
The vest’s flattering fit and soft drape make it comfortable to wear while giving your outfit a polished and creative vibe. Its beauty lies in its intricate yet easy-to-learn crochet details, making it an enjoyable project for beginners and experienced crafters alike. Beyond its appearance, this free vest pattern is customizable, so you can experiment with yarn colors to match your personal style. A true wardrobe staple, the Ophelia Vest combines practicality and charm, perfect for everyday wear or gifting.
Crochet Vest with Simple Cable Stitch – Detailed Pattern
Finished Size
- This pattern is for a size small vest (approximately 15 inches across after foundation row).
- To adjust the size: Increase or decrease the number of foundation chains and rows. Refer to the customization section.
Materials
- Yarn: Medium weight/size 4 yarn or any suitable yarn of your choice.
- Crochet Hook: 5mm (U.S. size H) or as appropriate for your yarn choice.
- Scissors
- Yarn Needle/Tapestry Needle: For sewing and weaving in ends.
- Stitch Markers: Highly recommended for V-neck shaping and symmetry.
- Measuring Tape: To ensure correct sizing.
Gauge
- 10 stitches x 7 rows of half double crochet = 4 inches (10 cm).
- Adjust your hook size if your gauge doesn’t match this.
Special Techniques
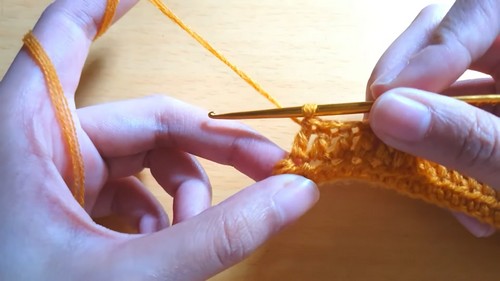
1. Front Post Treble Crochet (FPTC):
- Yarn over twice, insert your hook around the post of the designated stitch (from front to back).
- Yarn over, pull up a loop, yarn over, and draw through 2 loops—repeat twice until one loop remains.
2. Two Half Double Crochet Together (HDC2Tog – Decrease):
- Yarn over, insert the hook into the first stitch, pull up a loop. Yarn over, and insert the hook into the next stitch, pull up a loop again. Yarn over, pull through all 5 loops on the hook.
Step-by-Step Pattern
Foundation Row
- Start with a slip knot.
- Create a foundation chain measuring the width of your top. For size small: Chain 78 for approximately 15 inches.
- Chain 3 (counts as your first half double crochet for the next row).

Begin Row Repetitions
Row 1 (Half Double Crochet Row):
- Make a half double crochet (HDC) in the third chain from the hook and in every chain across.
- Turn your work.
Row 2 (Double Crochet Row):
- Chain 2 (counts as 1st DC) and turn your work.
- Work double crochet (DC) in every stitch across, ensuring that you place the final DC on the last stitch.
- Turn your work.
Row 3 (Half Double Crochet Row):
- Chain 2, turn your work, and create an HDC on the very first stitch and all remaining stitches across.
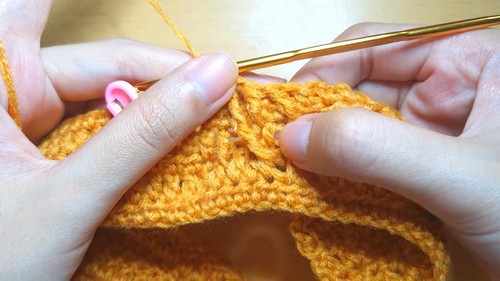
Row 4 (Cable Stitch Row – Introducing Pattern):
- Chain 2 (counts as 1st DC) and turn your work.
- Begin by making 10 DC in the next 10 stitches.
- For the cable stitch section:
- Make 5 DC as follows:
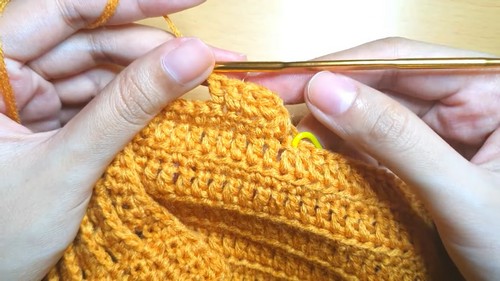
- Insert Front Post Treble Crochet (FPTC) over the posts from two rows below.
- Work FPTC stitches as follows:
- 1st FPTC on the 1st stitch from two rows below.
- Skip the next stitch, place the 2nd FPTC on the 3rd stitch from two rows below.
- Work the 3rd FPTC on the 4th stitch from two rows below.
- Return and place the 4th FPTC on the 2nd stitch (skipped earlier) between previous stitches.
- Complete with the 5th FPTC on the 5th stitch.
- Make 5 DC as follows:
- Once the cable stitch is complete, skip 5 DC and continue with standard DC on the next stitches for symmetry.
- Repeat this sequence (10 DC → Cable Stitch → Skip 5 → 10 DC) until the row ends.
Repeat Rows Alternately
- Repeat the sequence: One HDC row followed by one Cable Stitch row.
- Continue alternating rows until you finish the front panel. For example:
- For size small: 18 rows of cable stitch rows, with an HDC row in-between each.
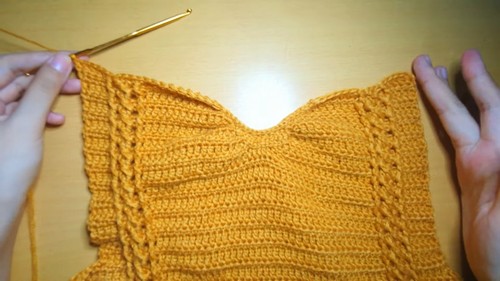
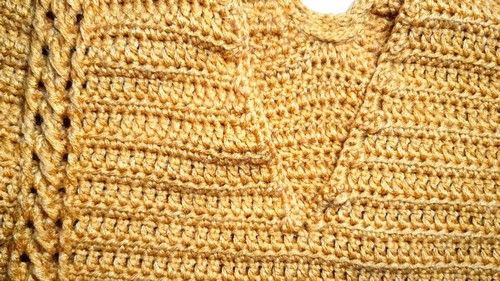
Front V-Neck Shaping
- Find the Midpoint: Place a stitch marker at the middle stitch to mark the start of the V-neck.
- Work the following decreases:
- On HDC rows, use HDC2Tog at both the beginning and end of the row.
- On cable stitch rows, maintain the cable pattern while decreasing the first and last stitches.
Back Panel
- Work exactly the same as the front panel without the V-neck shaping.
- Create a symmetric rectangle to match the dimensions of the front panel.
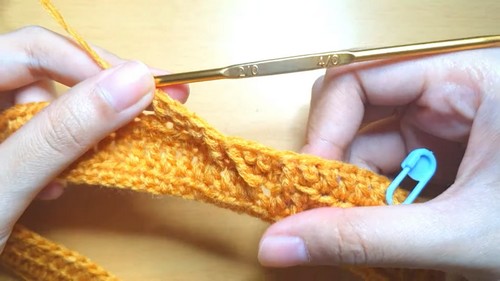
Seaming the Vest
- Using single crochet or a tapestry needle, seam the front and back shoulders together.
- Seam the sides together, leaving space for the armholes (or adjust as desired).
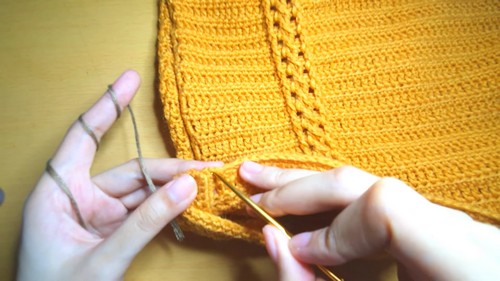
Adding the Ribbing (Bottom Hem and Sleeves)
- Bottom Hem:
- Attach yarn to one edge of the vest.
- Chain 8, then make single crochet on the third chain from the hook. Work back along the chain using back loop only single crochet (BLO SC).
- Attach to the vest with a slip stitch. Repeat this process all around the bottom edge.
- Finish by connecting the ends with slip stitches.
- Sleeves:
- Repeat the ribbing steps, but use Chain 5 for narrower sleeve ribbing.
Edging the V-Neck
- Work single crochet evenly along the V-neck edge to create a clean finish.
- Use one single crochet per row along angled edges to ensure symmetry.
Finishing
- Weave in all loose yarn ends using a tapestry needle.
- Block the vest gently by dampening it and stretching it into the desired shape.
- Let it dry completely for a polished finish.
Customization Ideas
- Sizing Up or Down: Adjust the number of foundation chains to achieve your desired width. Add more rows to adjust for length.
- Color Play: Alternate between two or more yarn colors for striped effects.
- Yarn Choices: Use chunky yarn for a cozier look or lightweight yarn for a delicate vest.
Final Words
Congratulations on completing your cable-stitch crochet vest! This versatile piece can elevate any wardrobe, whether styled with jeans, over dresses, or paired with a crisp blouse. Take pride in your work, and don’t hesitate to experiment with patterns and colors in future projects.
Tips for Success
- Cable Tension: Keep your stitches loose in the cable section to prevent puckering.
- Maintain Symmetry: Use stitch markers to keep track of decreases and cable pattern placement.
- Block Your Work: Blocking your vest improves its fit and stitch definition.
Leave a Reply