
Bring charm to your outfits with soft crochet puff sleeves that are lightweight, comfortable, and a beautiful choice for any occasion or season.
A beautiful crochet design that feels soft, cozy, and looks elegant. This pattern features puff sleeves that add a touch of charm and uniqueness to your outfit. The design is not only stylish but also practical, making it perfect for casual wear or special gatherings. The puff sleeves create a graceful look while offering a comfortable fit that’s easy to move in.
Free Crochet Alpine Puff Sleeves Pattern for Stylish Outfits
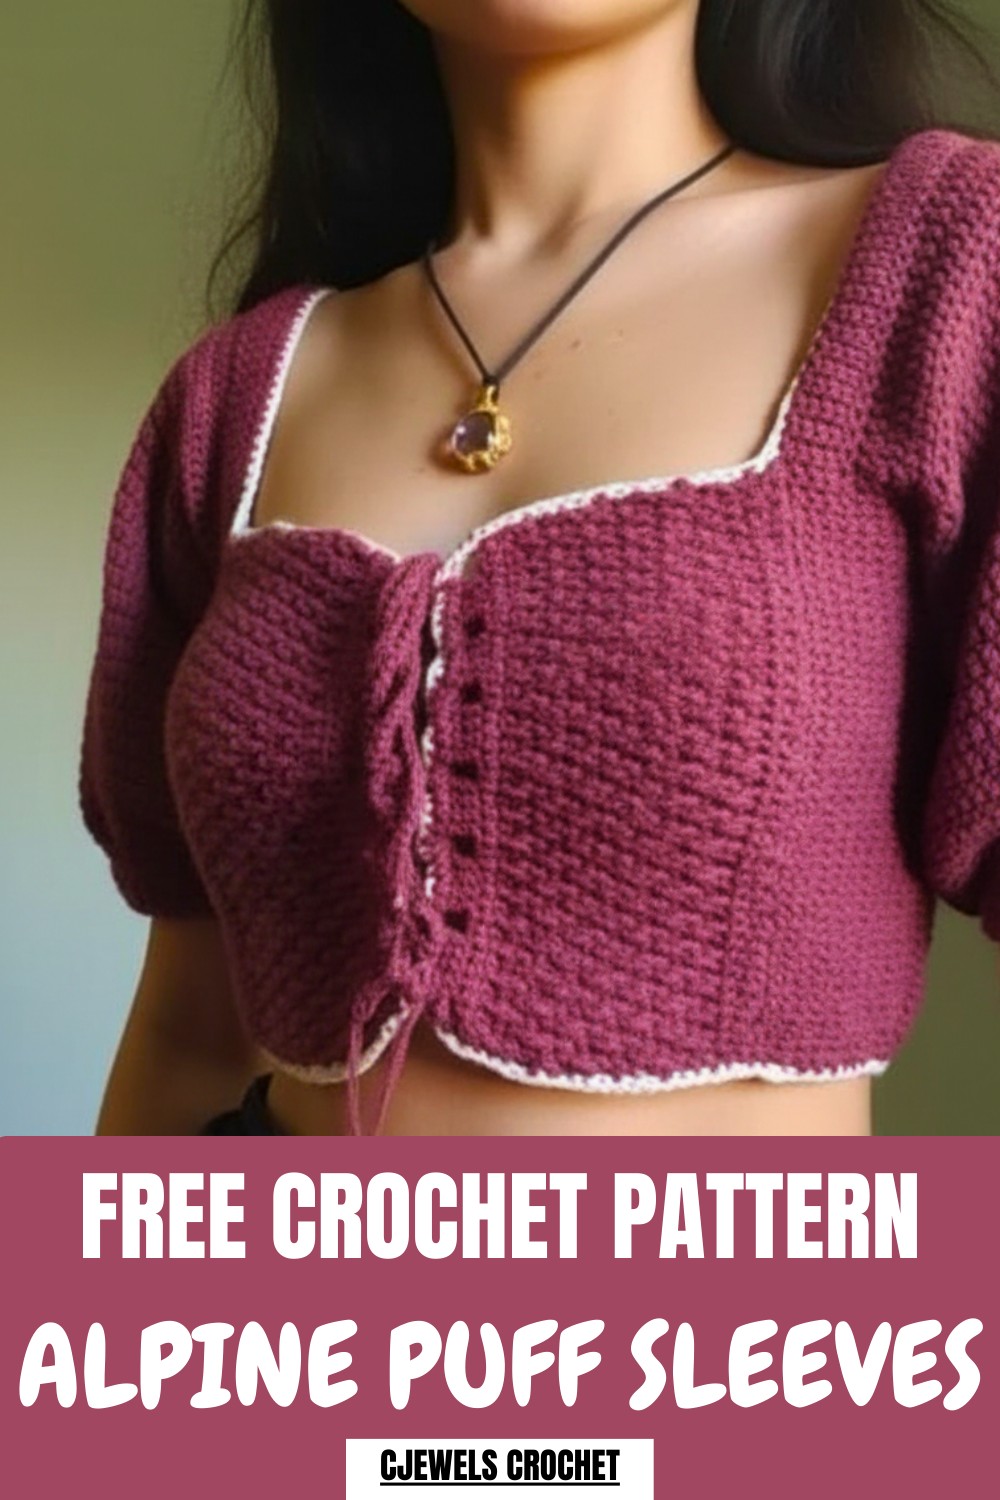
Its delicate texture and lightweight feel make it great for any weather, especially during cooler evenings. The crochet pattern combines simplicity with beauty, making it easy for beginners to try. Whether paired with jeans, skirts, or dresses, this design adds a lovely handmade touch to your wardrobe. It’s a wonderful way to enjoy the art of crochet while creating something truly one-of-a-kind and versatile.
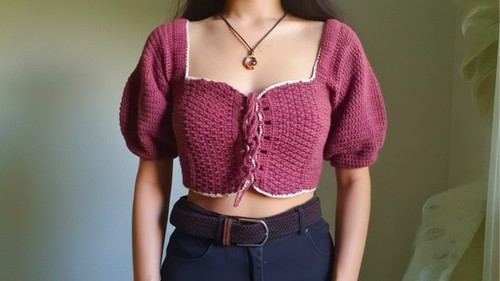
Crochet Alpine Stitch Top with Sleeves
Skill Level
Intermediate to Advanced
Finished Size
Customizable based on bust measurement and desired length.
Materials List
- Yarn: Cotton yarn or any lightweight worsted-weight yarn in your desired colors. The pattern uses:
- Main Color for Body (e.g., neutral or bold color).
- Contrast Color for optional edging/details.
- Hook Size:
- Recommended: 3.5 mm or 4.0 mm crochet hook. Adjust based on gauge and yarn type.
- Other Supplies:
- Stitch markers.
- Scissors.
- Tapestry needle (for sewing and weaving ends).
Key Abbreviations
| Abbreviation | Meaning |
|---|---|
| ch | Chain |
| sc | Single Crochet |
| dc | Double Crochet |
| sl st | Slip Stitch |
| fpdc | Front Post Double Crochet |
| dec | Decrease (two stitches crocheted together) |
| YO | Yarn Over |
Notes
- Measurements: Start by measuring your bust circumference. Subtract 8 inches (or ~20 cm) to calculate your desired foundation chain length. This ensures a snug fit. Adjust if needed.
- Custom Length & Fit: You can increase or reduce rows/rounds to match your desired top length or sleeve width.
- Stitch Markers: Use stitch markers to identify key points easily (e.g., attaching straps or marking rounds).
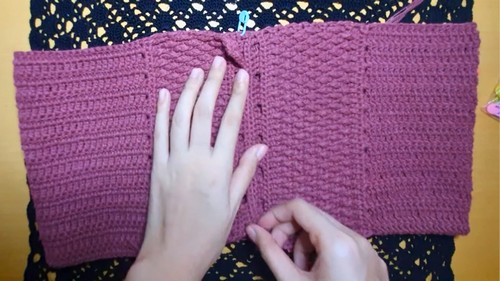
Pattern Instructions
Body
Foundation Chain
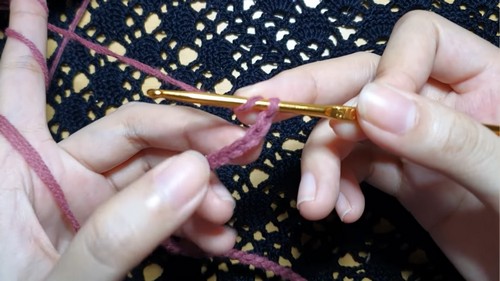
- Start with a slip knot on your hook.
- Create a foundation chain. The total chain count is calculated as:
- Bust Measurement – 8 inches (adjust depending on desired tightness).
- For reference: ~24 inches = 116 chains.
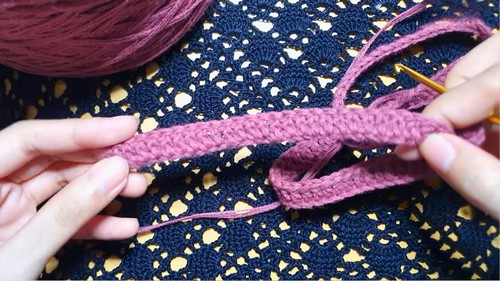
Row 1:
- Ch 3 (counts as one dc).
- Dc in the 4th chain from the hook.
- Continue working 1 dc into each chain until the end of the row.
- Turn your work.
Rows 2–21 (or desired length):
- Ch 2, turn.
- Work 1 dc in each stitch across the row.
- At the end of each row, repeat: ch 2 and turn.
- You can adjust the number of rows based on your desired body length.
Alpine Stitch Transition
Foundation for Alpine Stitch
- Ch 1, turn.
- Work 2 sc into the ends of each dc row along the side of the body. Make single crochets evenly spaced from Row 1 to the last row.
- Secure the row by working a turning edge for uniformity.
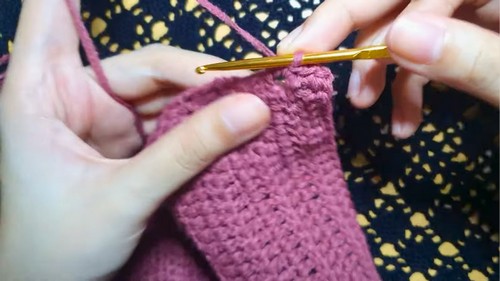
Alpine Stitch Rows
Row 1: Front Post Double Crochet (FPDC)
- Ch 2, turn.
- Work fpdc in the first stitch.
- Alternate: 1 regular dc in the next stitch, followed by 1 fpdc in the next stitch.
- Repeat across the row.
- Turn.
Row 2: Single Crochet
- Ch 1, turn.
- Work 1 sc in every stitch (across the fpdc and dc stitches).
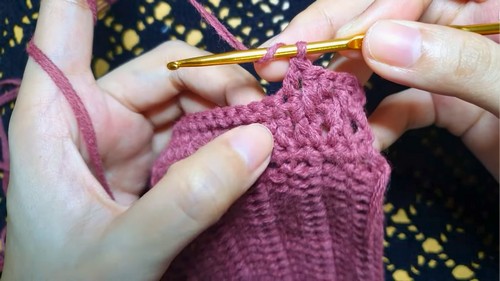
Row 3: Repeat FPDC
- Ch 2, turn.
- Alternate the positions of the fpdc:
- Work 1 fpdc over the previous row’s dc and 1 regular dc over the previous fpdc.
Repeat Alternating FPDC and Single Crochet Rows until Alpine Stitch section reaches the desired height.
Straps
Marking the Straps:
- Fold the top in half to find the middle stitch. Mark with a stitch marker.
- Mark two strap positions in the front by placing markers approximately five stitches apart.
- Align two strap markers in the back, ensuring symmetry with the front.
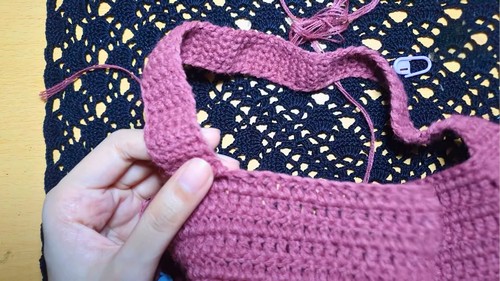
Crocheting the Straps:
- Start by attaching the yarn to the marked position.
- Ch 1, and work 1 sc in the next 6 stitches.
- Ch 1, turn, and repeat 1 sc in each stitch (6 stitches per row).
- Continue for as many rows as needed for the desired strap length.
- Securely attach the strap to the corresponding back marker using slip stitches or sc.
- Weave in the ends.
Repeat for the other strap.
Sleeves
Begin the Sleeves
- Attach yarn to the inner part of the strap.
- Ch 1, and work 1 sc in each stitch, evenly spaced around the armhole. Slip stitch to join.
Double Crochet Rounds
- Ch 2, and work 1 dc in each sc around the armhole.
- Slip stitch at the end of each round to join.
- Repeat 10 more rounds of dc for a total of 11 rounds.
Increasing Rounds
- Add increases in rounds to widen the sleeve:
- Ch 2, work 1 dc in the next 7 stitches, then 2 dc in the next stitch (increase).
- Repeat around.
- Repeat the increase round 4 times or as needed.
Decreasing for Tapered Sleeve End
- Start decreasing to taper the sleeve:
- Ch 2, work 1 dc in the next 6 stitches, then dc2tog (decrease) in the following two stitches.
- Repeat around.
- Work 4 rounds of decrease or until the sleeve is narrowed as desired.
Final Sleeve Edging
- Ch 3, skip the next 3 stitches, and sc into the 4th stitch.
- Repeat this pattern around to create a lacy edge.
- Slip stitch to finish, fasten off, and weave in the ends.
Repeat for the second sleeve.
Edging
Optional Contrast Color Edging
- Attach a secondary color (optional). Work 1 sc in each stitch across the bottom hem, neckline, and sleeve edges for a clean, decorative finish.
- Secure the yarn and weave in the ends.
Conclusion
Your Crochet Alpine Stitch Top with Sleeves is now complete! This stylish and customizable top is perfect for any occasion, and by following this step-by-step pattern, you can easily adjust the size and style to your liking.
Pattern Corrections
- Ensure even spacing of stitches when transitioning from rows to rounds, especially around armholes and edges, to avoid bunching or gaps.
- Use stitch markers to identify key points like increases, decreases, or starting and ending positions in rounds.
Tips
- Blocking: Block the top after completing it to ensure clean edges and the perfect fit.
- Customization: Experiment with colors and textures to create a unique piece. Use contrasting yarns for borders or add floral appliques for extra charm.
- Stitch Consistency: Maintain consistent tension, especially during the Alpine Stitch section, to avoid uneven texture.
Leave a Reply