
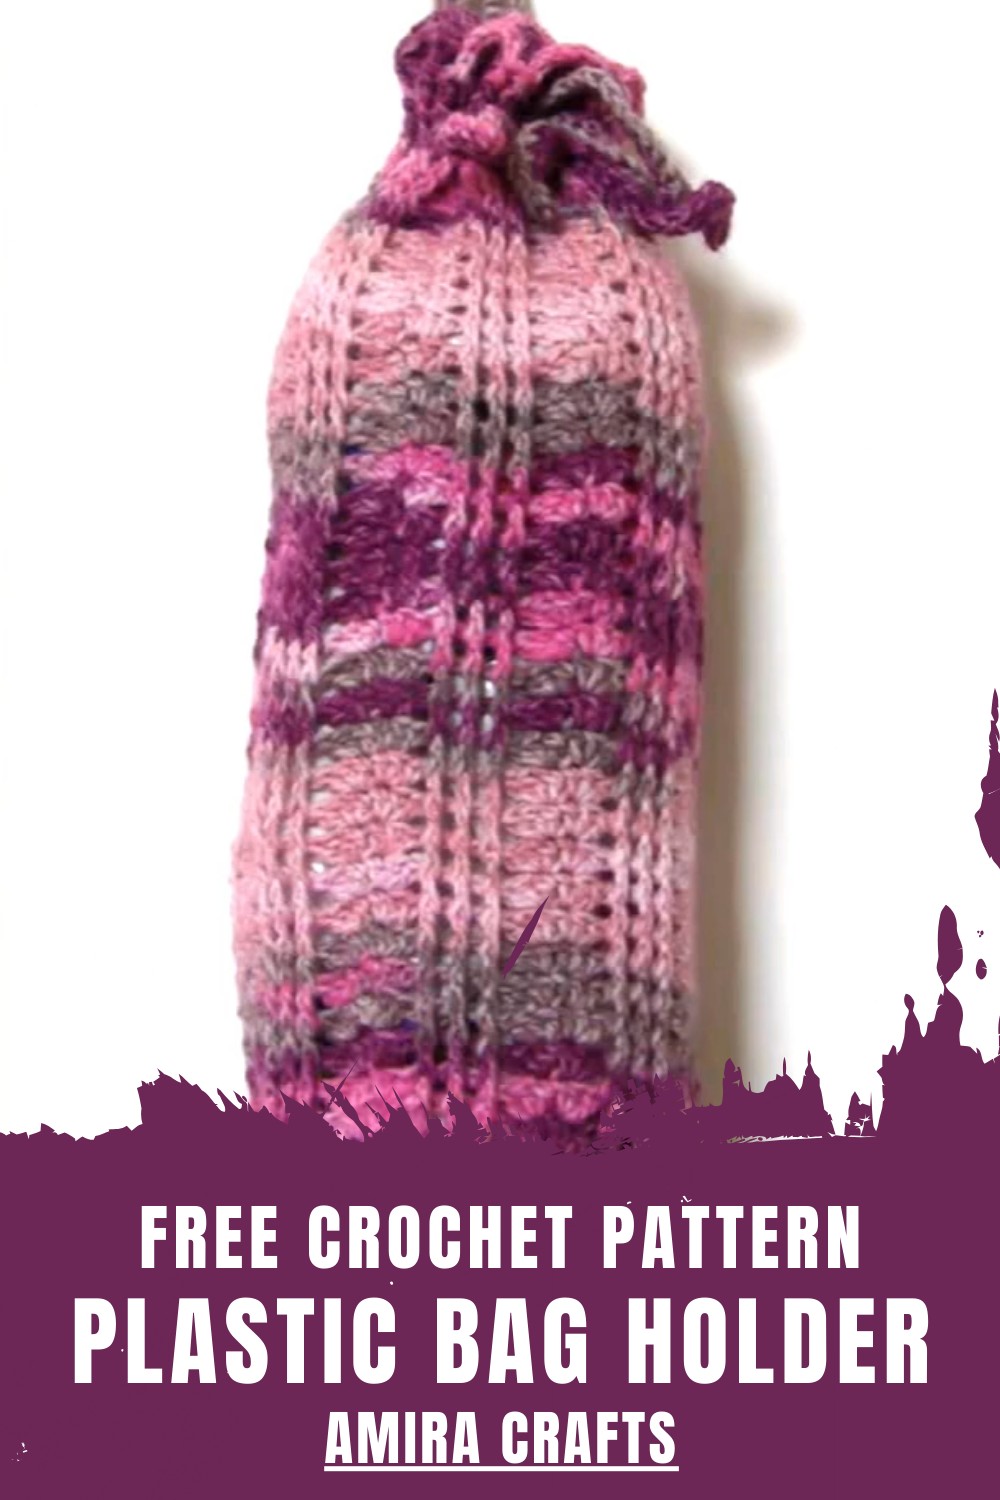
Organize your bags in a simple Crochet Plastic Bag Holder that’s perfect for adding a touch of style and order to your home with this free design.
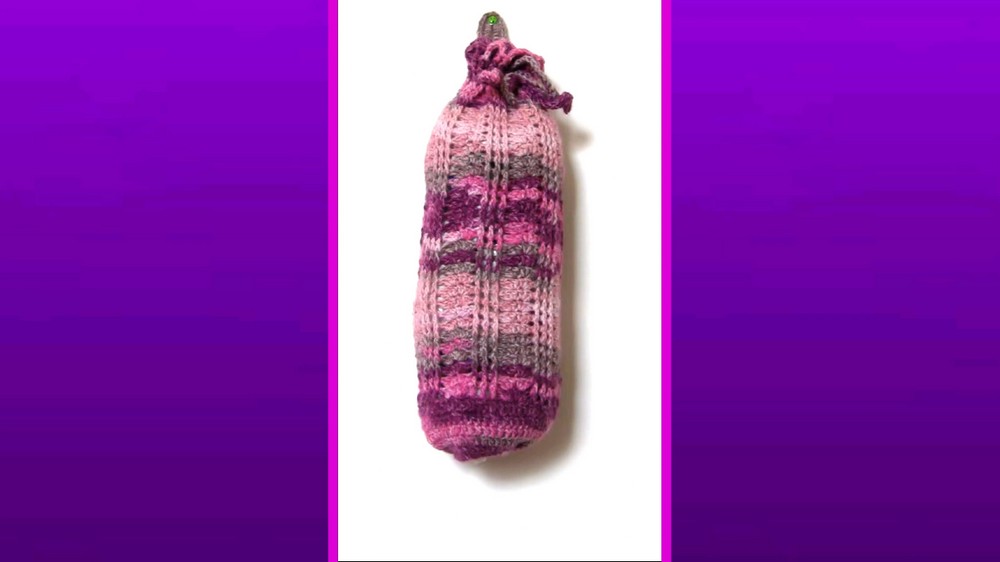
Keeping your kitchen neat and tidy is so easy with a creative plastic bag holder. This handy and colorful item is great for storing all those extra plastic bags in one place. Its design is simple yet smart, with a long tube shape that makes it easy to pull bags out when needed. Made using crochet, it looks beautiful with patterns and textures that you can customize with your favorite colors.
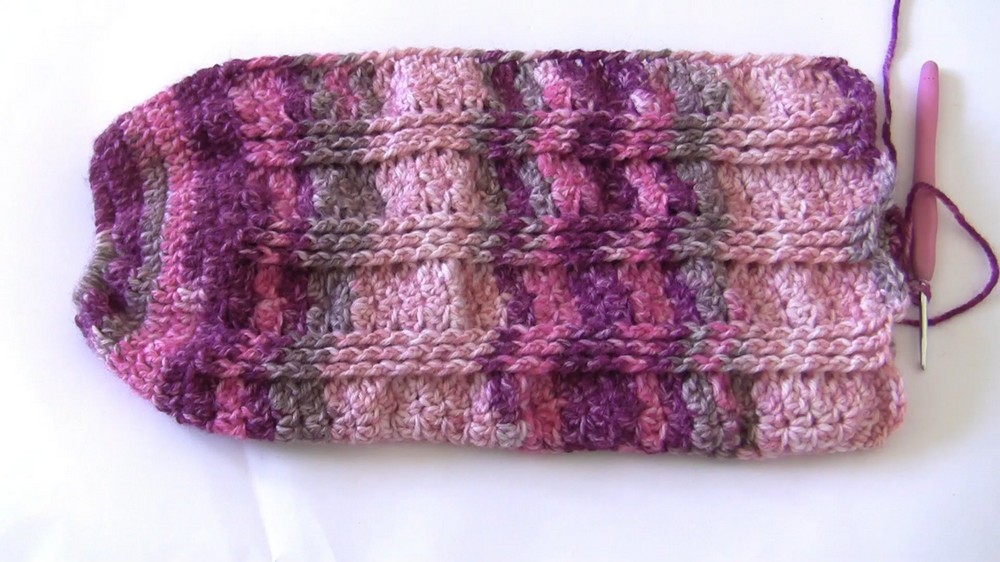
Free Crochet Plastic Bag Holder Pattern for Your Home
It is reusable and helps keep plastic bags organized, saving space and reducing mess in your home. You can hang it in the kitchen, pantry, or even on a hook near the door. The soft yet sturdy material makes it durable and eco-friendly. This is a fun and functional project that is easy to make and will add a charming touch to your home while being practical too.
Pattern: Crochet Plastic Bag Holder
Materials Needed
- Yarn:
- 100 grams of thick yarn (recommended for durability). Choose any color that complements your space.
- Hook Size:
- 3.5 mm crochet hook
- Hairband:
- A basic elastic hairband matching your yarn color (used for the bottom opening).
- Other Supplies:
- Scissors
- Tapestry needle (for weaving in ends)
Finished Size
- Height: Approximately 20 inches (50 cm)
- Width: Approximately 5 inches (13 cm)
The final size may vary slightly based on your tension and yarn weight.
Gauge
Gauge is not critical, as the design is adjustable. However, for reference:
- 10 single crochet (sc) and 10 rows = 4 × 4 inches (10 × 10 cm)
Key Abbreviations
| Abbreviation | Meaning |
|---|---|
| ch | Chain stitch |
| sc | Single Crochet |
| hdc | Half Double Crochet |
| dc | Double Crochet |
| sl st | Slip Stitch |
| YO | Yarn Over |
| st(s) | Stitch(es) |
Special Techniques
Working Around a Hairband
This technique ensures the base of the bag holder, where plastic bags can easily slip out, is sturdy and functional.
Invisible Join
Used for seamless finishing of the rounds.
Pattern Instructions
Bottom Opening with Hairband
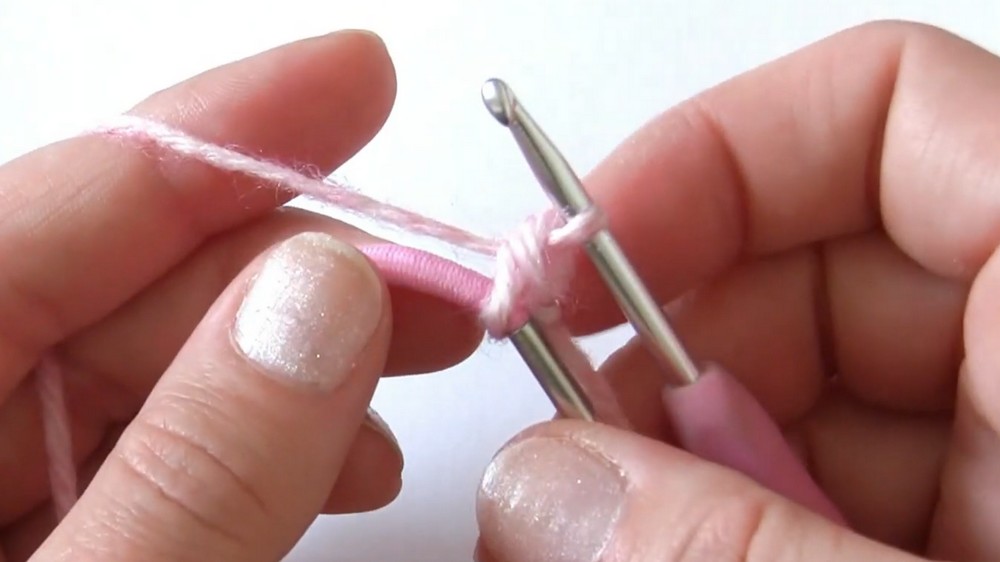
Step 1: Attach Yarn to Hairband
- Create a slip knot on your hook and secure it over the hairband.
- Begin working around the hairband with 1 sc.
- Insert hook under the hairband, YO, pull through, YO, and pull through both loops.
- Work 55 sc evenly around the hairband. Ensure tension is consistent for a smooth, neat finish.
Step 2: Join the Round
- Sl st into the first sc to close the round.
Building the Bag
Step 1: Round 1
- Ch 3, which will count as the first dc.
- Work 1 dc into each sc around the previous round.
- Once you’ve completed the round, sl st into the top of the first dc (not into the chain).
[55 dc total]
Step 2: Rounds 2–7
- Ch 3 and work 1 dc into each dc from the previous round.
- Repeat this process for 6 rounds of dc, making sure to join each round with a sl st into the first dc.
Step 3: First Increase Round
- Ch 3, work 1 dc into the same st as the sl st (increase).
- Work 1 dc into each of the next 4 sts.
- Repeat the pattern: 2 dc into the next st (increase), followed by 1 dc into the next 4 sts until the round is complete.
- At the end of the round, sl st into the top of the first dc to join.
Step 4: Second Increase Round
- Ch 3, work 1 dc into the same st as the sl st (increase).
- Work 1 dc into each of the next 5 sts.
- Repeat the pattern: 2 dc into the next st (increase), followed by 1 dc into the next 5 sts until the round is complete.
- Sl st into the top of the first dc to join.
Sides of the Bag
Step 1: Mesh Pattern
- Ch 4, which counts as 1 dc + ch 1.
- Skip the next st and work 1 dc into the following st.
- Ch 1, skip 2 sts, then work (3 dc into each of the next 2 sts).
- Skip the next 2 sts, then repeat the pattern: 1 dc + ch 1, skip 1 st, 1 dc, skip 2 sts, 3 dc into next 2 sts.
- Continue until the round is complete.
- Sl st into the third chain of the starting chain to join the round.

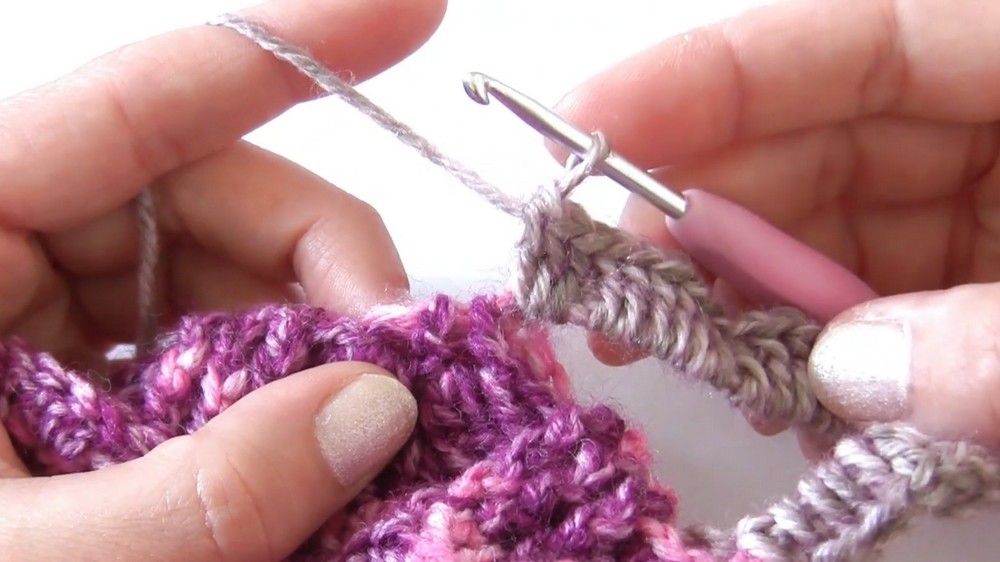
Step 2: Front Post Double Crochet
- Work front post double crochet (fpdc) for texture.
- YO, insert your hook around the post of the next dc (from front to back to front), YO, pull through and complete the dc as usual.
- Follow the mesh pattern as before, creating alternating fpdc clusters for decorative texture.
Step 3: Repeat the Mesh/Front Post Pattern
- Repeat the mesh pattern with alternating front post double crochet rounds until the bag reaches the desired height (approximately 20 inches).
- Increase the number of mesh stitches or fpdc rows for extra height if needed.
Cord for Hanging
Step 1: Foundation Chain
- Work a foundation chain of 100 ch (or longer, depending on preferred cord length).
Step 2: Single Crochet Row
- Starting in the second ch from the hook, work 1 sc into each ch across the foundation chain.
Step 3: Attaching the Cord
- Thread the cord through the final round of the bag using the mesh openings.
- Tie the ends of the cord securely to create a loop for hanging.
Finishing
- Invisible Join:
- Use an invisible join for seamless finishing of the last round.
- Trim excess yarn and weave in all ends with a tapestry needle.
- Block the Bag:
- Lightly steam or shape the bag for a polished finish.
Tips and Suggestions
- Durable Placement: Place the finished holder in frequently accessed spaces like kitchens or laundry rooms.
- Pattern Customization:
- Add colorful stripes for a decorative touch.
- Use different textures of yarn to play with aesthetics.
- Yarn Recommendation: Choose strong yarn to avoid stretching over time.
Conclusion
Your Crochet Plastic Bag Holder is now complete! This project adds functionality and charm to your home while reducing clutter. Designed with durable construction and a practical design, it makes fetching and storing plastic bags simple and stylish.
Leave a Reply