
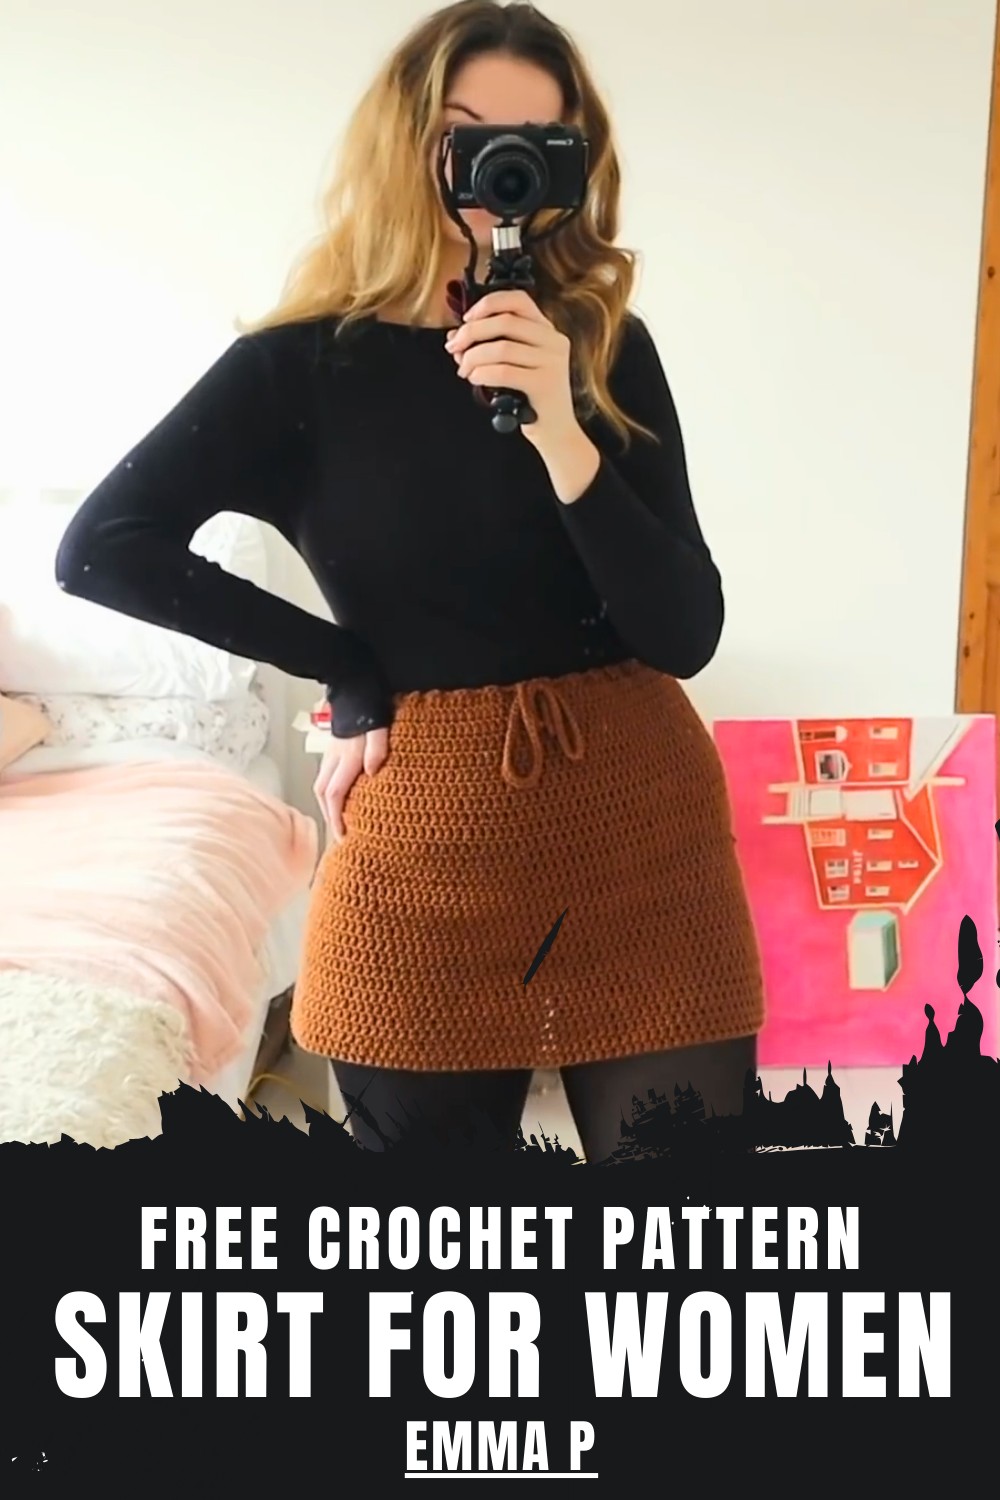
Step out in style with this free crochet skirt pattern that offers a flattering fit adds soft texture & suits both casual & special occasions.
Grace flows through every layer as a beautiful piece begins to take shape with a gentle and pleasing look. The Crochet Skirt pattern helps form a stylish skirt that feels light and comfortable while giving a neat and elegant appearance. Its smooth texture and airy feel make it suitable for daily wear, outings, or special moments when a unique look is desired.
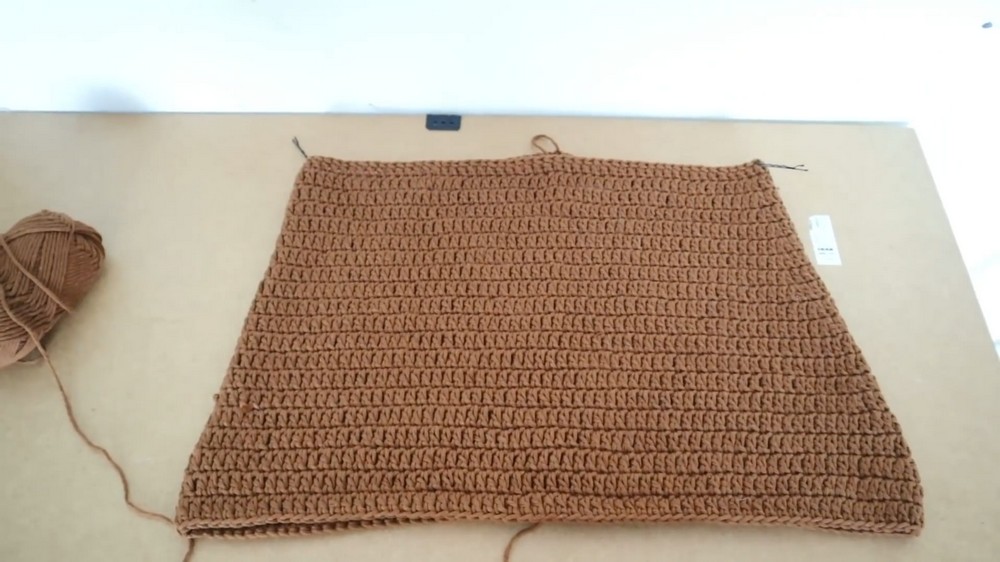
Free Crochet Pattern, Handmade Skirt for Any Occasion
The skirt allows free movement and feels easy on the body, making it both useful and attractive. The instructions are simple and clear so anyone can complete it without difficulty. The final piece stands out with its charm and personal touch, making it truly special. It offers comfort, style, and creativity, turning simple material into a lovely garment that adds confidence and beauty to every step.
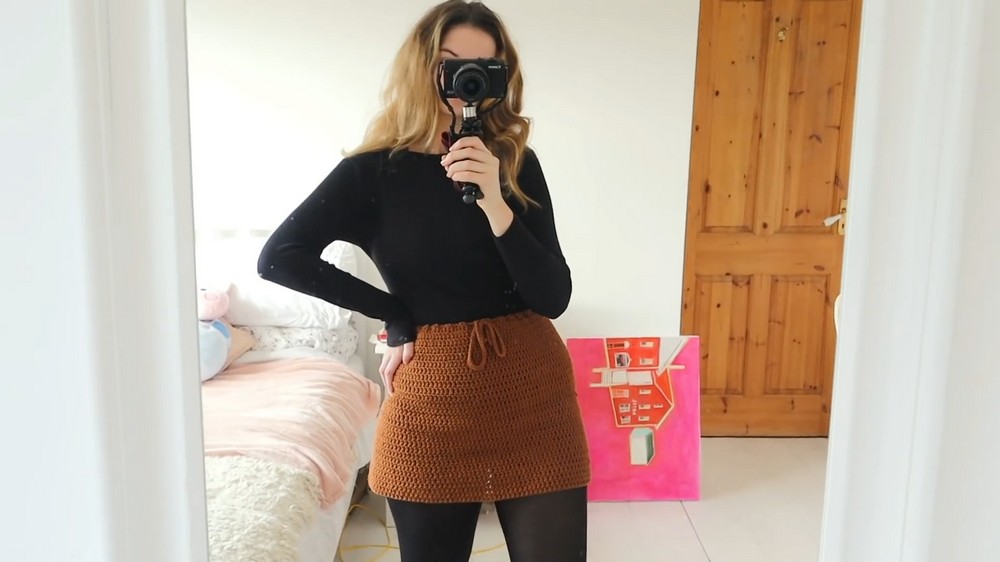
Simple Crochet Skirt – Step by Step Pattern
Materials
- Yarn: 5 balls (250 g) of aran/worsted cotton yarn
Sample: Yarn & Colors Epic, color Satay - Hook: 4 mm (US G-6) crochet hook
- Notions:
- Tapestry needle
- Tape measure
- Scissors
- Stitch markers
Key Abbreviations (US Terms)
| Abbreviation | Meaning |
|---|---|
| ch | chain |
| dc | double crochet |
| sl st | slip stitch |
| st(s) | stitch(es) |
| inc | increase (2 dc in one st) |
| RS | right side |
Special Notes
- This skirt is worked from the waist down in the round.
- The pattern uses a foundation double crochet (fdc) for stretch and comfort at the waist—do not substitute with regular chains unless you adjust for stretch.
- Sizing is fully adjustable: measure your waist and make your starting chain to that length.
- For a more A-line look, add more increases per row.
- The waistband tie is woven through skipped stitches at the top.
Pattern
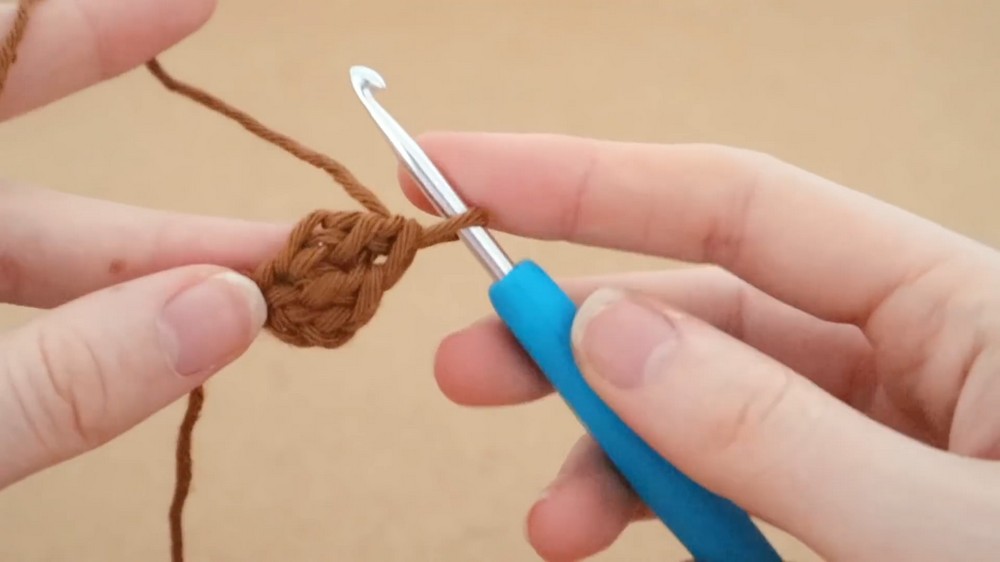
1. Foundation Double Crochet Waistband
- Take waist measurement (in inches). Example: 30 inches.
- With 4 mm hook and yarn, create a slipknot, leave a tail to weave in later.
- Work foundation double crochet (fdc) to match your waist measurement.
- How to fdc:
- Ch 4, yarn over, insert hook into first chain, pull up a loop (3 loops on hook).
- Yarn over, pull through one loop (chain made), [yarn over, pull through two loops] twice (dc made).
- For each new fdc: Yarn over, insert hook under both strands of “chain” at the base of last dc, pull up a loop, yarn over, pull through one loop, [yarn over, pull through two] twice.
- Repeat until foundation measures your waist when gently stretched (e.g., 30 in/76 cm).
- How to fdc:
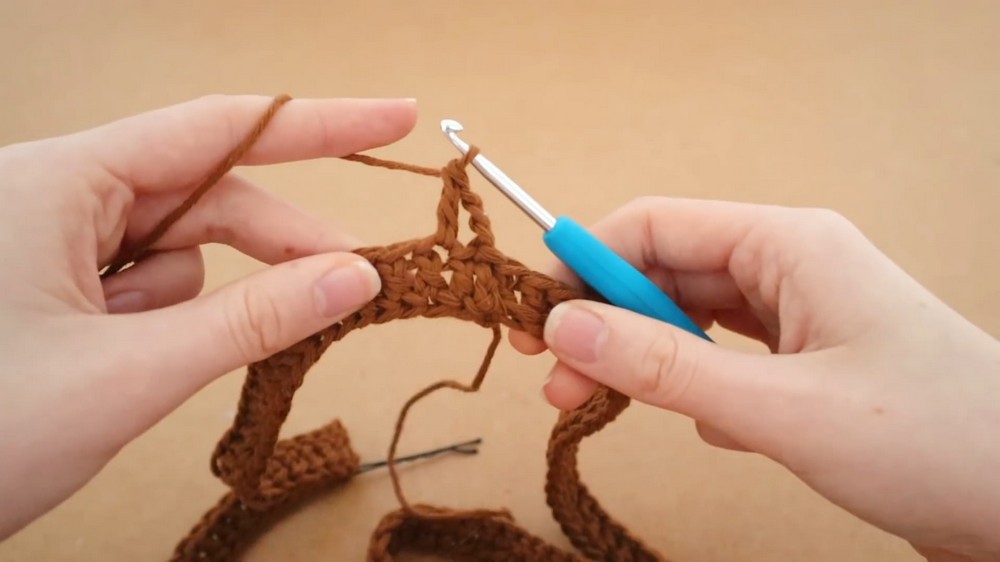
2. Join Waistband Into a Ring
- Ensuring band is not twisted, bring ends together.
- With 3 loops on hook from last fdc, insert hook into first chain of beginning fdc row,
yarn over, pull up a loop (4 loops on hook), pull through one loop (sl st), finish last dc (yarn over, pull through 2) twice. - Sl st in next st to secure, fasten if needed.
- Mark seam as center back with a stitch marker.

3. Identify Sides for Increases
- With ring flat and center back marked, place two stitch markers at opposite sides (left and right) for hip increases.
- These marks are for placing your increases and are optional, but recommended for even growth.
4. Skirt Body – Shaping Rows with Increases
Setup:
- Ch 3 (counts as dc at start of round).
Row 1 and All Increase Rows:
- Dc in each st around.
- At each marker: Work 2 dc in the marked st (increase).
- Continue dc in each st to next marker; work increase.
- Dc to end of round.
- Sl st to top of beginning ch-3 to close round.
- Ch 3 to begin next round.
Row 2–21:
- Repeat Row 1: Dc in each st, placing increases (2 dc in marked st) at each marker, move marker to the first dc of each increase for following rounds.
- Work until skirt measures approx. 11 inches (21 rows total from waistband), or desired angled length, always trying on for custom fit.
Larger Hip-to-Waist? Make 4 increases per round instead of 2, spacing them evenly.
5. Skirt Lower Body – Straight Section (No Increases)
- After last increase row, continue in rounds without any increases:
- Dc in each st around.
- Sl st to join.
- Ch 3 to start the next round.
- Repeat for additional 9 rows (about 4 inches), or to desired length for a straight hem.
6. Finishing (Optional)
- Edging:
- Work a round of single crochet or crab stitch on the hem for definition.
- Seam:
- Tidy the seam at the join; it will show as a straight line.
- Weave in all ends.
7. Waist Tie (Belt)
- Create a base chain equal to your waist measurement + 20 inches (for ties/bow).
- Example: 30 in waist → ch a total of 50 inches.
- Sl st in each ch (back down the chain) for extra strength.
- Insert hook into ch, pull up a loop, pull through other loop on hook (sl st made).
- Fasten off and weave in ends neatly into the chain.
- Use a stitch marker or safety pin on one end. Weave belt through the top edge of skirt, skipping one st each time for a tidy laced look.
- Adjust so belt ends at the center front, tie in a bow or knot.
Conclusion
You have created an easy, customizable crochet skirt using only double crochet and simple increases. The foundation double crochet waist adds comfort and stretch. This skirt can be adapted with more or fewer increases to accommodate personal shape and style preferences. Try on as you work for the perfect fit!
Pattern Correction & Tips
- Correction: If using a starting chain instead of fdc, make sure to add several extra chains for stretch. However, fdc is highly recommended for garments.
- Tip: Always try the skirt on as you go, especially after increases—adjust quantity and placement as needed.
- Adjust the number of increases at the sides or quarters for a more dramatic A-line or to better fit a larger hip ratio.
- Skipping a stitch between weaves for the belt/tie prevents bulkiness at the waist and keeps the result smooth.
Leave a Reply