
Fashion a fun and unique look with the Crochet Strawberry Newsboy Cap, combining playful details and charm for crochet lovers seeking something special.
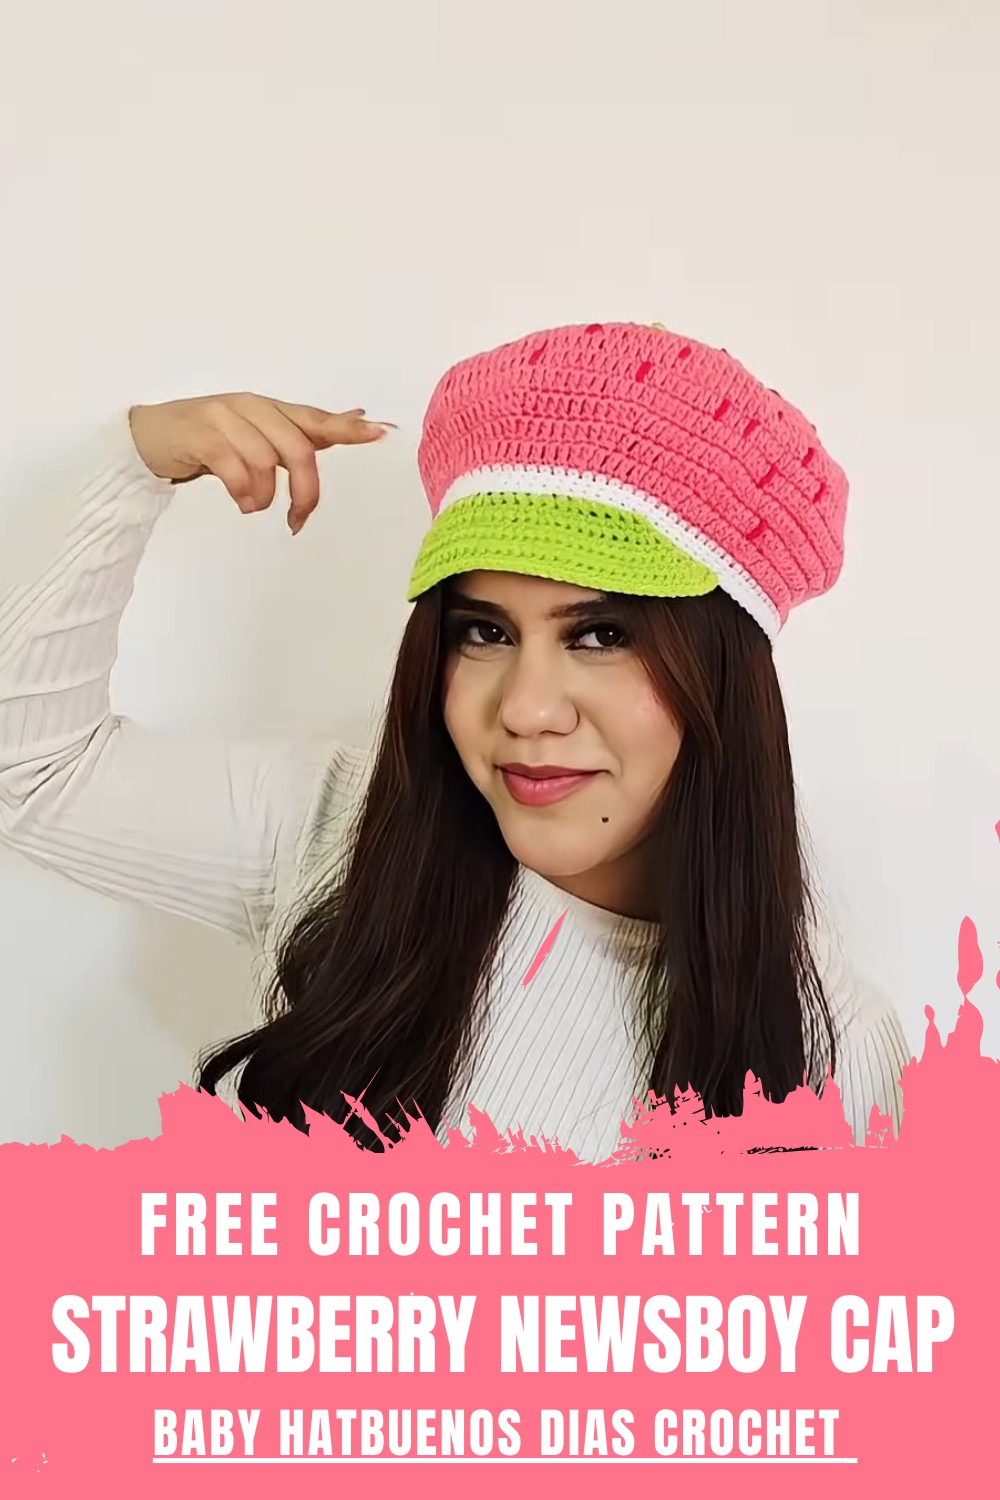
Nothing says playful charm quite like a strawberry-inspired newsboy cap with its delightful berry accents and leafy top. This cap isn’t just an accessory, it’s a fun way to showcase personality while keeping cozy. The combination of bold red stitches and textured green detailing captures sweet strawberry vibes that are impossible to overlook.
Crochet Strawberry Newsboy Cap for Cozy Charm
Perfect for everyday wear or as a thoughtful handmade gift, this project is as enjoyable to crochet as it is to show off. Pair it with a casual outfit for a quirky touch or gift it to a fellow crochet enthusiast who loves unique accessories. With its cheerful design and eye-catching style, it’s a piece that’s sure to spark joy and turn heads in the best way possible.

Crochet Strawberry Beret Pattern
Materials Required
- Yarn:
- Weight #3 yarn (Lightweight).
- Suggested colors:
- Red or strawberry pink for the main part of the beret.
- Green for the leaves.
- Pink (darker pink for strawberry seed details).
- Use any yarn that fits your budget and is available locally.
- Hook:
- 3.5 mm crochet hook for the main body.
- You may switch to a 4 mm hook if you crochet tightly.
- Notions:
- Stitch markers.
- Scissors.
- Tapestry needle for sewing and weaving in ends.
Special Techniques
- Magic Circle: Used to begin the beret seamlessly without gaps.
- Increasing in the Round: Adding two stitches in specific places throughout the rows.
- Slip Stitch Join: For smooth transitions between rounds.
- Single Crochet Relief: Raised stitches for creating accents around the brim or decorative areas.
General Notes
- The beret is worked from the top (crown) and increased gradually to achieve the desired diameter.
- Measurements and adjustments for specific sizes are provided for:
- Newborns to Adults.
- Maintain even tension throughout the project. If your work puckers, loosen your tension. If it flares out, tighten it or size down your hook.
Pattern
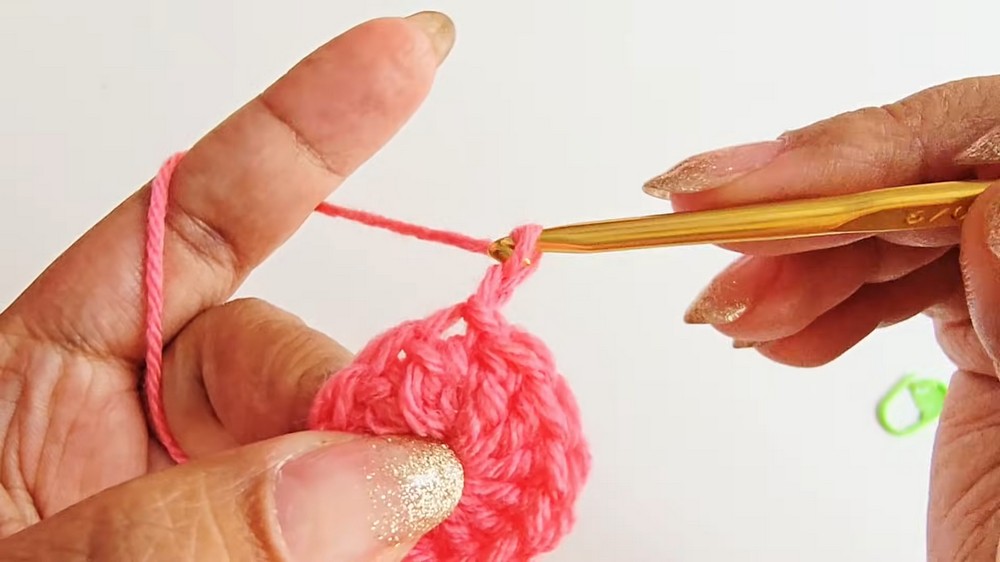
Step 1: Start with the Magic Circle
- Create a magic circle. Wrap the yarn around your fingers to form a loop and pull through to secure.
- Chain two (does not count as a stitch).
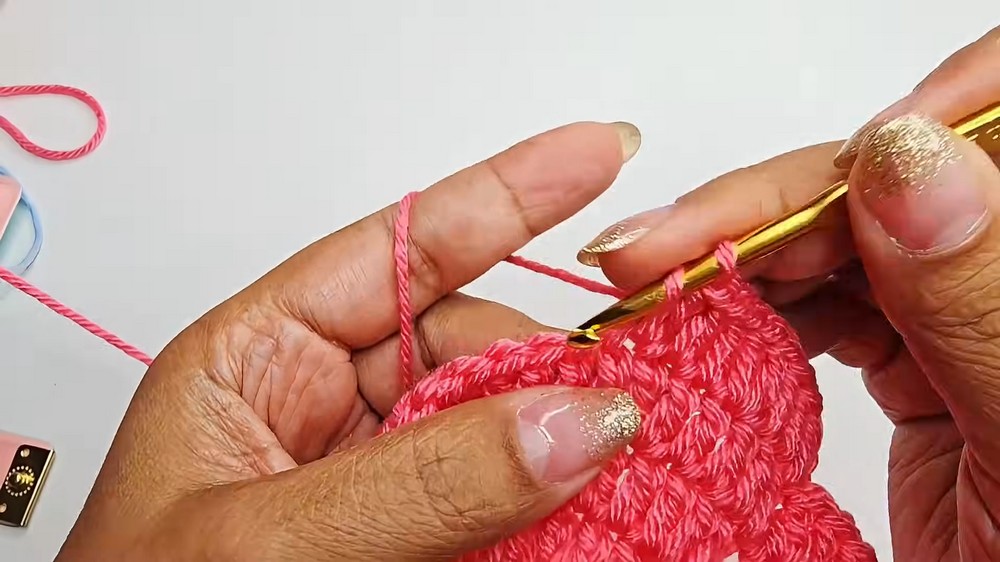
Step 2: Crown Increases
Round 1:
- Work 12 double crochets (dc) into the magic circle.
- Pull the starting yarn to close the circle tightly.
- Join the round by slip stitching into the first double crochet. (Total: 12 stitches).
Round 2:
- Chain 2 (not counted as a stitch).
- Work 2 dc into each stitch around (increase in every stitch).
- Join with a slip stitch at the top of the first double crochet. (Total: 24 stitches).
Round 3:
- Chain 2.
- Alternate between:
- 1 dc into the next stitch,
- 2 dc into the following stitch (increase).
- Repeat this sequence until the end of the round.
- Join with a slip stitch into the first double crochet. (Total: 36 stitches at the end of this round).
Step 3: Continue Increasing the Crown
For subsequent rounds, the increase formula is as follows:
- Round 4: 2 dc, 1 increase (3 stitches per repeat). (Total: 48 stitches).
- Round 5: 3 dc, 1 increase (4 stitches per repeat). (Total: 60 stitches).
- Round 6: 4 dc, 1 increase (5 stitches per repeat). (Total: 72 stitches).
- Round 7: 5 dc, 1 increase (6 stitches per repeat). (Total: 84 stitches).
Refer to the provided sizing chart to determine the number of rounds required for your size:
| Size | Rounds for Crown | Diameter |
|---|---|---|
| Newborn (0-3 months) | 6 rounds | ~14 cm (5.5 in) |
| Baby (4-11 months) | 7 rounds | ~16 cm (6.3 in) |
| Toddler (1-2 years) | 8 rounds | ~19.5 cm (7.7 in) |
| Children (3-10 years) | 9 rounds | ~21 cm (8.3 in) |
| Teen/Adult Small | 10 rounds | ~23.5 cm (9.2 in) |
| Adult Large | 11 rounds | ~26 cm (10.2 in) |
Step 4: Begin the Sides of the Beret
After completing the necessary rounds for the crown:
- Chain 2.
- Work 1 dc into each stitch around (no increases).
- Continue working even rounds (no increases or decreases) until the sides are the desired depth.
Suggested Side Depths:
- Newborn: 2 rounds of dc.
- 1-2 years: 3 rounds of dc.
- 3 years and above: 4 rounds of dc.
Step 5: Brim
Create the Brim:
- Switch to single crochet (sc).
- Work 1 sc into each stitch around for 4 rounds.
- Slip stitch to join each round.
Final Rounds (Optional Relieved Effect):
- Work front post and back post single crochet alternating around the brim to create a textured ribbing effect if desired.
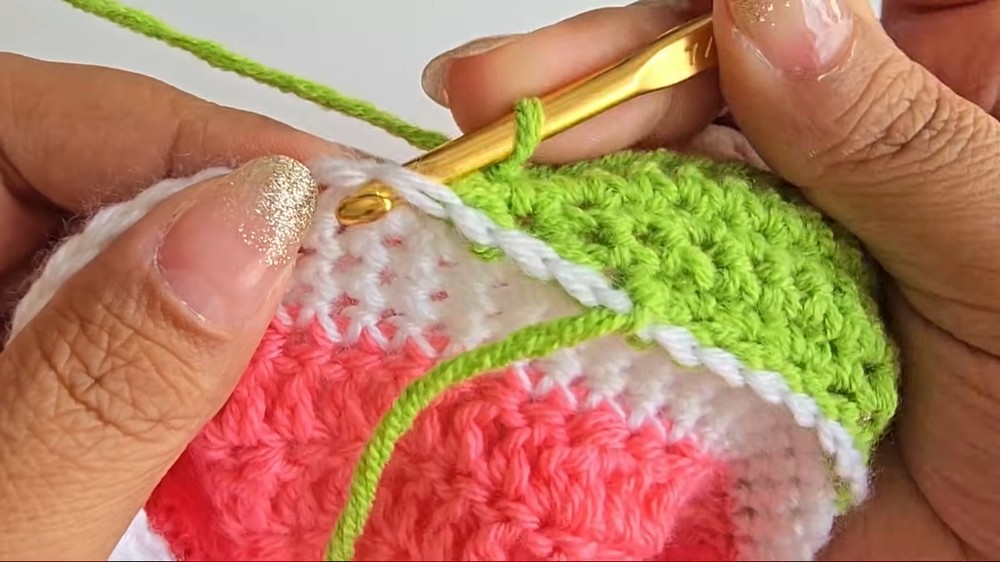
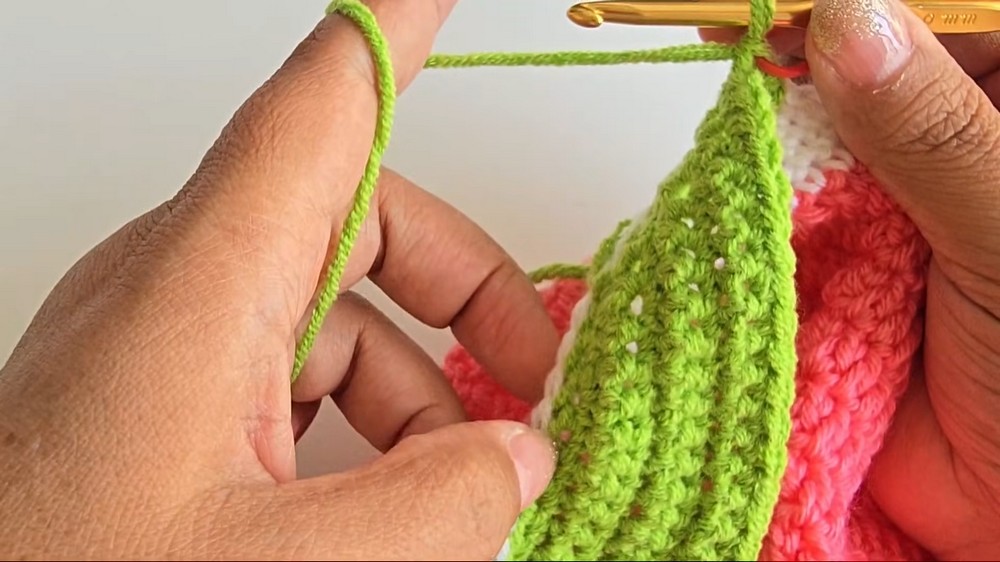
Step 6: Decorative Leaves
- Use green yarn with a 3.5 mm hook.
- Begin with a magic circle and work 6 sc into it.
- Pull closed and work 5 additional rounds in single crochet, alternating increases every two rows to shape a small leaf.
Make two leaves and fasten them securely to the top of the beret.
Step 7: Optional Strawberry Seeds
- Use a darker pink yarn.
- Sew small stitches resembling seeds randomly across the red portion of the beret.
- Keep the stitching loose for a natural effect.
Finishing
- Secure and weave in all loose ends using a tapestry needle.
- Steam or lightly block the beret to smooth out the stitches and shape the design.
- Verify the brim sizing to ensure it fits snugly but comfortably on the head.
Final Words
Congratulations! You’ve crocheted an adorable strawberry-inspired beret. This design is perfect for beginners who wish to explore shaping and learn how to customize sizes. Its charming design makes it a great gift or accessory for all ages.
Tips for Success
- Gauge Matters: Ensure you maintain even tension for consistent sizing.
- Customization: Add a pom-pom, bead embellishments, or embroidery on the leaves for extra flair.
- Yarn Choice: While lightweight yarn works well, you can experiment with medium-weight yarn for a chunkier look.
- Sizing Adjustments: Adjust the number of crown increase rounds and side rounds to fit your specific measurements.
Leave a Reply