
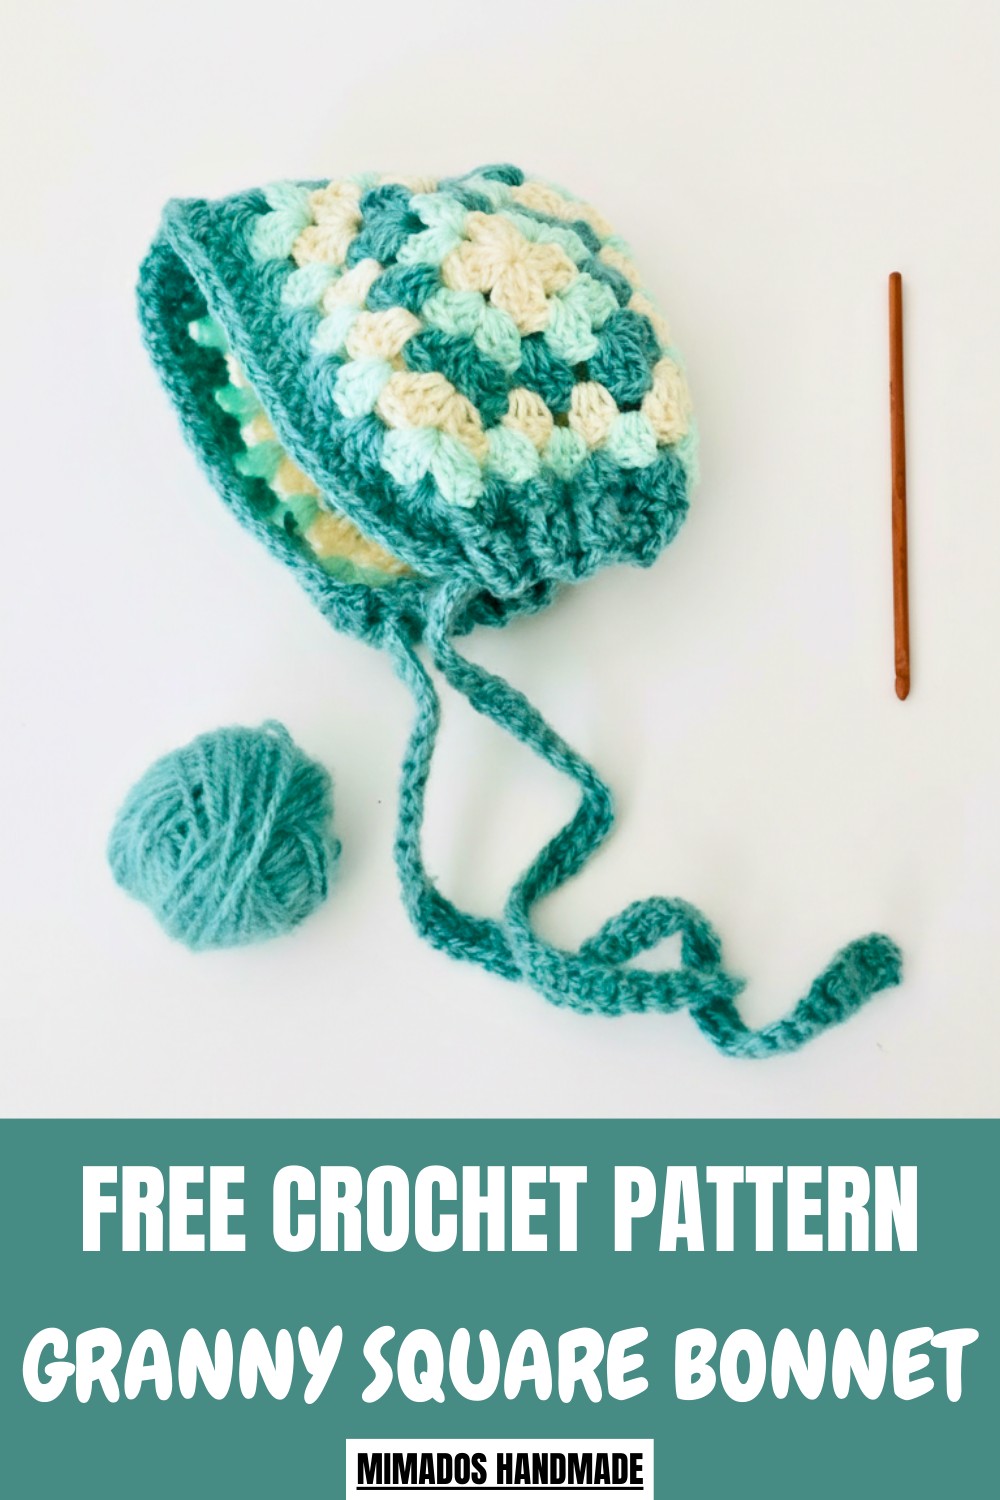
Enhance your crochet game with this free granny square bonnet pattern, blending style and creativity for a charming handmade accessory.
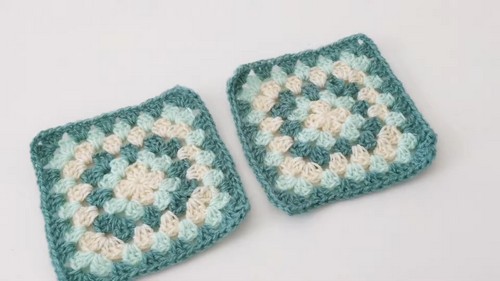
A bonnet-style hat made with granny squares is an excellent project for anyone looking to make something both beautiful and functional. It combines intricate stitching with a classic design, resulting in a chic accessory. Perfect for adding warmth during cooler months or as a thoughtful handmade gift, this bonnet pattern not only showcases your crochet skills but also allows for a variety of colors and patterns to suit your preferences. Its pattern highlights a seamless process of assembling large cords and squares to form the structure, making it suitable for both beginners and those more experienced in crochet techniques.
Easy Crochet Granny Square Bonnet Pattern for a Trendy Appearance
The combination of slip stitch joins, single crochet, and half-double crochet ensures the final product has both durability and an appealing aesthetic. Use a contrasting or complementary color for the ties to give the bonnet a polished look. This project is an excellent opportunity to practice fundamental crochet techniques while producing an accessory that’s practical, modern, and comfortable.
Gather Your Materials
You’ll need:
- Yarn: Lightweight or medium-weight yarn in your choice of colors. You can even play with contrasting shades for a bold look.
- Crochet Hook: Use the crochet hook size recommended for your yarn (usually stated on the yarn label—commonly a 4mm or 5mm for granny squares).
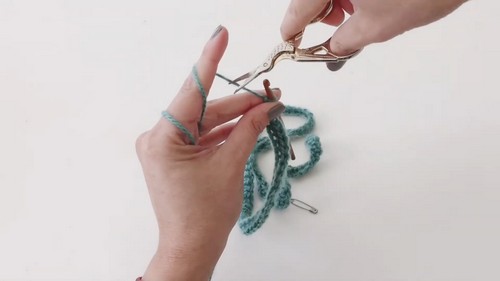
- Scissors: For cutting yarn at the end of rounds.
- Tapestry Needle: To weave in loose ends for a polished finish.
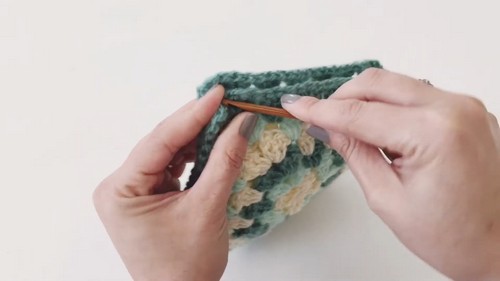
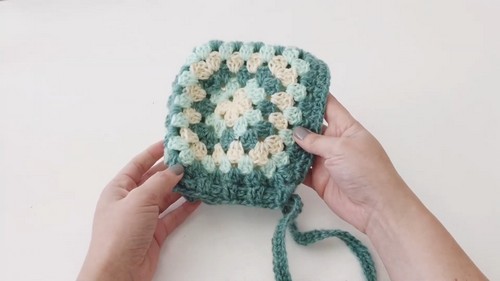
To begin, two large cords are stitched together using slip stitches, which provide a smooth and secure join. Align the cords with their fronts facing each other to ensure neat assembly.
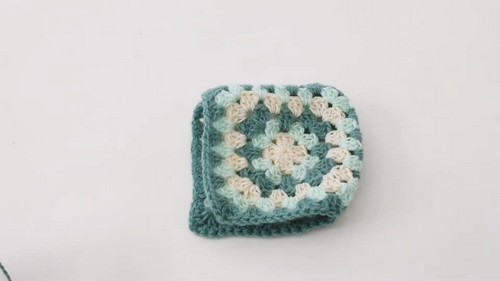
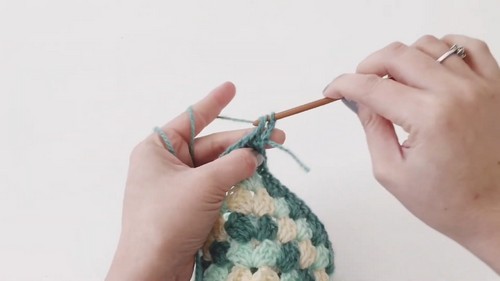
After sewing the back and sides of the bonnet, attach the yarn at the edges to work around the head’s circumference. A round of single crochet stitches is added for structure, followed by a layer of half-double crochet stitches.
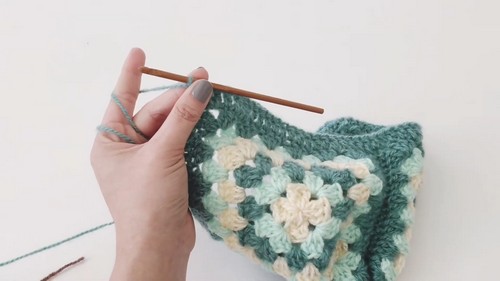
For added shape and precision, make two double crochets at the corners to create clean, rounded edges. Finally, 120 chain stitches are worked to create ties, with each chain anchored using single crochet stitches. These ties, roughly 70 centimeters long, are woven through the edges of the bonnet for an adjustable fit.
Special Features
- Customizable Design: You can experiment with colors for each square or add embellishments like flowers or beads for a personalized look.
- Classic Granny Square Appeal: The timeless granny square design makes this pattern recognizable and stylish.
- Lightweight and Cozy: Perfect for protecting against the chill with a touch of vintage charm.
Level of Difficulty
This project is categorized as easy to moderate. The granny squares themselves are beginner-friendly, but assembling and shaping them into a bonnet may require some practice and patience.
Tutor’s Suggestions
- Practice the Granny Square First: If you’re new to crocheting, practice making a few granny squares to perfect the stitch and tension.
- Use Stitch Markers: To keep track of rounds or joins when connecting the squares.
- Block the Squares: Once your granny squares are complete, block them to ensure they lie flat and are of consistent size before assembling.
Uses
The crochet granny square bonnet is:
- A stylish handmade accessory for chilly weather.
- Great as a thoughtful, handmade gift.
- Perfect for photo props for kids or decorative purposes.
- Versatile, with variations to suit multiple sizes (from kids to adults) and styles.
Pro Tip
For neat joins, try using a slip stitch join instead of sewing with a tapestry needle. It results in seamless connections, enhancing the bonnet’s overall look.
Step-by-Step Instructions
Crocheting a granny square bonnet is a unique way to combine lasting crochetsmanship with functional fashion. This project uses the classic granny square motif to design a stylish and cozy accessory suitable for all ages. Perfect for crochet enthusiasts, the stitch-by-stitch pattern is versatile, customizable, and a great option for beginners looking to try something unique.
Conclusion
The crochet granny square bonnet is a delightful project that merges tradition with practicality. Whether you’re crocheting a stylish accessory for yourself or a loved one, this pattern offers flexibility and charm. Enjoy the process of assembling vibrant squares into an artistic and functional piece, adding your flair to this timeless design.
Leave a Reply