
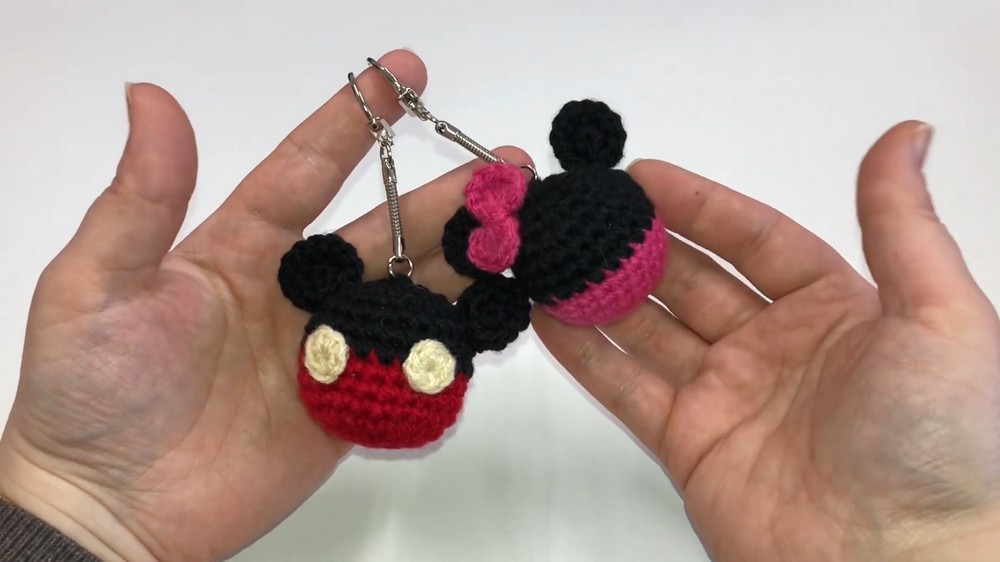
Carry a touch of Disney magic with this charming Crochet Mickey Mouse Keychain Pattern designed to make your accessories playful and unique.
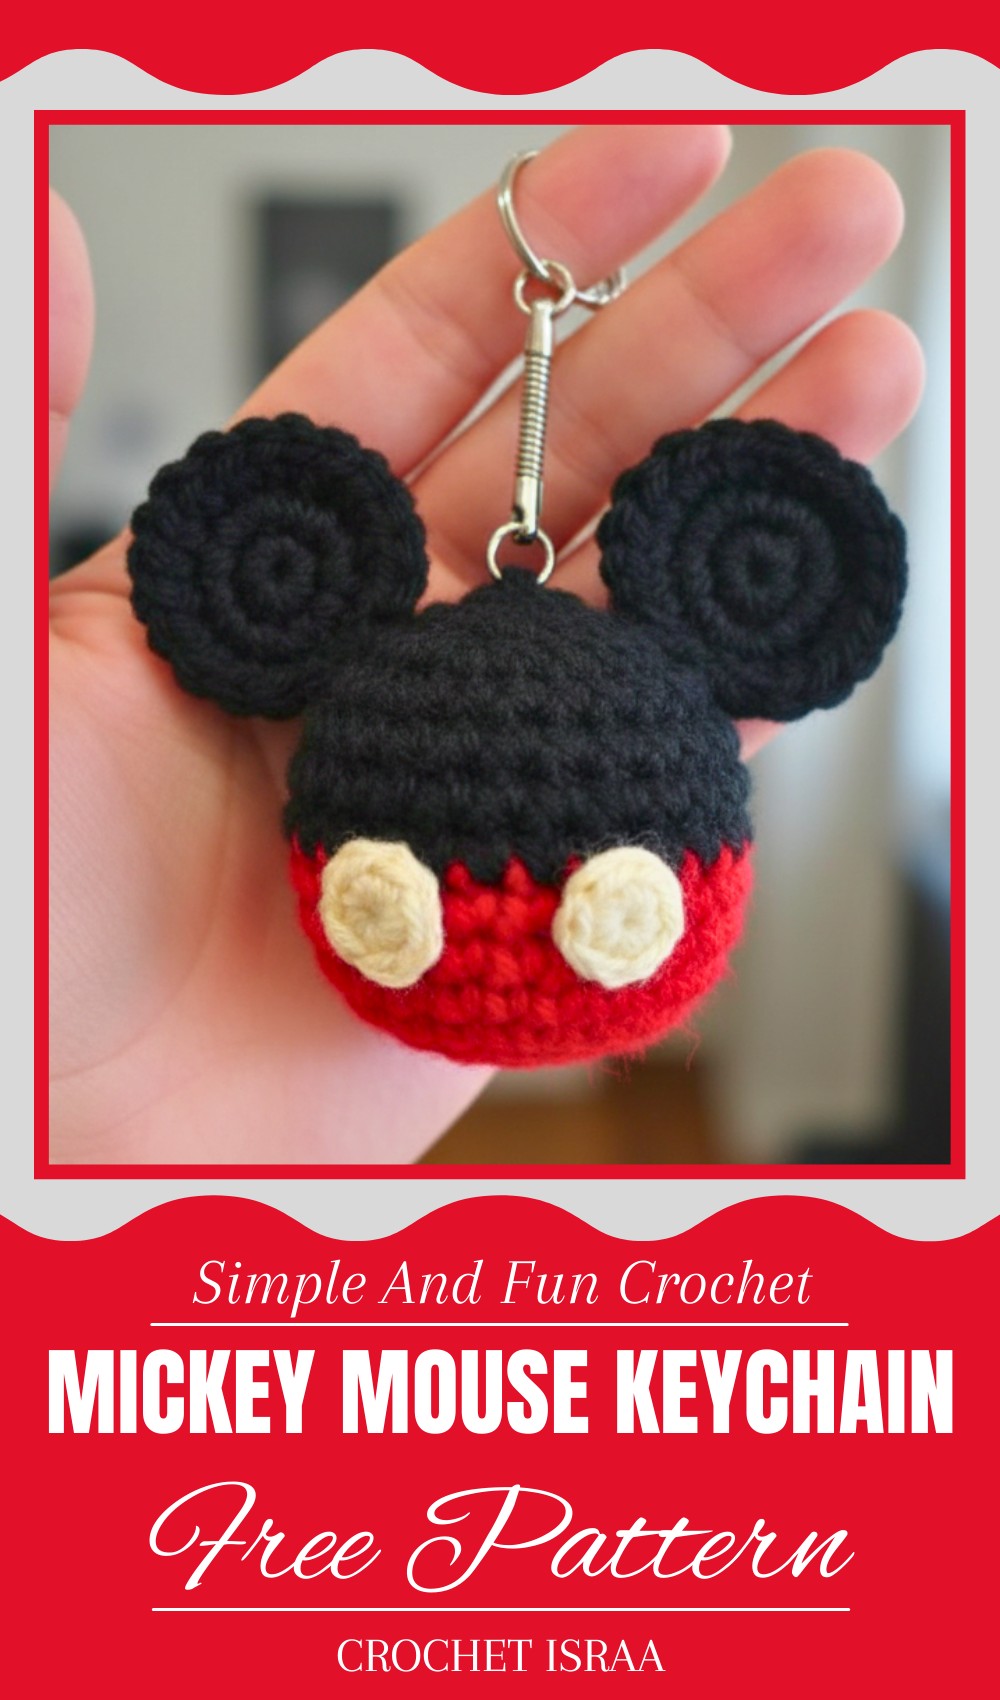
This delightful creation is perfect for adding a touch of magic and charm to your everyday accessories. The Crochet Mickey Mouse Keychain Pattern is recognized for its iconic design, making it an eye-catching and playful addition to keyrings, backpacks, or even gift decorations. Its beauty lies in the intricate handcrafted details that give it a unique and cheerful look, ideal for Disney lovers of all ages.
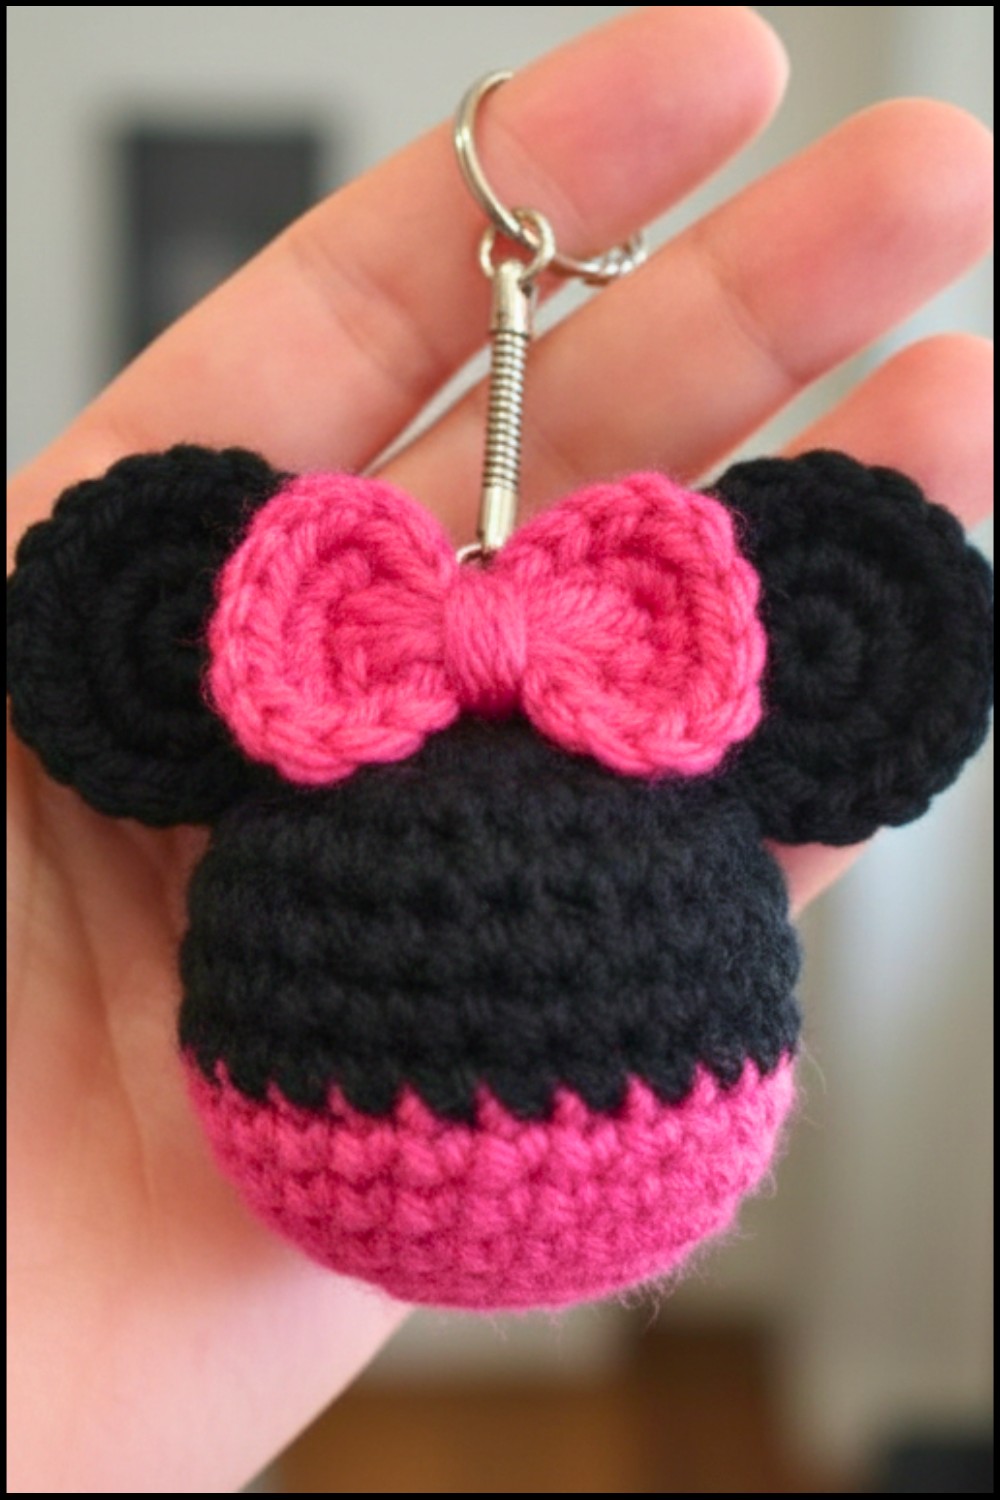
Cutest Crochet Mickey Mouse Keychain Pattern for Your Accessories
Whether you’re searching for a thoughtful handmade gift or a fun accessory to showcase your personality, this crochet pattern is just what you need. Lightweight and compact, it’s practical and versatile, perfect for celebrating special moments like birthdays, baby showers, or as cute party favors. The vibrant colors and timeless appeal ensure this keychain will stand out, spreading joy wherever it goes. Easy to carry and universally loved, it’s a small yet meaningful way to keep a little Disney magic with you.

Materials Needed
- Yarn: 100% Cotton, lightweight (soft yarn for smaller designs).
- Black yarn for the head and ears.
- Red yarn for Minnie Mouse bow and buttons.
- White yarn (optional, for embellishment).
- Hook: 3 mm crochet hook.
- Stuffing: Poly-fil or similar stuffing material.
- Keychain Ring (optional).
- Notions:
- Scissors.
- Stitch markers (optional).
- Tapestry needle for sewing.
Skill Level
Intermediate: Includes working in the round, increasing, shaping with decreases, and additional embellishment features.
Key Abbreviations
- ch: Chain.
- sc: Single Crochet.
- sl st: Slip Stitch.
- inc: Increase — 2 single crochet worked into the same stitch.
- dec: Decrease — single crochet two stitches together.
- dc: Double Crochet.
Special Notes
- The keychain includes both Mickey and Minnie Mouse designs. For the Minnie version, the bow and buttons are added as embellishments.
- Use stitch markers to track the start of rounds.
- Keep tension consistent for better symmetry.
Pattern Instructions
Step 1: Mickey/Minnie Mouse Head
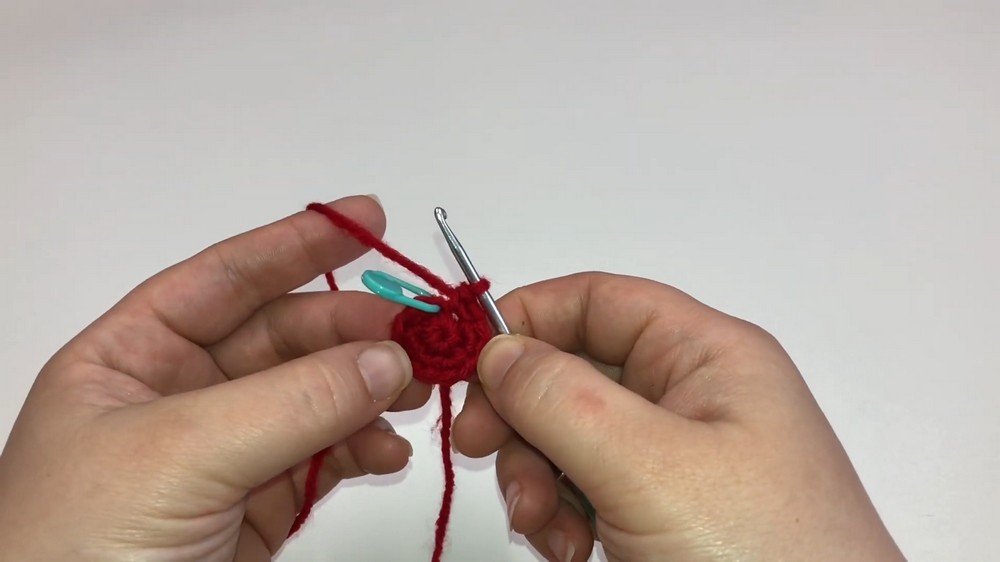
Foundation Round:
- Create a magic circle, then ch 1.
Round 1:
- Work 6 sc into the magic circle. Pull to close the circle.
- Mark the first stitch for tracking the beginning of rounds.
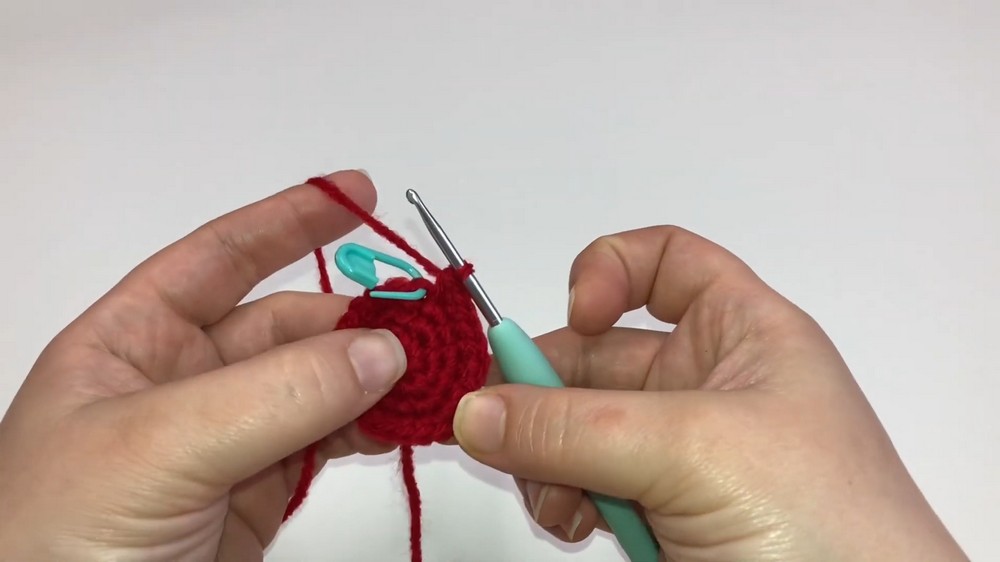
Round 2:
- Work 2 sc in each stitch around (inc in every stitch).
- 12 sc total.
Round 3:
- Work 1 sc in the first stitch, then inc in the second stitch.
- Repeat (1 sc, inc) around.
- 18 sc total.
Round 4:
- Work 1 sc in the first 2 stitches, then inc in the third stitch.
- Repeat (2 sc, inc) around.
- 24 sc total.
Round 5–7:
- Work 1 sc in each stitch around.
- 24 sc total per round.
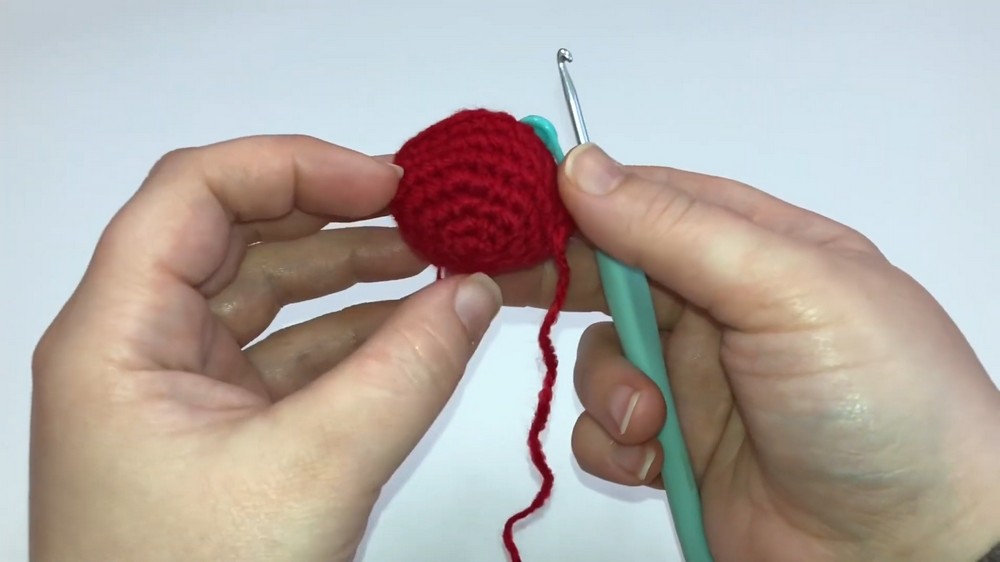
Round 8–10:
- Switch to desired contrast color yarn (e.g., red for Minnie).
- Work 1 sc in each stitch around for 3 rounds.
Round 11:
- Work 1 sc in the first 2 stitches, then dec.
- 18 sc total.

Round 12:
- Work 1 sc in the first stitch, then dec.
- Repeat (1 sc, dec) around.
- 12 sc total.
Round 13:
- Work dec in each stitch around.
- 6 sc total.
- Stuff the head with Poly-fil, ensuring it’s firm but not overstuffed.
- Sl st in the last stitch, leaving a long yarn tail for sewing.

Step 2: Ears (Make 2)
Foundation Round:
- Create a magic circle, then ch 1.
Round 1:
- Work 6 sc into the magic circle.
Round 2:
- Work 2 sc in each stitch around (inc in every stitch).
- 12 sc total.
- Fasten off with a sl st, leaving a long yarn tail for sewing onto the head.
Step 3: Minnie Mouse Button (Make 2)
Foundation Round:
- Create a magic circle, then ch 1.
Round 1:
- Work 6 sc into the magic circle.
- Join with a sl st in the first stitch.
- Cut yarn, leave a tail for attaching to the head, and set aside.
Step 4: Minnie Mouse Bow
Foundation Round:
- Create a magic circle, then ch 3.
Part 1:
- Work 3 dc into the magic circle, then ch 3.
- Join with a sl st into the magic circle.
Part 2:
- Ch 3, and repeat 3 dc into the magic circle, followed by ch 3.
- Join with a sl st into the magic circle.
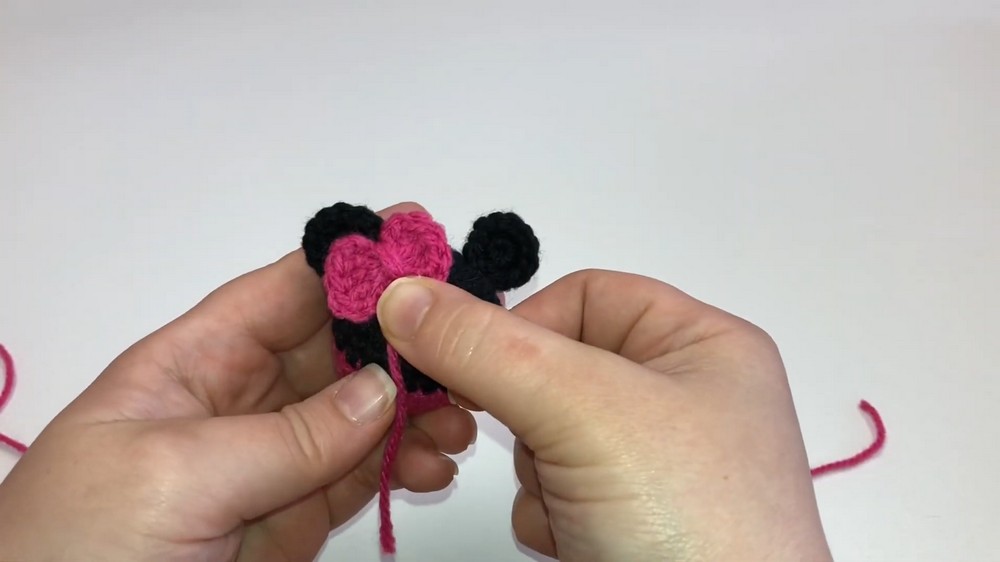
- Cut the yarn, leaving a tail. Wrap yarn around the middle of the bow 2–3 times to form its shape.
- Fasten off and use the yarn tail to attach the bow securely to Minnie Mouse’s head.
Step 5: Assembly
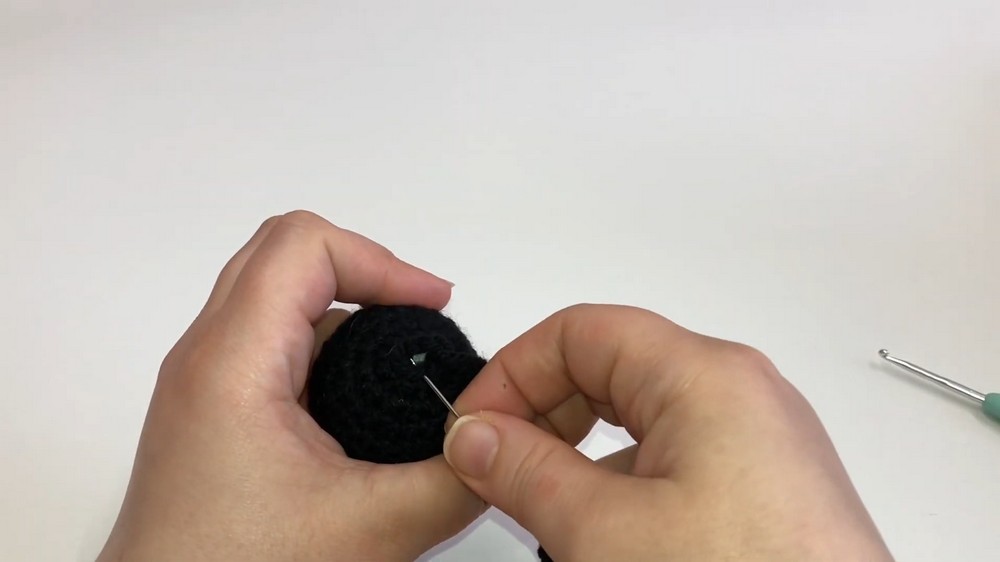
- Attach Ears: Position the ears symmetrically on the sides of the head. Sew them securely using a tapestry needle and the yarn tails left from ear construction.
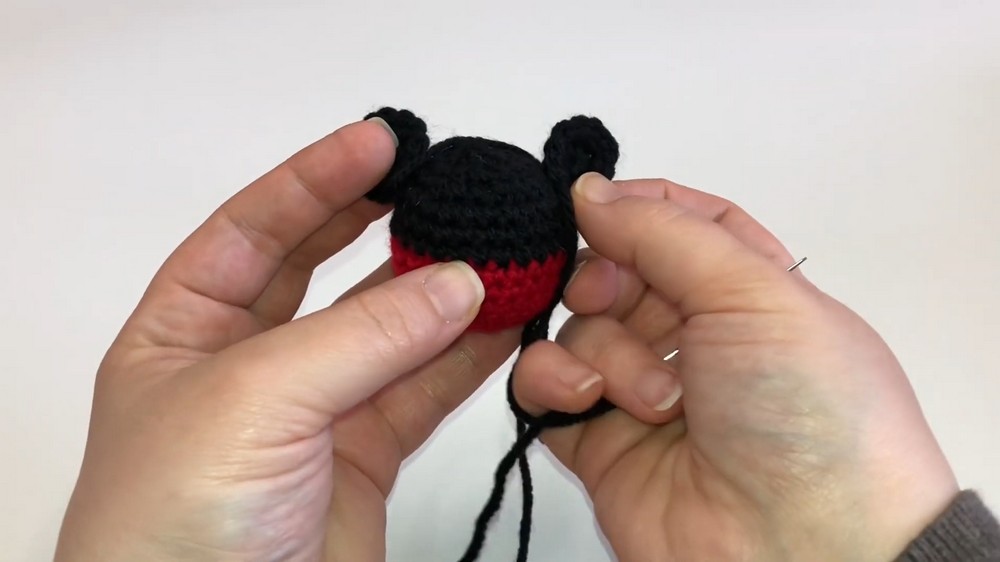
- Attach Buttons (For Minnie): Sew the red buttons near the bottom of the head to complete the Minnie Mouse design.
- Attach Bow (For Minnie): Center the bow at the top of Minnie’s head, sewing it securely in place with the wrapped yarn.
- Stuffing and Closing: Make sure all parts are sewn tightly. Insert fiberfill carefully before closing any openings.
- Attach Keychain Ring: Use yarn or sewing thread to attach a keychain ring securely to the top of the head.
Tips for Success
- When making the bow, ensure tight wrapping for a neat finish. Use a contrasting yarn color for better definition.
- Stuff the head and ears firmly but evenly to avoid lumps.
- Use baby-safe materials for any embellishments if gifting to children.
Conclusion
Congratulations on completing your Mickey and Minnie Mouse Keychain! These whimsical and iconic designs are perfect for gifting or as keychain decorations. With their customizable colors and adorable features, they’re sure to bring smiles wherever you go!
Pattern Corrections
- Ensure each piece’s stitch count matches the pattern for even assembly.
- If ears appear uneven after attachment, reposition or use pins to secure them accurately while sewing.
Leave a Reply