
Style your look effortlessly with colorful crochet headband pattern that combine practicality and beauty for any occasion or outfit choice.
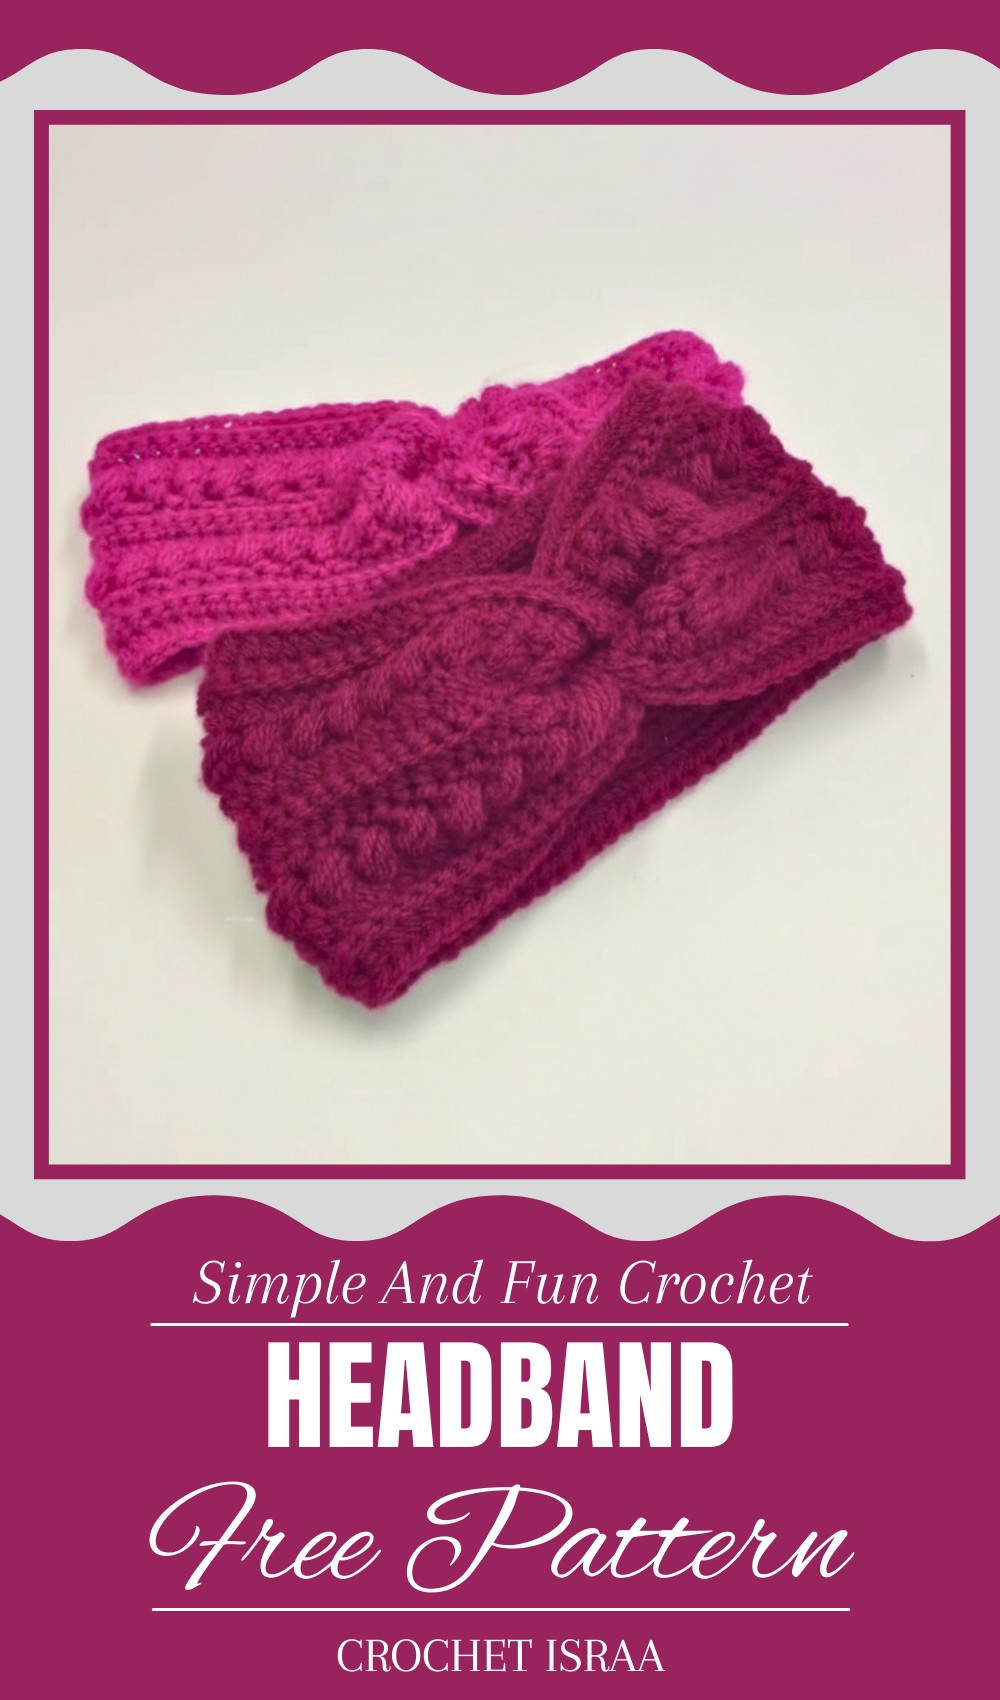
Not having the perfect accessory to match your outfit or keep your hair in place can feel disappointing. That’s why crochet headband are such a beautiful and versatile solution. Its effortlessly combine style with practicality, making them ideal for everyday use or special occasions. Whether you need something lightweight for summer or cozy for winter, this charming headband can be customized with endless colors, pattern, and design to suit your taste.
Classy Crochet Headband Pattern That Works for All Ages
Its not only keep your hair neat but also make a bold statement, showing off your creativity and personal style. From casual outings to festive gatherings, crochet headband fit seamlessly into any setting. They’re also a fun and easy project for beginners, giving you the chance to crochet something uniquely yours or create a heartfelt, handmade gift. This headband are more than just accessories—they’re a delightful expression of creativity and functionality.

Materials List
- Yarn: Turkish 100% acrylic yarn (approximately 25 g).
- Hook: 4 mm crochet hook.
- Extras:
- Scissors.
- Tapestry needle for sewing the ends together.
Skill Level
Intermediate. The project includes working with texture stitches, back-loop-only stitches, and simple sewing for finishing.
Key Abbreviations (US Terminology)
- ch: chain
- sc: single crochet
- hdc: half double crochet
- bl: back loop
- sl st: slip stitch
Special Notes
- Textured Stitches: The pattern uses a textured technique created by inserting your hook behind a previous hdc stitch. Careful attention is needed when pulling loops through multiple times for texture.
- All stitches are worked in the back loop unless otherwise specified.
- Ensure even tension throughout for a neat finish.
Headband Size
- Length: 45-50 cm unstretched.
- Suitable for ages 5-8 years.
Pattern Instructions
Step 1: Foundation Chain
- Make a slip knot and chain 75 (approximately 45-50 cm in length).
Row 1: Half Double Crochet in Back Loop
- In the third chain from the hook, work hdc in the back loop.
- Work hdc into the back loop of each chain across.
- At the end of the row, you’ll have 73 hdc stitches.

Row 2: Single Crochet in Back Loop
- Ch 1, turn your work.
- In the first stitch, work sc normally (under both loops).
- In the next stitches, work sc in the back loop only across the row.
- You will have 73 sc stitches at the end.

Row 3: Half Double Crochet in Back Loop
- Ch 2, turn your work.
- Work hdc in the first stitch (under both loops).
- Work hdc into the back loop of each subsequent stitch across.
- Ensure the last stitch is worked under both loops.
- You will have 73 hdc stitches.

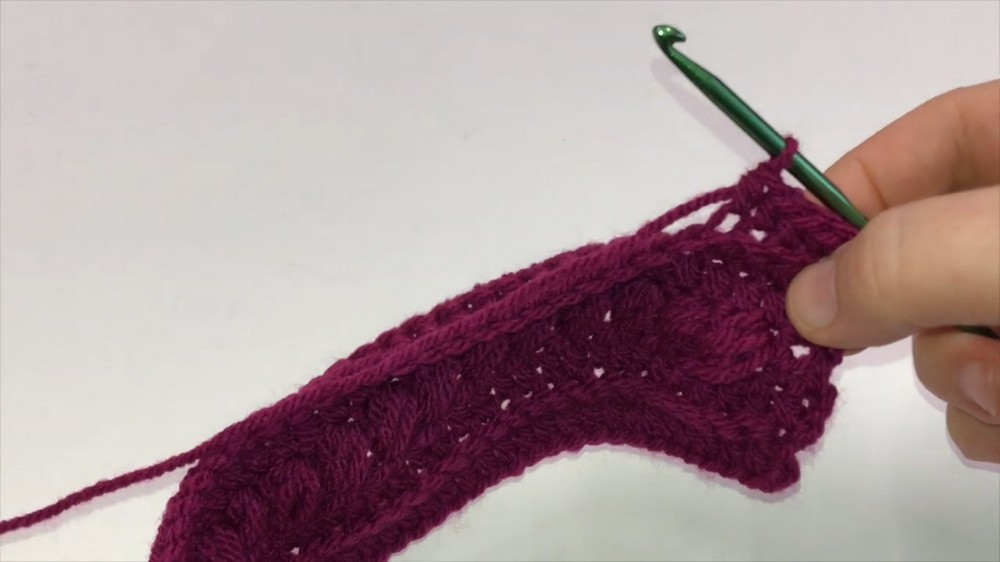
Row 4: Textured Stitch Row
- Ch 2, turn your work.
- Work hdc in the first stitch.
- Work hdc in the second stitch.
- Ch 1, skip 1 stitch, and in the next stitch:
- Work hdc.
- Insert your hook behind the body of the previous hdc, yarn over, pull up a loop.
- Yarn over and pull through the first two loops.
- Repeat two more times for texture.
- Yarn over and pull through all loops.
- Skip a stitch, then work hdc in the next stitch.
- Repeat: Skip a stitch, then work hdc with texture behind every other stitch.
Row 5: Half Double Crochet Row
- Ch 2, turn your work.
- Work hdc in each stitch across, ensuring you work hdc into chain spaces as well.
- You will have 73 hdc.
Row 6: Single Crochet in Back Loop
- Ch 1, turn your work.
- Work sc in the first stitch (under both loops).
- Work sc in the back loop of each stitch across.
Row 7: Half Double Crochet in Back Loop
- Ch 2, turn your work.
- Work hdc in the first stitch (under both loops).
- Work hdc in the back loop of each stitch across.

Row 8-11: Repeat Texture and Basic Rows
- Repeat the sequence of Row 4, Row 5, Row 6, and Row 7 to build texture.
Step 2: Finishing
Sewing the Ends Together
- Fold the headband so that both ends meet.
- Overlap the ends slightly and sew them together using a tapestry needle. Work evenly and securely for a neat finish.

Final Touch
- Turn the headband inside out to hide the seam.

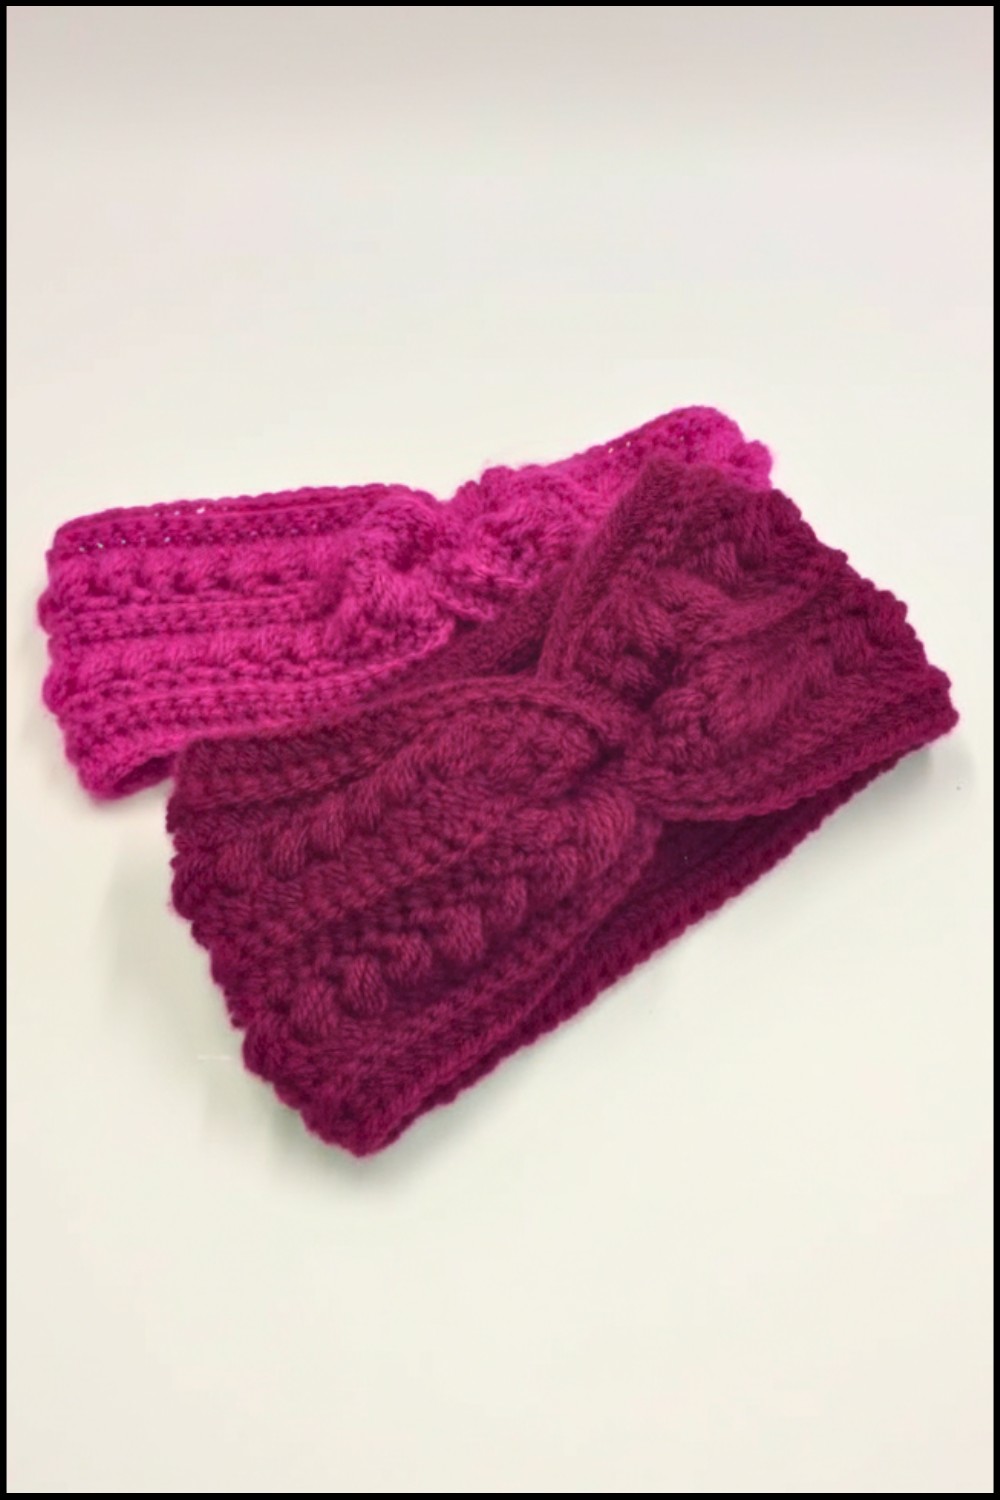
Conclusion
You’ve completed an elegant crochet headband! This project is versatile and can be adapted to fit different sizes by adjusting the foundation chain length and adding extra repeat rows.
Pattern Corrections
- Ensure you follow the textured stitch instructions carefully. Missing a loop or stitch when creating the texture can cause gaps.
Tip
- For a tighter fit, experiment with 3.5 mm hook instead of 4 mm.
- Use a contrasting yarn color for an additional decorative effect on texture rows.
Leave a Reply