
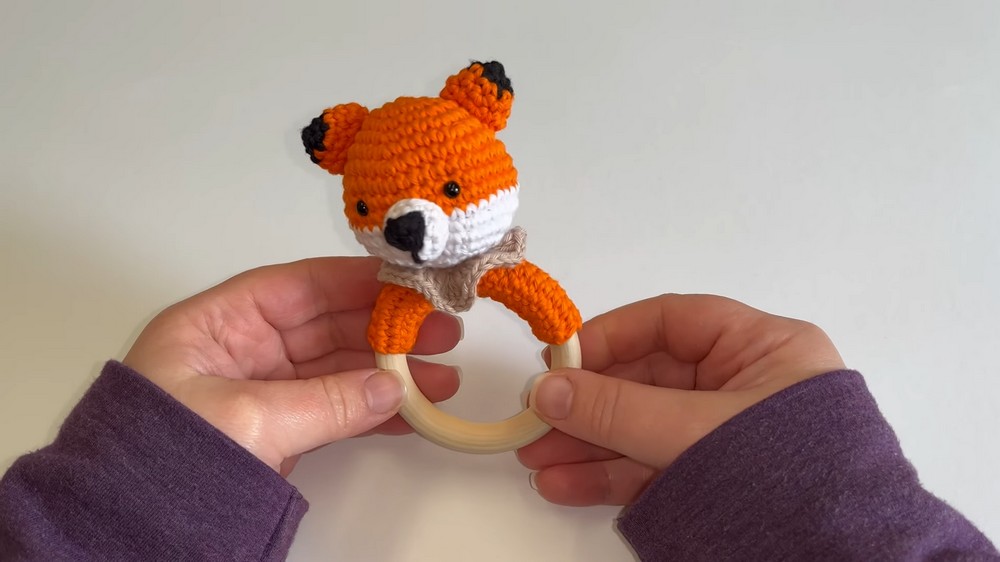
Give your little one a charming keepsake with this crochet baby rattle pattern, filled with love and care, making it a perfect baby gift.
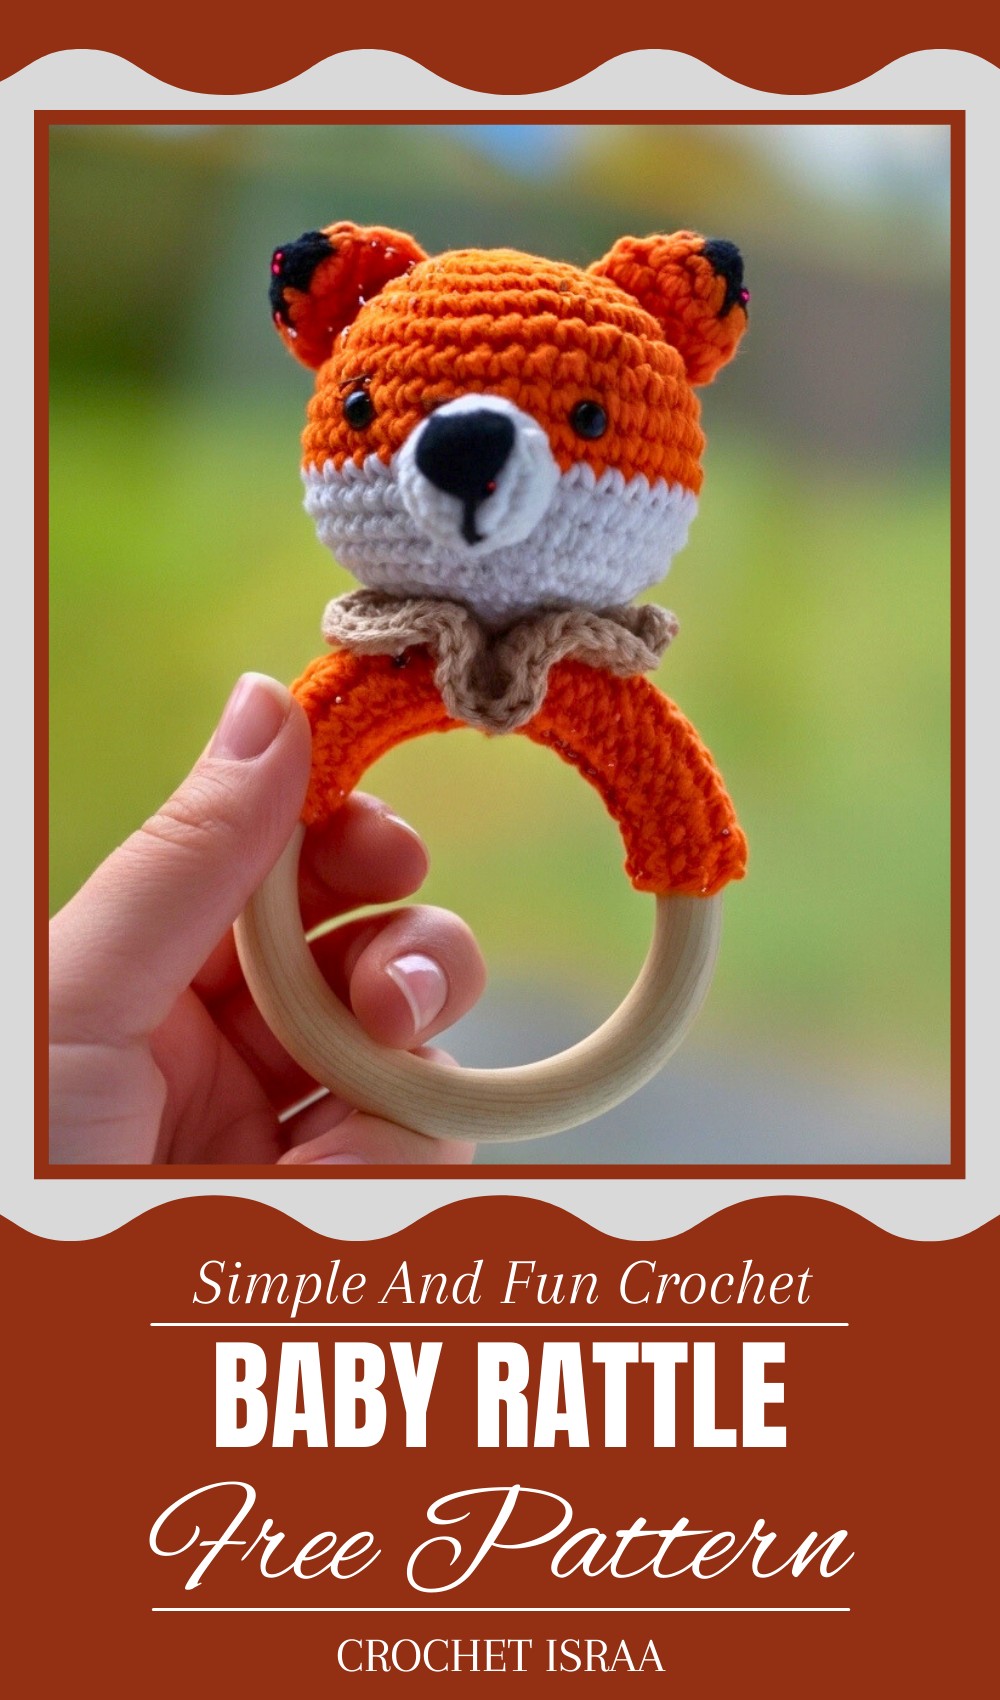
Have you ever wondered what makes the perfect first toy for a baby? A soft, handmade treasure like a crochet baby rattle pattern is filled with love and care. Its vibrant colors, gentle jingle, and adorable design make it more than just a toy—it’s the perfect way to soothe a baby while encouraging sensory play. Whether as a heartwarming gift for a baby shower or a personalized addition to a nursery, this rattle is both meaningful and practical.
Easy Crochet Baby Rattle Pattern for Stress-Free Baby
Lightweight and easy for tiny hands to hold, it brings smiles, comfort, and fun during playtime or nap time. You can customize it with unique shapes and cheerful patterns, adding a playful touch that little ones adore. With every stitch crocheted with thoughtfulness, this adorable creation becomes a keepsake that families treasure, spreading joy and love with every jingle. It’s the ultimate combination of fun, comfort, and charm!
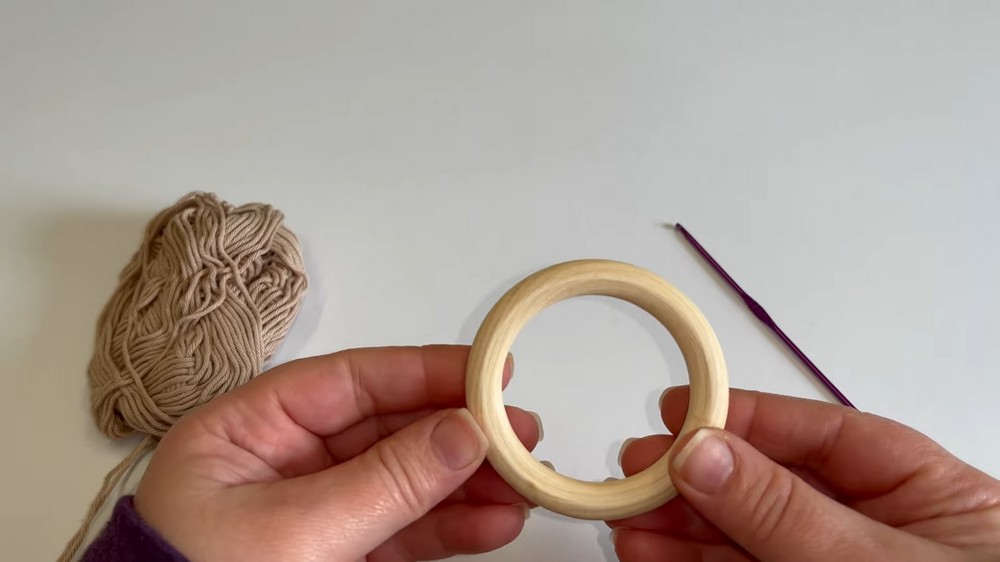
Materials Needed
- Hook: 2.5 mm crochet hook
- Yarn: 100% cotton yarn in the following colors:
- Orange (for the fox head and ears)
- White (for the accents like the ears and head)
- Black or dark brown (small quantity for the nose)
- Eyes: Safety eyes (size 6 mm or according to preference)
- Wooden ring: Approximately 2.5–3 inches in diameter
- Poly-fil stuffing
- Tapestry needle (for sewing pieces together)
- Stitch marker (to track rounds)
- Lighter: For melting the backs of safety eyes for extra security (optional but recommended)
Key Abbreviations
- ch: Chain
- sc: Single Crochet
- inc: Increase (2 sc in the same stitch)
- dec: Decrease (single crochet 2 stitches together)
- st: Stitch(es)
- MC: Magic Circle
- ():** Stitch count at the end of the round
Special Notes
- The pattern is written using US crochet terminology.
- Always use a stitch marker to mark the first stitch of each round in continuous spiral rounds.
- Adjust the size of the wooden ring or yarn thickness as needed for your project.
- When working with poly-fil, ensure the filling is distributed evenly for a smooth, neat shape.
- The backs of safety eyes can be melted slightly for extra security to ensure they remain baby-safe.
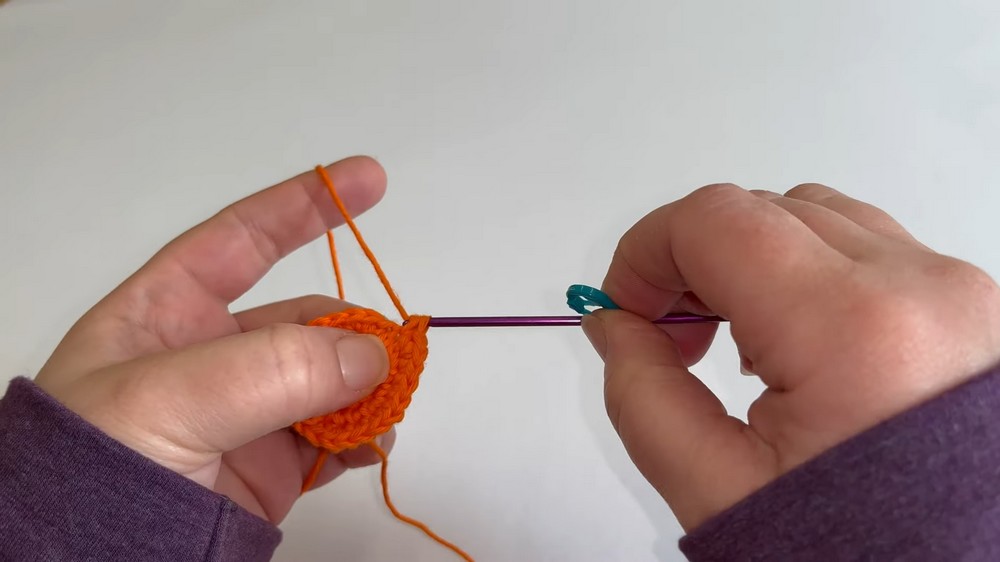
Pattern Instructions
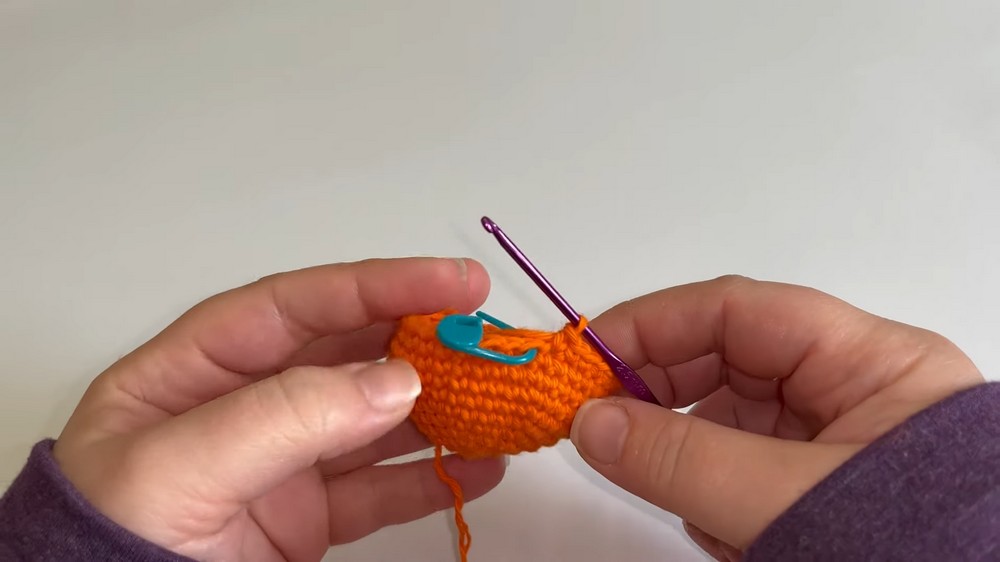
Head
- Make a Magic Circle (MC).
- Chain 1 (this does not count as a stitch).
- Round 1:
- Work 6 sc into the MC.
- (6 stitches at the end of the round).
- Round 2:
- Work 2 sc into each stitch around (inc in each stitch).
- (12 stitches).
- Place a stitch marker to mark the first st.
- Round 3:
- Alternate 1 sc in the first stitch, then inc (2 sc in the next st); repeat around.
- (18 stitches).
- Round 4:
- Alternate 2 sc in the first two stitches, then inc in the third stitch; repeat around.
- (24 stitches).
- Round 5:
- Alternate 3 sc in the first three stitches, then inc in the fourth stitch.
- (30 stitches).
- Round 6:
- Alternate 4 sc in the first four stitches, then inc in the fifth st; repeat.
- (36 stitches).
- Round 7:
- Alternate 7 sc in the first seven stitches, then inc in the eighth st; repeat.
- (40 stitches).
- Rounds 8-10:
- Work 1 sc into each stitch around.
- Keep the count at (40 stitches).
- Cut your yarn and finish off.
Switch to White Yarn for Head Extension
- Attach the white yarn.
- Rounds 11-13:
- Work 1 sc in each stitch around.
- (40 stitches).
Insert Safety Eyes
- Place the safety eyes between Rounds 9-10, spaced 6 stitches apart.
- To secure the safety eyes, burn or melt the plastic backing slightly with a lighter. This makes it safer for baby use.

Shape the Head (Decreasing Rounds)
- Round 14:
- Alternate 2 sc, then 1 dec.
- (32 stitches).
- Round 15:
- Alternate 1 sc, then 1 dec.
- (24 stitches).
- Insert poly-fil stuffing at this stage.
- Round 16:
- Work 1 sc, then 1 dec.
- (16 stitches).
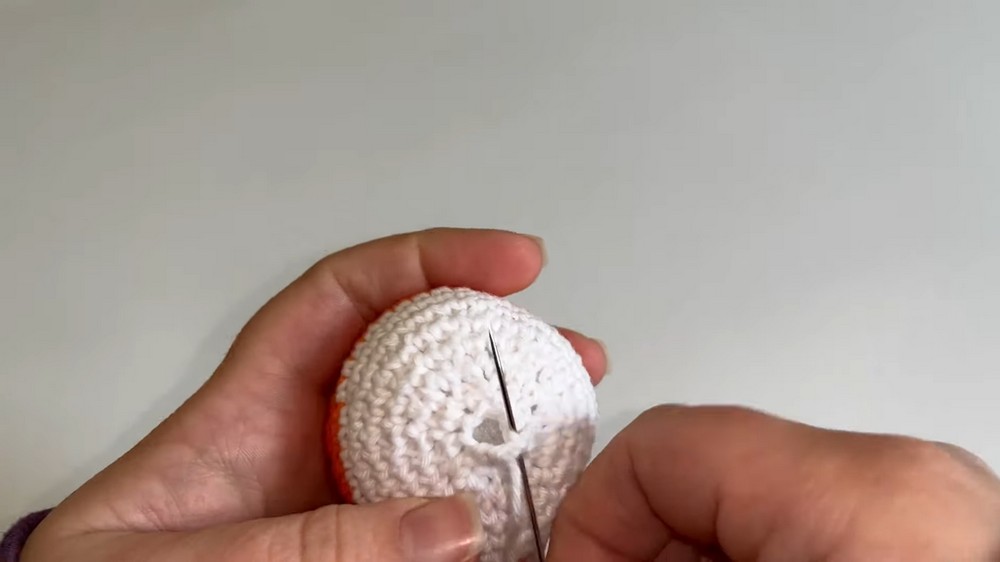
- Round 17:
- Work only dec around.
- (8 stitches).
- Cut yarn, leaving a tail, and sew the hole closed with a tapestry needle.
Ears (Make 2)
- Start with white yarn.
- Make a Magic Circle (MC).
- Round 1:
- Work 3 sc into the MC (3 stitches).
- Round 2:
- Work inc in each stitch around.
- (6 stitches).
- Switch to orange yarn.
- Round 3:
- Alternate 1 sc, 1 inc in the next stitch.
- (9 stitches).
- Round 4:
- Alternating sc, then 1 inc in the third st.
- (12 stitches).
- Round 5:
- Work 1 sc into each stitch around.
- (12 stitches).
- Leave a long tail for sewing.
Nose
- Make a MC.
- Round 1:
- Work 6 sc into MC.
- Round 2:
- Work inc in each stitch around.
- (12 stitches).
- Round 3:
- Work 1 sc into each stitch around.
- (12 stitches).
- Cut yarn with a long tail for sewing.
Assembling the Fox Head
- Sew the ears to the top of the head.
- Attach the nose to the front center of the head.
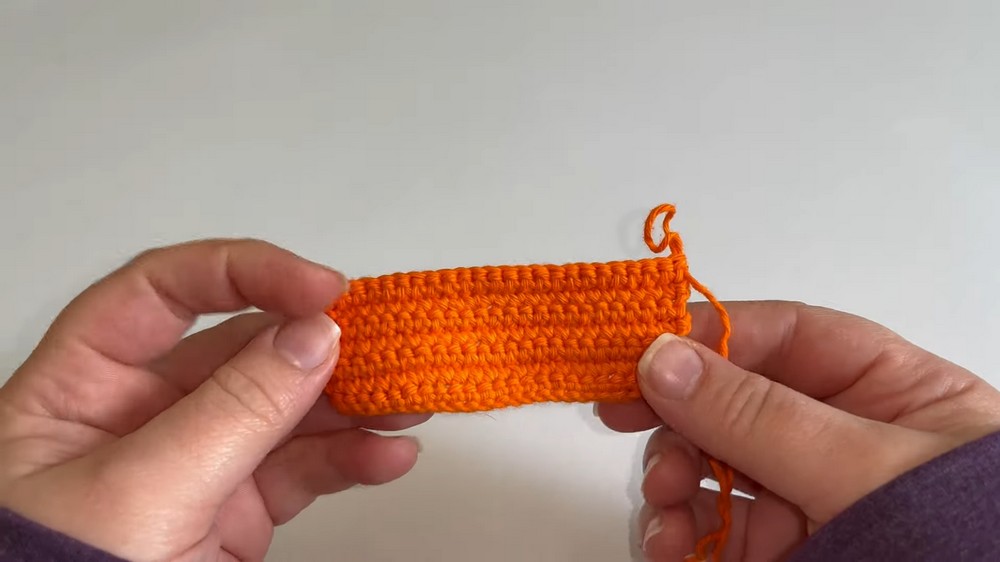
Wooden Ring Cover
Main Piece
- Use orange yarn, chain 25.
- Rows 1-7:
- Starting in the second chain from the hook, work 1 sc in each stitch across (24 stitches per row).
- Turn at the end of every row.
Decorative Piece
- Start with orange yarn, chain 18.
- Work 2 dc in the 3rd chain from the hook.
- Continue placing 3 dc in each chain across.
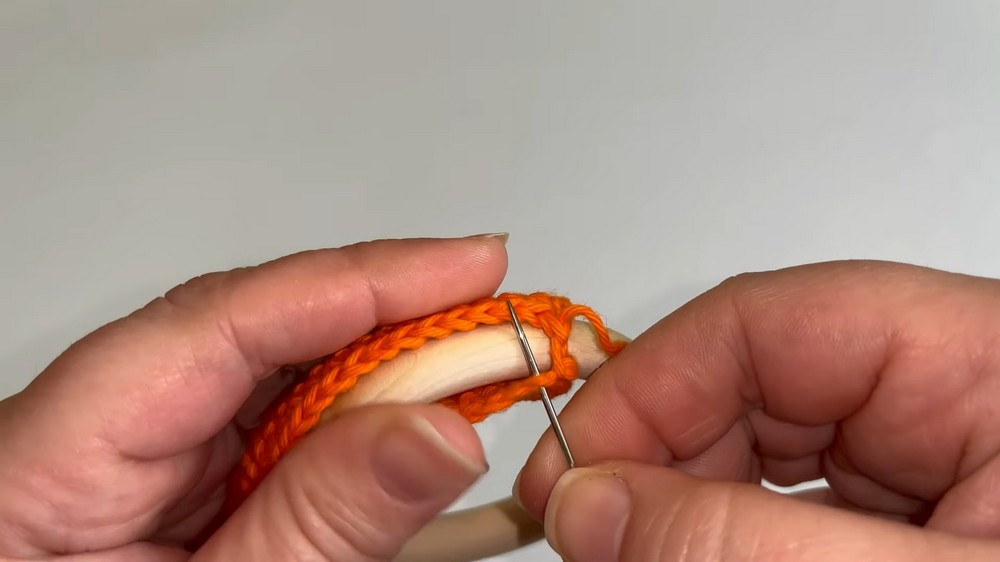
Attach pieces to cover the wooden ring and sew securely.
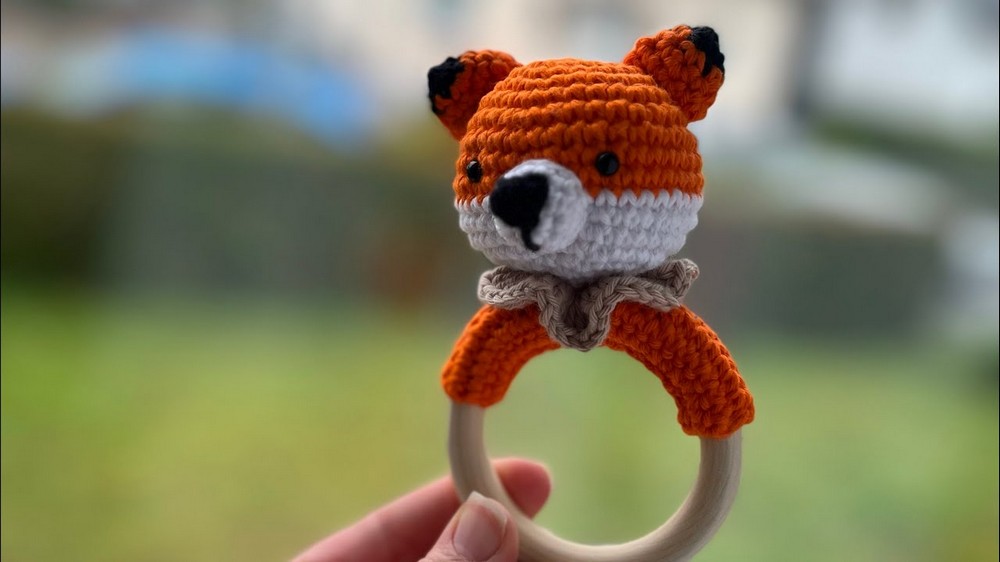
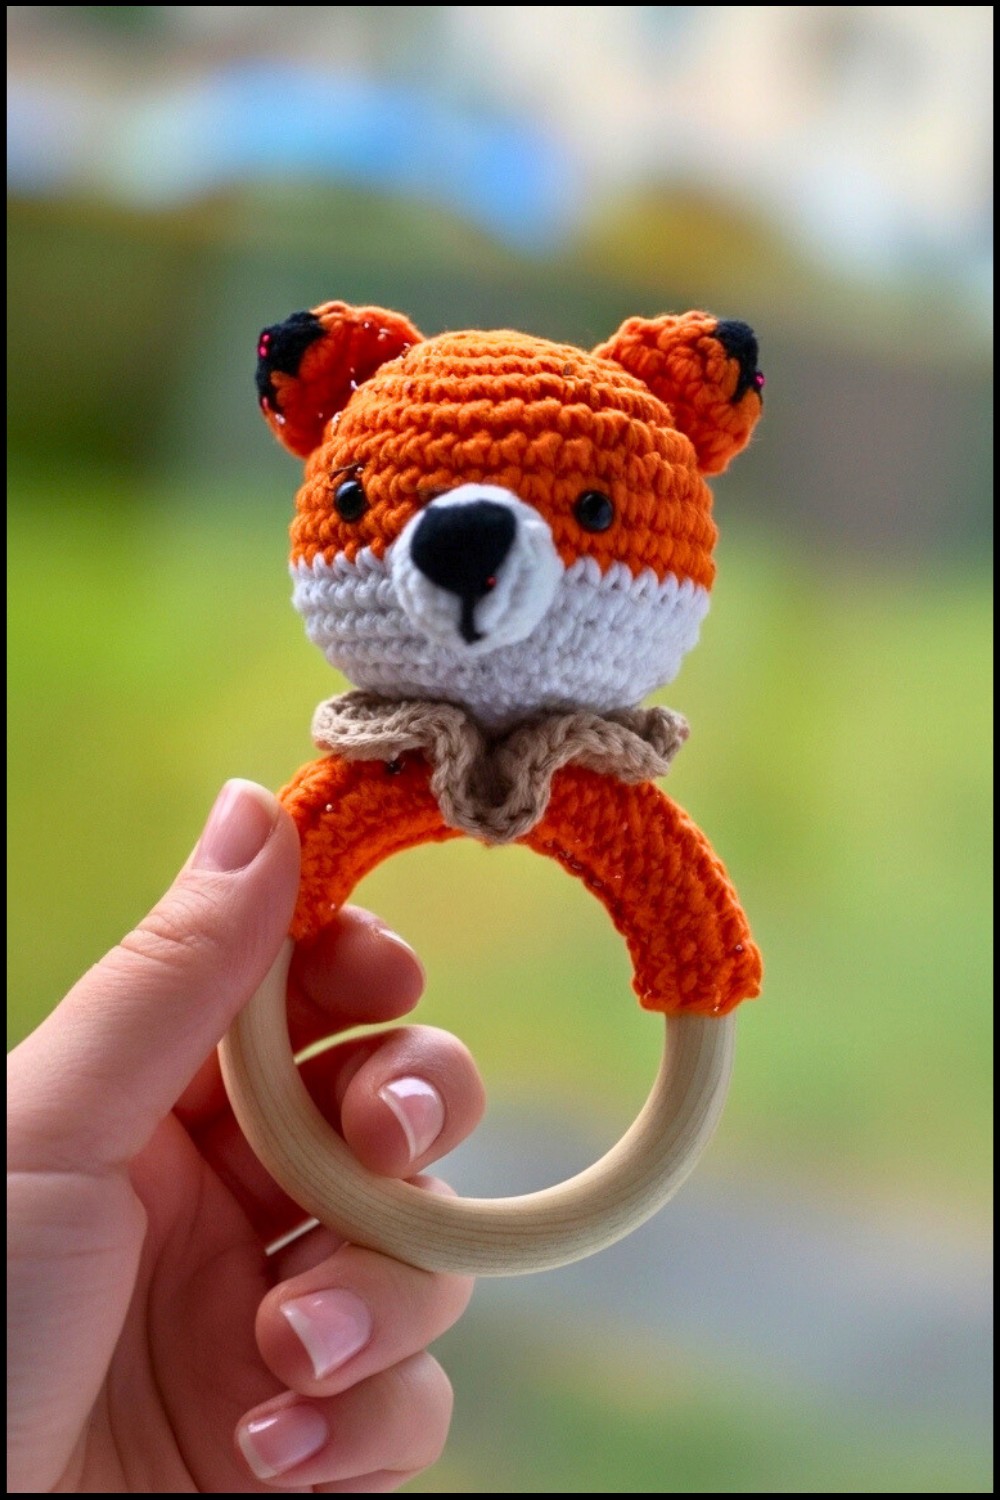
Conclusion
This adorable crochet fox rattle doubles as a teething toy and makes a thoughtful, handcrafted gift for babies. Its combination of soft cotton yarn and a sturdy wooden ring ensures safety and durability. Follow the steps carefully, and you’ll create a truly charming piece to delight both parents and little ones.
Pattern Corrections & Tips
- Corrections: Double-check stitch counts after each round to avoid shaping errors.
- Tip for Beginners: Practice amigurumi stitches and proper stuffing techniques before starting this project for smooth results.
Leave a Reply