
Dress your little one with this Crochet Baby Cap Pattern creating a soft and comfy accessory that keeps babies warm and looking adorable.
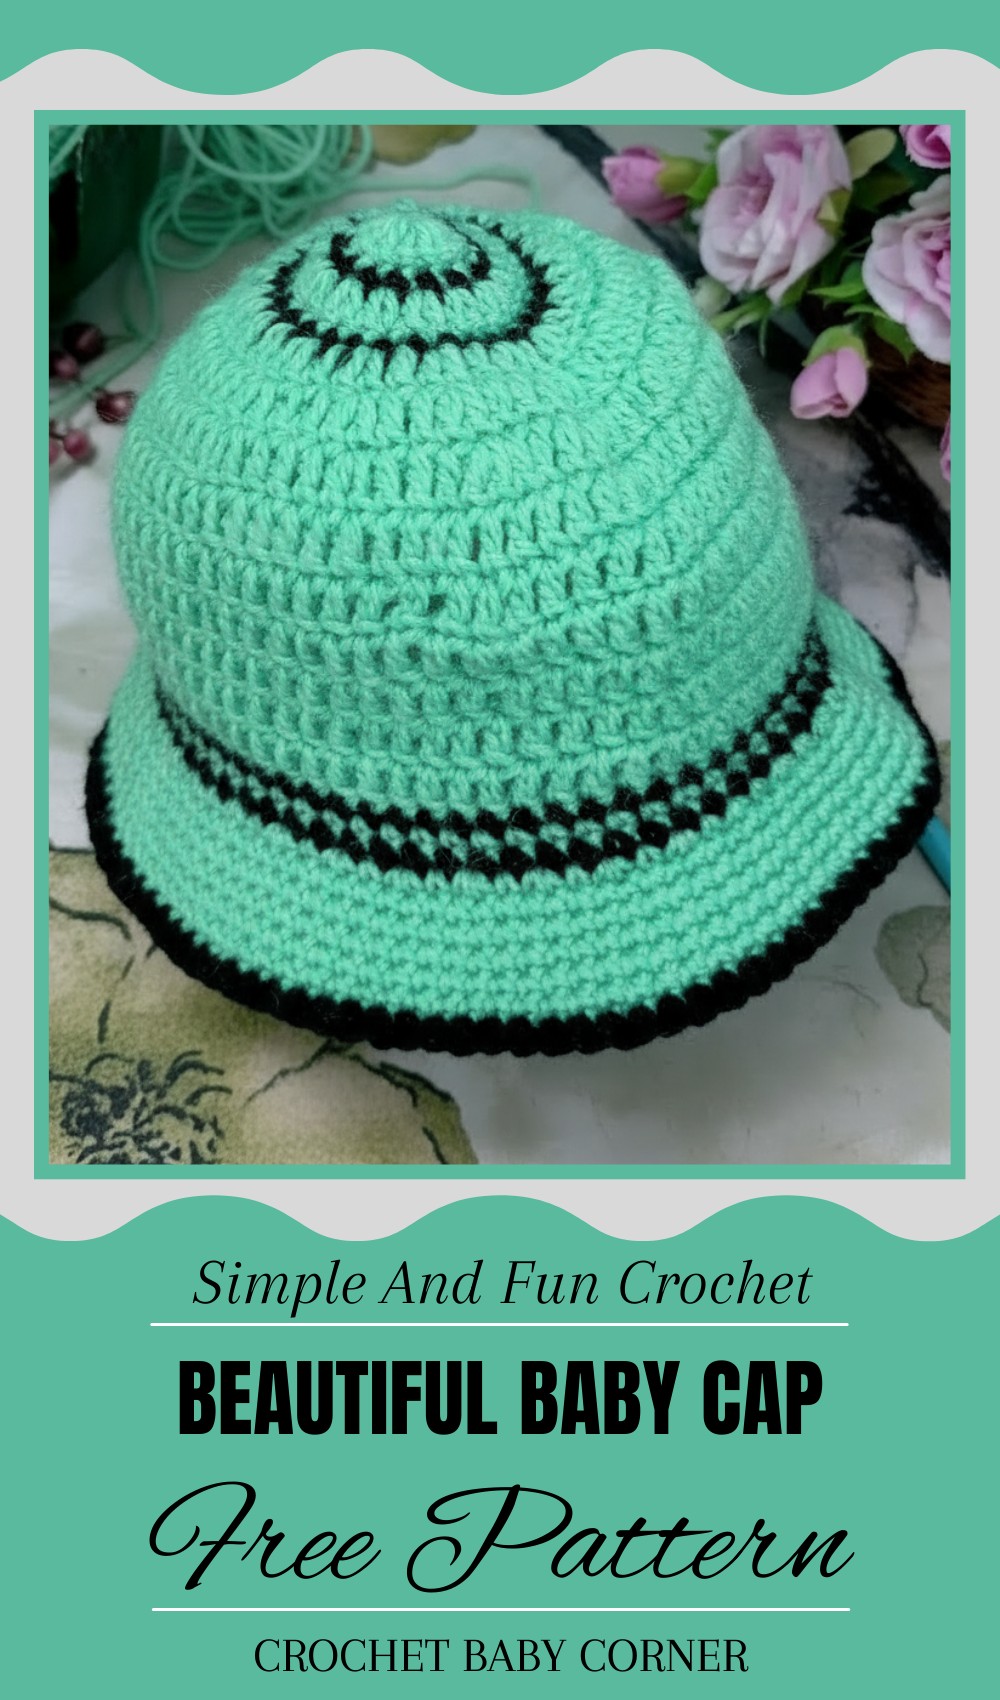
Cozy Crochet Baby Cap Pattern Ideal for Newborn Snuggles
A colorful and charming baby cap has a special appeal that brings joy to everyone who sees it. If you’re looking for something unique and meaningful, a crochet baby cap pattern offers an excellent way to achieve it. This tiny accessory, with its detailed design and vibrant pattern, combines beauty and usefulness. Baby hats provide warmth and comfort to a baby’s delicate head while adding a delightful touch to their outfit. From simple designs to hats decorated with flowers, playful shapes, or adorable details, it is ideal for various occasions like birthdays, family gatherings, or everyday outings.
Its versatility means it can complement any outfit, making a baby look even more adorable. A baby cap is a thoughtful gift and keepsake that symbolizes love and care for your little one. Whether used during colder days for extra warmth or as a stylish accessory, it brings a sense of uniqueness and charm. Perfectly suited for babies, this cap makes a practical yet heartwarming addition to their wardrobe, leaving fond memories for everyone involved.
Materials Needed
Yarn
- 3.0 mm Yarn: Choose the same yarn used for the frock to ensure matching texture and color.
- Primary Color: Green (main body of the cap).
- Secondary Color: Black (for decorative borders and lines).
- Lightweight acrylic yarn is recommended for a soft, comfortable cap.
Hook Size
- 3.0 mm Crochet Hook: Ideal for the weight of the yarn used.
Other Tools
- Yarn Needle: For weaving in ends and securing threads.
- Scissors: For cutting excess yarn at the end.
Key Abbreviations (U.S. Crochet Terminology)
- ch: Chain
- sc: Single Crochet
- dc: Double Crochet
- sl st: Slip Stitch
- yo: Yarn Over
Pattern Overview
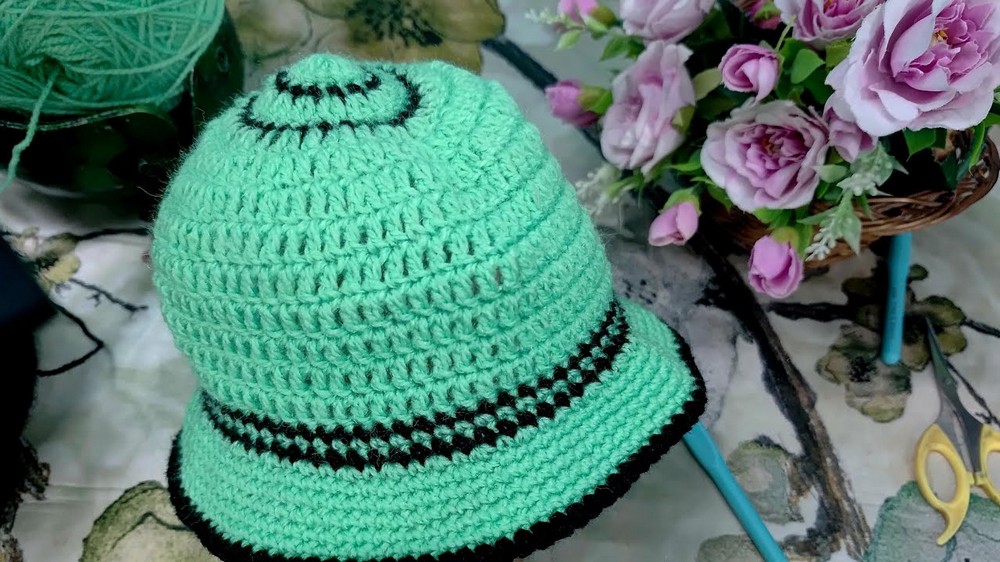
This crochet cap is constructed in rounds, starting from a magic circle. The body of the cap uses alternating rows with decorative black stitching and textured frills at the base.
Step-by-Step Pattern
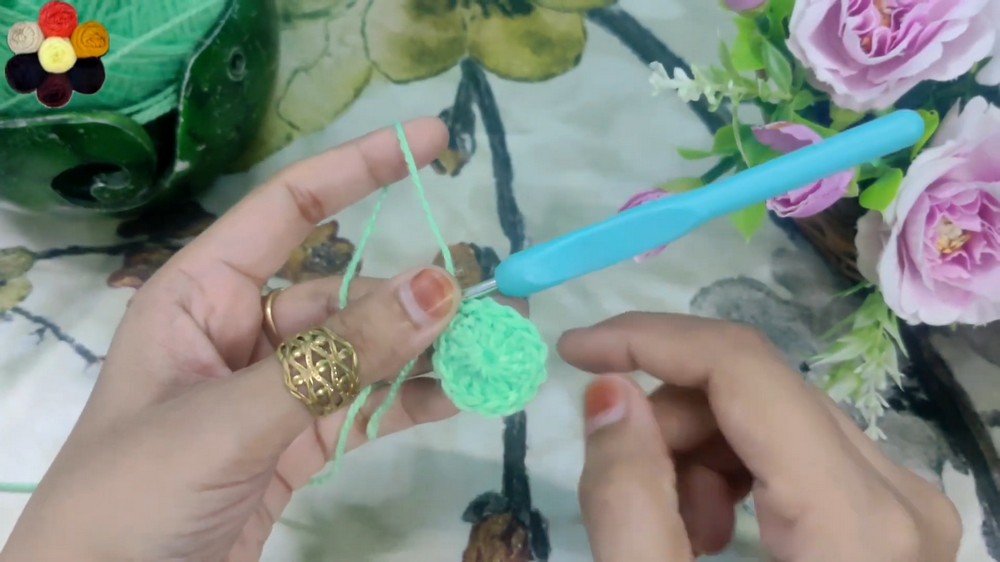
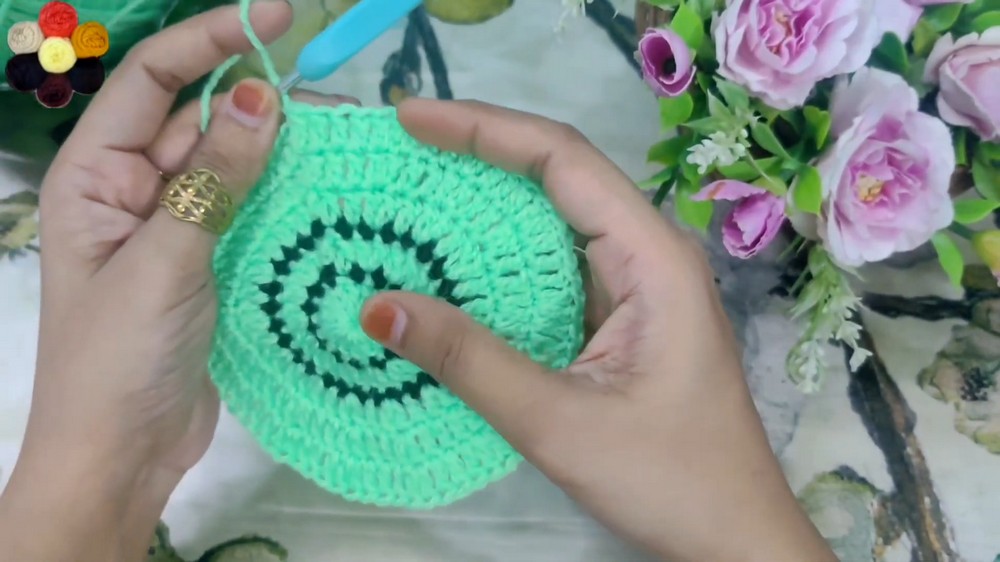
Foundation Circle (Magic Circle) – Base
- Create a Magic Circle:
- Wrap yarn around your fingers to form a loop. Insert hook into the loop and pull through a thread.
- Round 1:
- Work 3 ch (counts as first dc).
- Crochet 13 dc into the circle. This gives a total of 14 dc (including the chain).
- Tighten the magic circle by pulling the tail yarn securely.
- Use a sl st to join the last dc to the third chain of the round.
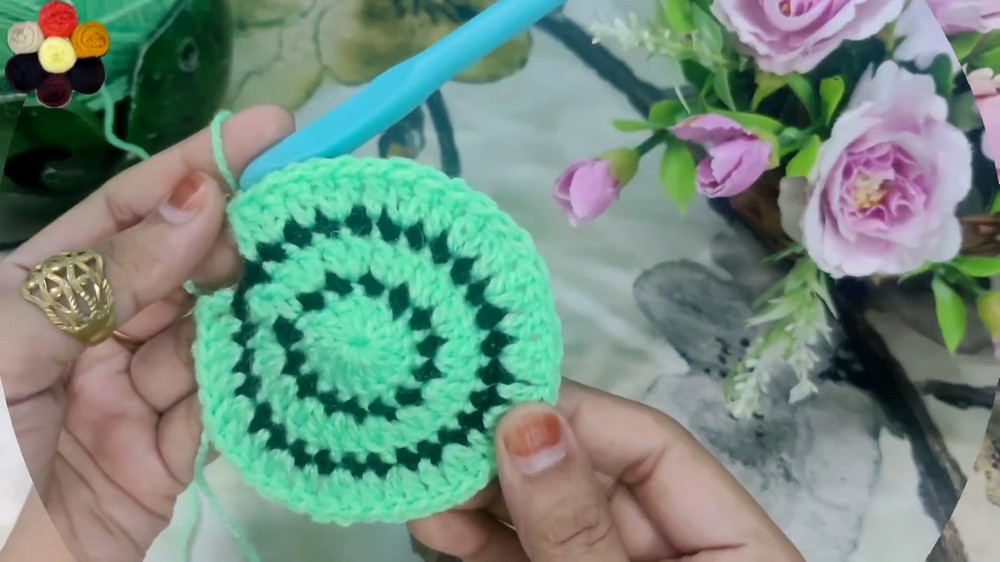
Round 2: Black Line (Single Stitches)
- Attach black yarn to the top of any stitch.
- Make ch 1 and create sc into every dc in the previous round.
- Complete the round by joining the last sc to the chain at the starting point using a sl st.
Round 3: Increase with Green Yarn (Expanding the Cap)
- Switch back to the green yarn.
- Ch 3 (counts as your first dc).
- Work 2 dc into each stitch of the previous round. This doubles the stitch count to 28 sts.
- Join the round with a sl st into the third chain of the previous round.
Round 4: Alternating Stitches for Expansion
- Ch 3, work 1 dc into the next stitch, and 2 dc into the next stitch.
- Repeat the sequence (1 dc, 2 dc) around the cap.
- Join the round with a sl st.
Round 5: Gradual Increase
- Ch 3, work 1 dc into each of the next 2 stitches, and 2 dc into the next stitch.
- Repeat the sequence (1 dc, 1 dc, 2 dc) around.
- At the end of the round, ensure the stitch count increases evenly.
Rounds 6–10: Body Formation
- Continue working the pattern of alternating dc increases for 5 rounds, ensuring stitch count grows:
- Round 6: 1 dc each in 3 stitches; 2 dc into the next stitch.
- Round 7: 1 dc each in 4 stitches; 2 dc into the next stitch.
Repeat similarly for rounds 8–10, adjusting for gradual expansion of the cap to achieve the desired width and roundness.

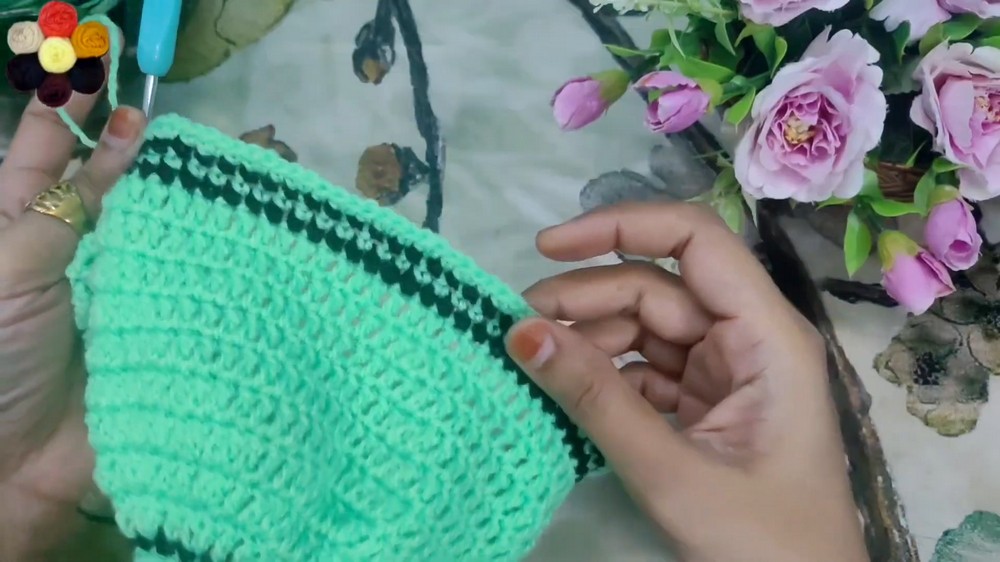
Lower Section: Body Length
- After completing the increasing rounds, ch 3 and work 1 dc into each dc from the previous row.
- Continue this for 6 rows to add slope to the cap’s lower section.
- Do not make increases in these rows to prevent additional circumference.
Edging and Decorative Frill
Black Stitch Lines
- Attach black yarn at the start of the lower section.
- Ch 1, work sc into every dc from the previous round.
- Complete 2 rows of single stitches.
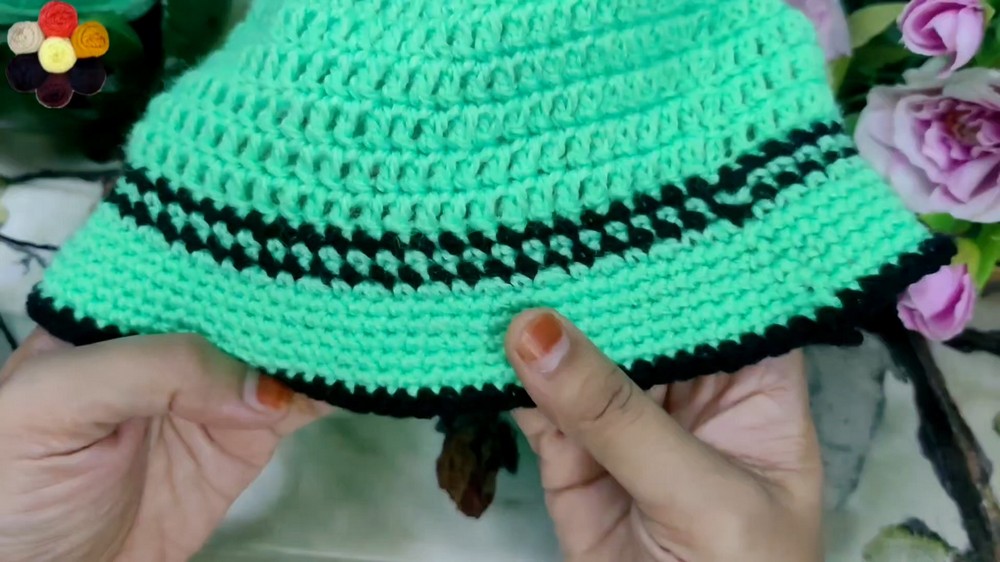
Frill
- Reattach green yarn to the edge.
- Work single stitches with an increase pattern:
- 1 sc in one stitch, 2 sc in the next stitch (repeat to end).
- This creates a slight flare or frill along the bottom edge.
- Continue creating 3–4 additional rows of frill for a flourishing look.
Final Black Stitch Line
- Add one final row of black sc along the frill to accentuate the edge.
Customization Ideas
- Colors: Use pastel colors for babies or vibrant combinations for more playful designs.
- Frill Style: Skip the frill if you prefer a simpler edge finish and instead add a decorative single stitch border.
- Add Details: Embellish the cap with small crochet flowers, pom-poms, or bows for extra charm.
Special Notes
- Tension Control: Ensure your tension remains consistent throughout for an even texture.
- Stretch: Acrylic yarn has a slight stretch, making it ideal for adjustable sizing.
- Blocking: Lightly dampen and shape the finished cap for a polished look.
Conclusion
The Cute Crochet Cap is a simple yet adorable accessory designed to match the frock you’ve previously made. Its delightful frills and decorative stitches make it appealing, while its structure provides practicality and comfort. Following the step-by-step guide will ensure an evenly shaped cap that looks professionally made.
Pattern Correction and Tips
- Correct Stitches: Count your stitches carefully, especially in the increasing rounds, to ensure the cap grows symmetrically.
- Loop Expansion: Remember, each round adds 14 stitches during the expansion phase. Adjust if needed for larger or smaller caps.
- Light Hand: Work loosely, especially during frill creation, to ensure the edge flares properly.

Leave a Reply