
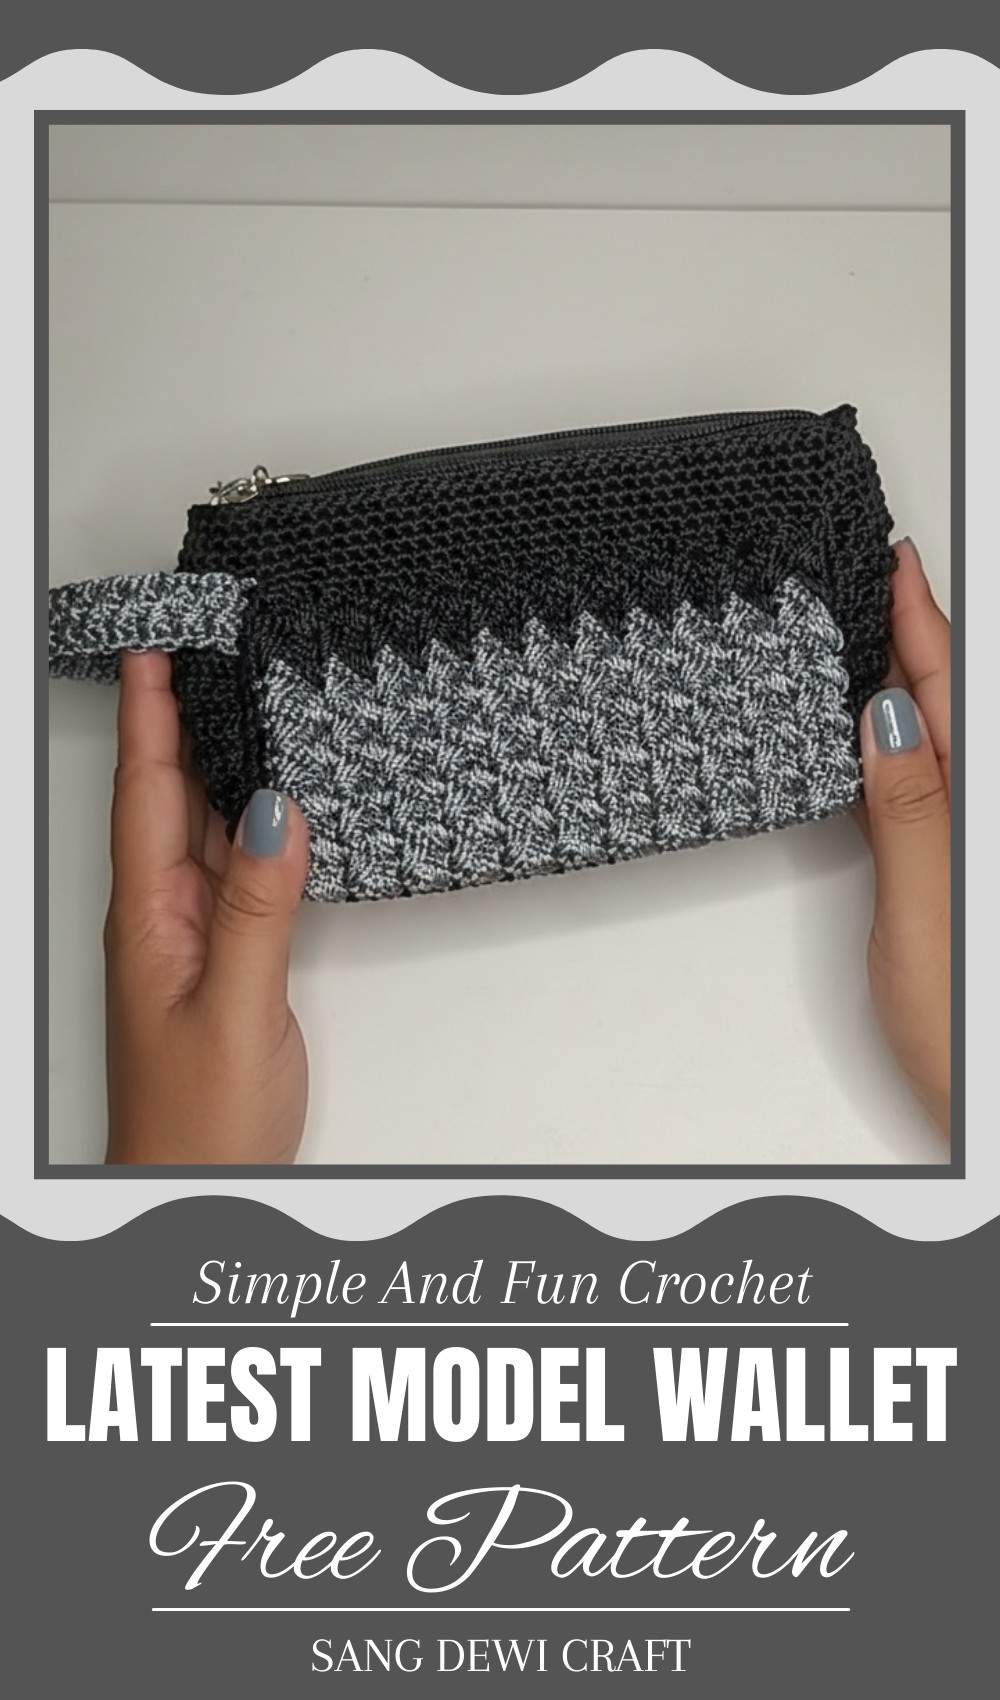
Unique Crochet Wallet Pattern That Stands Out in Style
A handmade wallet is a stylish and practical accessory that adds a touch of personality to your everyday essentials. With its beautiful design and soft feel, it’s perfect for carrying cash, cards, or small items in an organized way. Using a crochet wallet pattern, you can create a unique and eye-catching wallet that stands out from ordinary designs. This wallet are lightweight, easy to carry, and come in a variety of colors and patterns, making them suitable for any style or occasion.
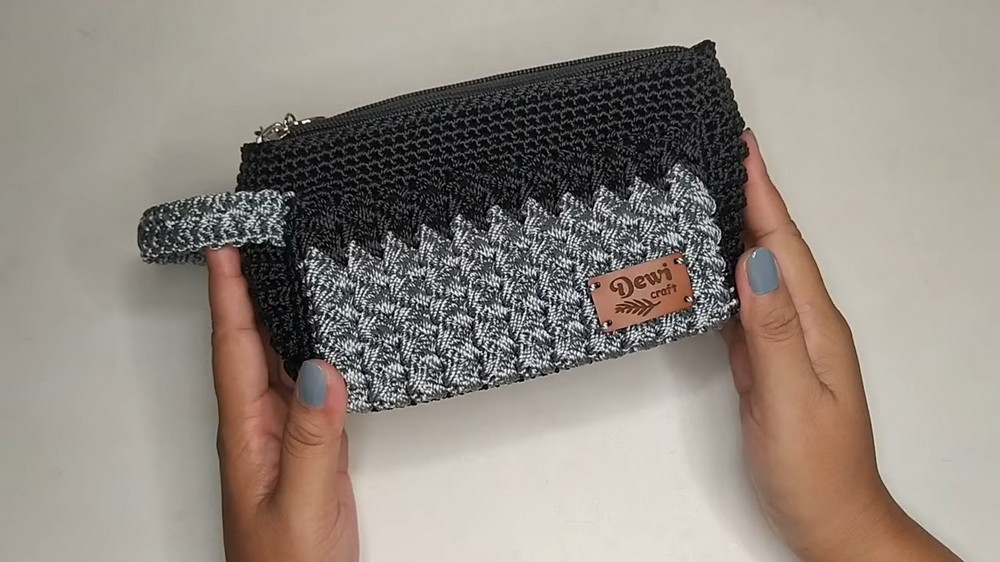
Whether you’re heading to the market, an event, or simply organizing your bag, this wallet is both functional and elegant. It’s also a meaningful gift idea, showing thoughtfulness and care for the recipient. The intricate craftsmanship reflects creativity and skill, turning a simple item into a piece of art. Combining practicality with beauty, this wallet is perfect for anyone who values both fashion and function.
Materials
- Yarn: Nylon polypropylene thread, D27, 2 mm, 3-ply. Alternatively, you may use any durable yarn of similar weight.
- Hook Size: Number 4 crochet hook.
- Additional Tools:
- Scissors
- Stitch markers (helpful for marking corners and lengths)
- Tape measure
- Tapestry needle (for weaving in ends)
Key Abbreviations
- ch: Chain
- sc: Single Crochet
- hdc: Half Double Crochet
- dc: Double Crochet
- long sc: Long Single Crochet (explained in pattern)
- sl st: Slip Stitch
- st: Stitch
- skip: Skip a stitch
Pattern Instructions
Main Wallet Body
- Foundation Row:
- Start with a slip knot.
- Chain 34. Then add 1 additional chain to serve as the turning chain.
- Row 1:
- In the 2nd chain from hook, make 1 sc.
- Work 1 sc in each stitch across the row.
- At the end, chain 1 and turn your work.
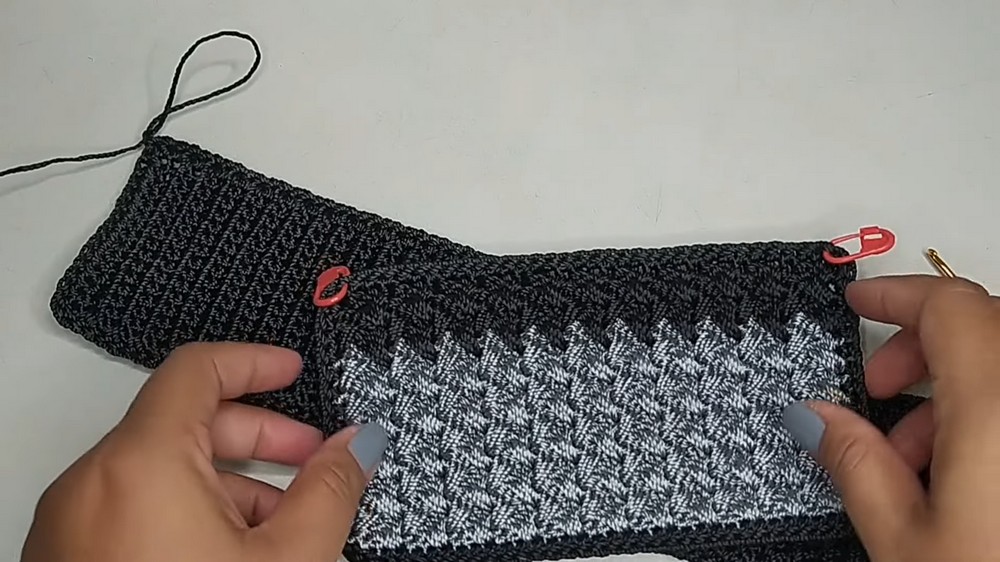
- Row 2:
- Make 1 sc in the first stitch.
- In the same stitch, work 1 hdc.
- Enter the same hole and make 2 dc, pulling loops together after the second dc to close.
- Skip 2 stitches, and in the 3rd stitch, work 1 sc, 1 hdc, and 2 dc to make 1 cluster.
- Repeat the sequence until the end: [Skip 2 stitches, (1 sc, 1 hdc, 2 dc in next stitch)].
- End with 1 sc in the last stitch.
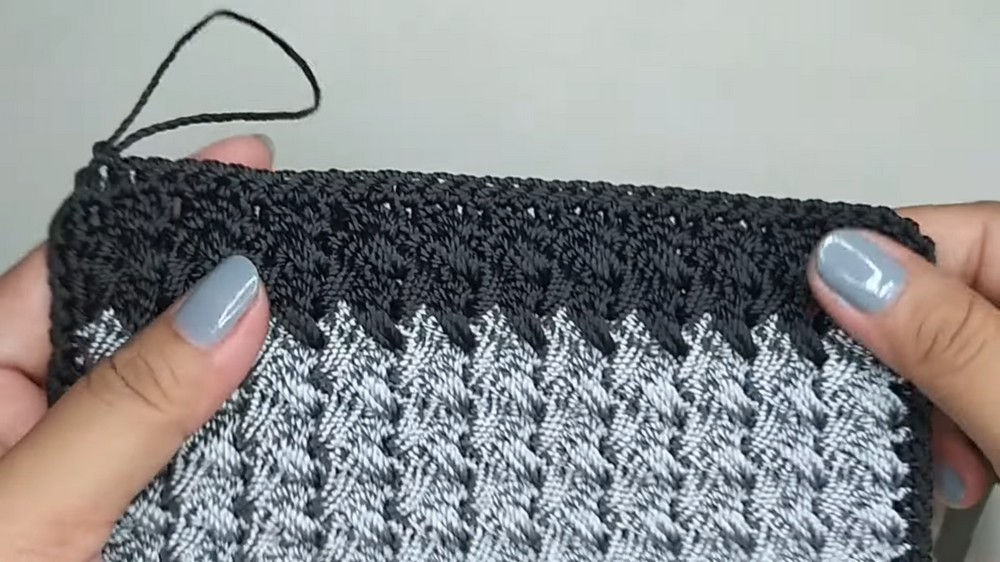
- Repeat Row 2:
- Continue repeating the pattern sequence to the desired wallet height.
- Chain 1 at the end of each row and turn your work to continue.
Note: Ensure both front and back pieces of the wallet follow this pattern.
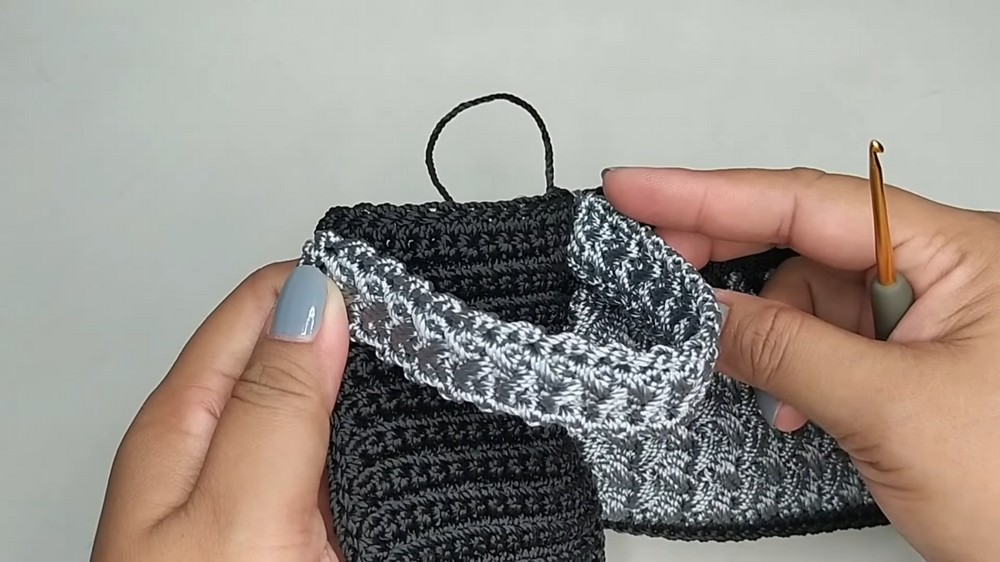
Creating Wallet Edging
- Switch Colors:
- If desired, after completing the body, change yarn colors by joining a different thread.
- Chain 1, then work all the way around the wallet body with single crochets.
- In the Corners:
- Add 2 sc in each corner stitch to maintain the rectangular shape.
- Joining Front and Back:
- Repeat the process for the other piece if you haven’t already. Use stitch markers to align edges flawlessly.
- Seam the two parts together at the sides and the bottom using sc.
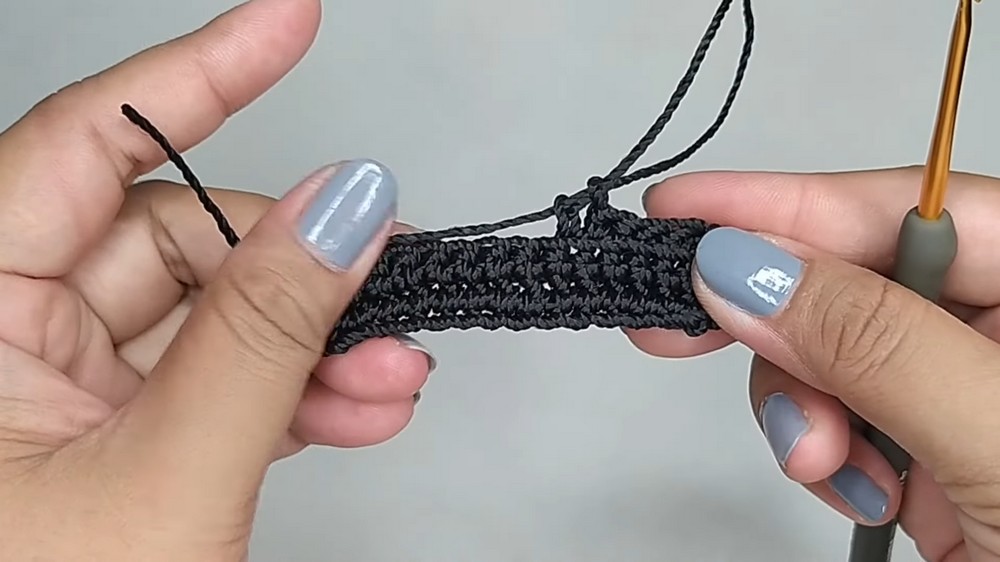
Making Wallet Strap
- Foundation for Strap:
- Start with a slip knot.
- Chain 5 stitches.
- Row 1:
- In the 2nd chain from the hook, work 1 sc.
- Continue 1 sc in each chain across the stitch row.
- Chain 1, turn.
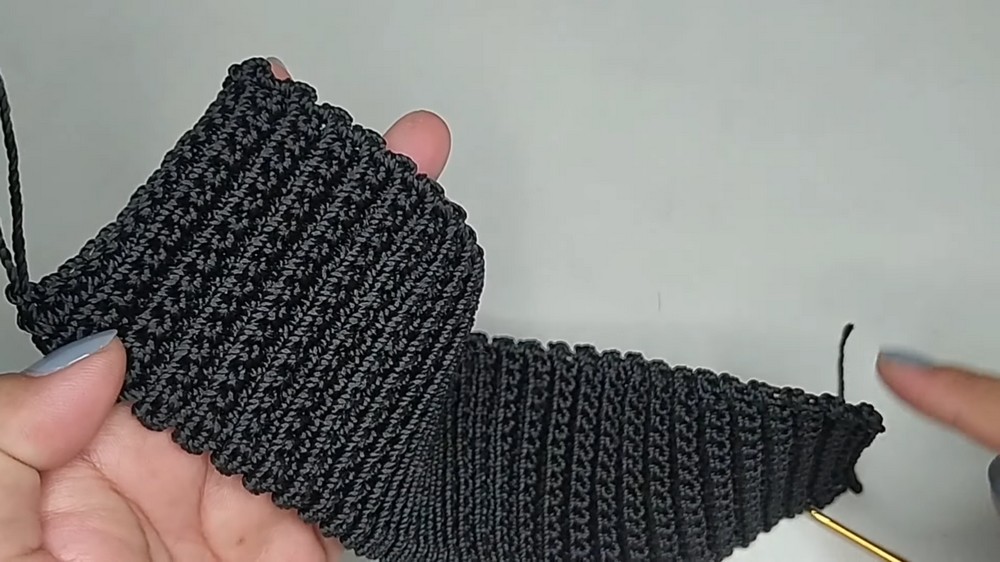
- Subsequent Rows:
- Continue using 1 sc in each stitch, chaining 1 at the end and turning your work.
- On every 3rd row, make a long sc by inserting the hook into the row below the stitch row.
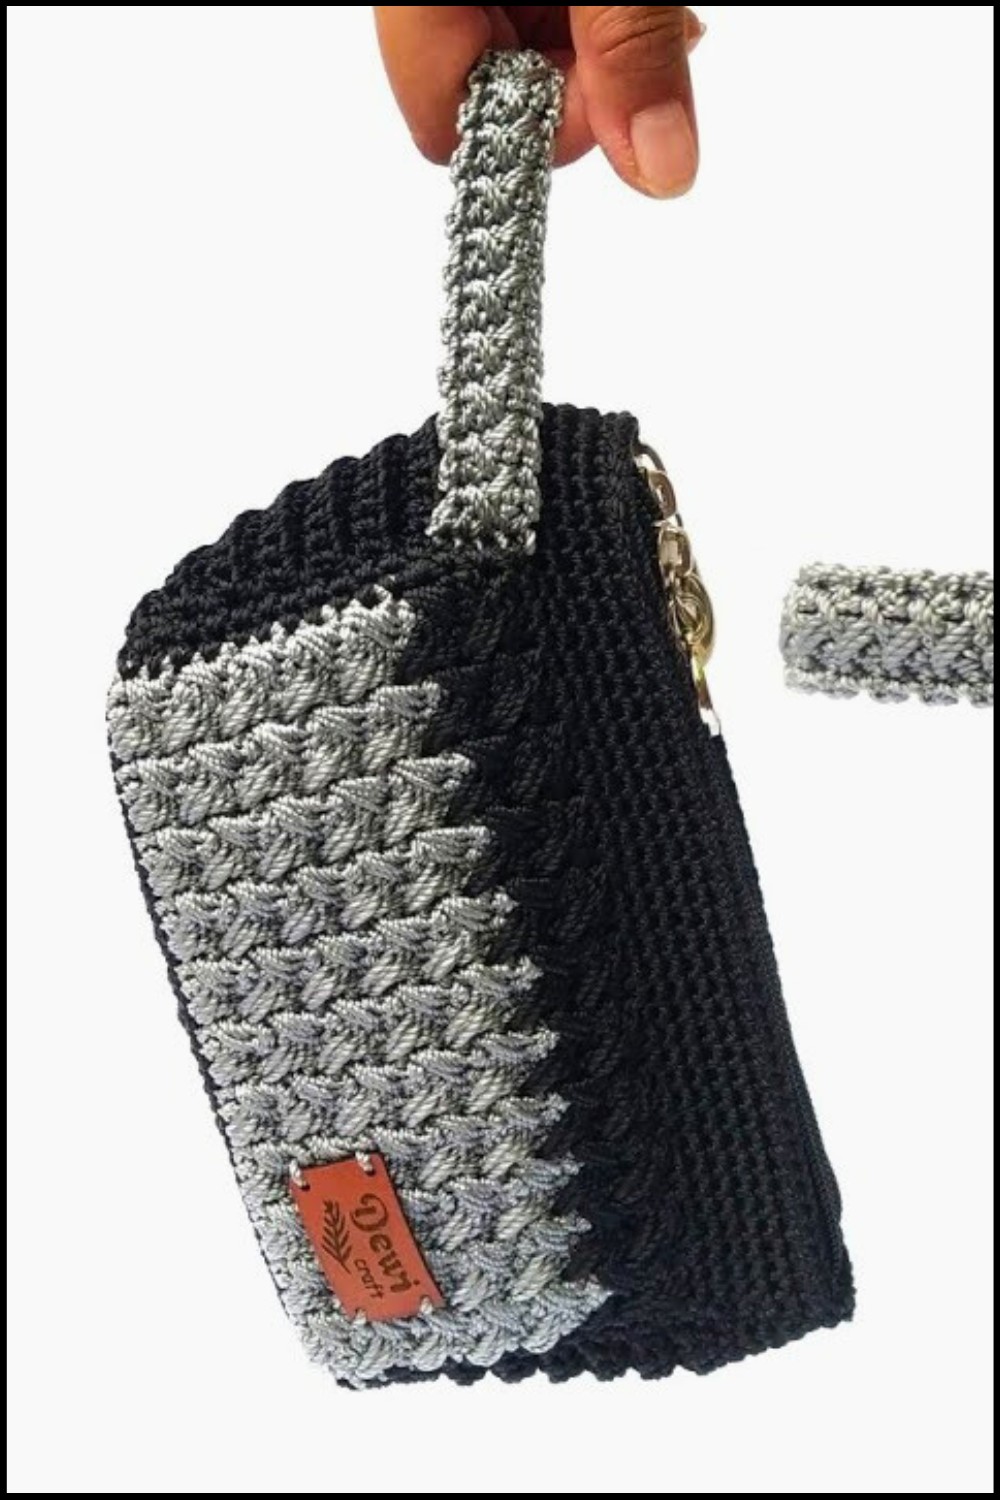
- Continue until the strap reaches the appropriate length for your needs. In the example video, the strap length is 17 cm.
Customization Ideas
- Color Variations: Use multiple colors every few rows for a striped effect.
- Size Alterations: Adjust the initial chain number to change the size of your wallet.
- Strap: Experiment with different crochet techniques for the strap (e.g., a braid).
Special Notes
- Gauge Control: Maintain steady tension, especially while switching colors, to avoid distortion.
- End Treatment: Secure loose ends with a tapestry needle and weave in neatly.
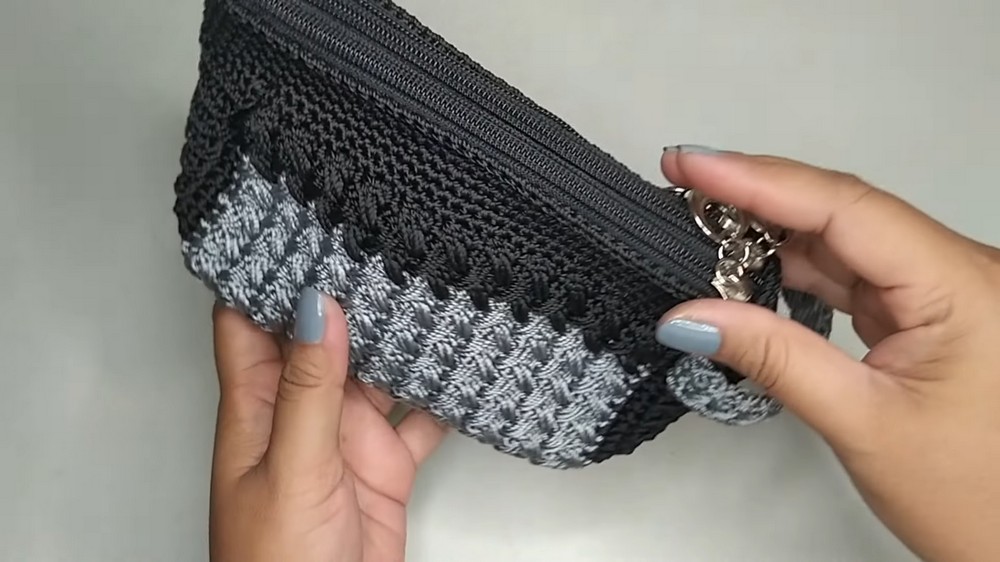
Conclusion
This charming knitted wallet with a strap serves as both a practical and stylish accessory. The simple yet elegant pattern allows for a variety of creative customizations with color and size adjustments.
Pattern Corrections and Tips
Corrections:
- Double Check Stitch Counts: Ensure all foundation rows have consistent stitch counts to ensure that both front and back pieces match perfectly.
- Smooth Transition for Straps: Pay careful attention to joins and ends around strap attachments to prevent bulkiness.
Tips:
- Even Tension: Practicing uniform tension will make very polished work with neat edges.
- Blocking: Gently block finished work to achieve even corners and smooth texture.
- Stitch Markers: Use stitch markers generously to maintain symmetrical corners and pattern alignment.
Leave a Reply