
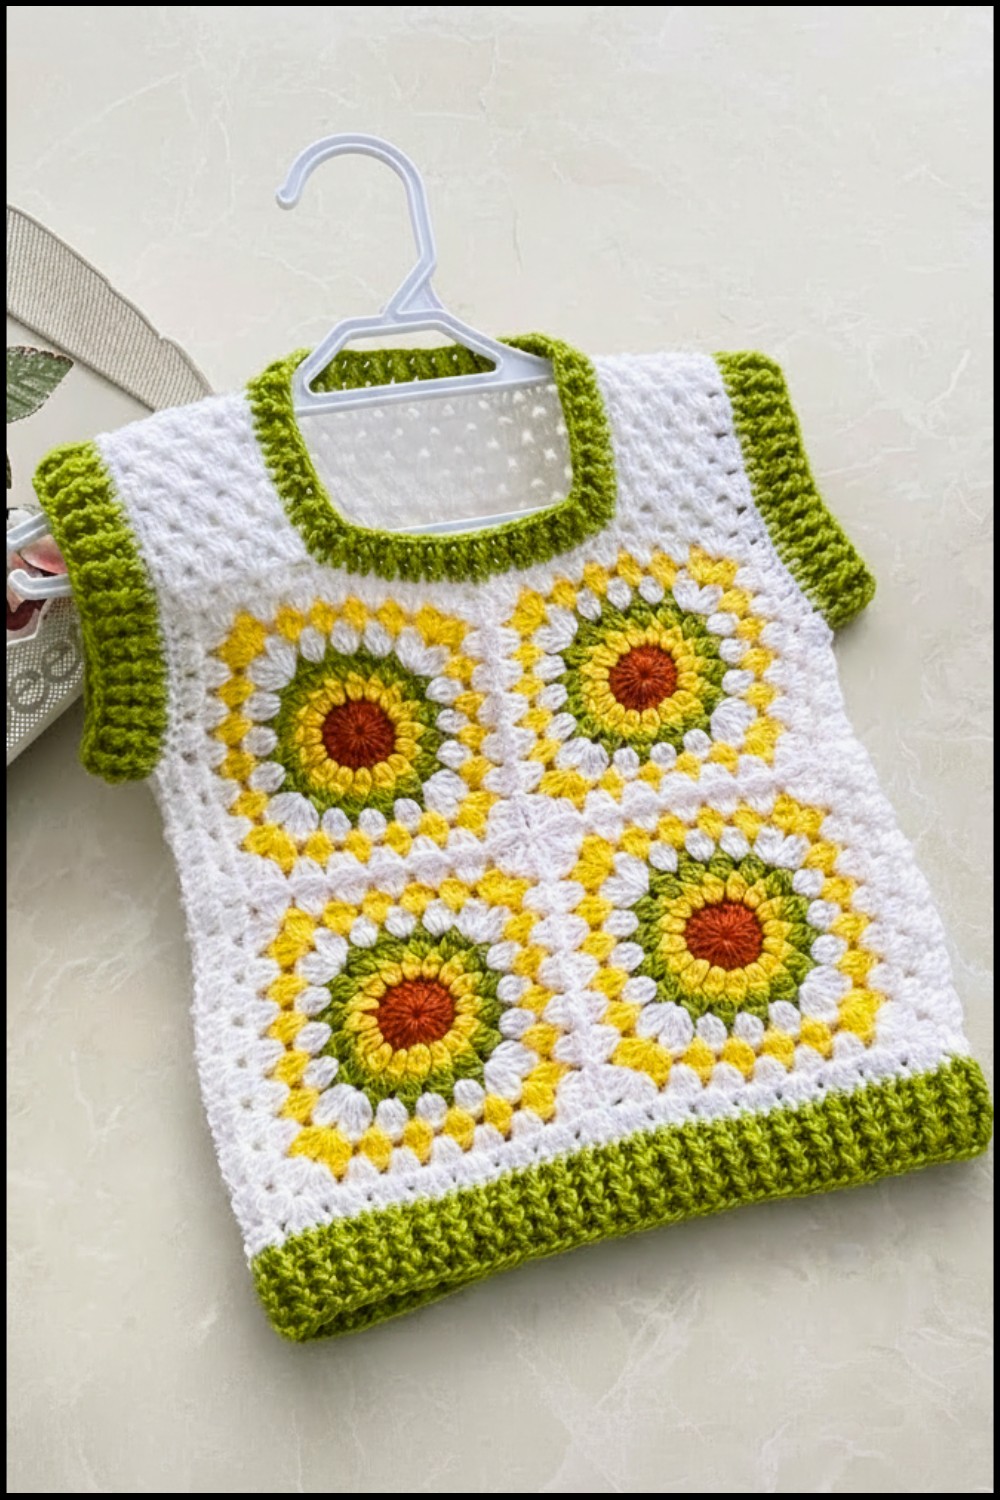
Dress your little one with this Free Crochet Baby Sweater Pattern that guides you to a soft, stylish & cozy design perfect for everyday wear.
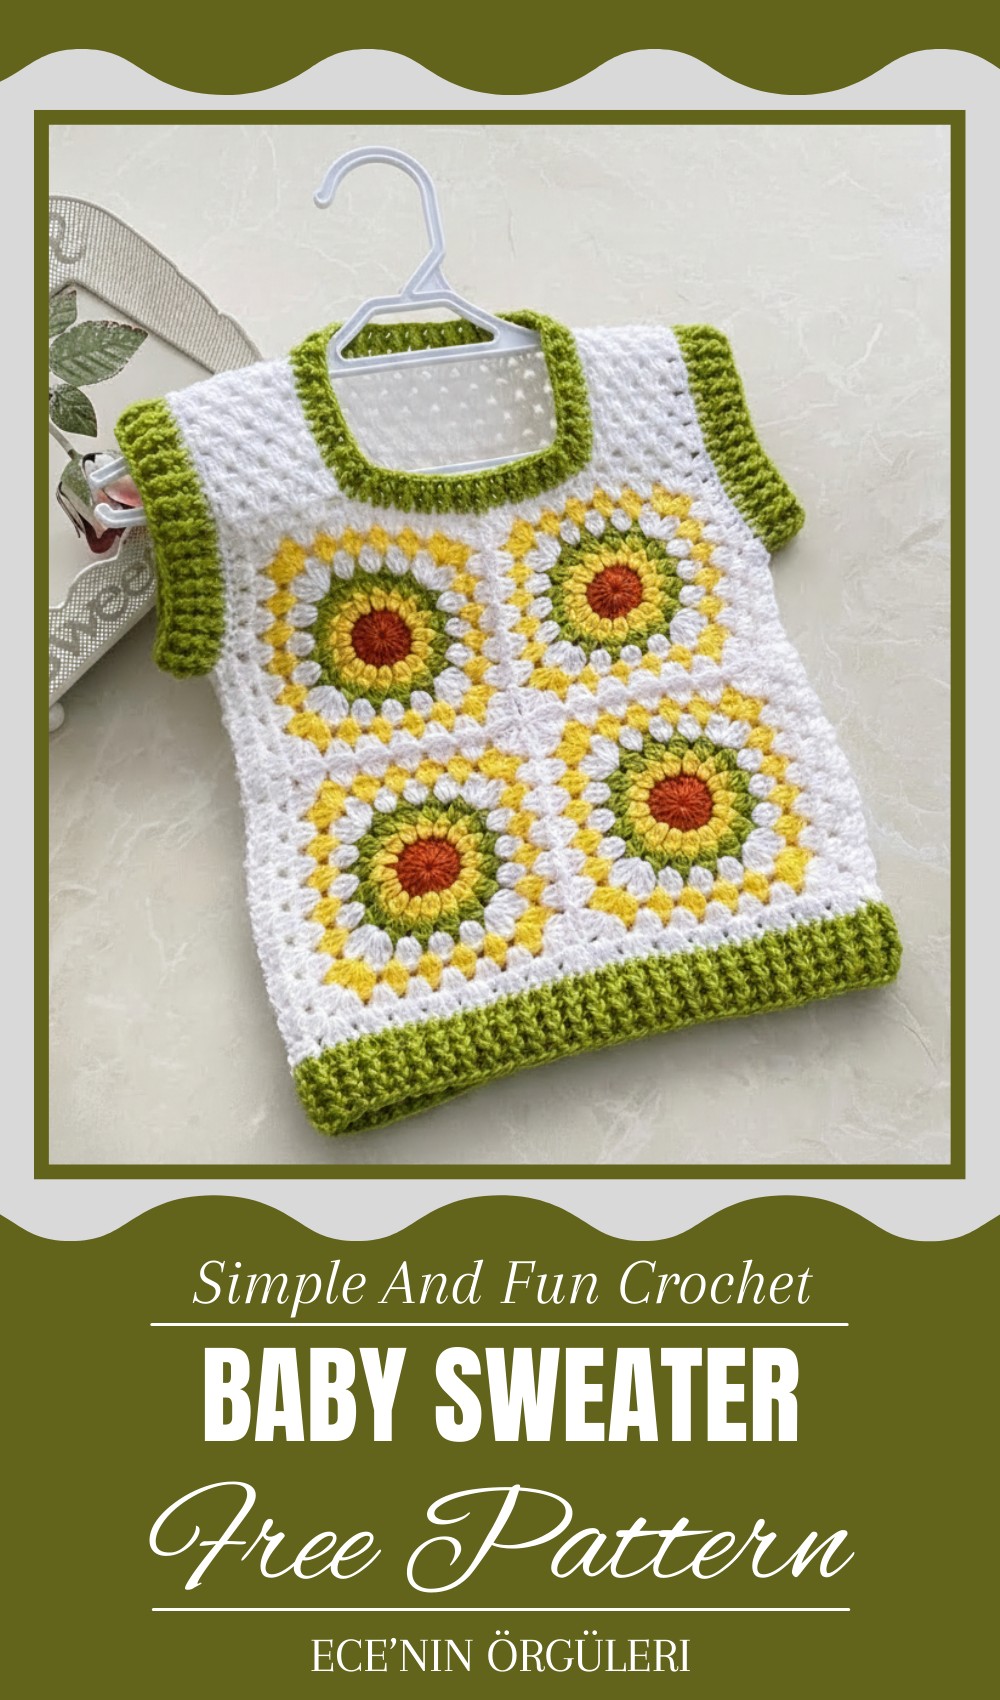
Chic Crochet Baby Sweater Pattern Perfect for Little Ones
A baby sweater is a perfect blend of practicality and charm, wrapping little ones in warmth, comfort, and love. Made with soft, breathable material, it’s gentle on delicate skin, providing coziness without irritation. It’s ideal for keeping babies snug during chilly days while allowing flexibility for easy movement. Versatile in use, it’s perfect for everyday wear, special occasions, or as an added layer for outings.

It effortlessly adds elegance and sweetness to any outfit. Lightweight and easy to handle, it’s also convenient for parents. This delightful sweater makes for a cherished keepsake, capturing precious memories, or a thoughtful gift that leaves an impression of love and care. Combining comfort, beauty, and timeless appeal, this sweater becomes more than just clothing—it’s a symbol of warmth and affection.
Materials
- Yarn:
- Primary: White yarn (for the main sections of the sweater)
- Accent: Green, yellow, or any colors of your choice (for motifs and details). Leftover balls of yarn work perfectly.
- Hook Size:
- 3 mm crochet hook (for soft tension).
- If your tension is tight, use 3.5 mm or 4 mm crochet hooks.
- Additional Tools:
- Scissors
- Stitch markers (to mark joins and corners)
- Tape measure
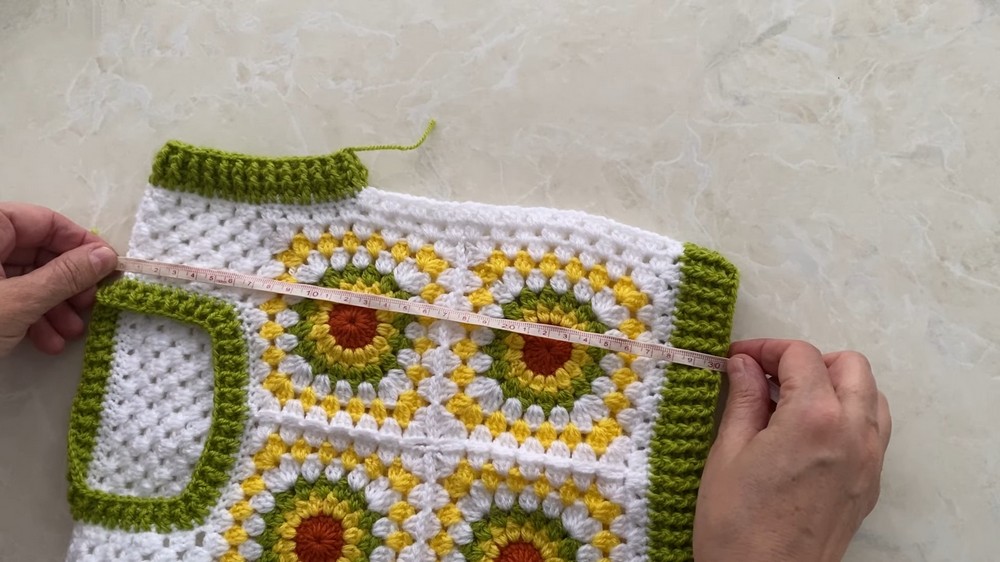
Sizing Example:
This guide works for a baby sweater measuring 25 cm width and 7 cm height for motifs, suitable for a 6-month-old baby. Adjust as needed for larger or smaller sizes (adjustments are detailed below).
Key Abbreviations
- ch: Chain
- sc: Single Crochet
- dc: Double Crochet
- tr: Treble (Triple) Crochet
- sl st: Slip Stitch
- yo: Yarn Over
- sts: Stitches
Customization Ideas
- Sizing:
- For a newborn baby, reduce the number of motif rows by one.
- For children 1-3 years old, add one motif row for increased width and height.
- Yarn Colors: Use your own preferred color combinations to suit boys or girls.
Pattern Instructions
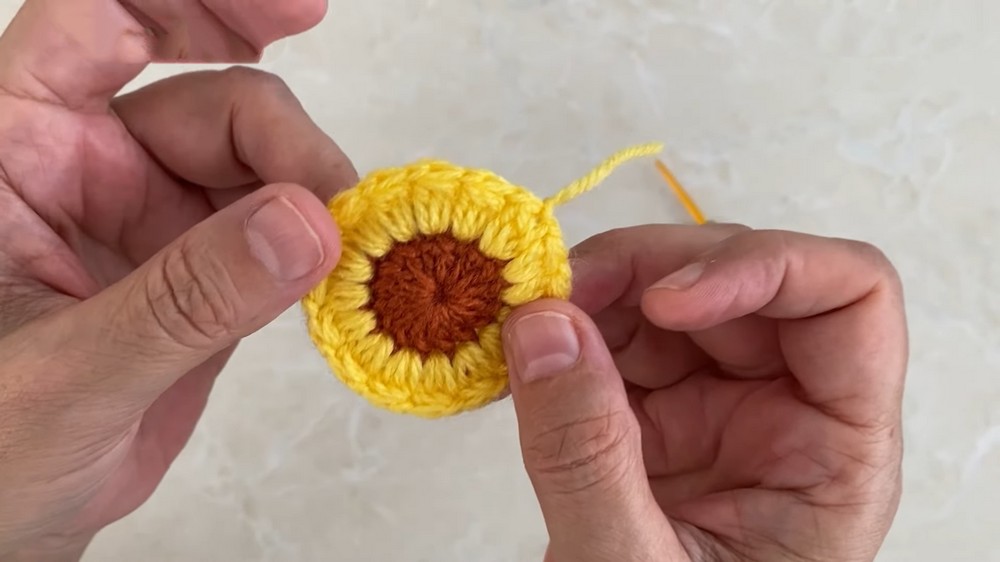
Step 1: Circular Center Motif
- Magic Ring:
- Create a magic ring by looping the yarn as shown. Ch 2 to secure the ring.
- Foundation Round:
- In the magic ring, make 16 dc clusters as follows:
- Ch 2, *yo, insert hook into the ring, pull up a loop, yo, pull through 2 loops, rep from * 1 more time, yo, pull through all remaining loops, ch 1.
- Repeat until you have 16 small clusters.
- In the magic ring, make 16 dc clusters as follows:
- Tighten the ring by pulling the tail, and join the last st to the starting chain with a sl st. Fasten off.
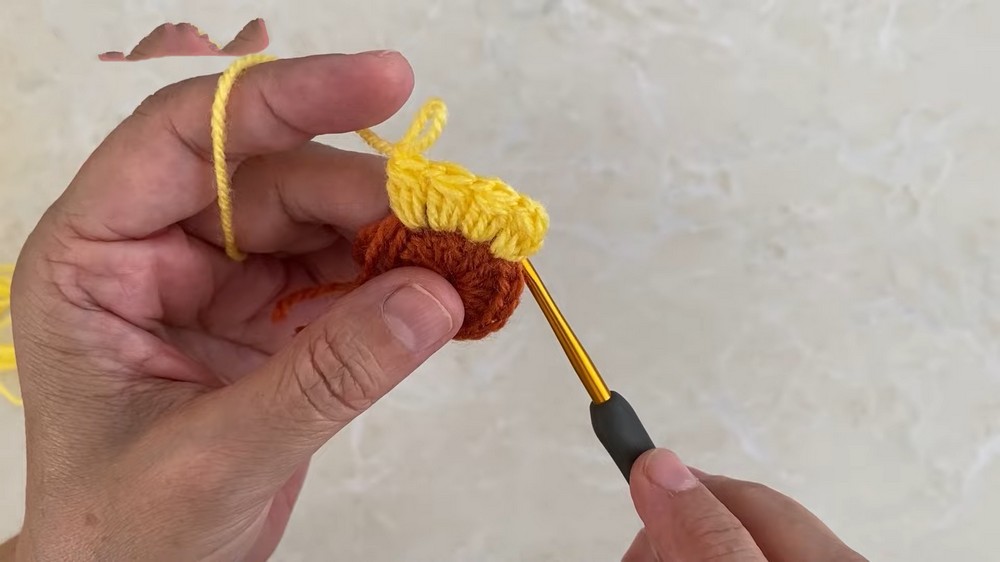
Step 2: Adding Colors to Motif
- Second Round (Yellow):
- Join the yellow yarn onto any stitch from the first round.
- Work 1 double crochet cluster (same as previous round) in each space between clusters. Ch 2 between each cluster.
- Continue until the end, making 16 clusters in total.
- Third Round (Green):
- Join the green yarn onto any ch-2 space created in the previous round. Ch 2.
- Continue working the dc clusters into the ch-2 spaces.
- Remember to ch 2 between each cluster. End with sl st into the starting chain.
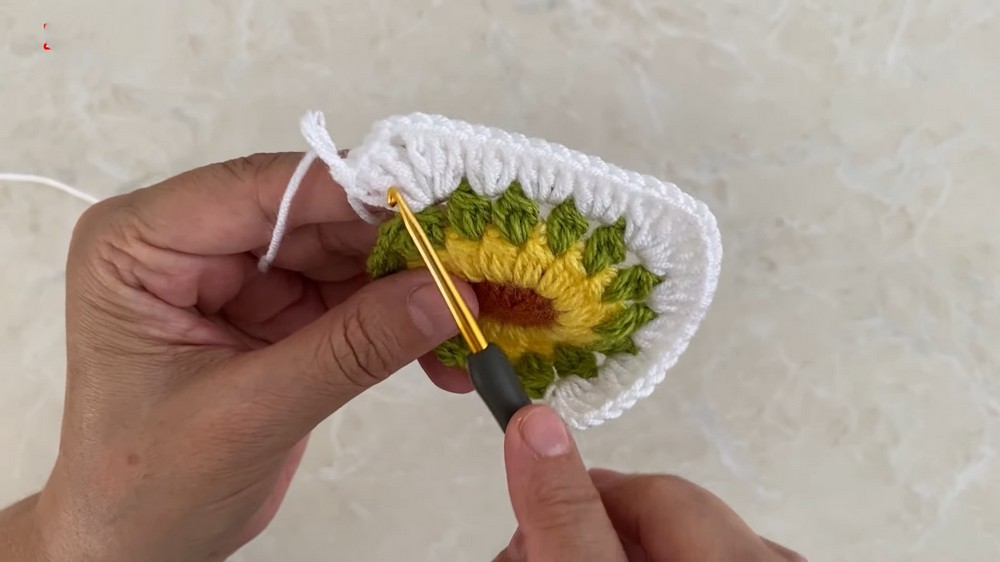
Step 3: Square Motif Shape
- Fourth Round (White – Adding Corners):
- Attach white yarn in any ch-2 space. Ch 3 (counts as dc). Work 3 tr, ch 2, 3 tr in the same corner.
- In the side spaces, *work 3 dc in each ch-2 space.
- Repeat [3 tr, ch 2, 3 tr] for the corners.
- Join the round with a sl st to the starting ch. Cut the thread. The square motif is complete.
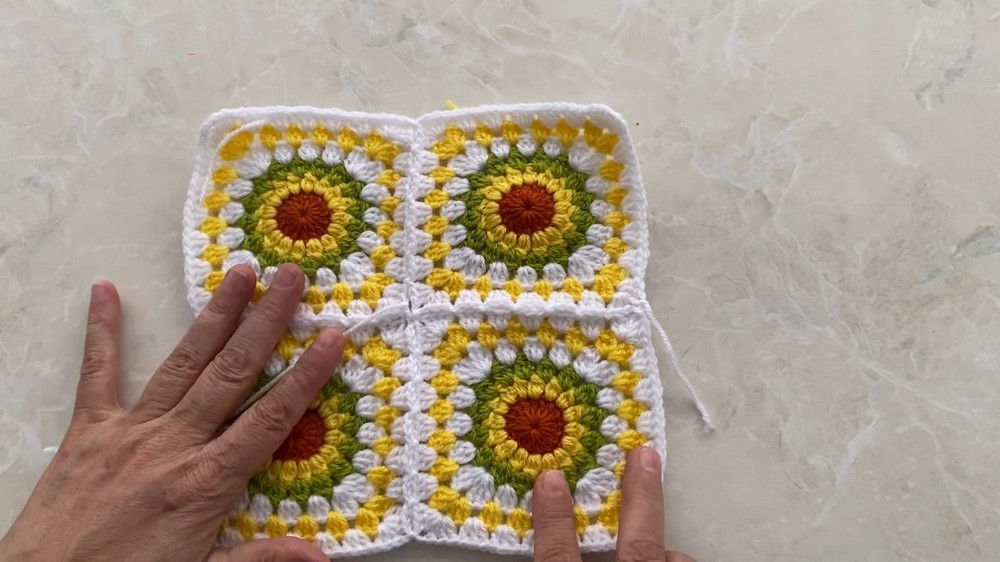
Step 4: Joining Motifs
- Prepare Motifs:
- Make 4 motifs for the front and 4 motifs for the back.
- Join Motifs:
- On the last round of a motif, stop before the final edge.
- Lay two motifs side by side, and attach them using sl st at the corners and spaces where they meet. Work 3 dc into each space, joining both motifs together.
- Continue joining all motifs for the front and back sections.
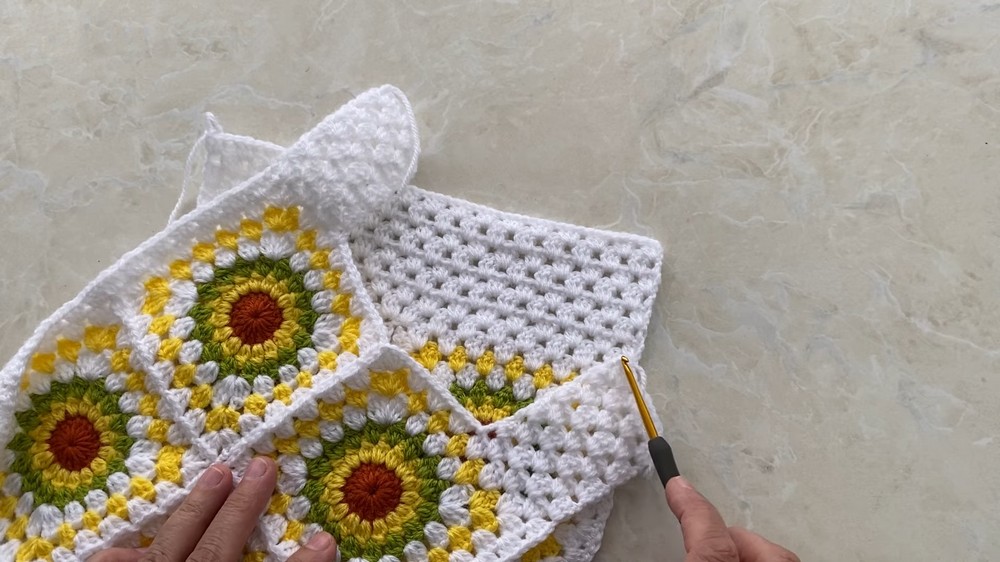
Step 5: Creating the Shoulder and Neckline
- Shape the Neckline:
- On the 4th motif of the front, leave one motif edge incomplete. The opening will create the neckline space.
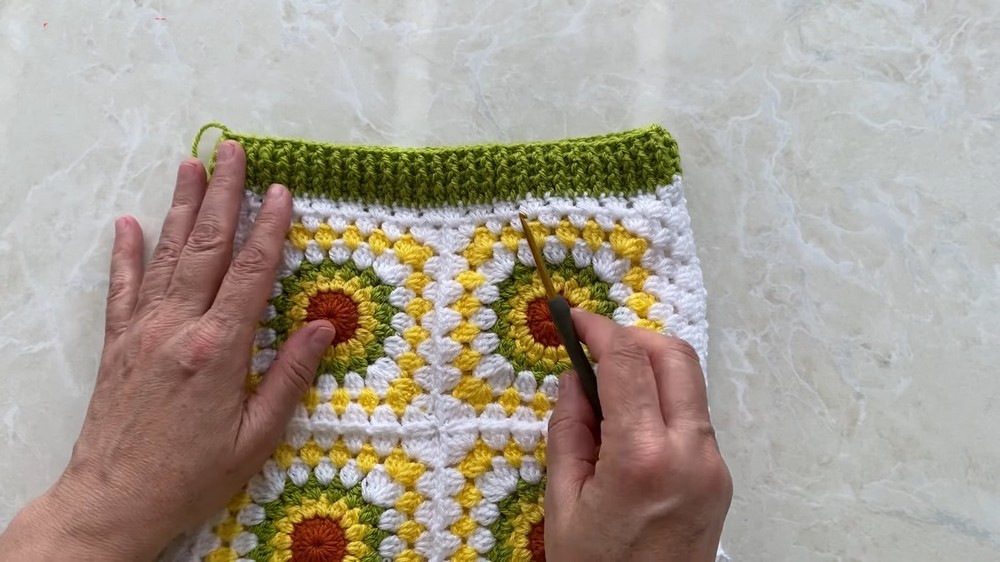
- Collar Knitting:
- Attach yarn to the neckline space and start a row of dc around the opening.
- Make 1 dc in each stitch, ensuring a clean and uniform edge.
- Work 1 row of plain and purl dc for a ribbed effect:
- Alternate taking the dc from the front post (plain side) and back post (purl side) for texture.
- Complete 2-3 rows, depending on the size.
TIP: For smaller babies, 2 collar rows are sufficient. Older children may need 3-4.
Step 6: Sleeves
- Sleeve Construction:
- Mark the armhole spaces on the joined motifs for both sides of the sweater.
- Attach yarn at the armhole and work a foundation round of sc around the armhole opening.
- Building Rows:
- Work rows of 3-dc clusters around the armhole. Start with a round of dc and follow with plain and purl ribbing.
- End after 2 ribbed rows with clean edges.
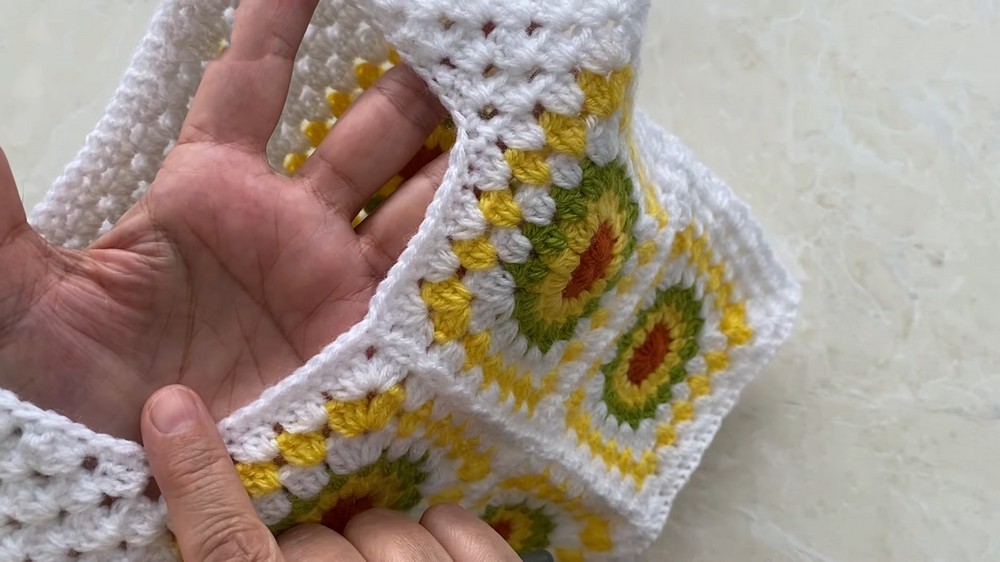
Step 7: Closing the Side Seams
- Use stitch markers to mark the sides to be joined.
- Attach yarn at the bottom and work 3 dc in each space, using sl st to join both panels.
Step 8: Finishing the Sweater
- Add final rows of sc around the hem and collar to smooth the edges.
- Attach a decorative or matching yarn to the hem of the sweater and work a final round of plain and purl ribbing.
Conclusion
This baby sweater is a versatile and cute project perfect for gifting or personal use. The modular design allows for endless customization, and the detailed motifs create a timeless, stylish appearance. Whether for a baby or a young child, this sweater can be tailored to fit most sizes.
The described methodical approach ensures even beginners can work through the steps confidently.
Pattern Corrections and Tips
Corrections:
- Double-check that motifs are aligned evenly during the joining process to avoid crooked seams.
- Ensure the same stitch count is used for symmetrical areas like the neckline and sleeves.
Tips:
- Color Choices: Get creative! Experiment with colors for motifs to make them stand out.
- Join-As-You-Go: Consider using the join-as-you-go technique for motifs if you prefer less seaming at the end.
- Blocking: Lightly block the motifs before joining to ensure uniformity and easier stitching.
- Yarn Recommendations: For babies, use soft, anti-allergic yarn for added comfort.
Leave a Reply