
Style your look with this Crochet Bag Pattern and create a chic versatile accessory that add charm and practicality to every outfit you wear.
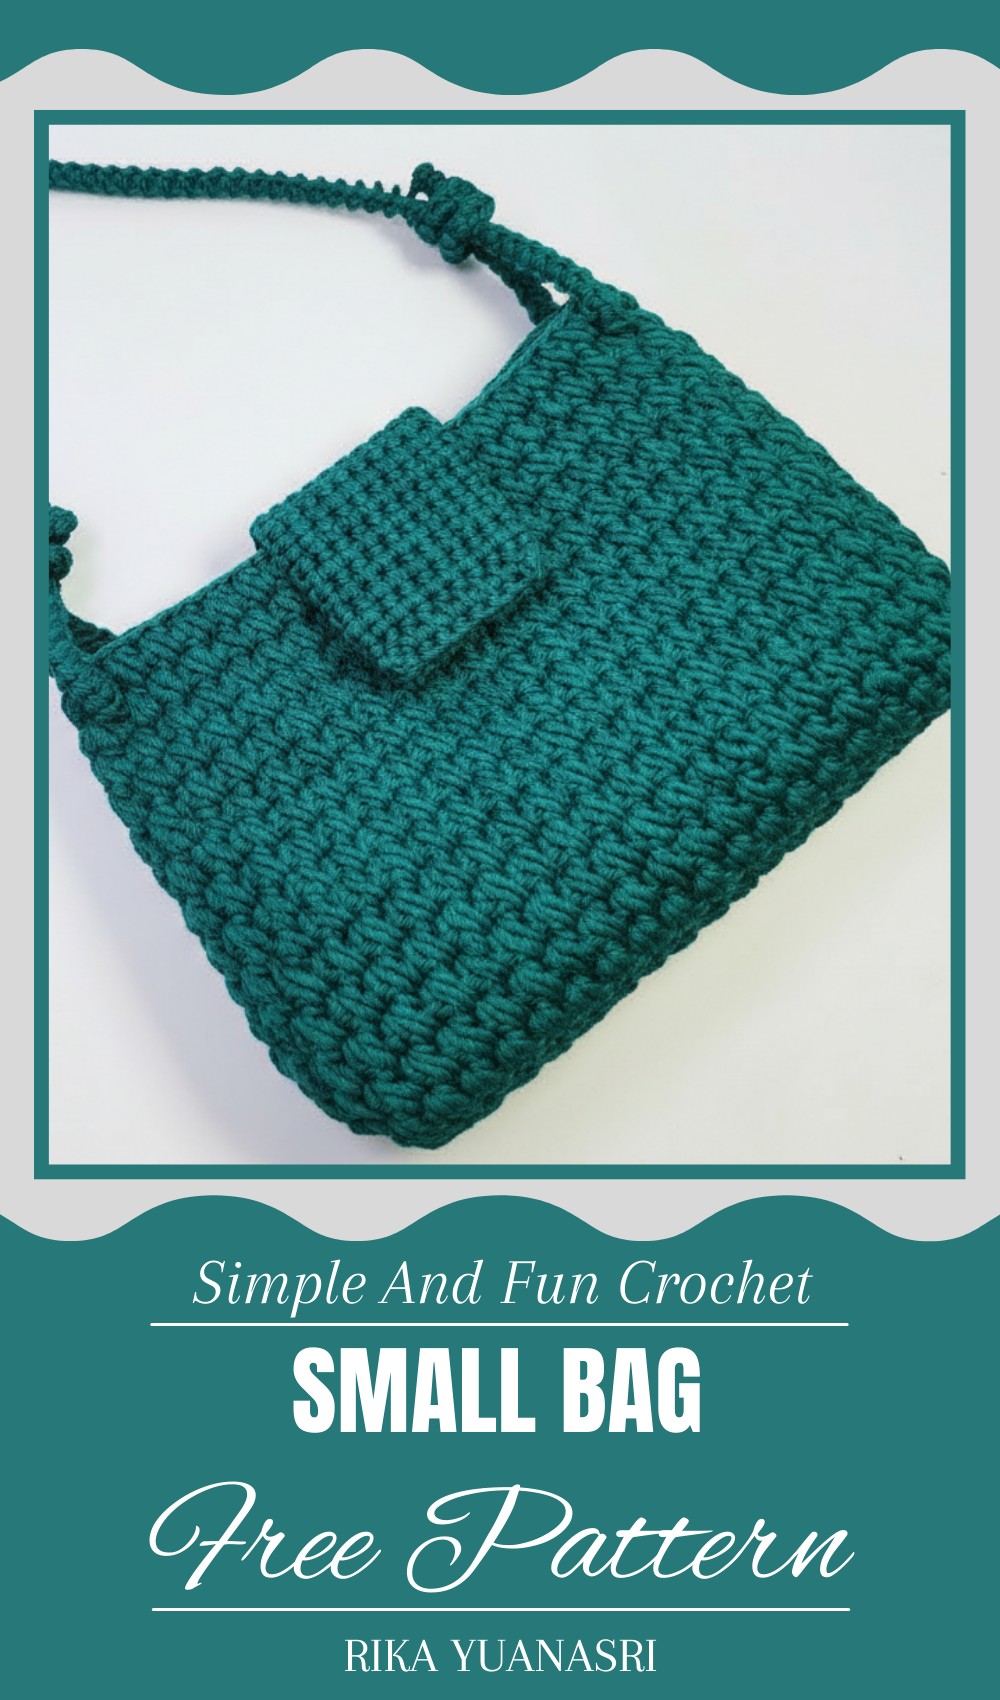
Carrying your things in style can make every day feel brighter and more organized. The Crochet Bag pattern lets you have a soft, colorful, and unique bag that is both practical and charming. Its simple design and smooth texture make it look beautiful while being strong enough to hold essentials like wallet, phone, keys, or small groceries. You can take it to school, work, shopping, travel, or even a picnic, adding a cheerful touch to every outing.
Flowy Crochet Bag Pattern Perfect for Boho and Festival Looks
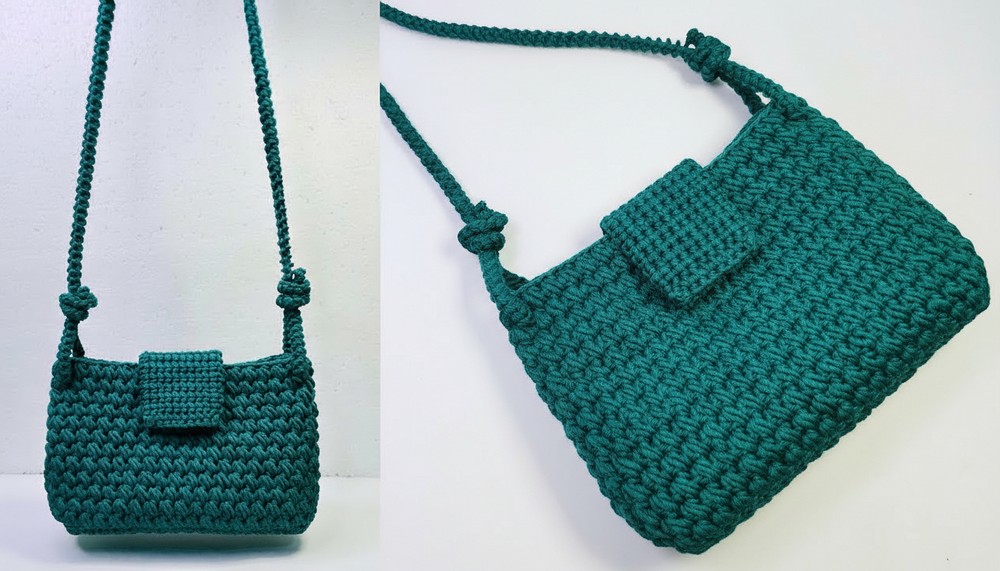
Its lightweight and flexible design makes it easy to carry anywhere while still standing out with its lovely colors and patterns. This little bag also makes a thoughtful gift for friends, family, or children because it feels personal, stylish, and useful. Its specialty lies in combining beauty, convenience, and durability in one small piece. It is more than just a bag because it adds charm, keeps things organized, and brings a little joy wherever you go.
Materials Needed:
- Yarn: Onit polyerry yarn, 100 grams (approximately 140 meters per ball).
- Recommended colors: Light and dark for contrast (optional).
- Crochet Hook: Size 3.5 mm or 4.5 mm recommended (use hook size depending on your tension).
- Magnetic Button: For the bag closure.
- Optional Tools: Stitch markers, tapestry needle for sewing, scissors.
Key Abbreviations:
- ch: Chain
- sc: Single Crochet
- sl st: Slip Stitch
- st: Stitch(es)
- YO: Yarn Over
Special Notes:
- Bag Dimensions: Adjust the chains and rows based on your desired bag height/width.
- A sturdy or slightly stiff yarn is recommended to maintain the structure of the bag.
- Using a tapestry needle ensures tidy finishing and proper attachment of bag handles and closure.
Pattern Instructions:
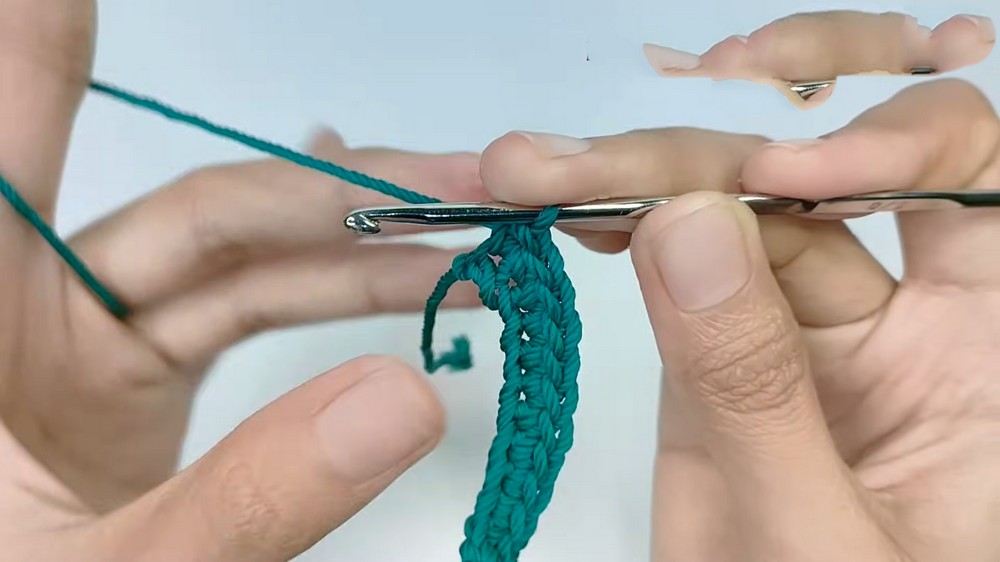
Step 1: Base & First Round (Foundation)
- Create the Base:
- Start with a slip knot.
- Work 12 ch in multiples of 2 (adjust based on the size you want; always use multiples of 2).
- Add 1 extra chain (for turning).
- In the second chain from hook, start working sc across the row. Place 1 sc in each ch until the end.
- Ch 1, turn the work, and sc across again.
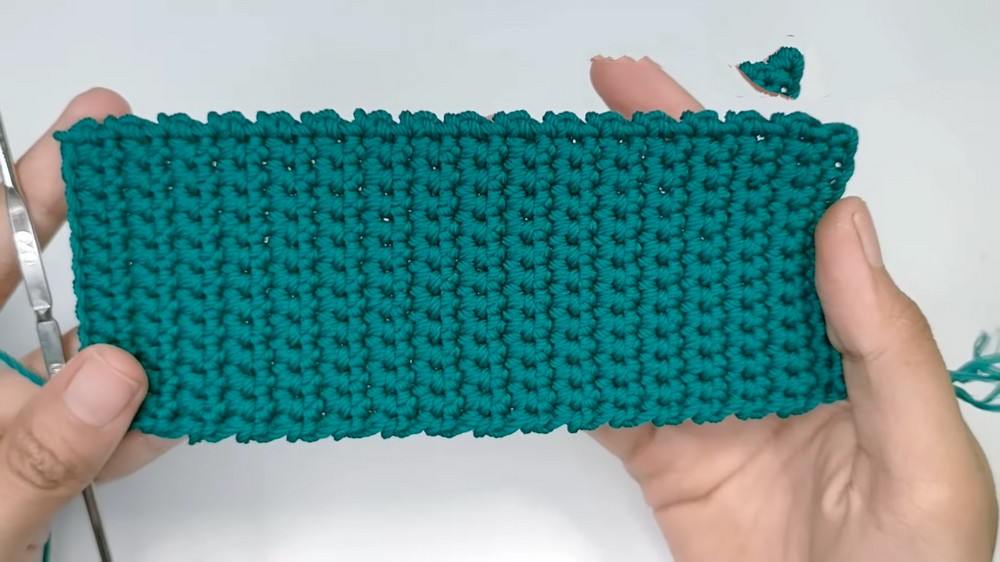
- Rows for Base:
- Repeat this process for 34 rows (or adjust according to desired size). The base creates a rectangular foundation for the bag.
- Check Stitch Count:
- Ensure the holes or stitches along the base edge are in multiples of 2 to allow even motif placement later. If not, adjust by adding or skipping stitches.
- First Foundation Row:
- Work 2 sc into each hole along the edge of the base. This creates a turn at every corner.
- Continue sc evenly until you complete one full round (all four edges).
- Ensure edges do not curl or warp. Your total stitch count should now be a multiple of 2.
Step 2: Second Foundation
- For the second round, work 1 sc into each stitch, following the same edge pattern used previously.
- Continue around until the round is complete. Join the round with a sl st.
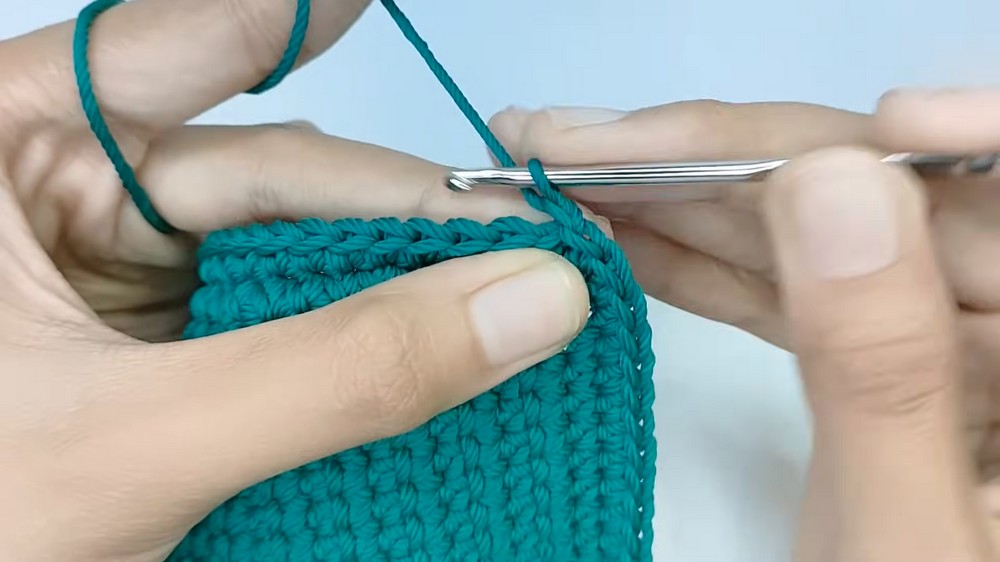
Step 3: Create the Motif Pattern
- First Row of the Motif:
- Start with a sl st into the first stitch of the base. Ch 3 (counts as your first stitch).
- YO, insert the hook into the same hole, pull through, insert into the next hole, pull through, and finally insert into the next hole and pull through once more. You now have fibers from 3 stitches on your hook.
- YO and pull through all loops on the hook, creating a gathered stitch. Ch 1 to secure. This completes one motif.
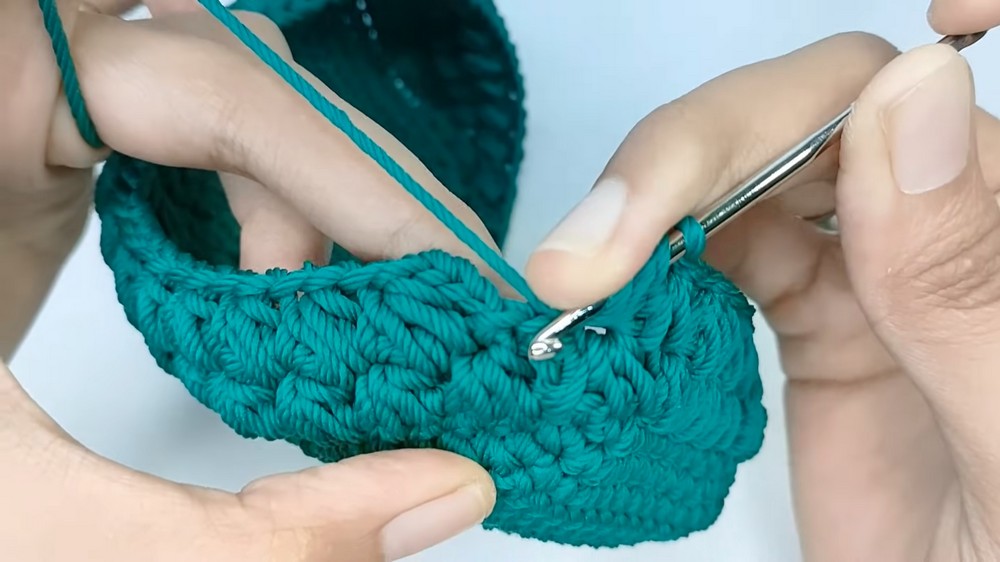
- Move to Next Stitches:
- Insert the hook into the same hole (where you just worked), repeat the above process by pulling the yarn from the next two holes.
- Continue this motif pattern until the end of the row. Slip stitch into the beginning chain.
- Continue the Pattern for Rows:
- Create additional rows of motifs by repeating the earlier process.
- At the end of each row, ensure the last motif connects properly by inserting into the initial stitch of the row.
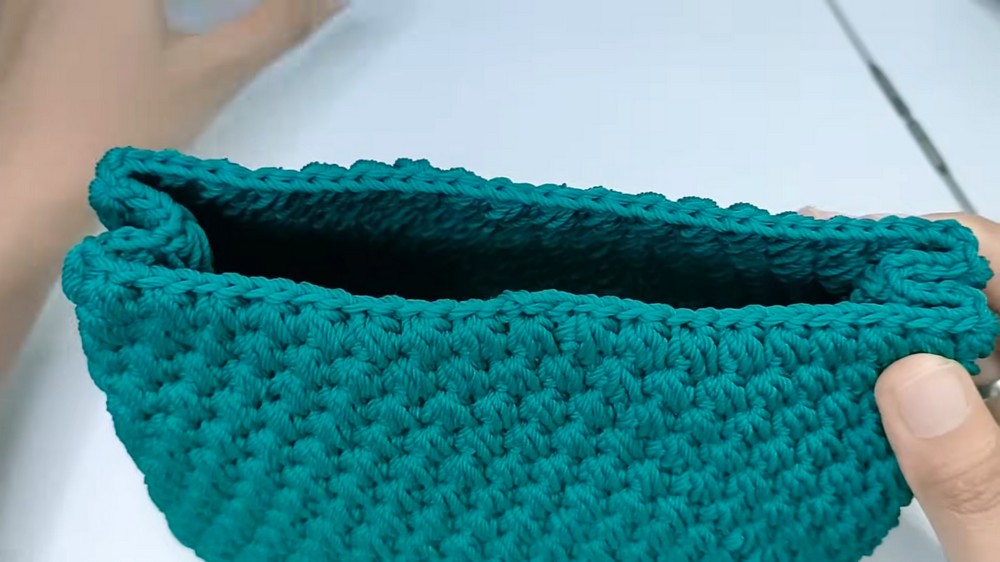
- Desired Height:
- Continue for as many motif rows as needed to achieve your desired bag height.
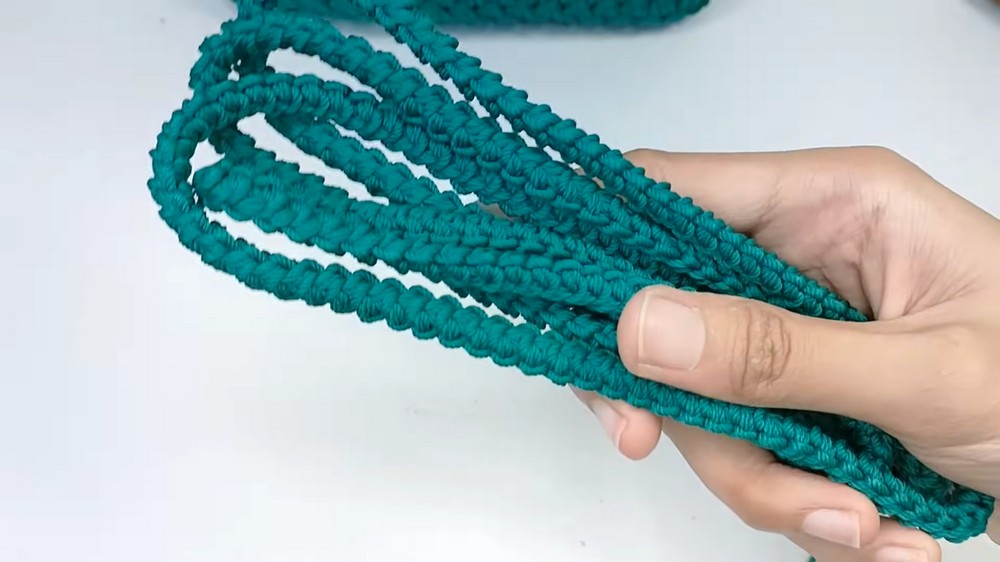
Step 4: Handles
- Create the Handle Strip:
- Start with a slip knot. Ch 2.
- Work a foundation single crochet (sc) by pulling through the back and base loops of the chain, creating a firm and stretchy handle.
- Repeat this method until the strap reaches 150 cm (or your desired length).
- Attach Handles:
- Securely sew the handle ends to the left and right edges of the bag using a tapestry needle. Ensure proper alignment and strength.
Step 5: Bag Cover Flap
- Create the Cover:
- Start with a slip knot. Ch 11 for the foundation row.
- Work sc into the second chain from the hook and across the row. Ch 1, turn.
- Repeat rows of sc until the flap reaches 9 cm or your preferred length.
- Add Curved Edges:
- To achieve softer, rounded edges on the flap, at the end of a row, work 2 sc into the last stitch of the row and continue shaping as necessary.
- Sew Flap to Bag:
- Attach the flap securely to the back edge of the bag, ensuring it folds cleanly over the top.
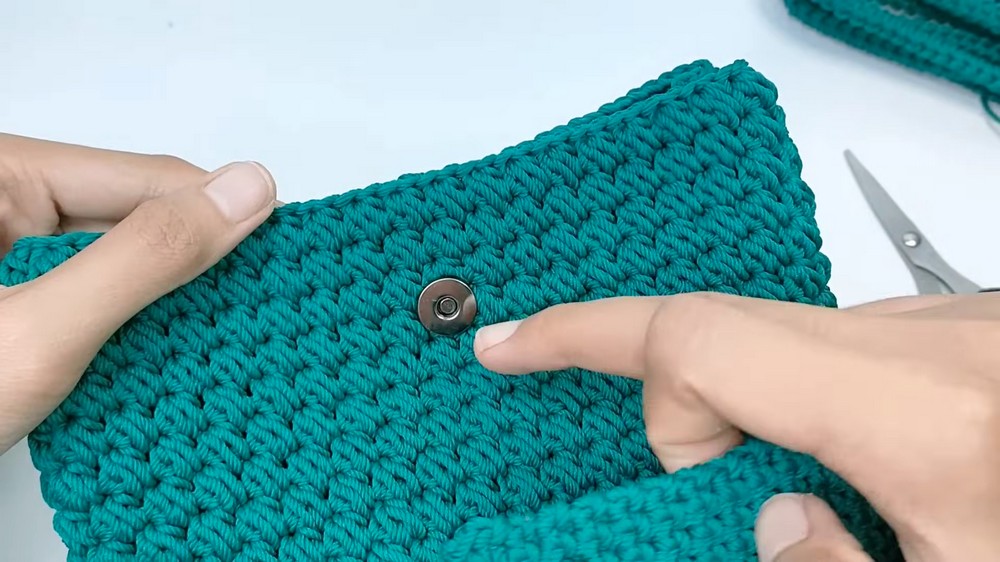
Step 6: Magnetic Closure
- Create Decorative Circle for Button:
- Start with a Magic Ring. Work 6 sc into the ring, pull to tighten.
- Work 2 sc into each stitch (12 sc total).
- Slip stitch to join, cut yarn, and leave a long tail for sewing.
- Attach Magnetic Button:
- Sew the magnetic button’s round side onto the inner bag flap. Stitch securely between the decorative circle and inner lining for durability.
- Add Magnetic Counterpart:
- Attach the complementary magnetic button on the main bag body, aligned with the flap.
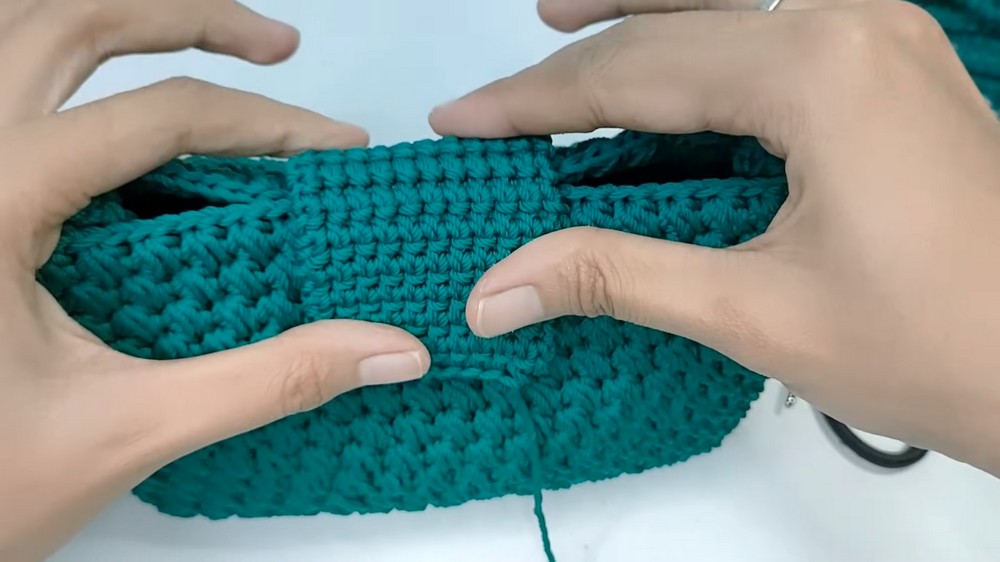
Step 7: Final Assembly
- Join Sides of Bag:
- Fold the left and right edges of the bag inward. Sew the two sides using slip stitches or a yarn needle, ensuring the base remains flat.
- Use a double layer of yarn for extra durability.
- Clean Up:
- Weave in all loose tails with a tapestry needle for a neat finish.

Conclusion:
This stylish crocheted bag is versatile, functional, and customizable. Its motif texture and sturdy handles make it perfect for daily use. The magnetic closure and secure flap add a touch of modern utility to the design.
Pattern Correction:
Ensure that the number of stitches for the foundation is always a multiple of 2, as this ensures neat alignment for motifs. Double-check that the flap dimensions align with the bag’s width.
Tips:
- Choose Durable Yarn: Strong yarn ensures the bag holds up to regular wear and tear. Stiffer yarn yields a more structured bag.
- Customize Handles: Change handle length based on whether the bag is handheld or crossbody.
- Wash: Gently block/wash the bag after completion to shape it and enhance durability.

Leave a Reply