
Brighten your look with this Free Crochet Giraffe Handbag Pattern and carry a playful charming accessory that adds a fun touch to any outfit.
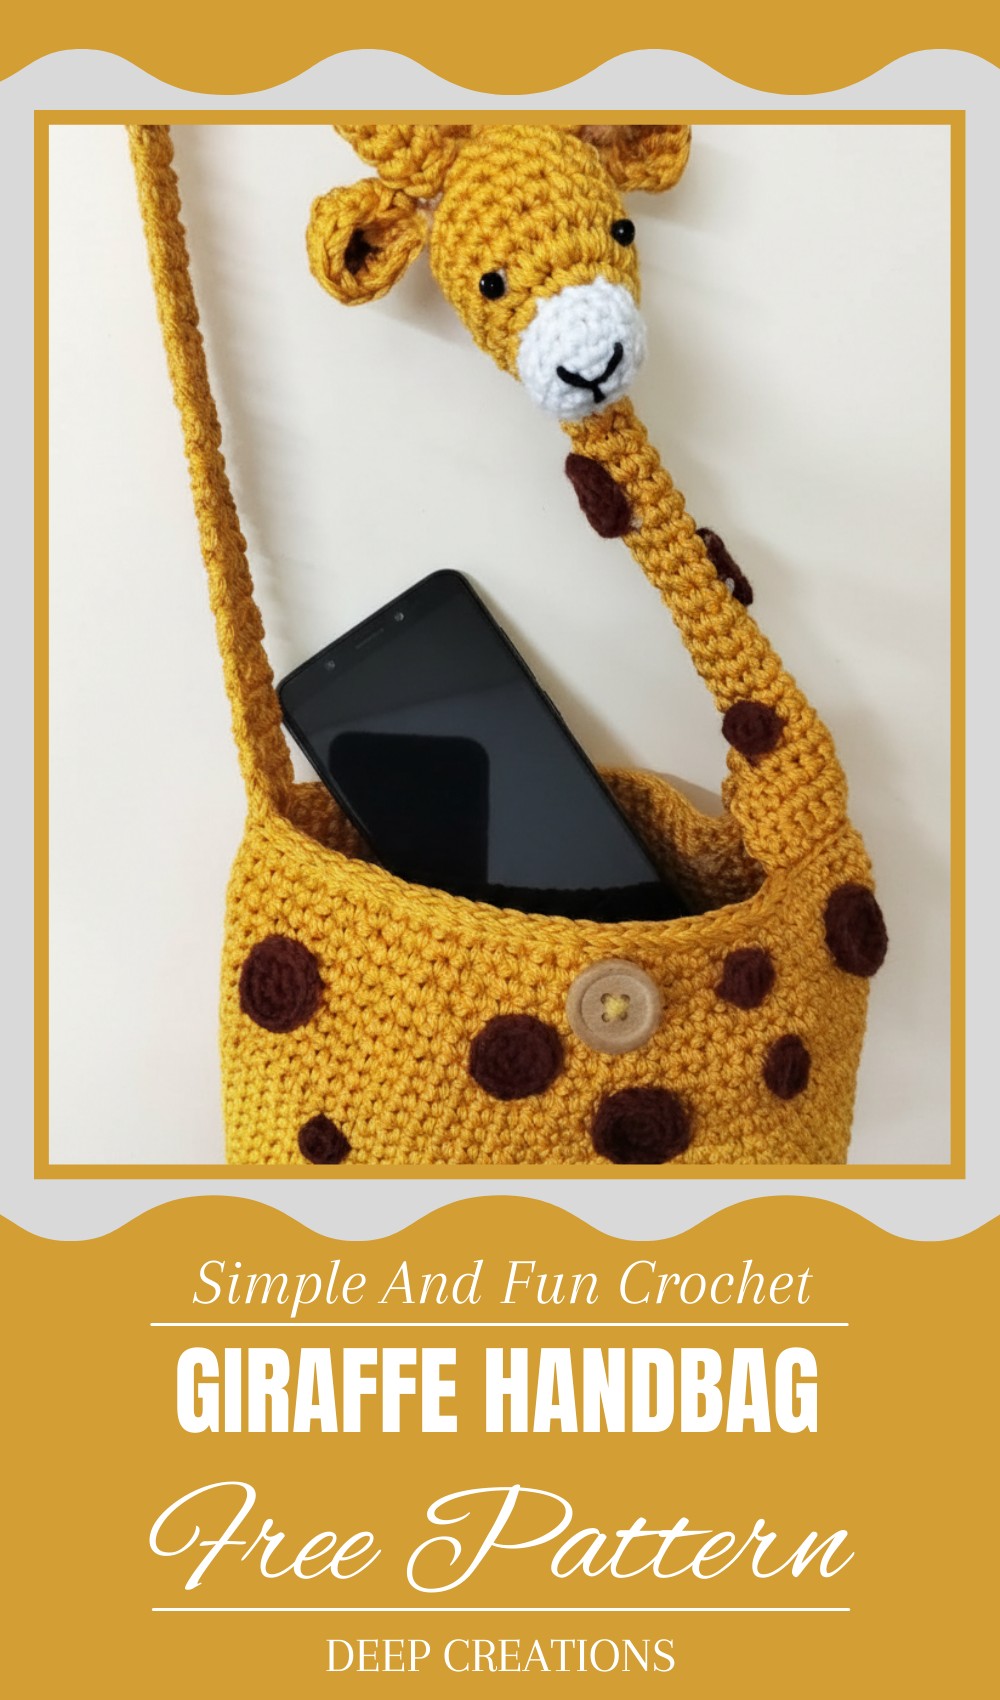
This adorable bag is made to bring a smile to anyone who sees it. Featuring a charming giraffe design, it’s ideal for holding small essentials while bringing a fun and stylish flair to your outfit. The crochet giraffe handbag pattern lets you create something truly unique and eye-catching, perfect for anyone who loves playful and creative accessories. It’s not just a bag; it’s a piece of art that stands out in any setting.
Quirky Crochet Giraffe Handbag Pattern That Sparks Smiles Instantly
Whether you’re heading to a friend’s house, going shopping, or attending a casual gathering, this bag fits every occasion beautifully. Its soft yarn and intricate details make it both a practical and stylish choice. It also makes a thoughtful gift, especially for children or animal lovers. The design gives you the freedom to play with colors and patterns, letting you create a bag that matches your style perfectly and spreads joy everywhere you take it.
Materials Needed
- Yarn:
- Acrylic or cotton yarn (2 mm macramé thread).
- Colors:
- Brown (body, legs, and giraffe nose).
- Yellow (neck and body features).
- White (face).
- Black (eyes, nose details, and small dots).
- Black beads or black pearls (for the eyes).
- Crochet Hooks:
- 3.5 mm hook for the body.
- 3.0 mm hook for smaller sections (horns and face details).
- Miscellaneous Tools:
- Scissors.
- Needle markers.
- Tapestry needle (for sewing).
- Measuring tape (optional).
Key Abbreviations
- ch: Chain.
- sc: Single Crochet.
- sl st: Slip Stitch.
- dec: Decrease (crochet two stitches together).
- YO: Yarn Over.
Special Notes
- Adjustable Dimensions:
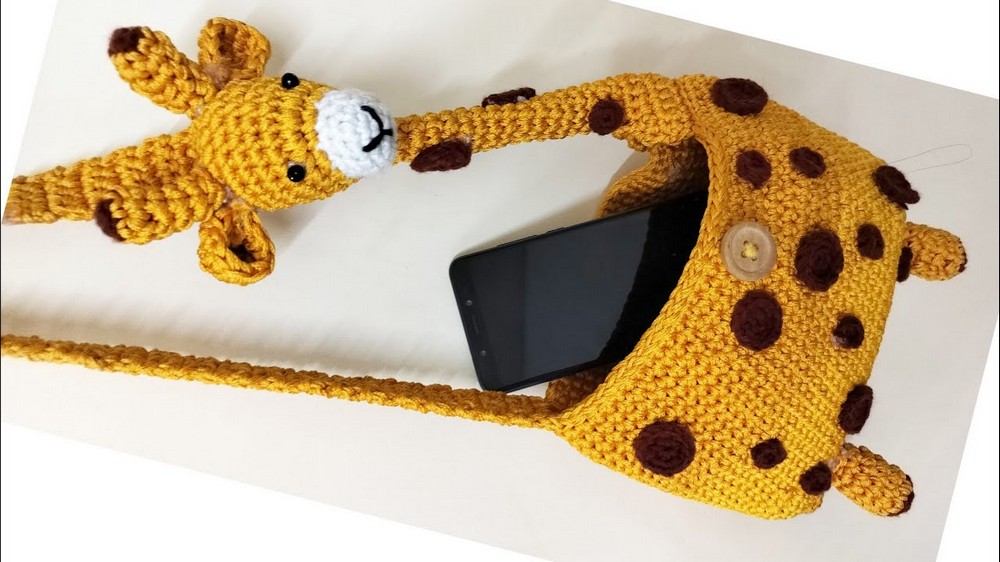
- The handbag is designed to be about 18 cm in height and 49 cm for the strap. Adjust the length depending on the age or size of the child.
- For younger children, shorter neck and strap dimensions are ideal.
- Stuffing/Sewing:
- Use cotton or soft stuffing for the head and body detailing.
- Ensure proper alignment during sewing for all the parts to maintain the bag shape.
Pattern Instructions
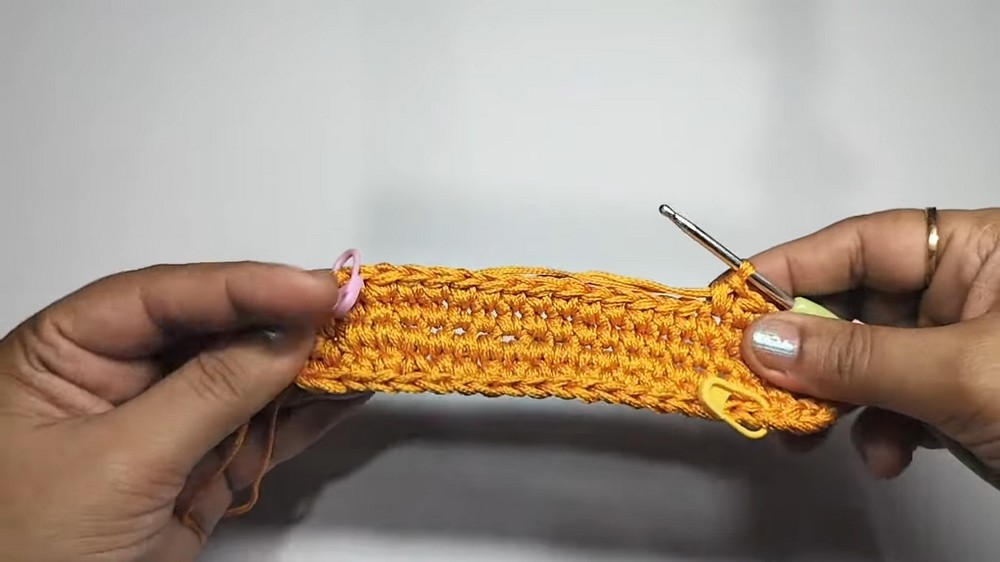
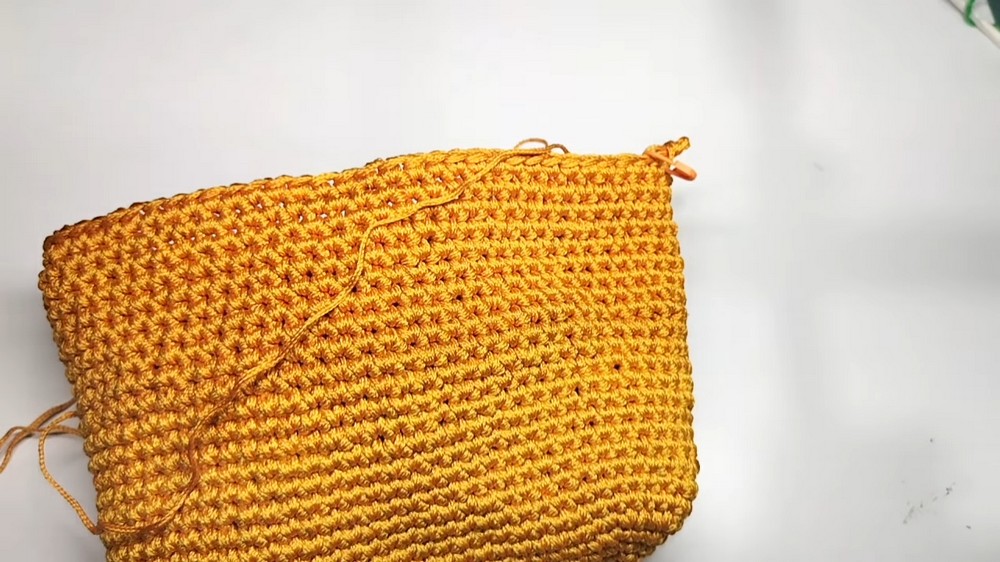
Step 1: Start the Giraffe’s Body
- Base of the Bag:
- Tie a slip knot and work 21 ch.
- Starting from the second ch from the hook, work 1 sc in each ch (19 sc total).
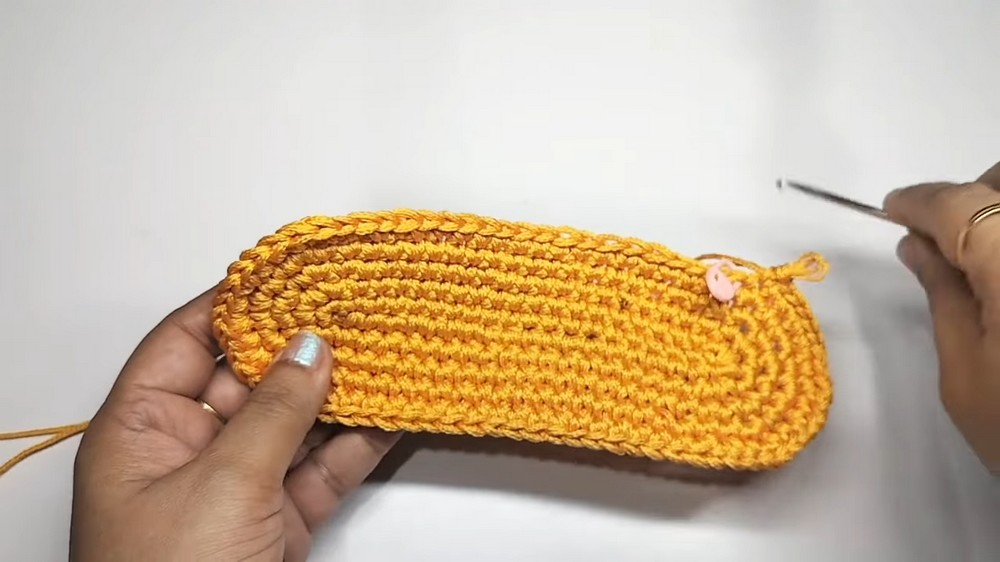
- Round the Edges:
- At the last chain, work 3 sc into the same stitch to create a rounded turn.
- Place a marker at the first of three sc to track the turning point.
- Back Along the Edge:
- Work 1 sc into each stitch along the opposite side of the chain.
- At the last stitch, create 3 sc in the same stitch.
- Join the round using sl st.
- Increasing Rounds (Rounds 2–5):
- For every round:
- Work 1 sc in each stitch along the side.
- At each corner (where there are 3 sc), increase by working 2 sc into each corner stitch (6 increases total per round).
- Place markers at each increased stitch.
- Continue increasing rounds until you complete Round 5 (the base should start to look oval or rounded rectangle).
- For every round:
- Straight Rounds (Rounds 6–24):
- Work 1 sc into every stitch without increases to begin building the body.
- Complete 24 rows in total.
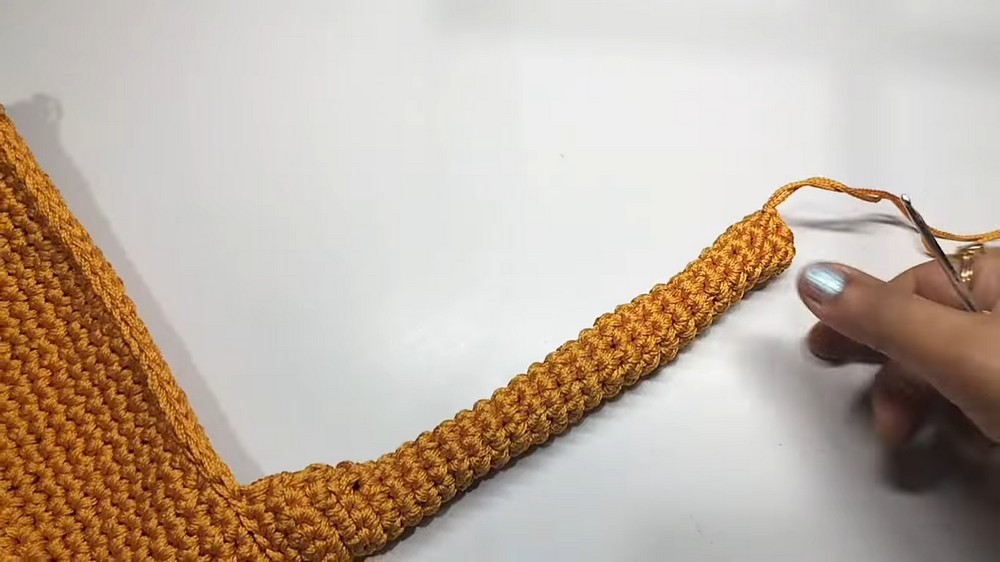
Step 2: Create the Neck
- Position the Neck:
- Count 13 stitches evenly on the handbag edge to center the neck placement.
- Attach yellow yarn and work 13 sc across the designated section.
- Shape the Neck:
- Work back and forth using sc rows:
- Row 1: 13 sc, turn, ch 1.
- Row 2: 13 sc, turn, ch 1.
- Decrease Rows:
- Row 3: Decrease one stitch at the beginning and end (11 total sc).
- Row 4: Decrease again at both ends (9 total sc).
- Work back and forth using sc rows:
- Build Neck Length:
- Work 23 rows of sc with no increases or decreases.
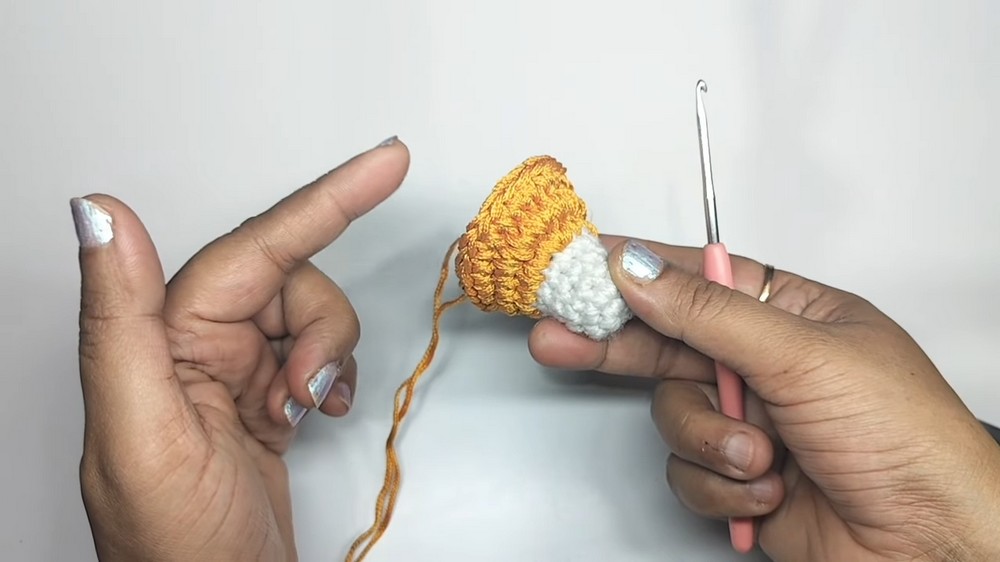
Step 3: Create the Legs
- Brown Base:
- Use brown wool and a 3.0 mm hook to create the feet:
- Start with 6 sc into a Magic Ring, tighten the loop and join using sl st.
- Round 2: Work 2 sc into each stitch (12 stitches total).
- Join round with sl st and switch to yellow yarn.
- Use brown wool and a 3.0 mm hook to create the feet:
- Yellow Rounds:
- Work 1 sc into each stitch for 3 rows.
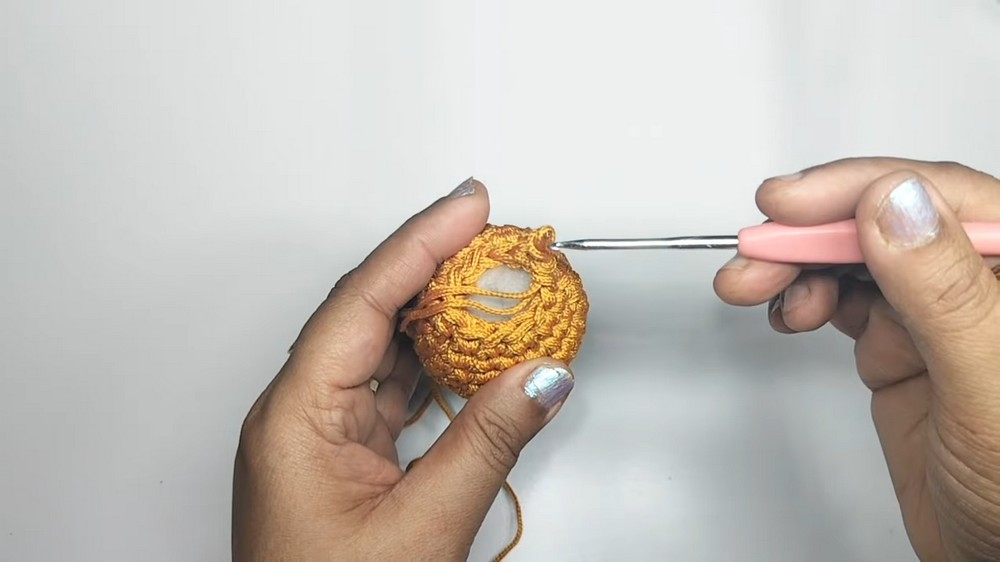
- Finish the Legs:
- Using decreases, reduce stitches to close the base of the leg:
- Round 4: Decrease across the row to shape the end.
- Stuff cotton inside the leg before closing the last round.
- Using decreases, reduce stitches to close the base of the leg:
- Repeat for All Legs:
- Make four legs identical to the steps above.
- Attach them evenly on the bottom edges of the giraffe bag via sewing or sl st joins.
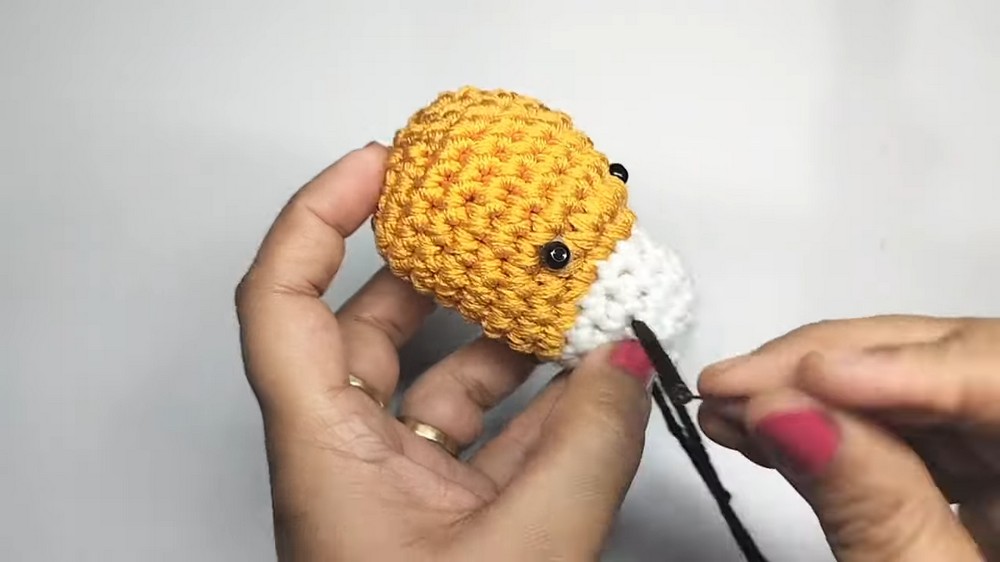
Step 4: Create the Giraffe’s Face
- White Base:
- Work with doubled white yarn and a 3.0 mm hook for sturdiness.
- Begin with a Magic Ring:
- Work 6 sc into the ring, tighten, and join using sl st.
- Round 2: Work 2 sc into each stitch around (12 sc total).
- Round 3–5: 1 sc into each stitch to create a flat circular shape.
- Yellow Outer Layer:
- Switch to yellow yarn to outline the face:
- Work 1 sc into each stitch, increasing slightly around edges to shape the face oval (18 total stitches).
- Switch to yellow yarn to outline the face:
- Add Features:
- Black beads: Sew on beads for the eyes and create a V-shaped nose using black yarn embroidery.
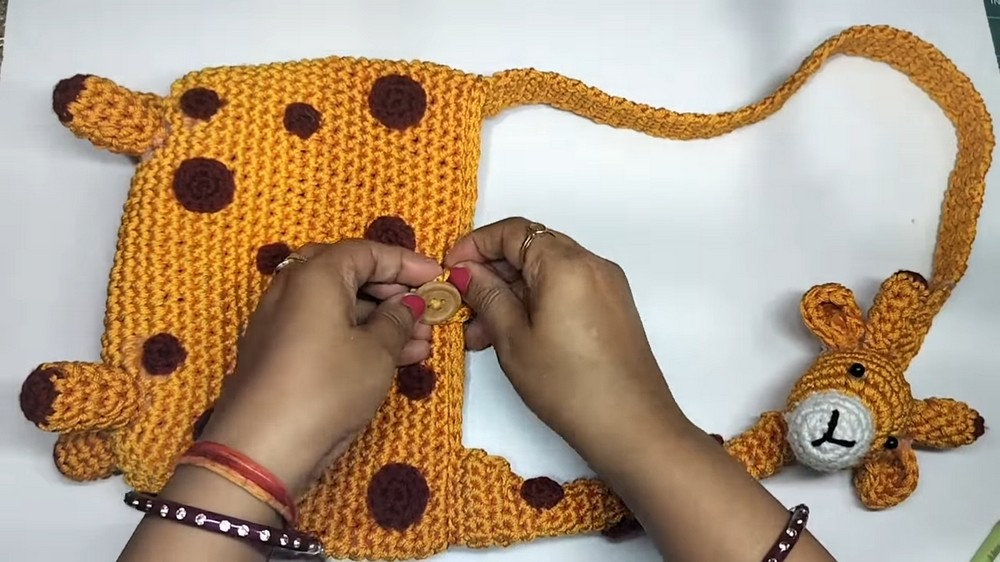
- Dots: Work small 6-sc Magic Ring circles to create giraffe spots.
Step 5: Horns and Ears
- Horns:
- Work 6 sc into a Magic Ring.
- Complete 4 rounds with no increases.
- Repeat to create two horns.
- Ears:
- Create small semi-circles: Work 6 sc into a Magic Ring, then extend the semi-circle by working 12 sc in the next row.
- Make two ears using these steps.
Step 6: Strap and Assembly
- Bag Strap:
- Work a long strip using sc rows:
- Make four stitches wide with 49 cm length for children aged 3–10.
- Secure the strap ends evenly on both sides of the bag.
- Work a long strip using sc rows:
- Final Assembly:
- Attach the giraffe face at the top of the neck using matching yellow thread.
- Sew the horns and ears onto the giraffe head.
- Attach the magnetic clasp to the bag opening for closure.

Conclusion
This cute giraffe handbag is an ideal accessory for children, combining playful design with functionality. The spacious size and secure strap make it perfect for toys, gadgets, and essentials.
Pattern Correction
If adding the neck, ensure it is centered by counting stitches accurately along the edge of the body. Misalignment can result in an uneven structure.
Tips
- Use stiff yarn for structure if the bag needs to hold its shape firmly.
- Add lining to the inside of the bag for enhanced durability and aesthetics.
- If stitching seems challenging, use hot glue for secure attachment where appropriate.

Leave a Reply