
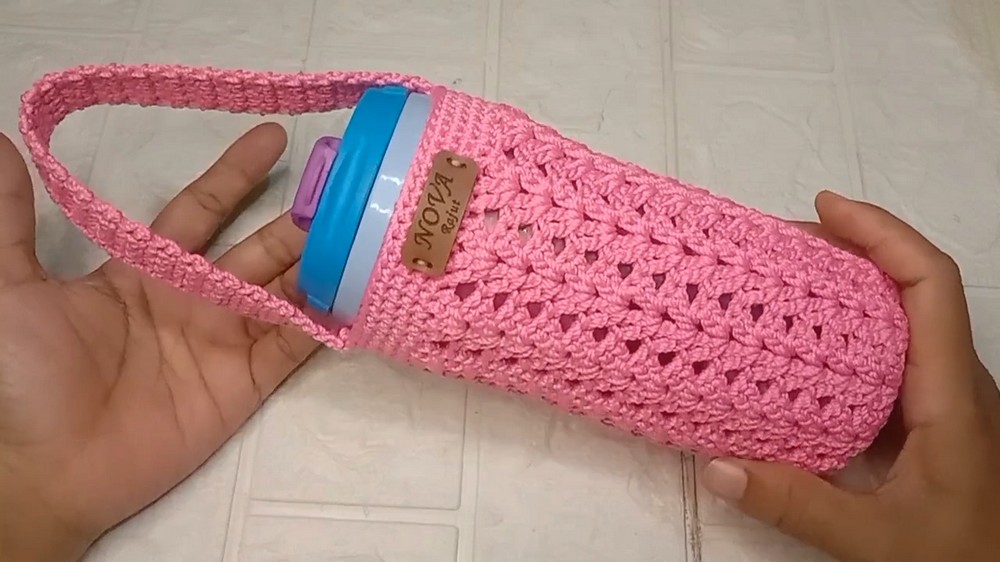
Upgrade your home decor with this stylish crochet bottle cover pattern that offers endless charm and functionality for any space or occasion.
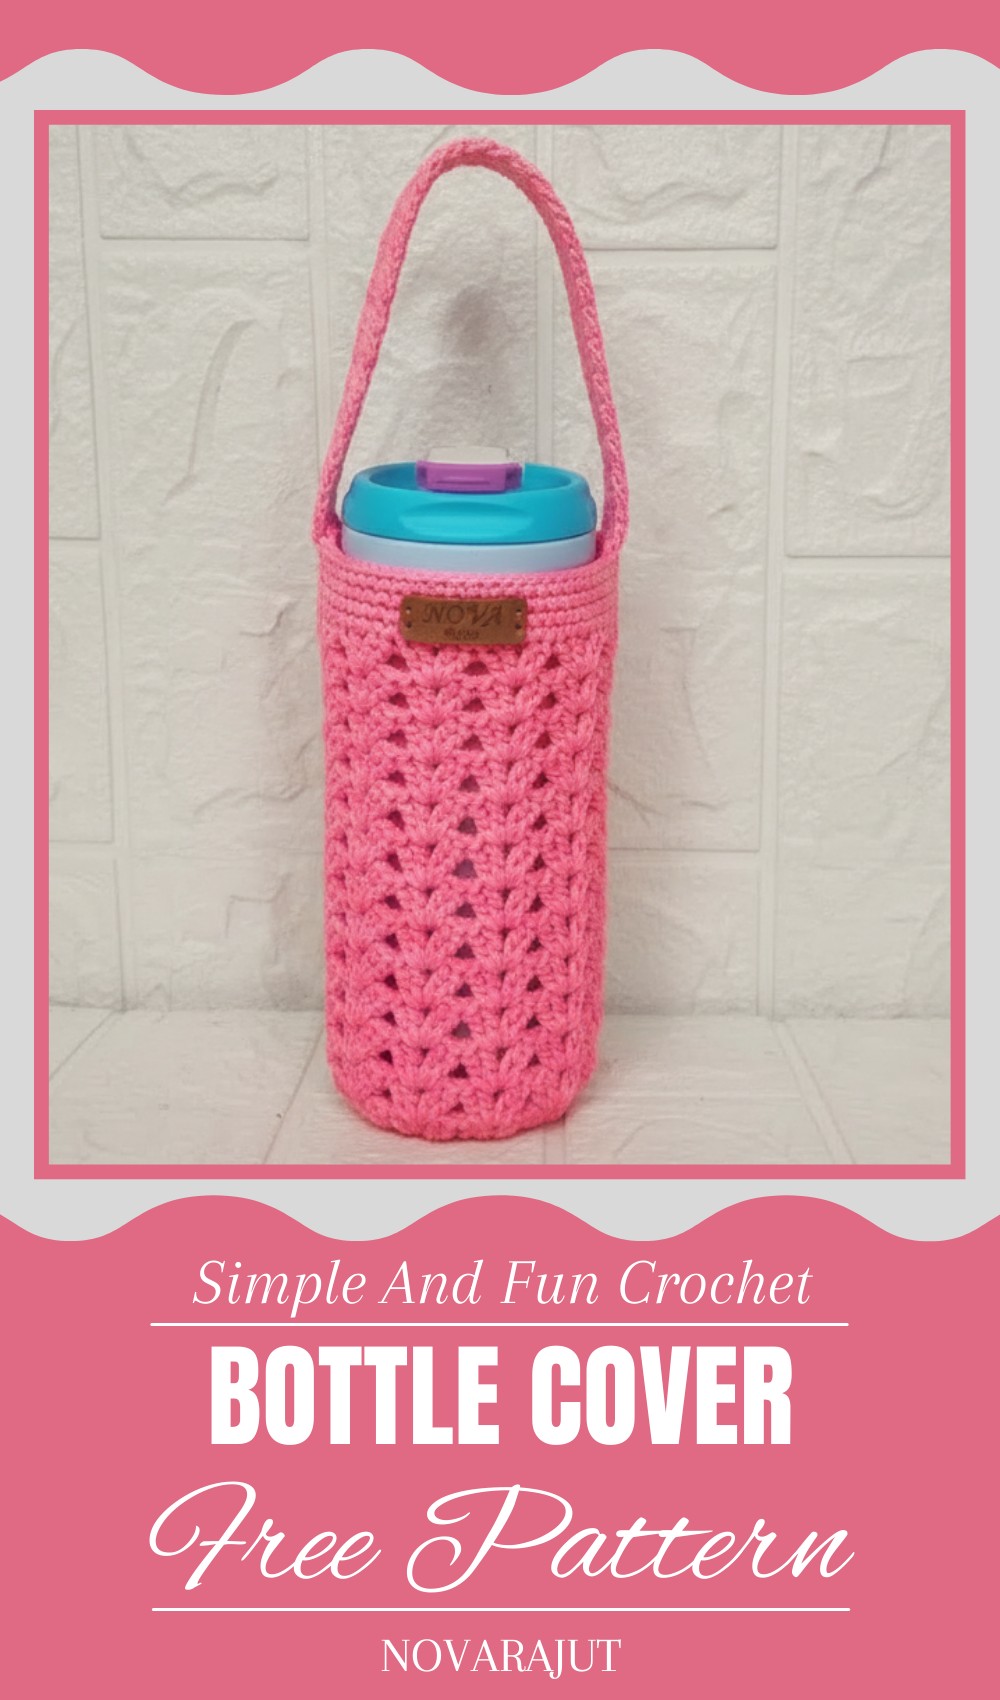
Decorate a simple bottle with a charming touch that transforms it into a lovely decor piece for your home or special occasions. A crochet bottle cover pattern is the perfect way to add style and personality, giving the bottle a unique and elegant look. It’s great for adding flair to your dining table, storing a drink, or holding a flower to brighten up your space. With soft yarn and countless design possibilities, the cover offers a practical and attractive way to enhance a plain bottle.
Whimsical Crochet Bottle Cover Pattern for Unique Vibes
Ideal for celebrations, casual use, or as a thoughtful gift, it blends beauty and functionality effortlessly. Its versatility makes it suited for any theme or room, allowing you to match it to your personal taste or event decor. Simple yet effective, this bottle cover turns an ordinary item into something extraordinary while adding charm to your surroundings.

Materials Required
Yarn and Tools:
- Yarn Type:
- Poly-shiny thread (polykilap) for a durable and slightly glossy finish.
- Alternative: Nylon or cotton yarn (size 4, medium weight).
- Hook Size: Approx. 3.0mm crochet hook for tight stitches (adjust as needed).
- Scissors: For trimming yarn ends.
- Stitch Markers: To identify and track the start of your rounds.
- Measuring Tape: To ensure the base and height align with your bottle size.
Key Abbreviations (US Terminology):
- MR: Magic Ring
- CH: Chain
- SC: Single Crochet
- DC: Double Crochet
- SL ST: Slip Stitch
- ST(S): Stitch(es)
Special Notes:
- Tension: Tighten stitches for a snug fit around the bottle and maintain consistency across rows.
- Sizing: Customize the base to the diameter of your bottle. Add more rounds or rows as necessary.
- Optional Decoration: Add contrasting yarn or appliqué to enhance the design.
Step-by-Step Crochet Bottle Cover Pattern
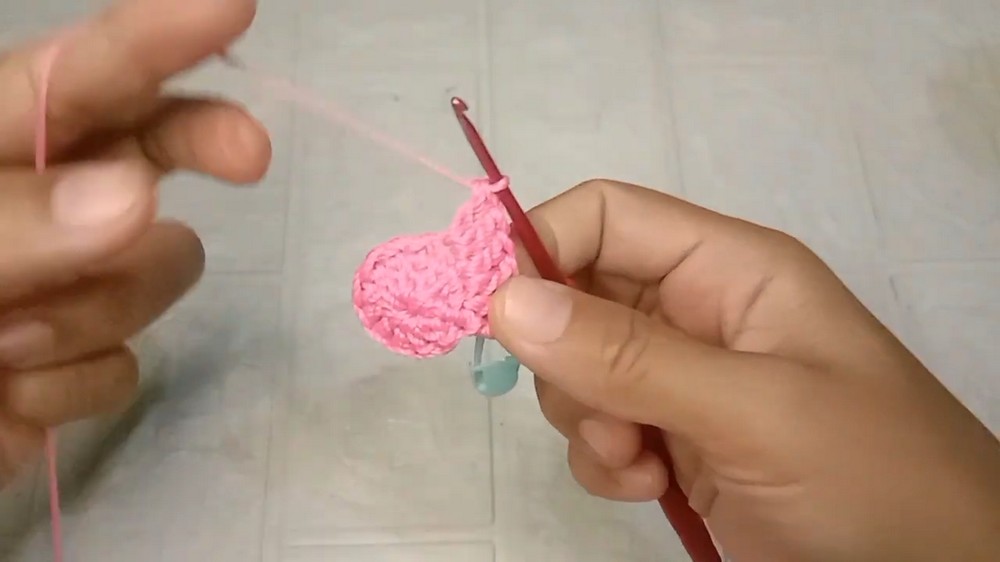
Step 1: Create the Base
Round 1 (Magic Ring):
- Begin with a Magic Ring.
- CH 3 (counts as the first DC). Work 11 DC into the ring, making a total of 12 DC.
- Pull the ring tight to close.
- Join with a SL ST to the top of the beginning CH 3.
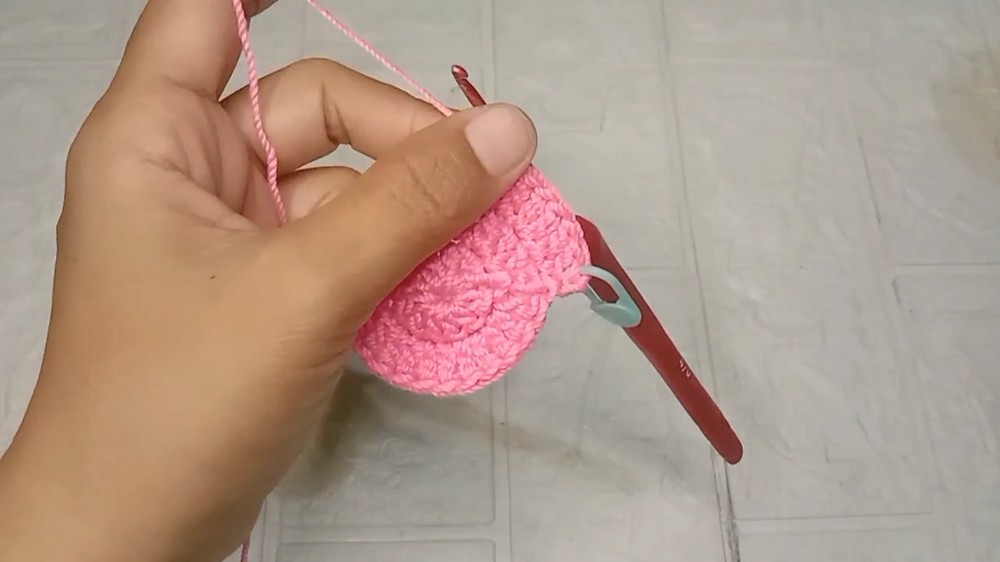
Round 2:
- CH 3 (counts as the first DC), place a stitch marker here to track the start of the round.
- Work 1 DC into the same ST.
- Work 2 DC into each ST around (increase in every stitch). This will yield 24 DC.
- Join with a SL ST to the top of the starting CH 3.
Round 3:
- CH 3, replace your stitch marker. Work 1 DC into the same ST.
- In the next ST, work 1 DC. In the following ST, work 2 DC.
- Repeat this pattern (1 DC, 2 DC into the next) around the row.
- Join with a SL ST to the top of the starting CH 3.
Note: Continue creating rounds by increasing stitches evenly if your bottle base is wider. Measure after every few rounds to ensure it matches your bottle’s bottom diameter.
Step 2: Build the Height
Transition to SC Round:
- CH 1, and work 1 SC into each ST around.
- Join with a SL ST to the starting SC.
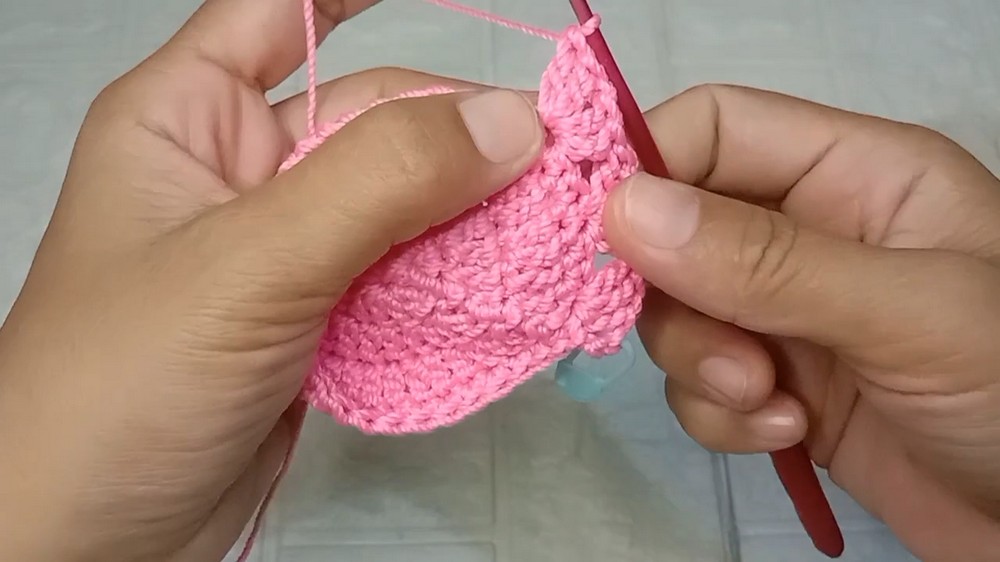
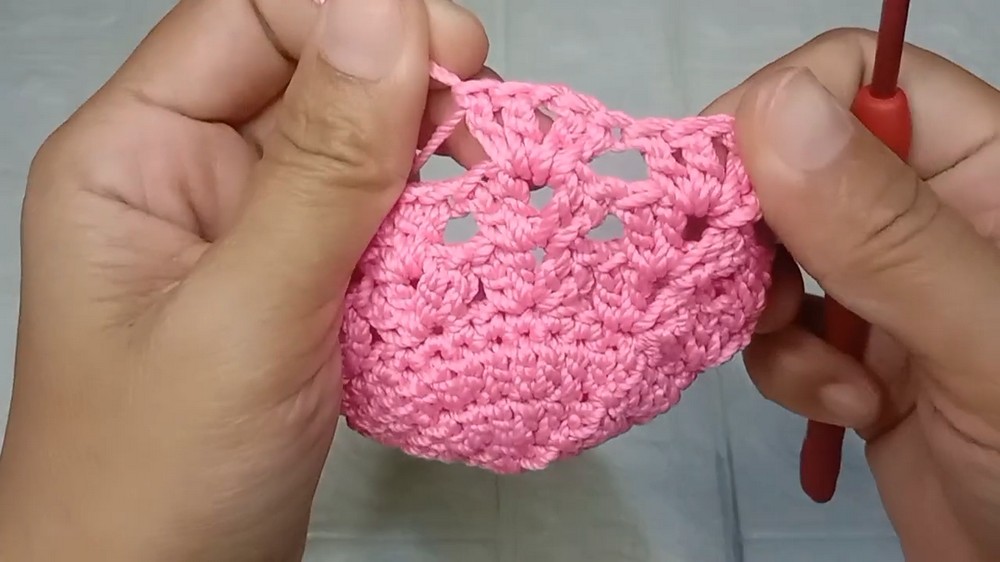
Round 1 (Textured Pattern Begins):
- CH 3 (counts as 1 DC), and work 1 DC into the same ST.
- CH 1, and in the same ST, work 2 DC. This makes a “V-stitch.”
- Skip 2 STS, and in the next ST, work 2 DC, CH 1, 2 DC.
- Repeat this V-stitch pattern (skip 2 STS, make the V-stitch) around. Join with a SL ST to the top of the starting CH 3.
Round 2 (Aligning V-Stitch):
- Slip stitch into the CH 1 space of the first V-stitch from the previous round.
- CH 3, then work 1 DC, CH 1, 2 DC into the CH 1 space of the V-stitch.
- Continue working 2 DC, CH 1, 2 DC into the CH 1 space of every V-stitch around.
- Join with a SL ST to the top of the CH 3.
Repeat Rounds:
- Repeat the V-stitch rounds until your bottle cover reaches the desired height.
- For the tutorial, 14 rounds of V-stitch were made. This aligns with a bottle height of approximately 7.5 inches (19 cm).
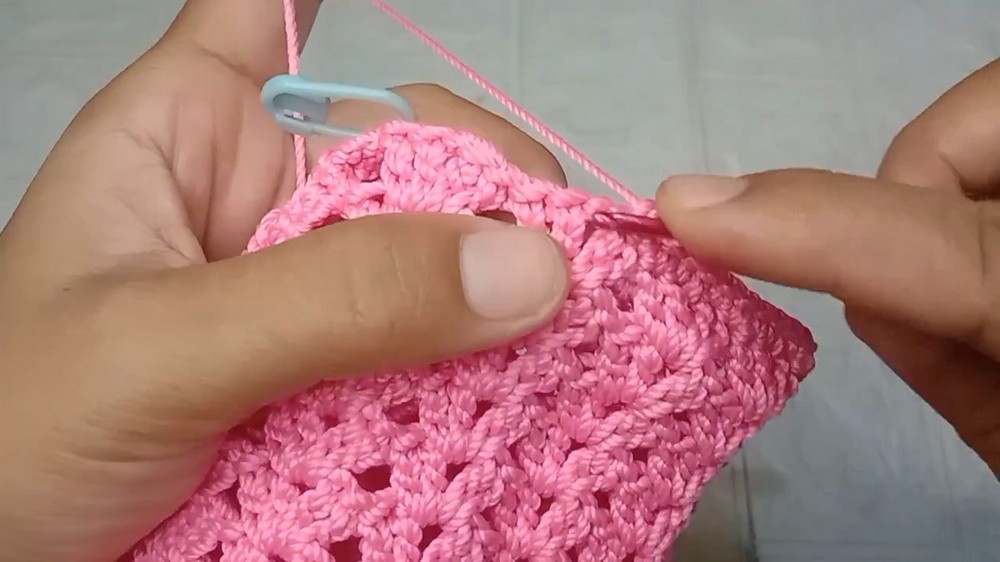
Step 3: Finish Edge with SC
- CH 1, and work a round of SC into each ST across. Stitch evenly into the DCs and the CH 1 spaces.
- Join with a SL ST to the beginning SC.
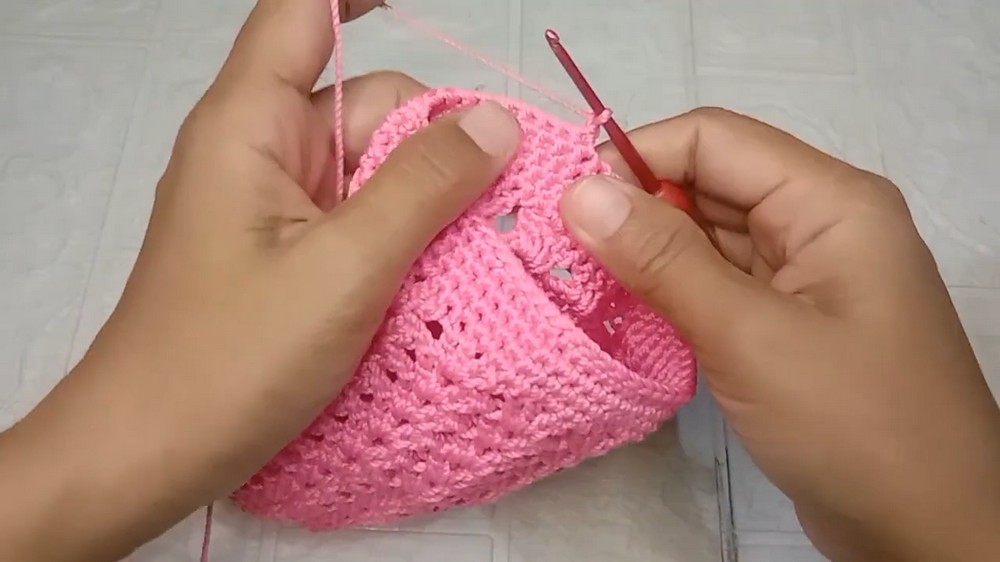
Step 4: Create the Handle
Setup Row:
- CH 1, turn work. Work SC into each ST across the top edge of the bottle cover.
- When you reach the start, join with a SL ST to create a firm top edge.
Strap:
- Work CH 4, and add SC along the strap base to secure its width.
- Repeat SC rows for the handle; a total length of about 23 cm (9 inches) is recommended.
- Attach the strap to the opposite edge of the bottle cover with SC using snug stitches.
Step 5: Finishing Touches
- Weave in all loose ends using a tapestry needle.
- If desired, add decorations such as crocheted flowers or borders.
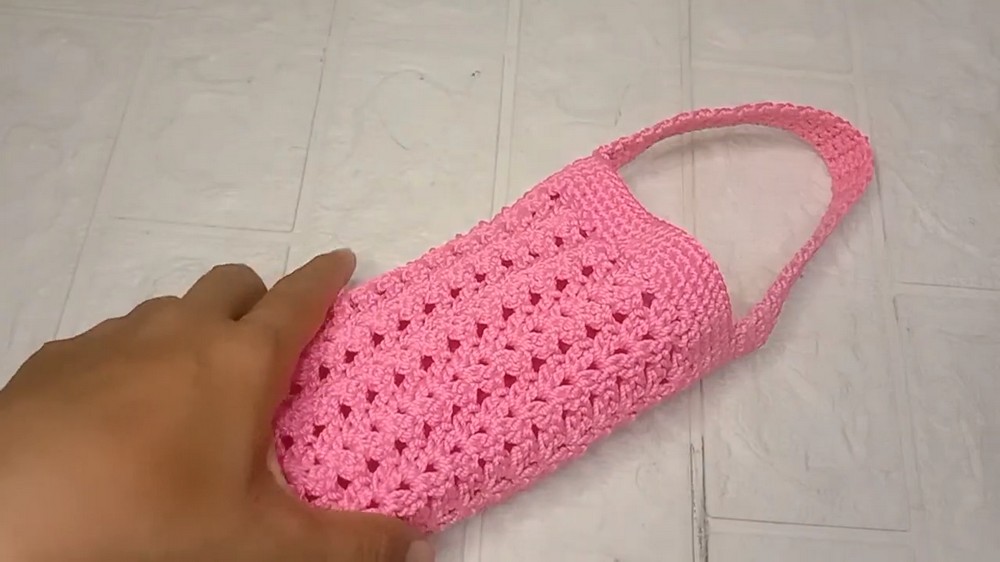
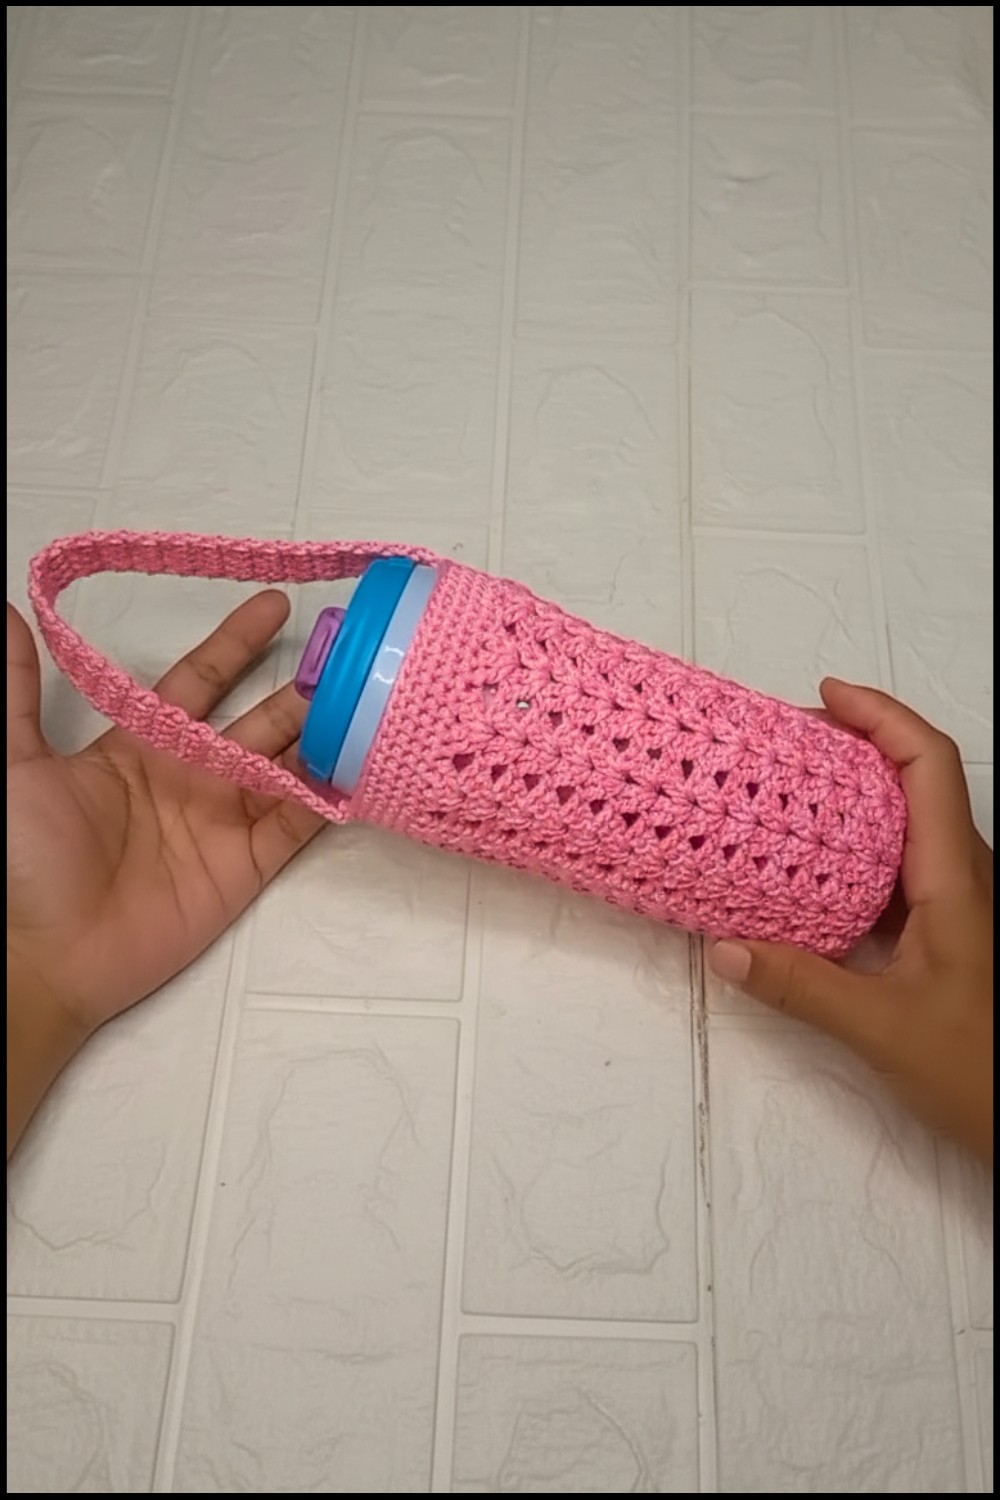
Conclusion
Congratulations! Your Crochet Bottle Cover is now complete. This practical and reusable design is both stylish and functional, perfect for holding bottles securely. With its durable texture, the cover can withstand daily use and adds a personal touch to your drinking accessories.
Pattern Corrections and Tips
Corrections:
- Ensure each new round begins by transitioning into the proper space (e.g., for the V-stitch, always work into the CH 1 space).
Tips:
- Custom Size:
- Adjust the width of the base by increasing or decreasing rounds while sticking to even increases.
- Adjust the height by adding more rounds of V-stitches.
- Easy Carrying: Add a longer strap for shoulder use or a short loop strap for hand carrying.
Pro Tip for a Professional Finish
To prevent fraying, use a lighter to seal the ends of nylon or poly-shiny thread. Alternatively, weave them tightly to blend into the body of the design.
Leave a Reply