
Bring life to your decor with this crochet star pattern perfect for festive accents gift embellishments or thoughtful additions to any space.

Don’t let simple and dull decorations take away the warmth from your space when a crochet star pattern can add a touch of magic. This lovely piece isn’t just another decoration—it’s a small yet meaningful addition that brings charm wherever it’s placed. Use it to brighten up your walls, turn it into a beautiful ornament for special occasions, or even pair it with a gift to make it extra thoughtful.
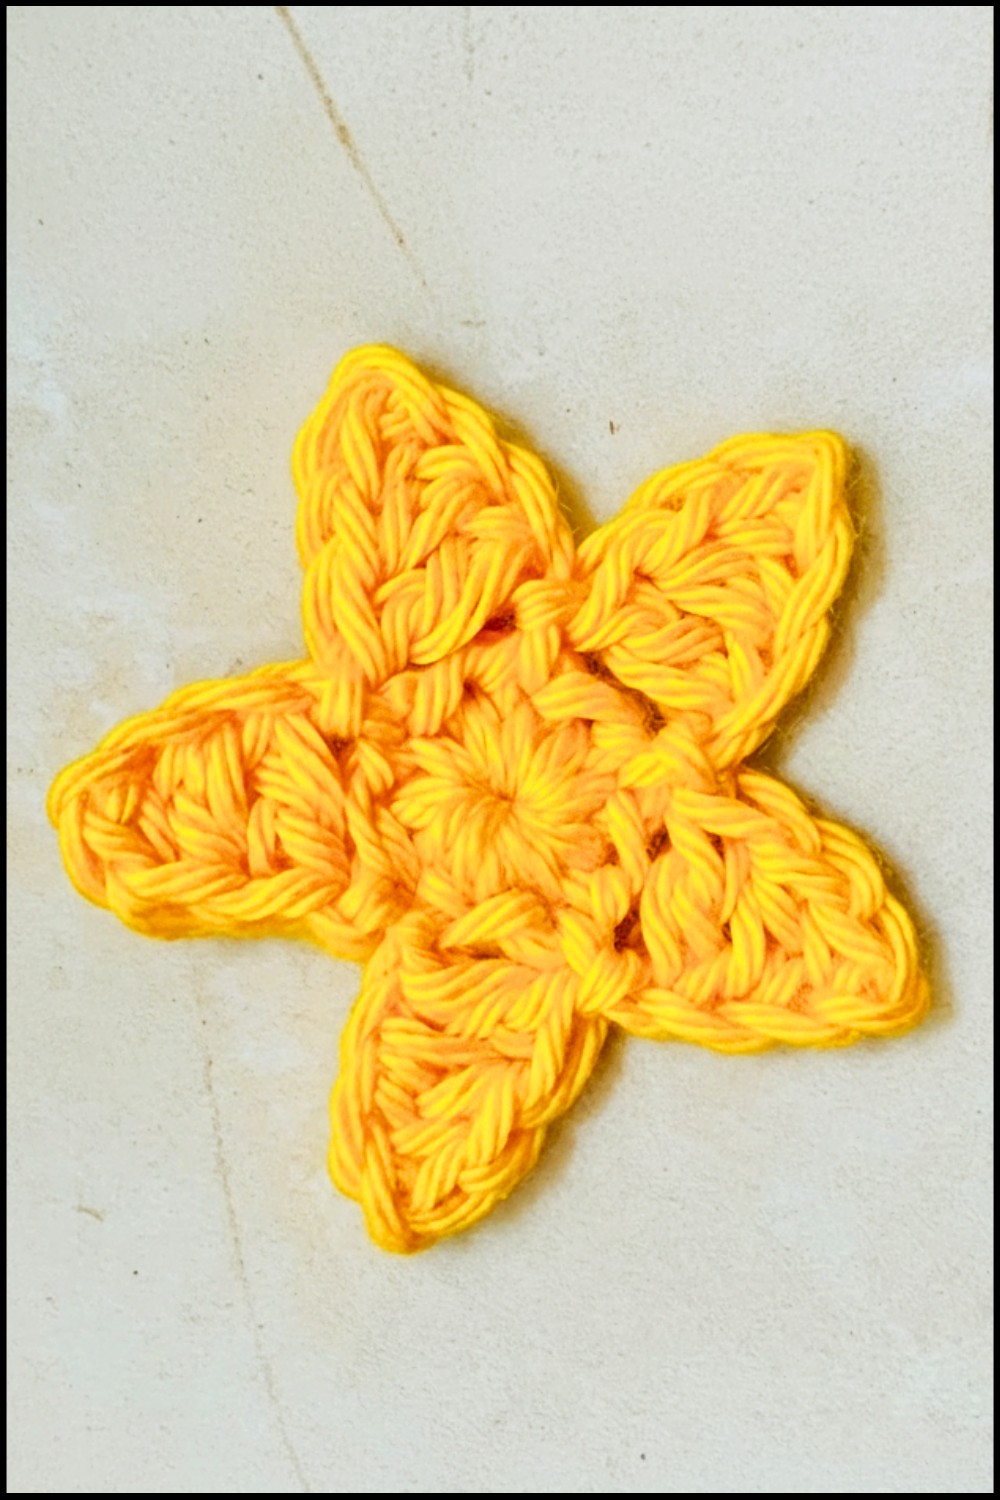
Magical Crochet Star Pattern for Stunning Decor
Its beauty lies in its simplicity, and you can choose colors and sizes that match your style perfectly. Making a single crochet star is easy for anyone and can instantly transform the look and feel of a room. Whether for everyday use or special moments, this small star becomes a timeless accent that radiates joy and warmth wherever it shines.

Materials Needed
- Yarn: Baby soft cotton yarn (any brand or color of your choice)
- Crochet Hook: Size suitable for your yarn (typically 3.0mm–4.0mm for baby soft cotton)
- Optional Items: Scissors for cutting yarn, yarn needle for weaving ends
Key Abbreviations
- ch: Chain
- sc: Single Crochet
- hdc: Half Double Crochet
- dc: Double Crochet
- sl st: Slip Stitch
- magic circle: Magic Ring
Special Notes:
- To begin, ensure proper tension when creating the Magic Circle.
- The star is worked in rounds, starting with the central circle and then building up petals with increases.
Pattern Instructions
Step 1: Create the Magic Circle
- Wrap the yarn around your fingers to create a loop, ensuring the “tail” of the yarn overlaps.
- Insert your hook into the circle, yarn over, and pull up a loop.
- Chain 1 to secure the magic circle.

Step 2: Begin the Center
- Work 10 sc into the magic circle.
- Insert your hook into the circle, yarn over, pull through (2 loops on the hook).
- Yarn over again, pull through both loops. Repeat this for a total of 10 sc.
- Pull the tail of the magic circle tightly to close the center.
- This creates a small, tight circle as the base.
- Join the round with a sl st into the first sc created.
Step 3: Create Chain Spaces
- Chain 4 (this forms the base of your first petal).
- Skip one stitch and insert the hook into the next stitch.
- Work as follows:
- Step 3.1: Insert hook, yarn over, pull through, and complete 1 sc.
- Step 3.2: Insert hook into the next stitch, yarn over, and complete 1 hdc.
- Step 3.3: Insert hook into the next stitch, yarn over, and complete 1 dc.

Step 4: Closing the Petal
- Skip one stitch and insert your hook into the next stitch.
- Complete a sl st.
- Your first petal is now ready.
Step 5: Repeat Petal Creation
You will repeat the steps below a total of 5 times to form a star with five petals:
- Chain 4 to begin the next petal.
- Work:
- 1 sc in the second stitch.
- 1 hdc in the third stitch.
- 1 dc in the fourth stitch.
- Skip one stitch and finish the petal with a sl st in the next stitch.


Repeat until you have completed all 5 petals.
Step 6: Final Touches
- Chain 1 to secure the last stitch from unraveling.
- Cut the yarn, leaving a small tail for weaving.
- Pull the tail through the loop with your hook to tighten and secure.
- Weave in any loose ends using the yarn needle.
- You may tie and remove any remaining holes in the magic circle area for a neat finish.

Conclusion
Your crocheted star is now ready! This beautiful piece can be used as appliqués for garments, keychains, or standalone decorations. The pattern is simple enough for beginners, yet it produces an elegant result.
Pattern Corrections
If your petals do not appear symmetrical:
- Double-check the spacing between stitches; ensure you skip stitches as instructed.
- Ensure all stitches (sc, hdc, dc) are in proper sequence within each petal.
Tips
- When starting, practice the magic circle a few times to get comfortable with the technique.
- Use a lighter yarn for delicate stars or thicker yarn for decorative pieces.
- For an even more visually appealing star, use multicolored yarn or alternate colors for each petal.
Leave a Reply