
Dress your little ones in charm and comfort with this easy crochet dress for children pattern perfect for special occasions or everyday wear.
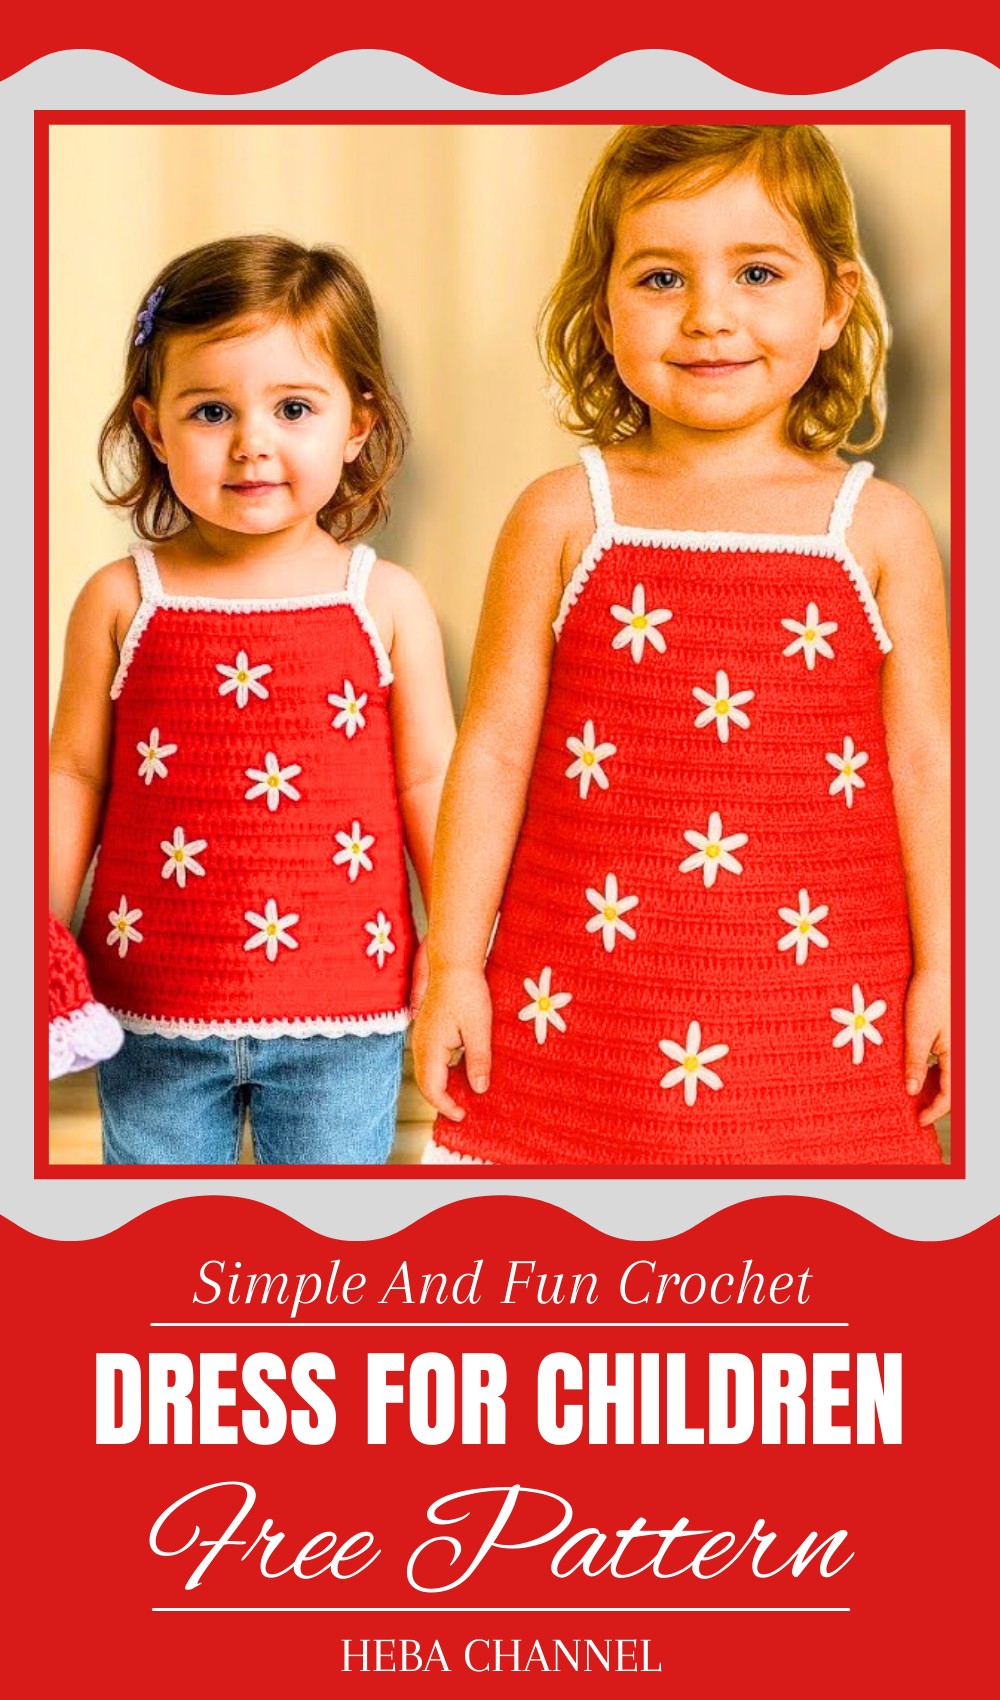
It’s hard to find a store-bought dress that truly captures a child’s unique personality and charm, but a handmade crochet dress does just that effortlessly. Whether you’re searching for a crochet dress for children pattern, or creating your own, this beautiful creation offers a timeless appeal, with intricate patterns and soft textures that exude warmth and individuality. Perfect for celebrations like birthdays, holidays, or family gatherings, or even as everyday wear, a crochet dress can be tailored to suit any occasion or season.
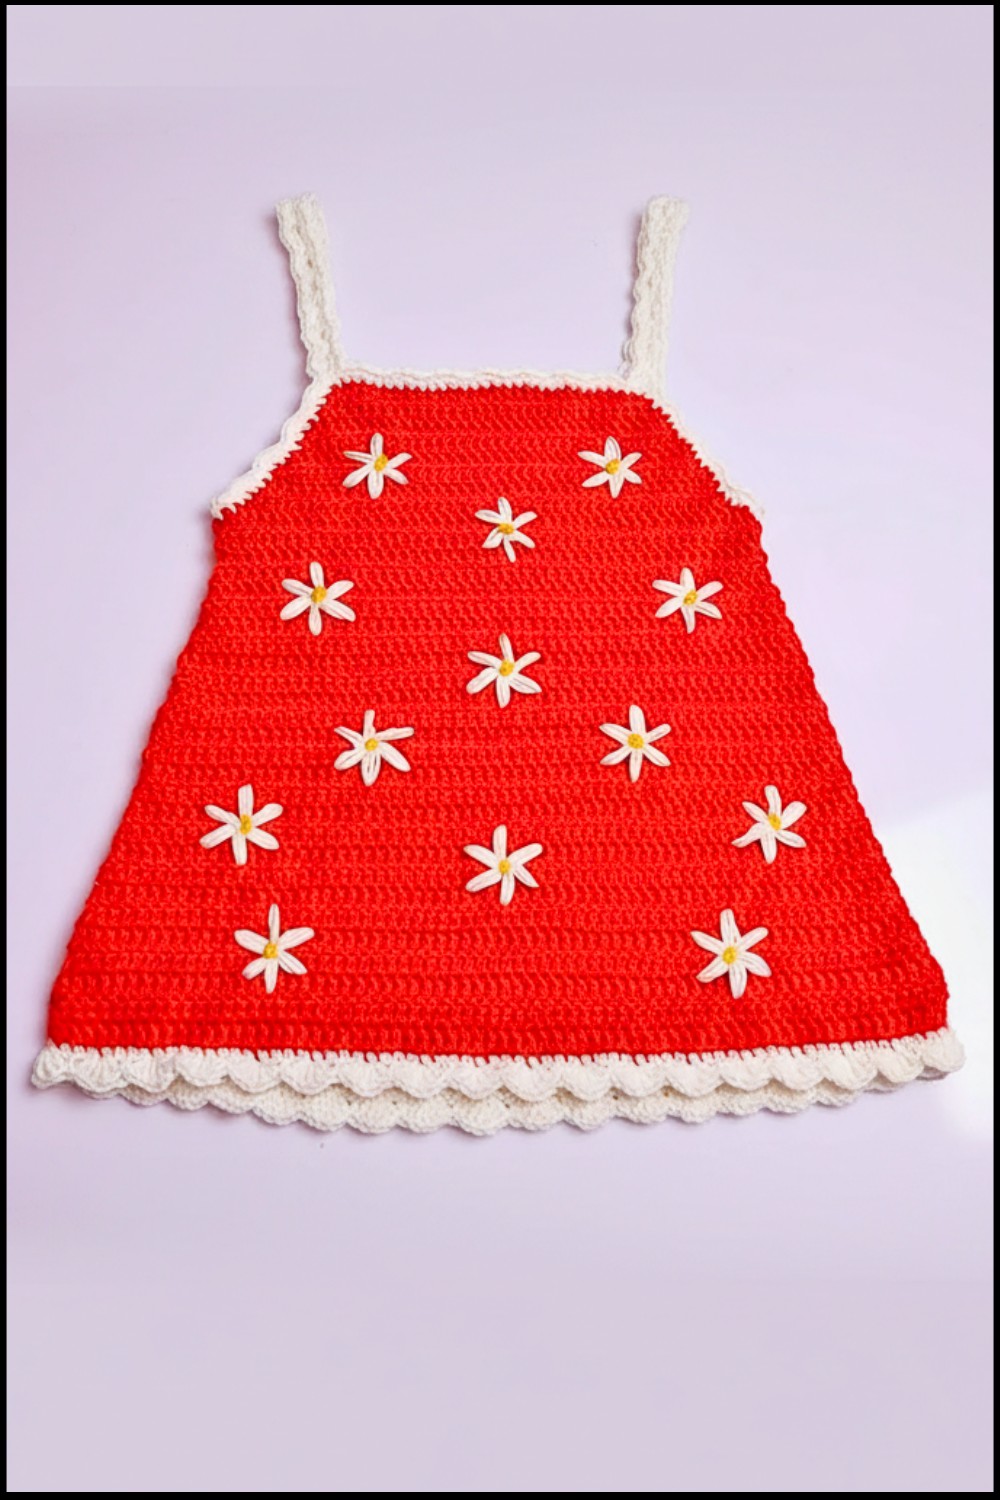
Whimsical Crochet Dress For Children Pattern For All Seasons
A lightweight, colorful design brings grace to summer outings, while a cozier one keeps a little one stylishly warm in cooler weather. Its versatility goes beyond aesthetics, providing comfort and breathability for an active child. A crochet dress also holds sentimental value, making it an unforgettable gift or a precious keepsake to pass down through generations. Crafted with love and attention to detail, it becomes a true expression of creativity and care!
Materials
- Yarn:
- ~120 grams of red yarn (cotton or cotton blend recommended).
- ~30 grams of white yarn for finishing edges.
- Optional: Additional yarn colors if customizing rose colors.
- Hook: Size 2.5mm crochet hook (suitable for the yarn).
- Other Tools:
- Tape measure for accurate measurements.
- Tapestry needle for sewing and weaving ends.
- Scissors.
- Stitch markers to mark key points like start of rows or decreases.
Skill Level
Intermediate.
Crocheters should be comfortable with double crochet, single crochet, slip stitches, making decreases, and working in rows.
Key Abbreviations
| Abbreviation | Meaning |
|---|---|
| ch | Chain |
| sc | Single crochet |
| dc | Double crochet |
| sl st | Slip stitch |
| yo | Yarn over |
| st(s) | Stitch(es) |
Special Notes
- Custom Sizing: This pattern demonstrates how to take measurements (based on chest circumference) and customize the project for any child or adult size.
- Tension: Maintain consistent tension throughout the project, especially during shaping and decreases, for a smooth finish.
- Roses Placement: The provided rose tutorial is optional; roses can be added or omitted based on preference.
- Measurements:
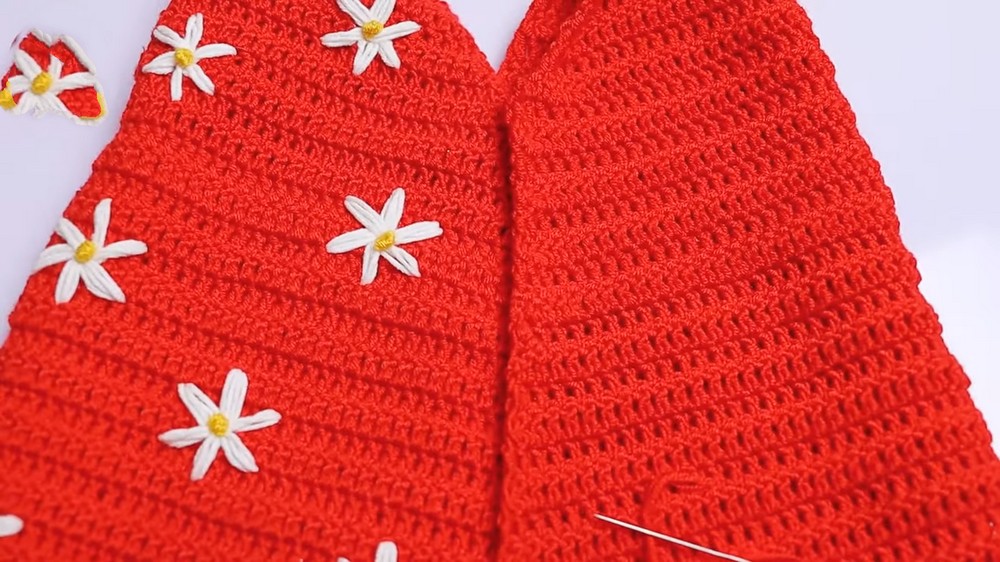
- The top consists of two identical panels (front and back).
- Measure half of the chest circumference and add 10cm to determine the starting chain length.
- Begin decreasing as you work up the pyramid shape until you reach the actual half chest circumference.
Pattern Instructions
Part 1: Determining Measurements
- Measure the Chest Circumference: Wrap a tape measure around the child’s chest. For ages 1.5–2 years old, the chest circumference is typically 54 cm (21.3 inches).
- Half Chest Circumference: 54 ÷ 2 = 27 cm (10.6 in).
- Starting Chain Length: Add 10 cm (4 in) to the half chest circumference: 27 + 10 = 37 cm (14.6 in). This is the desired chain length.
Part 2: Front and Back Panels
1. Foundation Chain
- Chain a length equal to 37 cm (approximately 70 stitches, depending on yarn and hook size). The exact stitch count doesn’t matter as long as the chain matches the length.
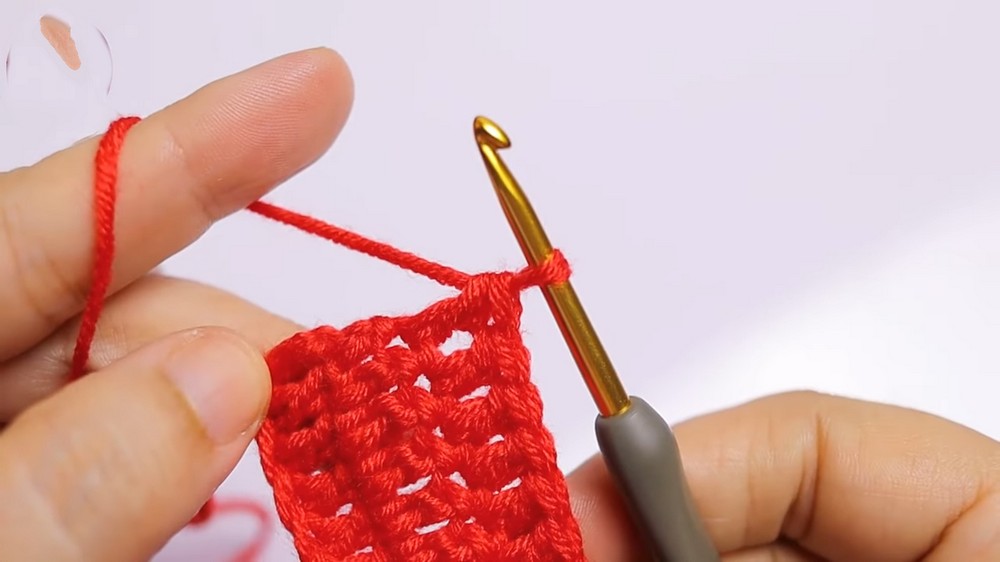
2. Row 1 – Double Crochet Foundation
- Ch 3 (counts as first dc), and begin working dc into the 4th chain from the hook.
- Work 1 dc into each chain across the row.
- At the end of the row, turn your work.
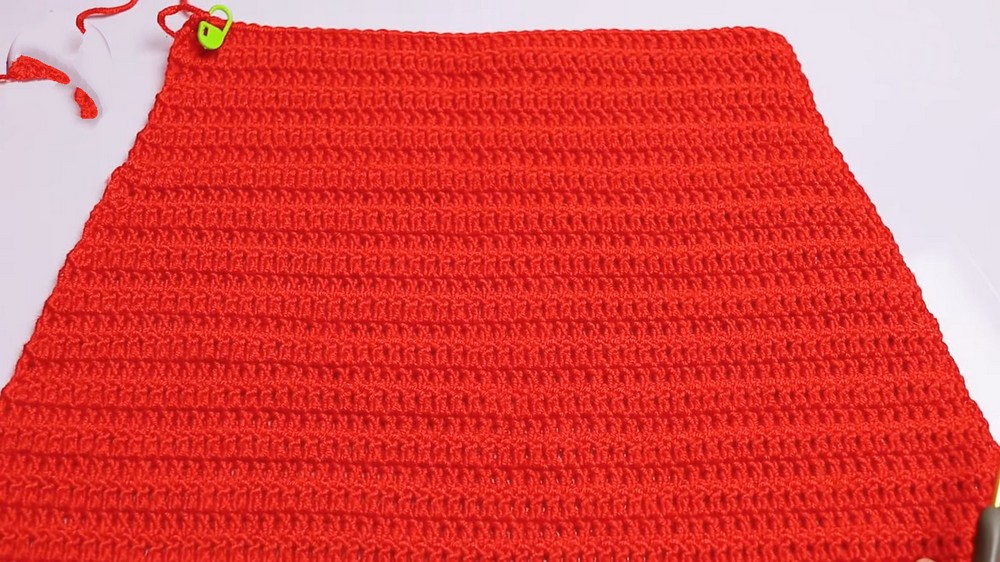
3. Rows 2–Decreasing
- Ch 1 (rise chain) at the beginning of each row.
- Skip the first stitch, and work dc into the second stitch and every subsequent stitch across.
- This decreases 1 stitch at the beginning of each row.
- Turn your work at the end of each row.
- Repeat this process for each row, decreasing only at the beginning of the row until the piece measures 27 cm wide (equivalent to the half chest circumference).
4. Optional Rows for Length
- Once the pyramid decreases are complete (width is 27 cm), stop decreasing and work even rows of dc if desired until the panel reaches your desired length.
5. Straps and Chest Portion
- Once the piece reaches the intended width and height:
- Begin working chest rows with decreases on both sides (1 decrease at the beginning and 1 at the end of each row).
- Continue decreasing and working rows until the piece measures roughly 8 cm (3.1 in) for the chest section above the main body.
- Note: If desired, you can adjust the “gathered” fit by subtracting 1–2 cm from the chest measurement for a snug fit.
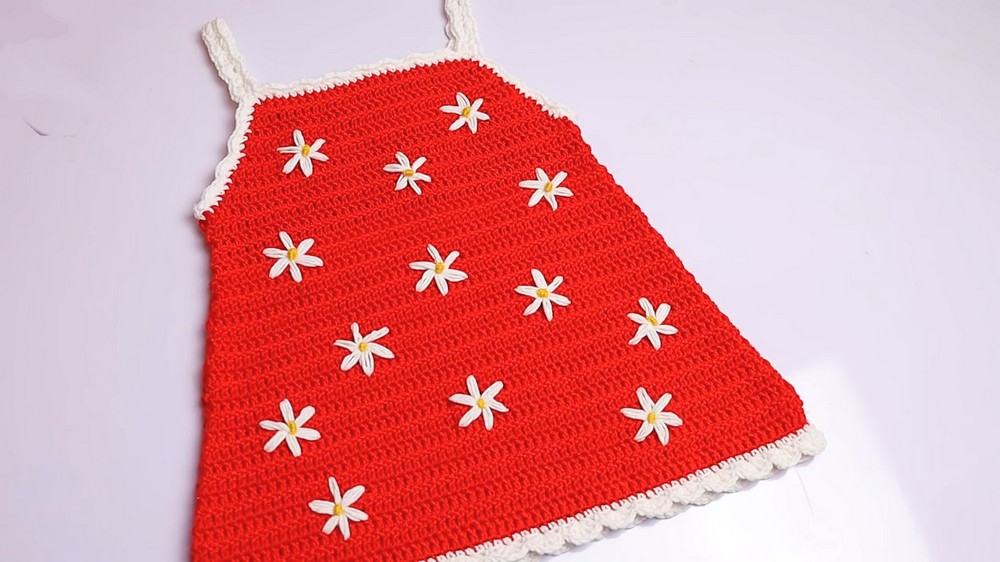
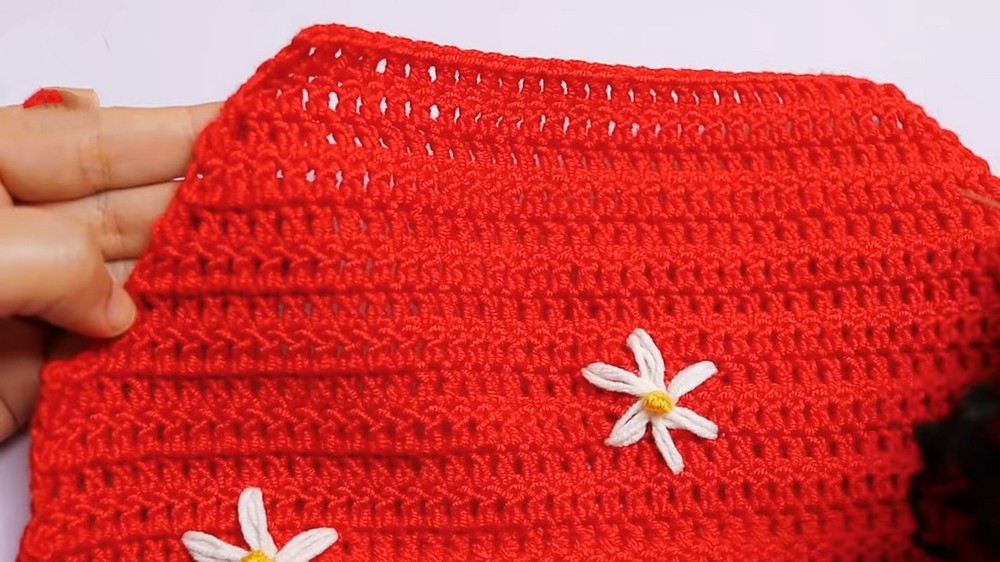
Part 3: Adding Roses (Optional)
1. Placement
- Use stitch markers to plan where the roses will go on your panel. Distribute them evenly across one panel.
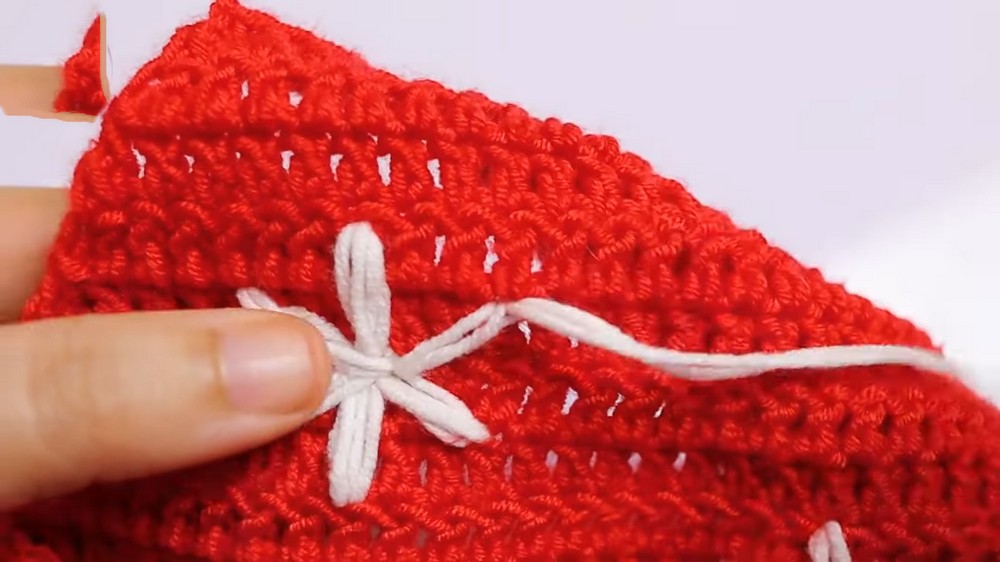
2. Rose Creation
- Attach yarn to the desired position. Secure the yarn by inserting the hook from the back of the work and pulling through.
- Make petal loops:
- Petals Above: Anchor the yarn into a loop two rows above the starting point. Yo, pull through, and return to the starting point.
- Repeat this for 4–5 petals arranged evenly like a flower.
- Petals Below: Repeat the same steps, anchoring petals into spaces two rows below the starting point.
- Secure the rose by weaving in the ends and forming the rose’s center through simple wrapping and securing techniques.
Part 4: Joining the Panels
- Place the two panels (front and back) together.
- Sew the side seams from under the armhole down to the bottom of the piece using a sl st or single crochet join.
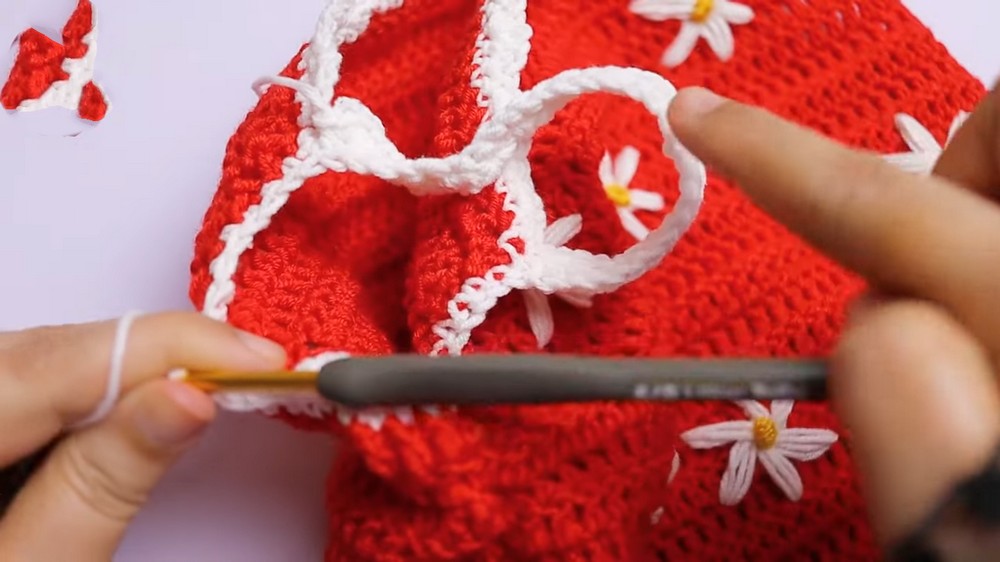
Part 5: Neckline, Armhole, and Straps Finishing
1. Neckline
- Use white yarn to add a decorative edge.
- Attach yarn to any stitch in the neckline. Work single crochet evenly across the edge.
- Skip 1 st, and work 5 sc in the next st to create a decorative shell pattern.
- Repeat across the neckline.
2. Armhole
- Attach white yarn to the armhole and work the same edging pattern as for the neckline.
- Create an even pattern around the armhole, skipping 1 st for each shell.
3. Straps
- Measure and crochet an appropriate strap length (7–8 cm for this size).
- Attach straps securely to the back panel using sc to anchor.
Conclusion
This pyramid-shaped crochet top with custom rose motifs is a creative and rewarding project. Its adaptable design allows for modifications to size and decoration, making it an excellent choice for children and a versatile pattern for future projects.
Pattern Corrections
- Make sure the initial chain length matches the measurement rather than a specific stitch count, as tension can vary with yarn or hook.
- Always measure the chest and adapt row counts based on the child’s size.
Tips
- Customization: Roses can be used as embellishments or replaced with other child-friendly decorations.
- Neckline Fit: Double-check strap lengths and neckline measurements to ensure the top fits comfortably around the chest and shoulders.
- Secure Finishing: Use a tapestry needle to weave in ends securely, especially when working with multiple color changes.
Leave a Reply