
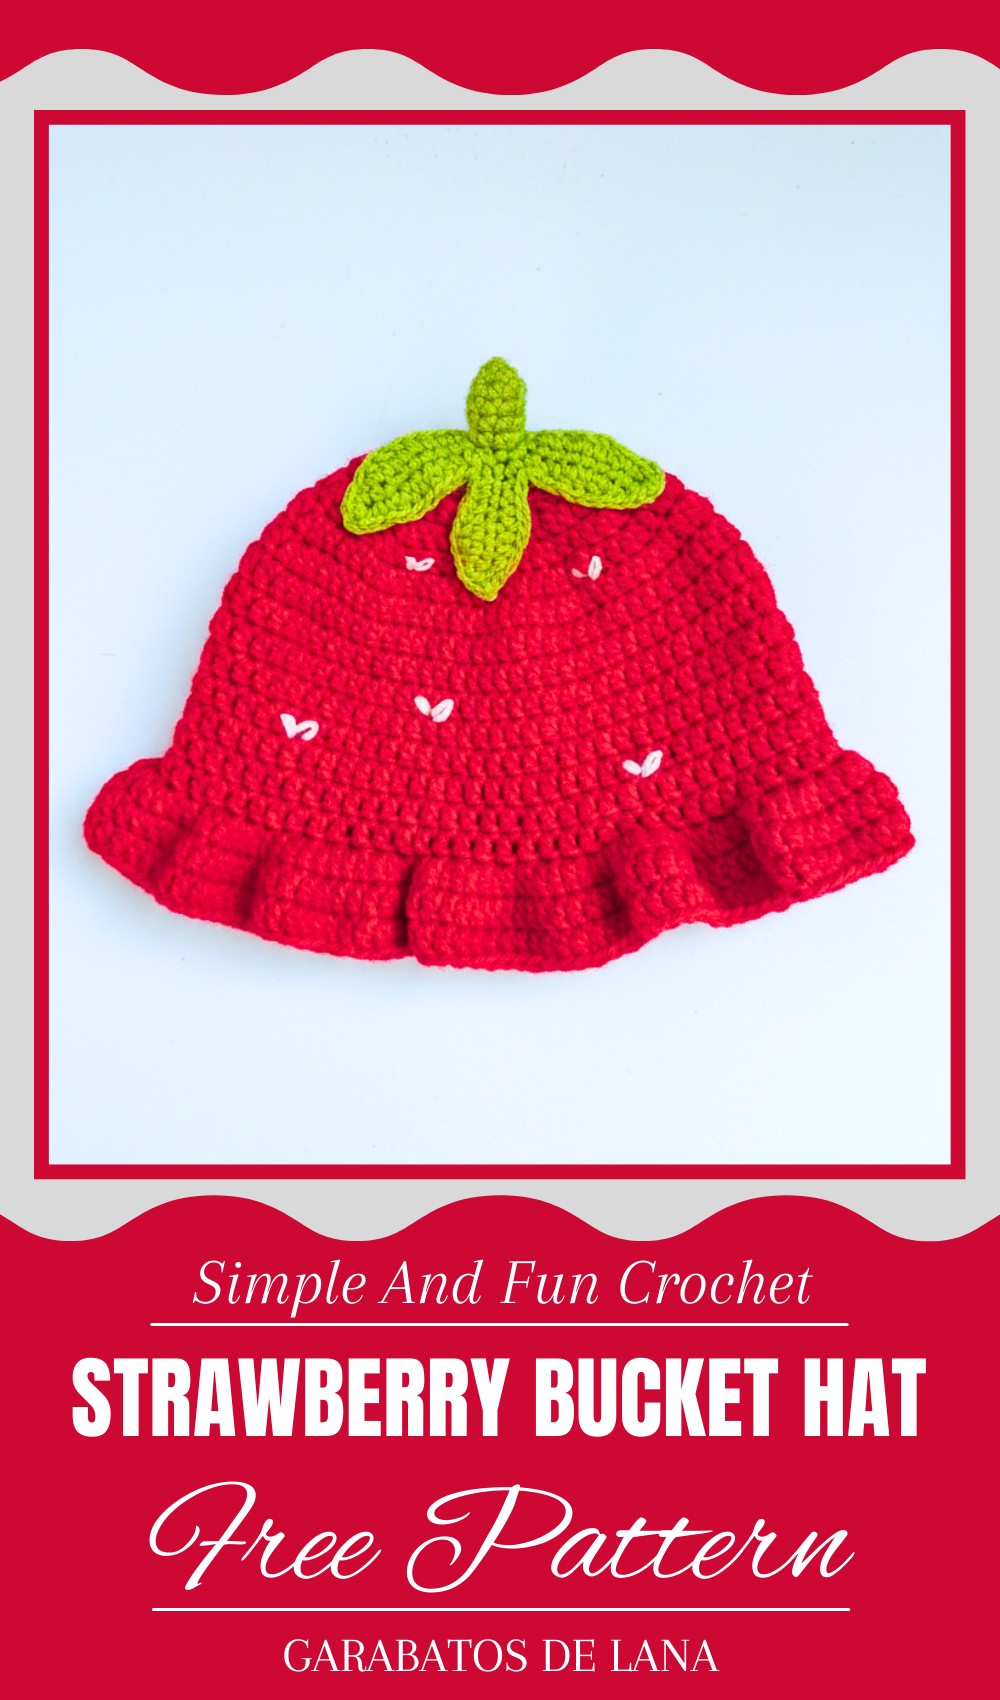
Whip up a playful Crochet Strawberry Bucket Hat Pattern that’s cute, beginner-friendly, and perfect for sunny days, gifts, and fun handmade style.
Get ready to stand out and turn heads with one of the cutest hat designs ever created! This adorable pattern gives you a fun and playful way to add a pop of color and charm to your wardrobe.
Brighten Your Look with a Sweet Strawberry Design
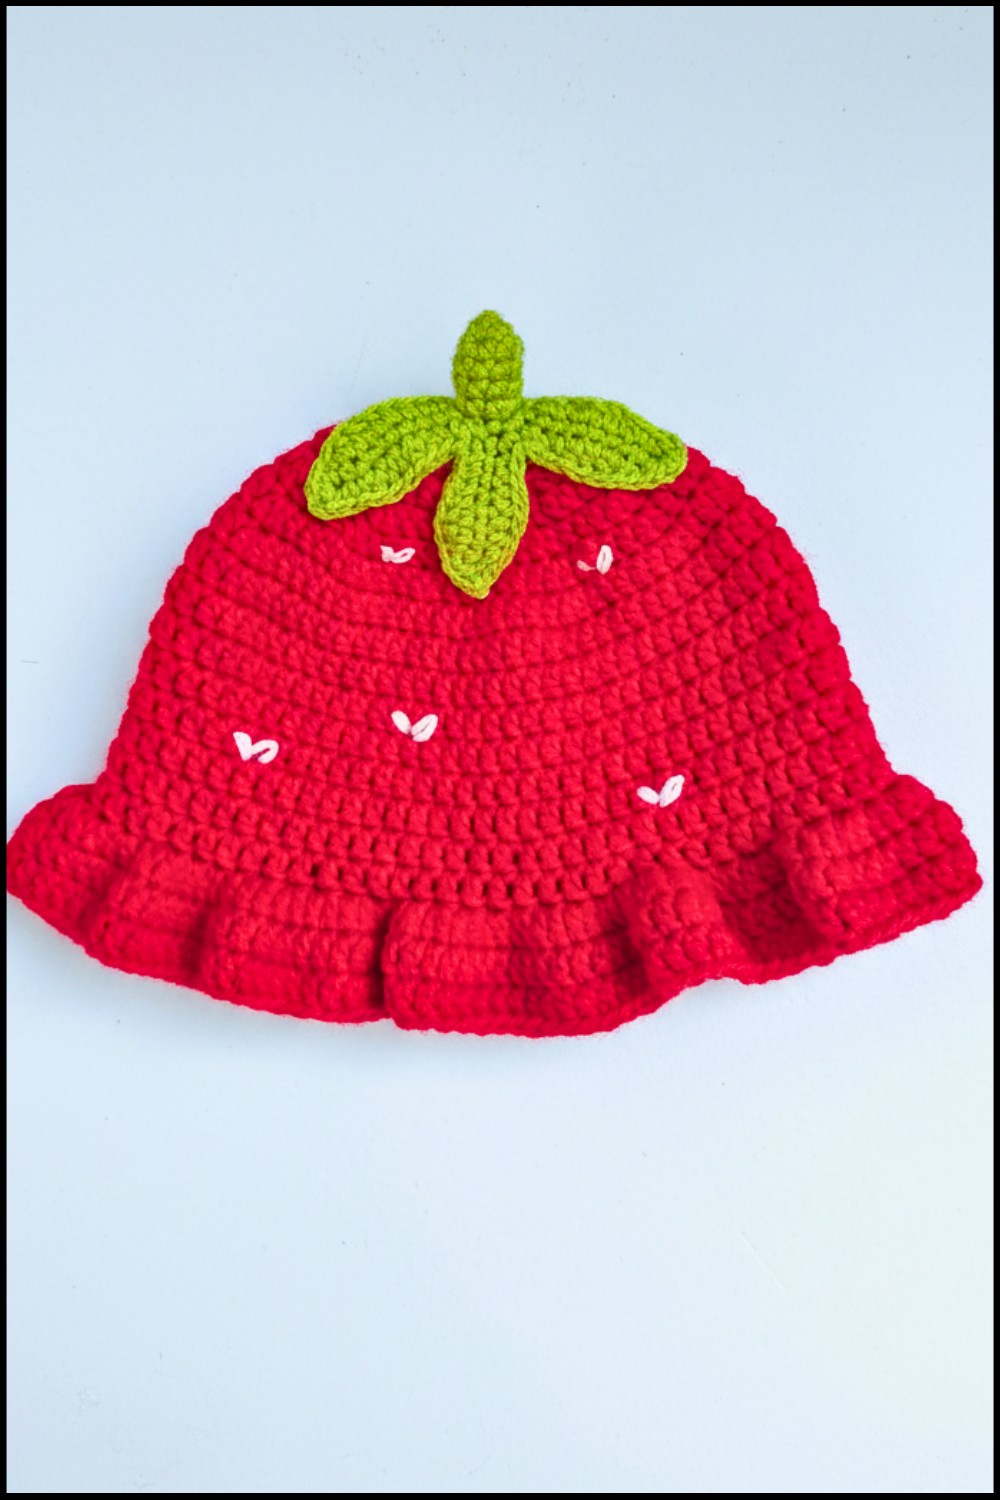
The crochet strawberry bucket hat stands out with its bright red body, dotted white “seeds,” and a leafy green brim, perfectly mimicking a fresh strawberry. It’s an eye-catching and fun accessory, great for sunny days when you need both style and protection.
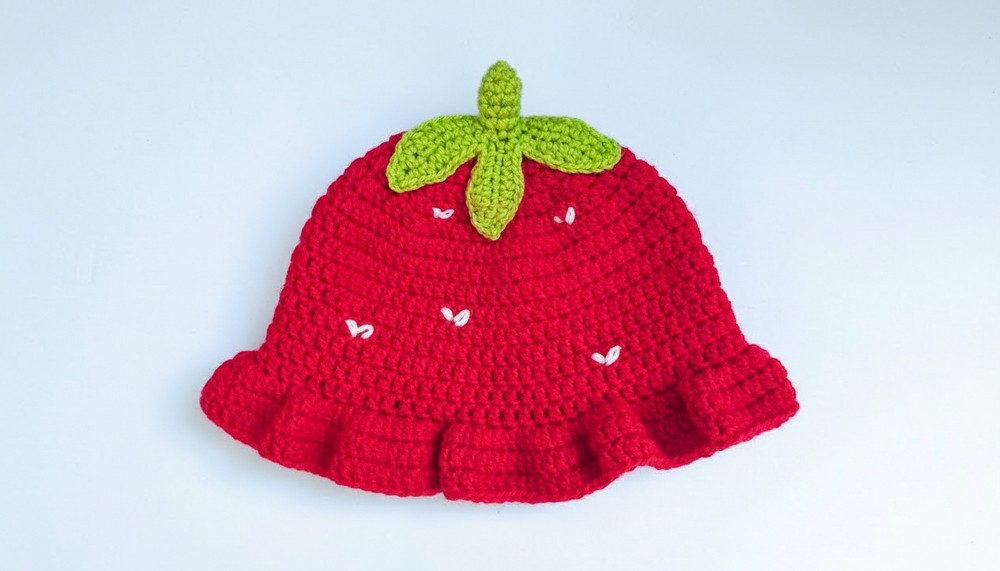
Whether you’re heading to a picnic, beach outing, or festival, this hat keeps you cool and comfortable while showcasing your creative side. It’s more than just a fashion piece—it’s a unique, handmade touch that spreads joy. Whether you make it for yourself or as a thoughtful gift, this delightful pattern is sure to bring smiles and a touch of nature-inspired charm to any outfit.
Crochet Strawberry Bucket Hat Pattern
Materials Needed
- Yarn:
- Pink yarn (~100g or less; any DK or worsted weight).
- Green yarn (~20g) for leaves.
- White yarn (~10g) for optional embroidery.
- Hook Size: 4mm (US size G/6) for the hat body; 3.5mm for leaves.
- Additional Items: Scissors, yarn needle for sewing, stitch marker (optional).
Skill Level
Intermediate to Advanced – Knowledge of stitches such as magic ring (MR), double crochet (DC), single crochet (SC), working in spirals, and basic embroidery techniques is required.
Key Abbreviations
| Abbreviation | Meaning |
|---|---|
| MR | Magic Ring |
| SC | Single Crochet |
| DC | Double Crochet |
| INC | Increase (2 stitches in one) |
| FLO | Front Loop Only |
| slst | Slip Stitch |
| ch | Chain |
Special Notes
- This pattern uses US crochet terminology.
- Working in spirals ensures a seamless hat without visible joins.
- Adjust circumference and height based on the intended recipient’s size.
- Subtract 2–3 cm from the recommended total height for a proper bucket hat flare.
Step-by-Step Guide
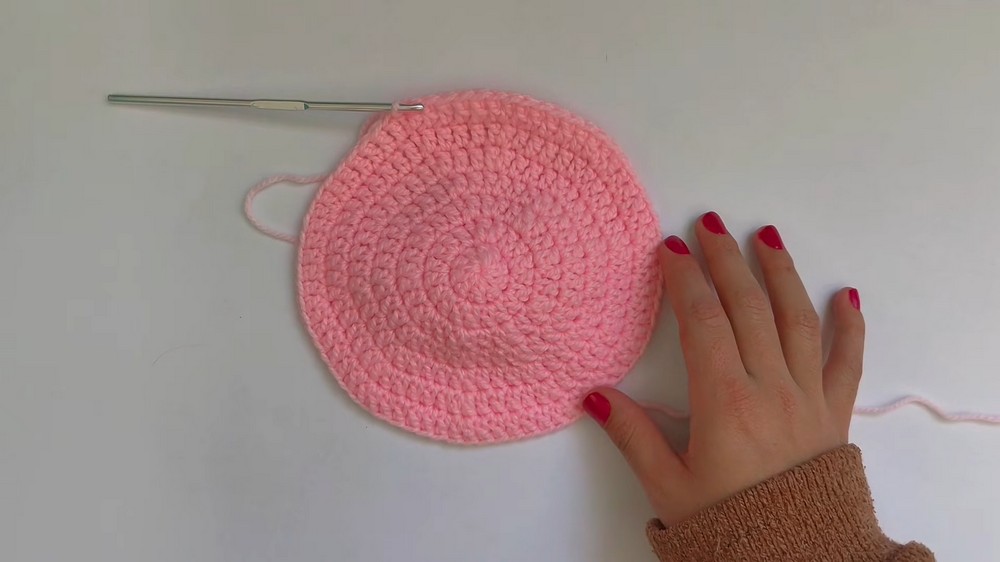
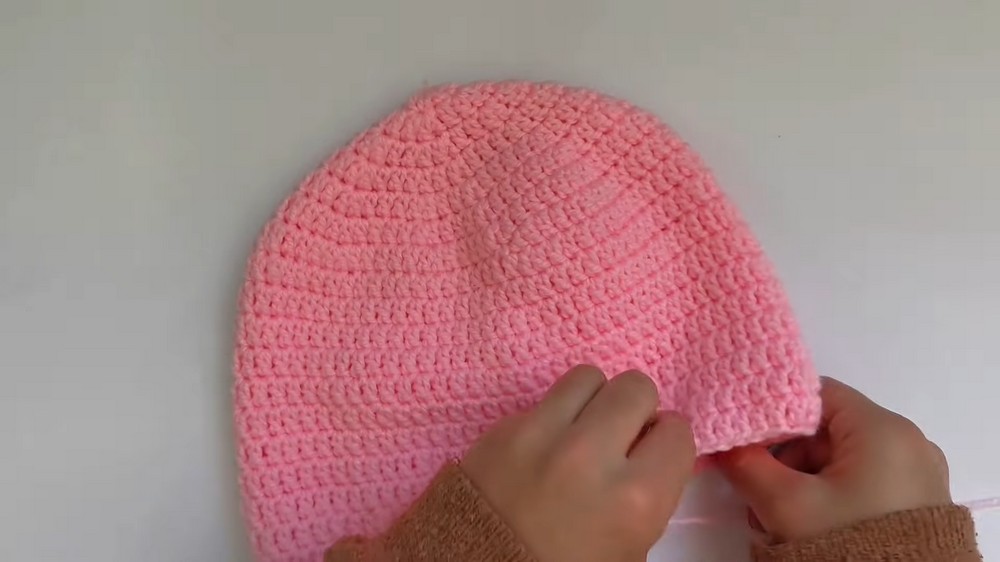
Hat Base
- Row 1 (MR): Chain 2 (counts as 1 DC), work 10 DC into the MR. Tighten ring and join with a slst. (10 stitches)
- Row 2 (Increase): Chain 2, inc in each st around. Join with slst. (20 stitches)
- Row 3: Chain 2, (DC, INC) repeat around. Join with slst. (30 stitches)
- Rows 4–7: Continue increasing using the formula (Number of DC increases by 1 per row, followed by INC). Example: Row 4 = (2 DC, INC); Row 5 = (3 DC, INC), and so on.
Stop increasing when the circumference is ~51 cm for adults or smaller for children/babies.
Body of the Hat
- Work Spirals: Skip joining at the end of rounds. Crochet DC around continuously until the hat reaches a height of 18–19 cm for adults.
- Optional Measurement: Test the length using a measuring tape and adjust as needed by adding or reducing rows.
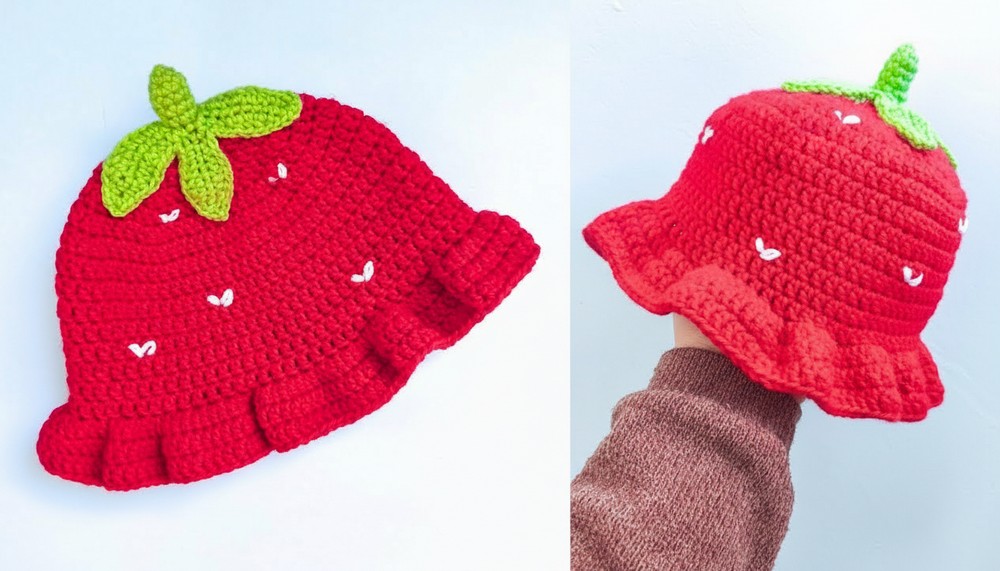
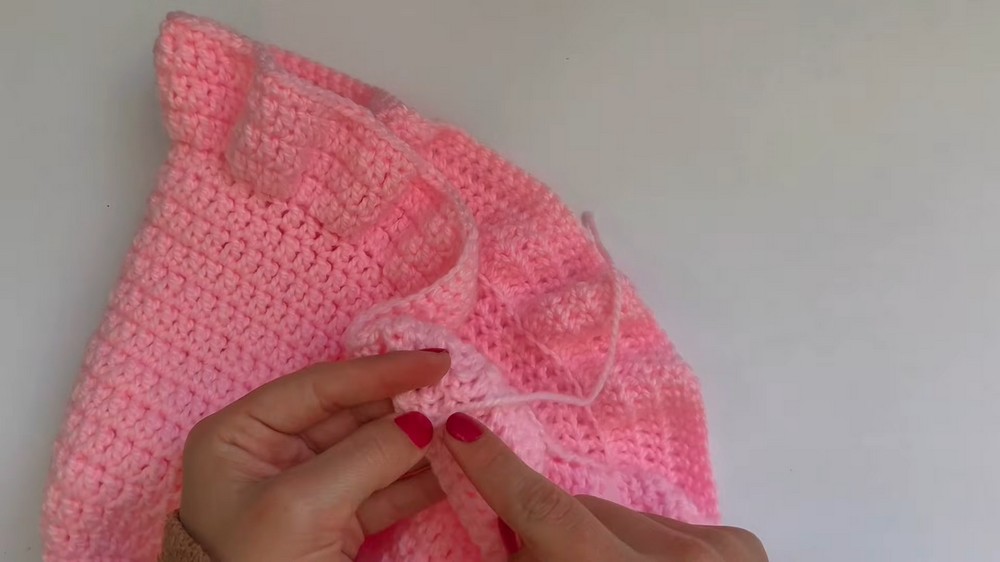
Bobble Brim
- Row 1 (FLO): Chain 2. Work DC across, inc every other st. (e.g., DC, DC + INC, repeat).
- Rows 2–3: Chain 2, work regular DC without increases in BLO or both loops for a clean finish.
Leaf Stem (Green Yarn)
- Stem: Create MR and SC 5 stitches into the loop. Tighten ring and work INC (2 SC per st) in next round. (10 SC)
- Straight Rounds: SC evenly for ~3 cm or until your preferred length. Fasten off.
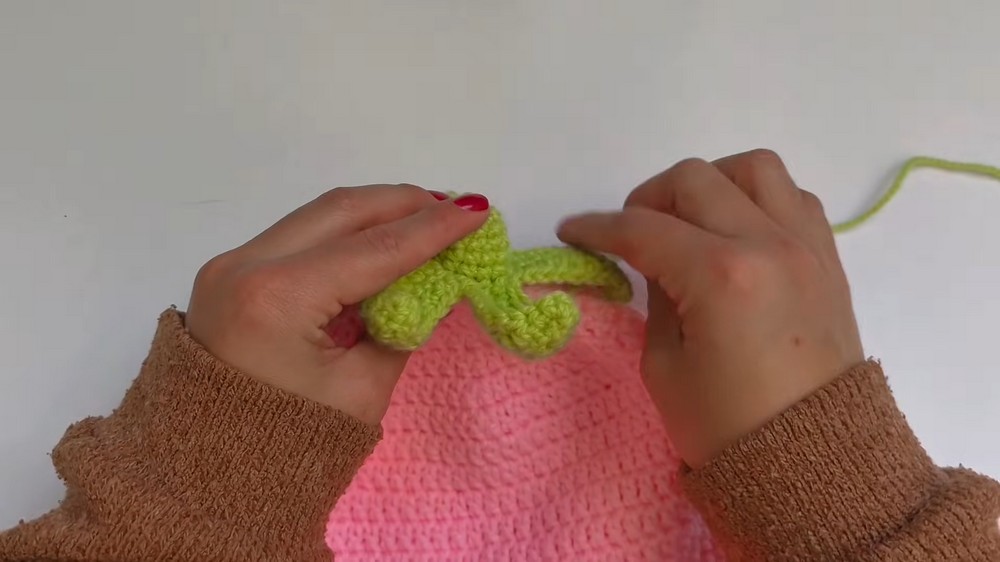
Leaves
- Begin Twigs: Attach green yarn at the base of the stem.
- Chain 9. SC back across the chain, then slst back to the origin. Repeat for 4–5 “leaf twigs.”
- Leaf Shaping: For each twig, work SC, HDC, DC, 3 SC (tip) DC, HDC, SC back along the twig. Repeat for all twigs evenly.
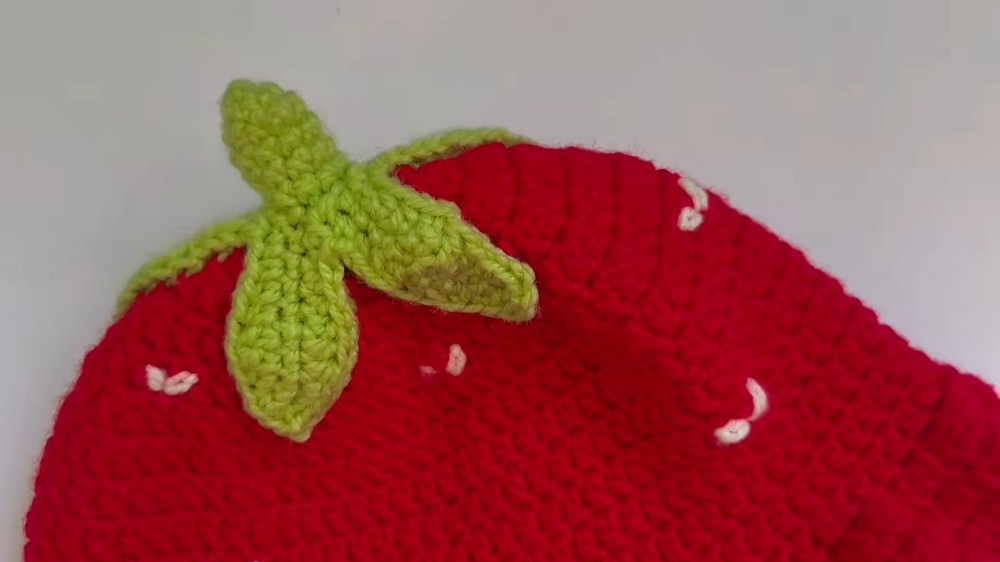
Heart Embroidery (Optional)
- Use white yarn and needle. Place small “E-shaped” stitches in diagonal rows along the pink hat body. Finish each heart symmetrically and tighten ends securely.
Conclusion
Congratulations! Your Strawberry Bucket Hat is complete. This versatile and unique creation is ideal for gifting or wearing as an accessory to brighten your outfit.
Leave a Reply