
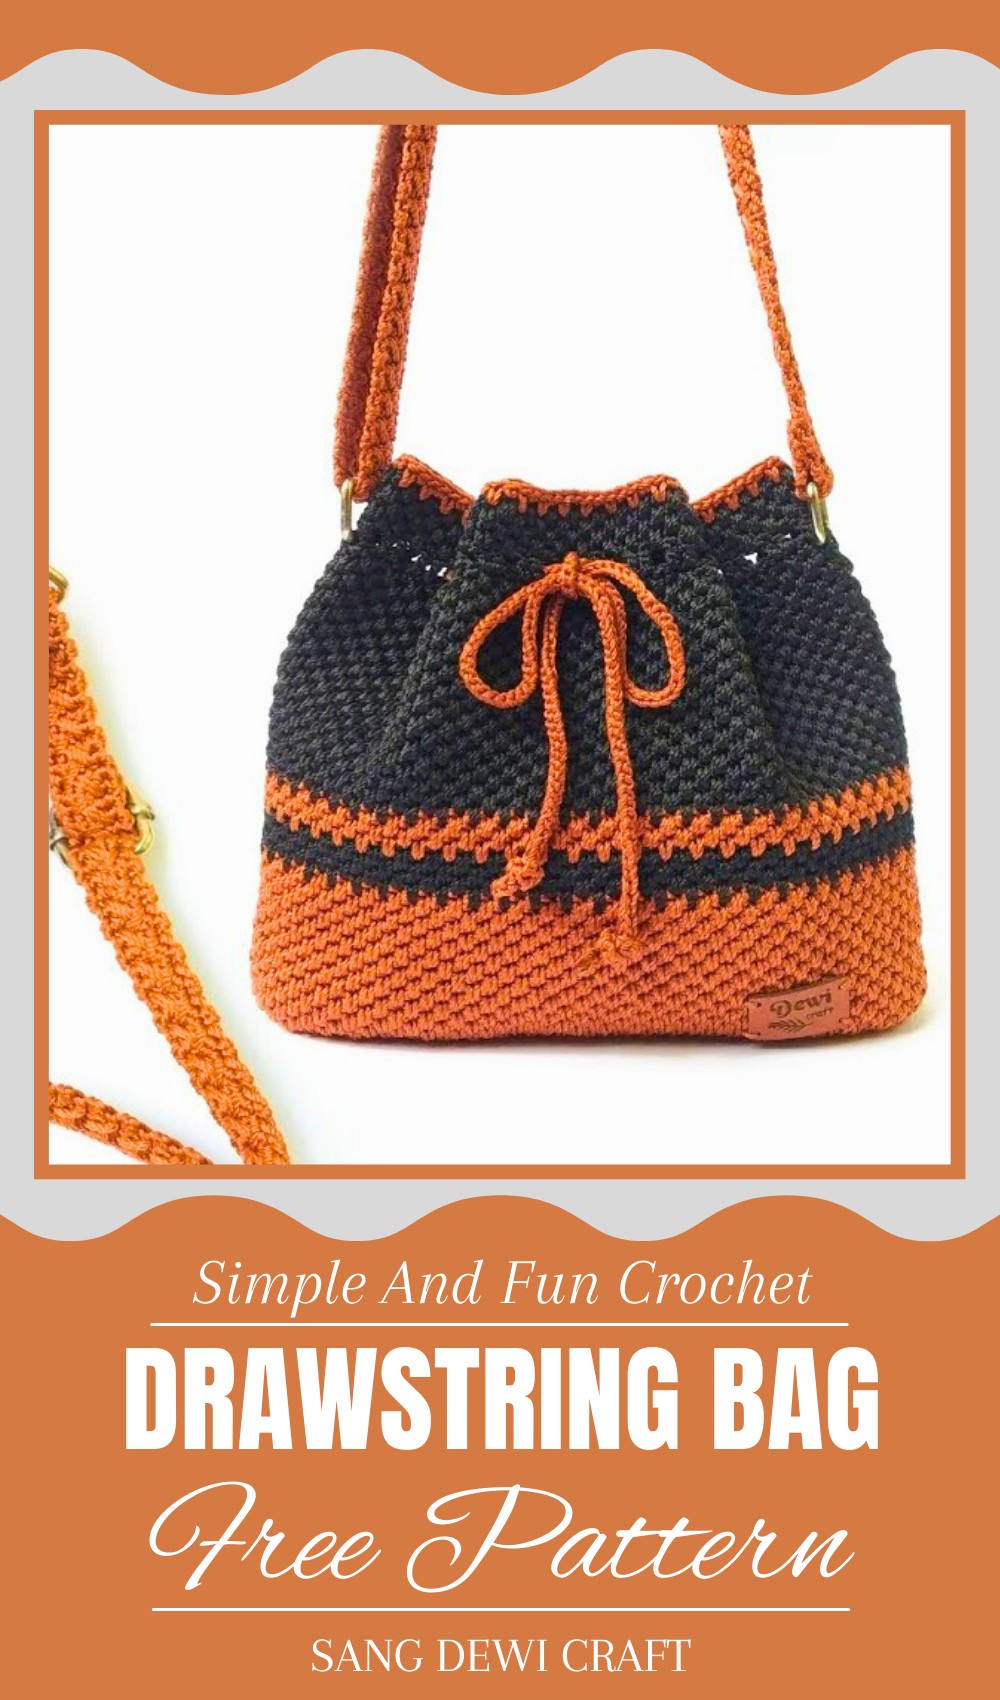
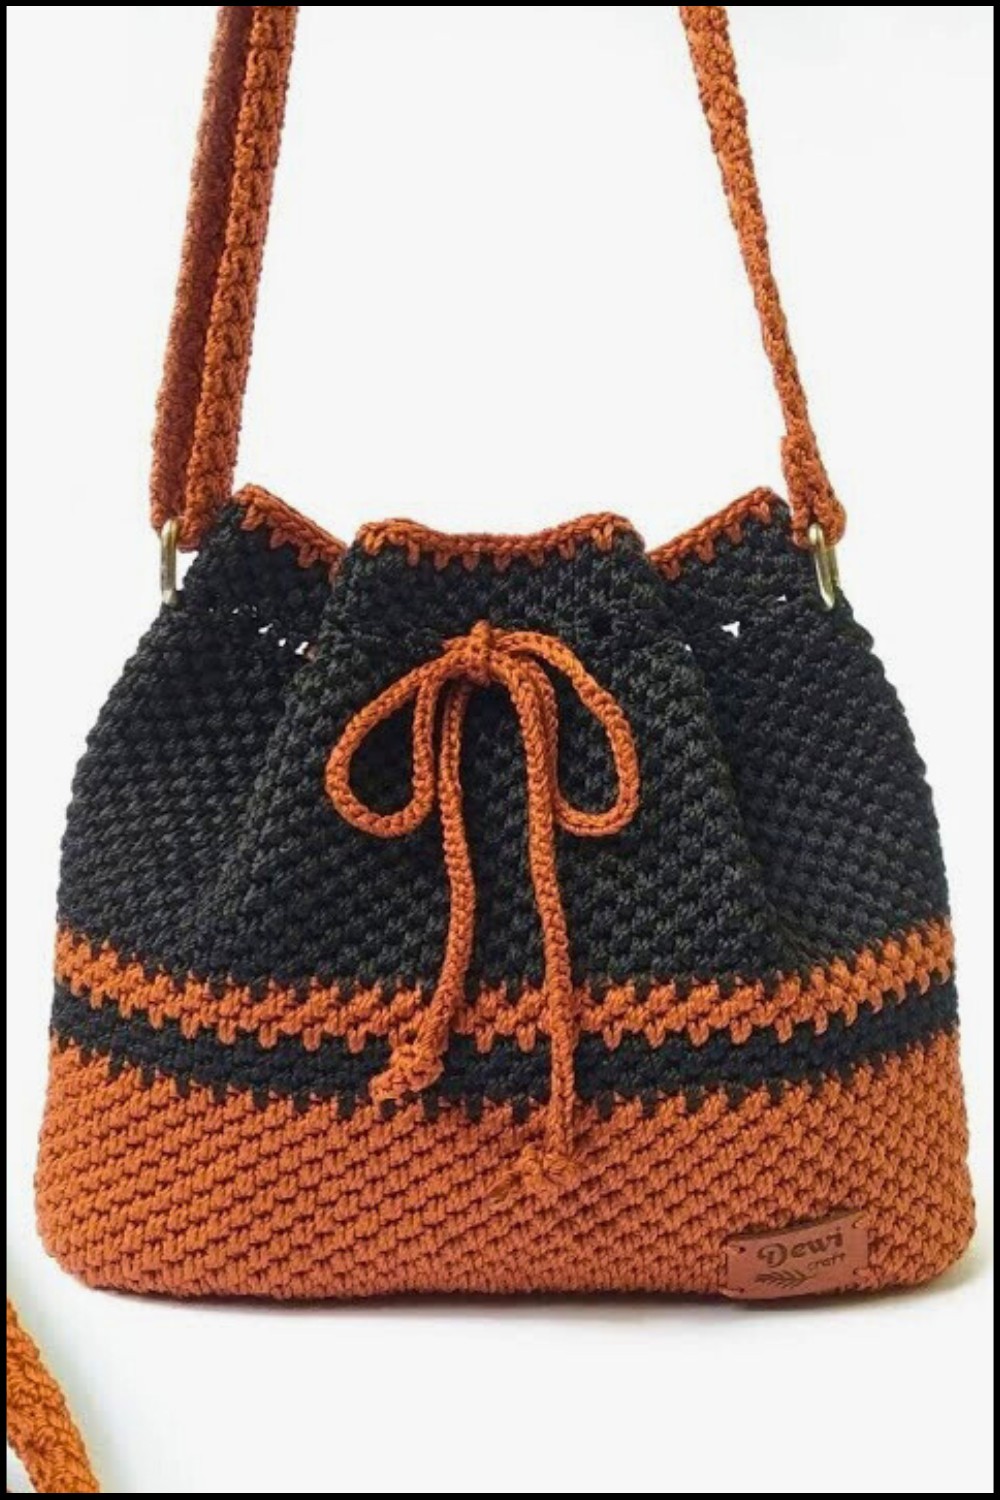
Stitch a cute Crochet Drawstring Bag Pattern that’s beginner-friendly, practical, and fun, perfect for quick handmade gifts and stylish everyday use.
Why is it important?
There’s something so charming about a handmade bag that’s both beautiful and practical. A crochet drawstring bag is a perfect example of this! With its soft texture and intricate designs, it stands out as a stylish accessory while being incredibly useful for everyday needs. The drawstring feature ensures your belongings stay secure, making it great for carrying small items like keys, makeup, or snacks.
These bags are lightweight and easy to carry, which makes them perfect for quick errands, gifting, or even traveling. Their timeless and versatile design means they can complement any outfit, adding a touch of warmth and creativity to your day. Whether you prefer bright, bold colors or soft, neutral tones, a crochet drawstring bag can be personalized to match your unique style. A perfect mix of beauty and functionality, it’s a must-try for anyone who values handmade charm.
Trendy Crochet Drawstring Bag Pattern You Need Now
Pattern Details
- Project Level: Intermediate
- Special Features:
- Base with alternated rounds for extra texture.
- Alternating motifs with color changes for visual appeal.
- Drawstring closure and optional buckle installation.
- Recommended Materials:
- Nylon or sturdy thread (D27, 2mm, 3ply).
- Crochet hook size #4.
- Stitch markers, drawstring accessories, and buckles.
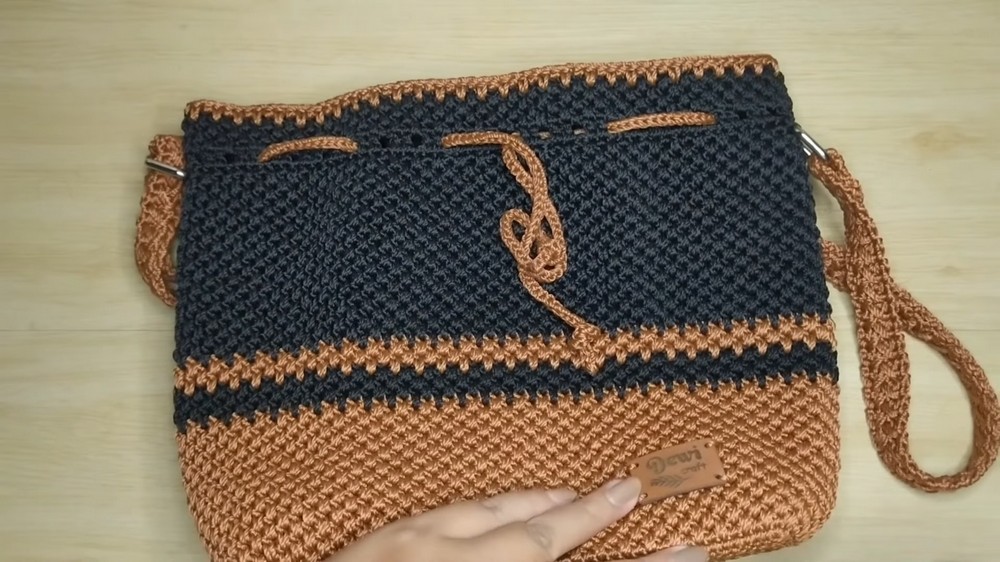
- Finished Dimensions: Length = 29 cm, Height = 21 cm with 250g weight.
- Uses: Drawstring bags are excellent for casual outings, gym use, or as a gift accessory.
Step-by-Step Instructions
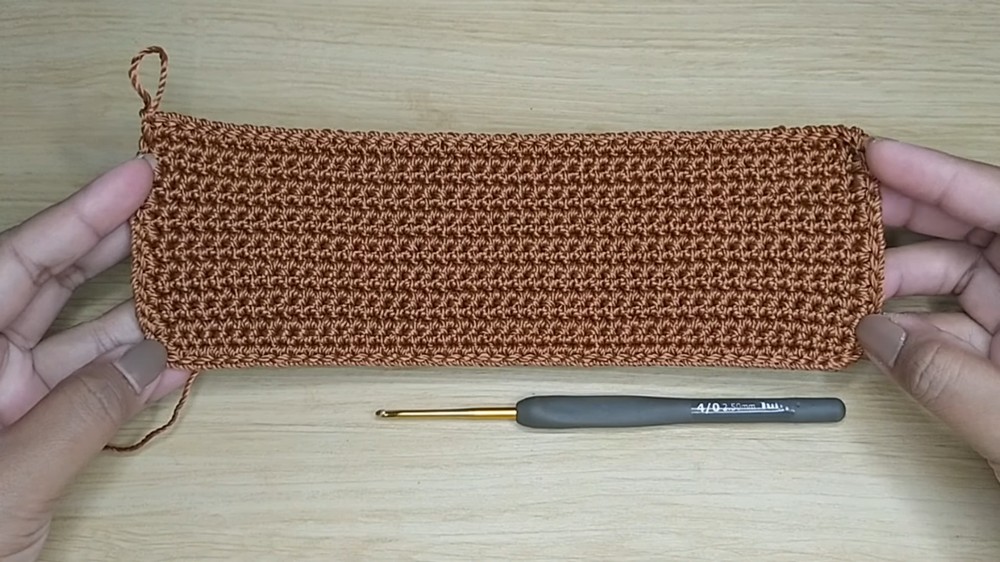
Step 1: Create the Square Base
- Foundation Chains: Start with 45 chains + 1 extra chain for turning.
- Work Rows: Work 14 rows of single crochet (sc) back-and-forth.
- Square Dimensions: After 14 rows, the base should measure approximately:
- Length = 21 cm
- Width = 7 cm
- Single Crochet Edge:
- Work single crochet (sc) evenly around the base to create a border.
- Add 2 single crochets in each corner to ensure the corners are smooth.
- Check Multiples: The stitch count must be a multiple of 2 for the motif pattern to work evenly later. Use stitch markers to keep count if necessary.
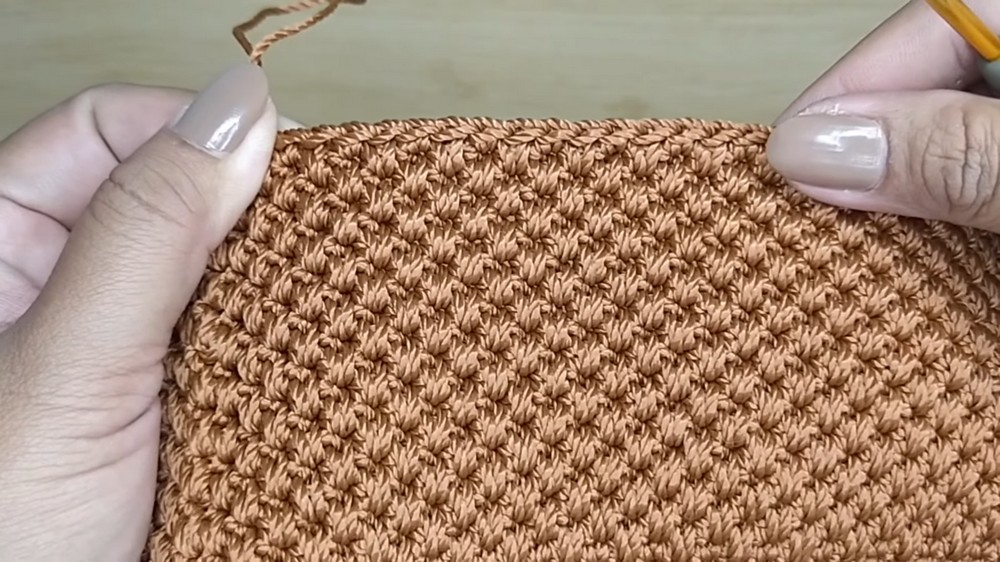
Step 2: Begin the Motif Body
- Round 1:
- Chain 1 and work 1 single crochet in each hole around the base.
- Slip stitch into the starting chain to complete the round.
- Round 2 (Pattern Formation):
Pattern begins alternating single crochet and deeper placed single crochet:- Start with chain 1. Work:
- 1 single crochet in the first hole (regular placement).
- 1 single crochet in the “bottom hole” (insert your hook in the lower stitch of the prior round for a dropped stitch effect).
- Continue alternating these two single crochet placements for the entire round.
- Join with a slip stitch at the end of the round.
- Start with chain 1. Work:
- Rounds 3 and Beyond:
- Repeat the motif from Round 2, alternating regular and bottom single crochets, ensuring a textured pattern is formed.
- Continue this motif until the desired height is achieved.
- Example: 19 rounds were created in this tutorial.
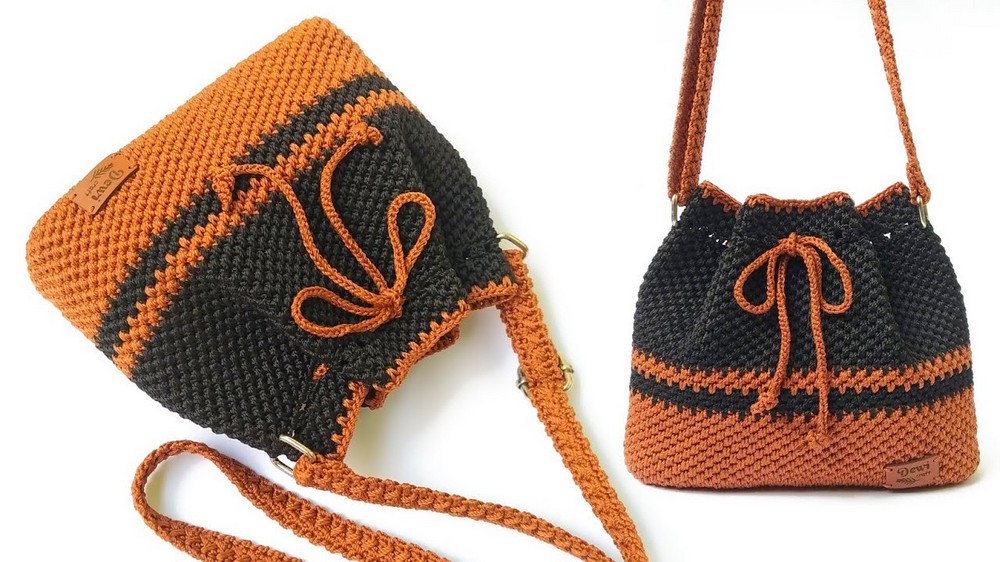
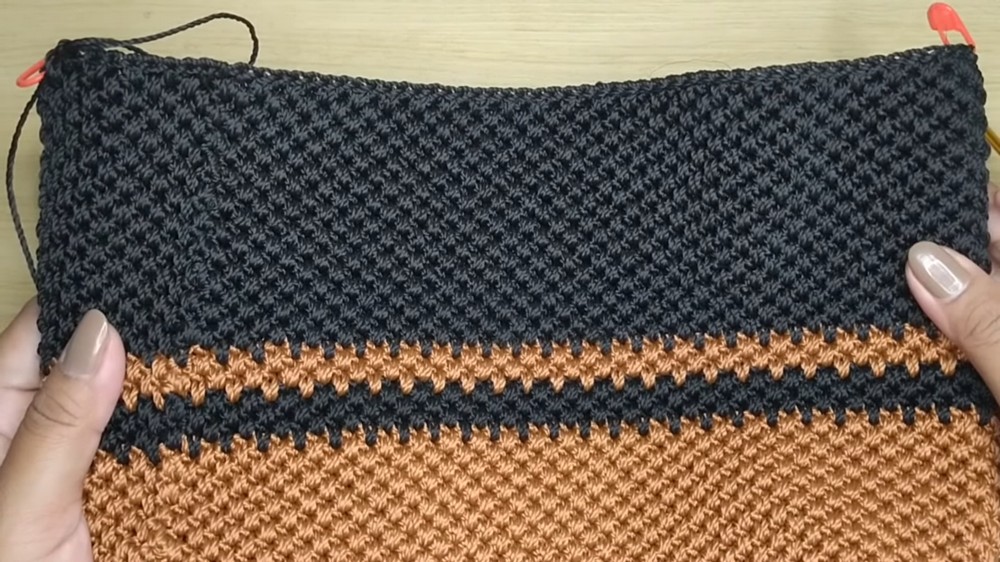
Step 3: Adding Color Changes
- Introduce a new color by slip stitching to join the new yarn.
- Work the same motif pattern (regular and bottom single crochets) over multiple rounds:
- Example: 4 rounds were made in one color, then switched back after 3 rounds, followed by 21 rounds of another.
- Alternate colors as desired to give the bag added visual texture.

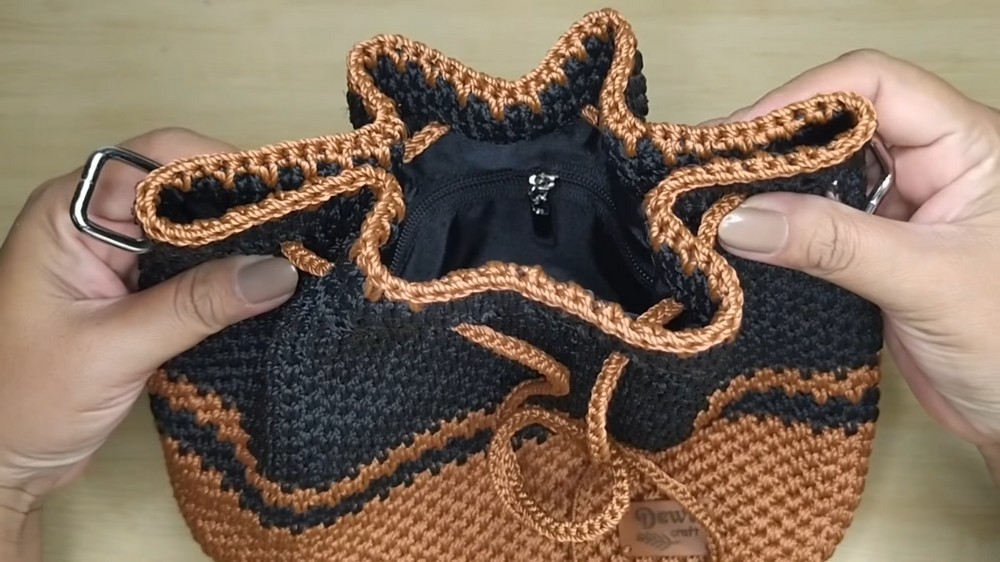
Step 4: Attach Rings for the Drawstring
- Mark the Side Points: Use markers to divide the bag into equal halves on both sides.
- Place the marker 4 stitches apart on each side for the drawstring rings.
- Attach Box Rings:
- At the marker, attach box rings (1.5 cm size) using single crochet stitches to secure them in place.
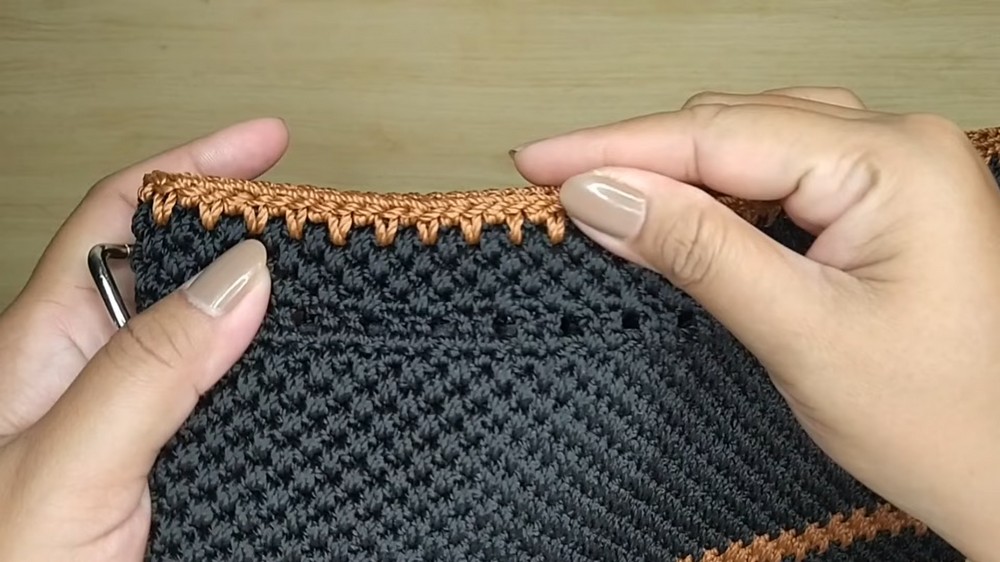
Step 5: Finishing the Top Edge
- Double Crochet Round with Skipped Chains:
- Chain 3 (counts as the first double crochet).
- Pattern repeat: Skip 1 stitch, and make 2 double crochets in the next stitch.
- Continue this pattern for the entire round, creating 1 chain between each cluster.
- Slip stitch to complete the round.
- Single Crochet Round: Make 1 single crochet in each stitch to give the top edges a firm, polished finish.
- Continue Alternating Rounds:
- Repeat the alternating rounds of single crochet and double crochet patterns to achieve the desired top band design.
- Example: 5 rounds of this pattern were created in one color, then switched for the finishing touch.
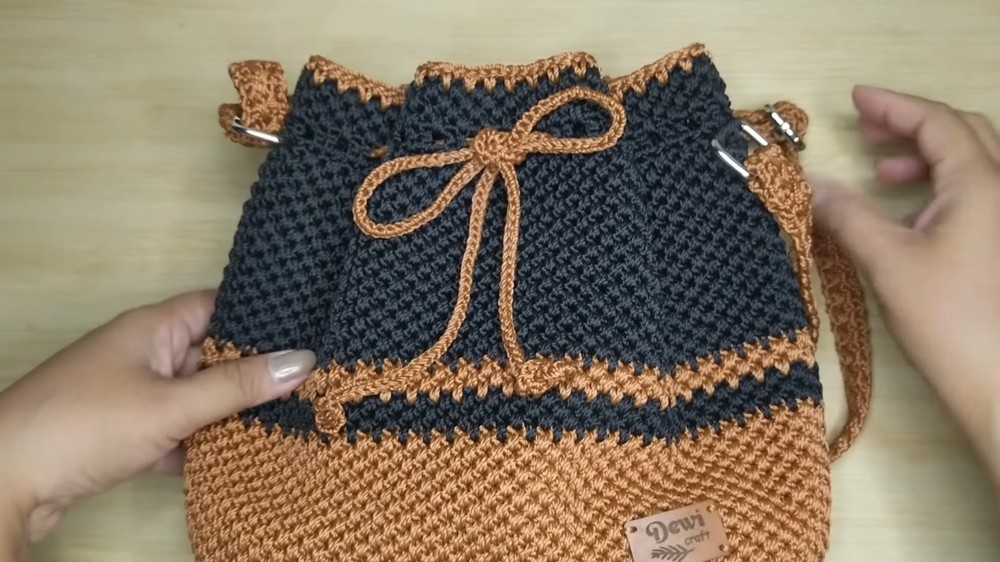
Step 6: Create the Drawstring
- Make the Drawstring:
- Start with 5 chains and work a straight crochet pattern for a length of 120 cm (or your desired length).
- Create Pull Strings:
- Make a shorter drawstring of about 80 cm long using a simpler chain stitch design.
- If you need help, video tutorials for the drawstring and rope pattern are mentioned in the tutorial, available in the description.
Step 7: Final Touches
- Attach Drawstring: Weave the drawstring through the top row (double crochet round) and box rings for proper closure.
- Optional Buckle Installation: Install a 2 cm-size buckle to secure the bag, especially for creating adjustable handles.
- Trim edges and threads to finish the bag cleanly.
Tutor Suggestions
- Yarn Substitution: While nylon propylene is sturdy and durable, you can substitute it with other threads or yarns for different textures or styles. Cotton yarns can also work well for a softer look.
- Custom Sizes: Adjust chains, rows, and height to create larger or smaller bags. Be sure to maintain the motif multiples (multiples of 2) for design alignment.
- Durability: Use tough yarns for practicality, especially if you’ll carry heavy items in the bag.
Uses
This crochet drawstring bag is:
- Great for daily use or as a market tote.
- A versatile accessory to carry essentials.
- A thoughtful handmade gift.
Pro Tip
To ensure the height and texture are consistent, use stitch markers to keep track of every starting round and count your patterns regularly. This will help achieve symmetry and avoid accidental stitch increases or decreases.
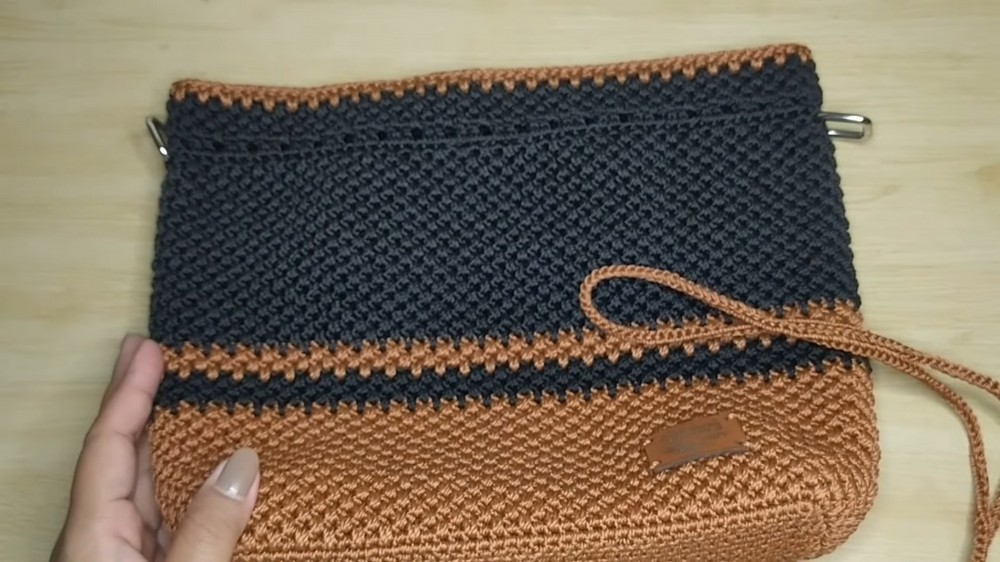
Conclusion
With its alternating motifs, color changes, and a drawstring feature for closing, this crochet drawstring bag is the perfect project for adding variety to your crochet skills. The finished result is both visually appealing and practical for everyday use. Follow the steps, get creative with colors, and create a unique accessory that matches your style!
Leave a Reply