
Brighten up your bookshelf with unique crochet book cover that add personality, protect your favorite reads, and bring a handmade touch to everyday items.

Colorful Crochet Book Covers That Spark Joy Instantly
Reaching for your favorite book and finding it wrapped in a soft, beautiful cover made by your own hands! This crochet pattern allows you to create book covers that aren’t just protective but charming and unique. These covers add a wonderful touch of personality to any book, whether for your diary, notebook, or even a gift. Made with carefully chosen yarn, the designs can be elegant or playful, showcasing lovely textures, vibrant colors, or intricate patterns.
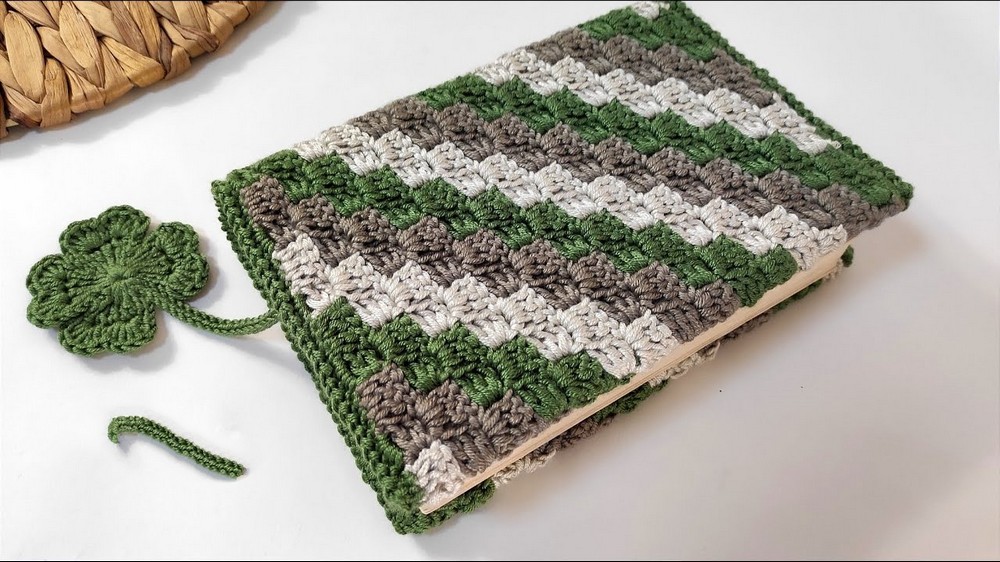
The beauty of a crochet book cover lies in its ability to transform a plain book into something truly special, bringing warmth and character to your library or school supplies. Beyond decoration, these covers protect books from wear and tear, ensuring they last longer. With a personal handmade touch, you’ll enjoy using, gifting, or displaying your books more than ever. Easy to make, they are perfect for all kinds of readers.
Quran Cover Crochet Pattern
Special Features:
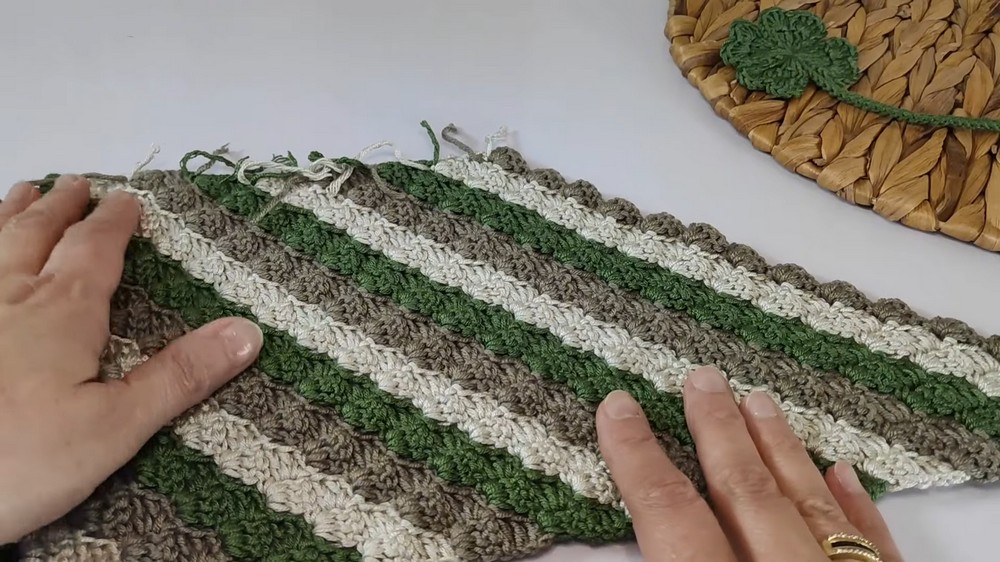
- The pattern combines double crochets, slip stitches, and three-column repeats, giving the cover a neat and uniform texture.
- You can incorporate multiple colors for added visual appeal.
- Includes instructions for a bookmark that complements the cover (linked separately).
Difficulty Level:
Beginner to Intermediate. The tutorial is designed for simplicity and uses straightforward stitches, making it accessible even for beginners with basic crochet knowledge.
Materials Needed:
- Yarn: Medium-thickness yarn (Himalaya yarn used by the tutor). Adjust based on availability and desired texture.
- Hook Size: 3.5 mm crochet hook (or any size appropriate for your yarn).
- Scissors.
- Tapestry needle to sew in ends.
- Measuring tape (to ensure correct dimensions).
Pattern Steps:
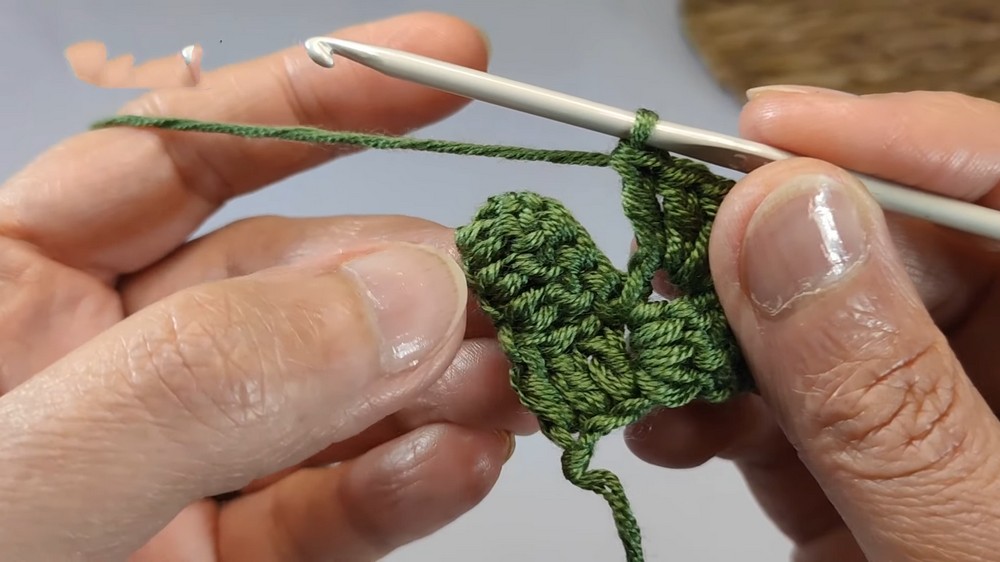
1. Starting the Base (Foundation Row):
- Begin with color 1 (your first choice) and make a slip knot on the hook.
- Chain 6.
- Counted as your starting chain.
- 1, 2, 3, 4, 5, 6.
- From the hook, skip the first three chains. In the 4th chain, create a double crochet (dc) stitch.
- Double crochet into the 5th and 6th chains.
- You now have 3 double crochet stitches in this first row.
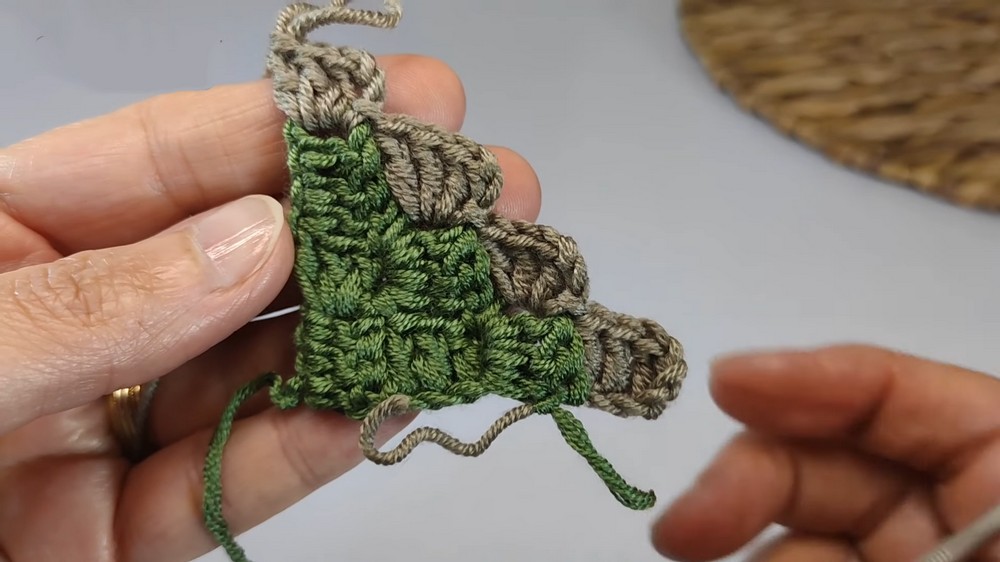
2. Forming the Rows (Increases):
- Chain 6 at the start of the next row. Then, follow these steps:
- Double crochet into the 4th, 5th, and 6th chains from the hook.
- Slip stitch into the space between the last set of 3 stitches in the row below.
- Chain 3.
- In the same space, create 3 double crochets.
- Repeat this pattern, increasing the length and width:
- In Row 1, you started with 1 set of 3 double crochets (forming 1 square).
- In Row 2, you will have 2 squares formed by 2 sets of 3 double crochets.
- By Row 3, you’ll have 3 squares.
- Continue increasing until you reach your desired width and length. (Suggested width: approximately 43 cm).
3. Changing Colors:
- Change colors after finishing the last stitch of the row by pulling your new color through the loop.
- Secure the new color tightly by knotting, then trim the previous yarn.
- Continue the square grid pattern as before (6 chains + 3 double crochets + slip stitches) using the new color.
4. Adjusting and Stopping Increases (Forming the Border):
- Once you reach the desired width and length, stop increasing the sides.
- To stop increasing, do the following:
- Turn your work, but no longer work 6 chains at the start.
- Instead, slip stitch into the top of each column until you reach the chain gap.
- Continue your double crochet and slip stitch pattern within the established rectangular shape.
- Start forming a rectangle by evening the sides and continuing evenly without growing or shrinking the piece.

5. Forming the Final Border (Round):
- When the rectangle is finished, create a simple border around the entire project:
- Single crochet (sc) into each stitch along the edges.
- On each corner, use 3 single crochets to keep the shape rounded.
- Create 2 chains when transitioning around corners for ease.
- Single crochet (sc) into each stitch along the edges.
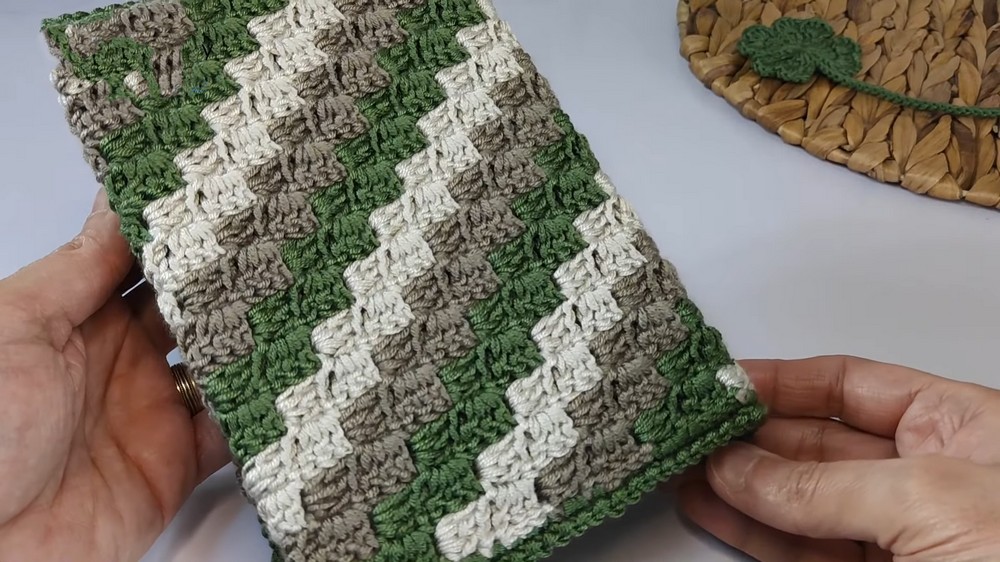
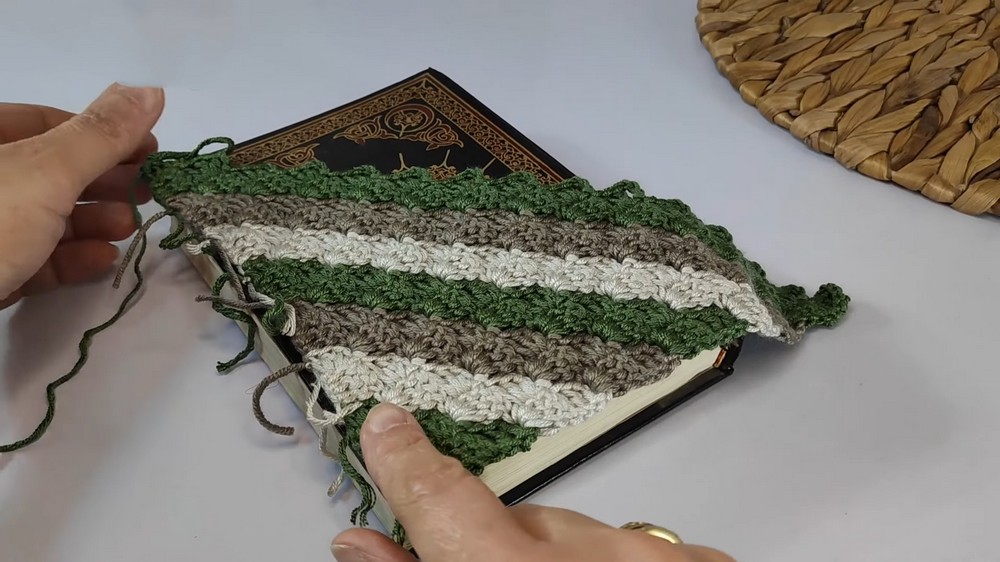
6. Adding the Pocket:
- Fold the smaller edges inwards, leaving room to insert the Quran comfortably.
- Align both shorter sides evenly and crochet them together.
- Use slip stitches to join their edges while connecting the opposite folds.
- Crochet both sides to form a neat, pocketed cover.
Measurements:
- Width: 43 cm (approximately).
- Length: 20 cm (can vary based on preferences).
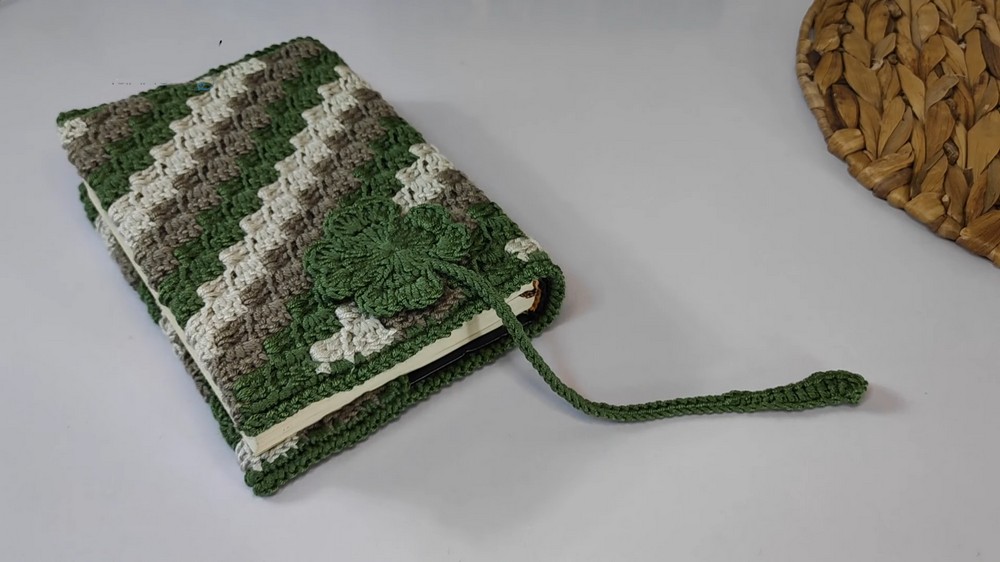
Tutor’s Suggestions:
- To personalize the design:
- Add embroidered embellishments or fringe on the edges.
- Experiment with colors that match your favorite aesthetic or the Quran’s design.
- Practical Use: This cover is perfect for protecting the Holy Quran during travel or storage.
Tip:
When sewing in loose ends, use a tapestry needle to weave them securely. This prevents your work from unraveling and gives a professional finish to the project.
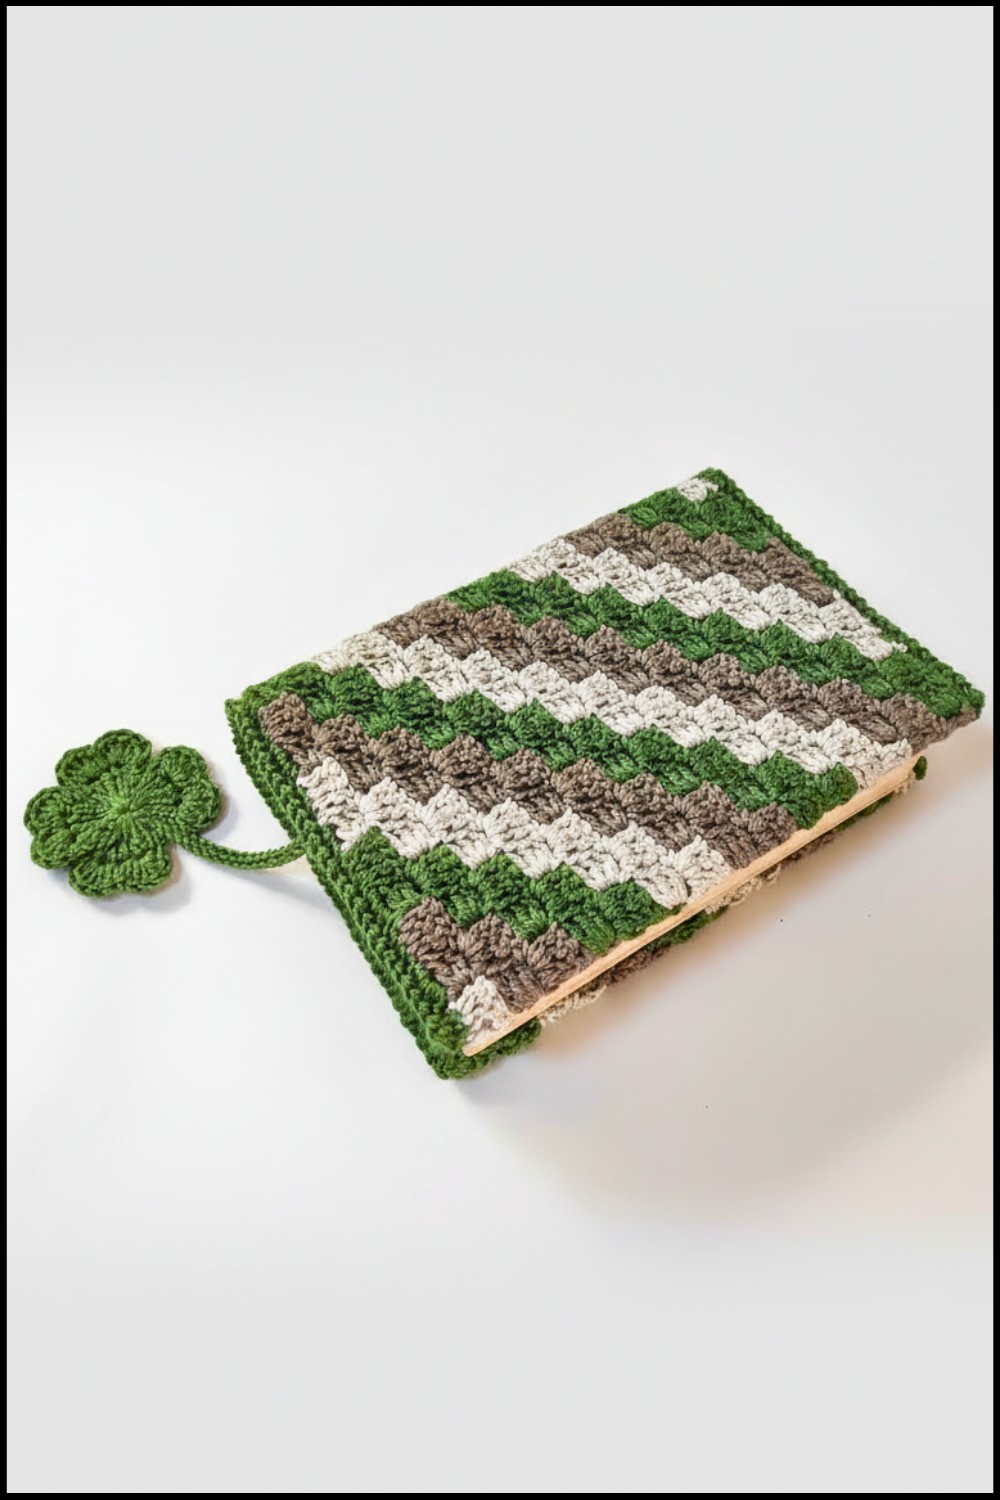
Conclusion:
Congratulations on completing your own crocheted Quran cover! This project is not only a rewarding craft, but also a meaningful way to create something both functional and beautiful. Take pride in your work and, if you like, share this design with others who might find it inspiring.
Leave a Reply