
Adorn yourself with amazing crochet skirt styles that bring charm, comfort, and versatility to your wardrobe, making every outfit truly unforgettable.
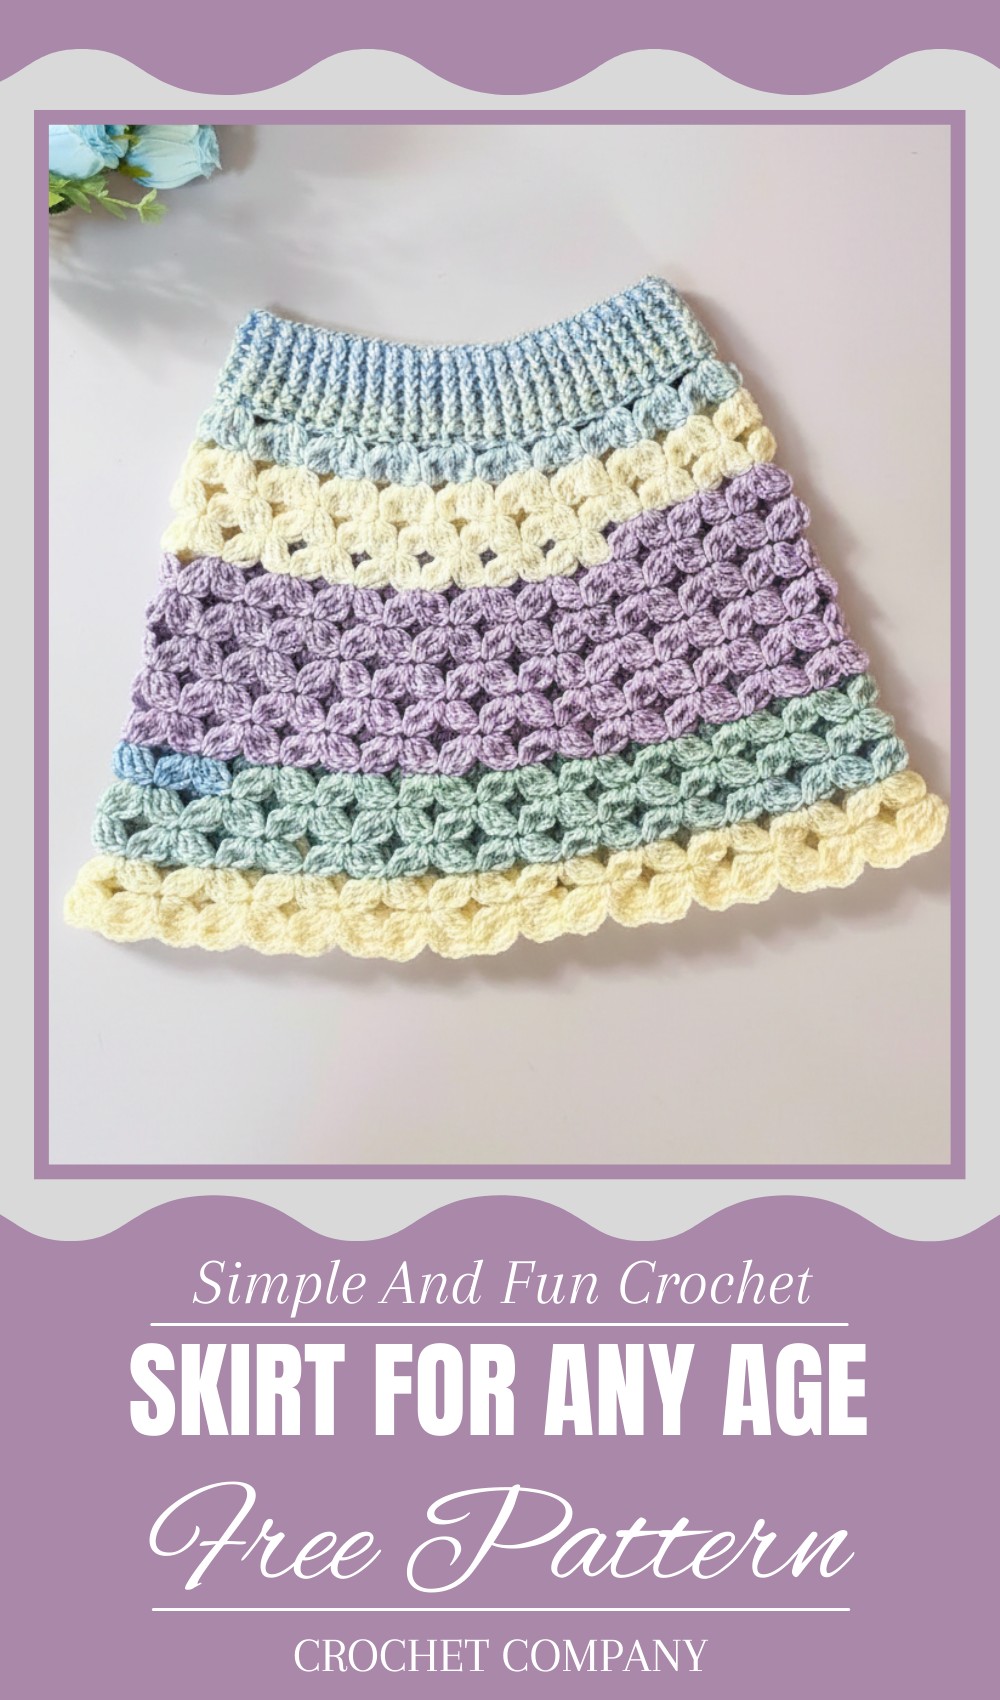
Vibrant Crochet Skirt Pattern That You’ll Want to Wear
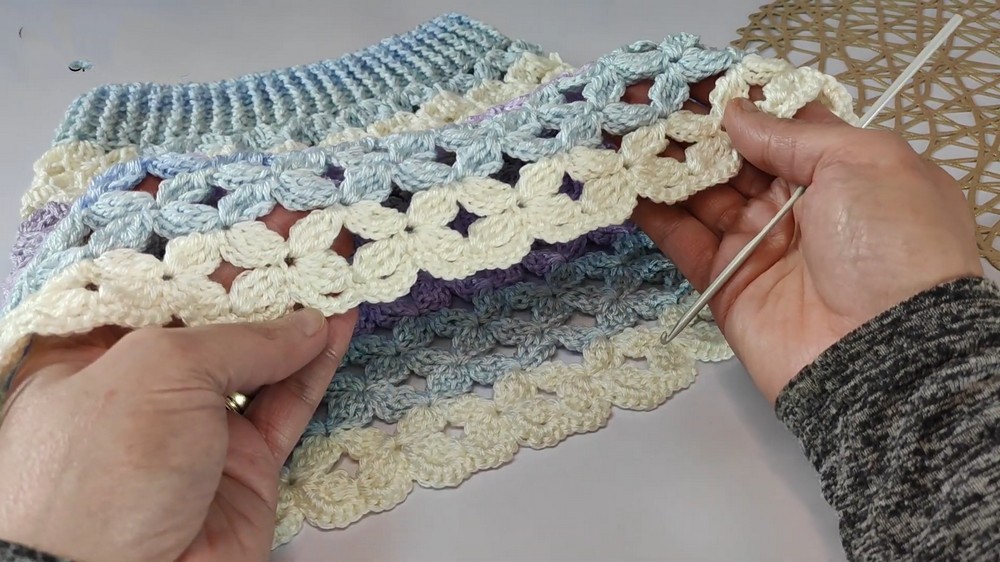
Wearing something truly unique that’s made by hand, filled with creativity, and styled just the way you like. Crochet skirt patterns give you the chance to make beautiful, one-of-a-kind skirts that are not only fashionable but also timeless. These skirts are loved for their charm, elegance, and intricate designs that can range from simple and casual to bold and eye-catching.
You can use light, breezy styles for summer or thicker, cozier patterns for colder months. Crochet skirts often feature delicate lacework, floral details, or trendy patterns, making them perfect for any occasion – whether it’s a casual day out, a party, or even a beach trip. The fun part is choosing your own colors and designs to suit your personality. Each piece tells a story, turning everyday outfits into stunning artistic creations while being practical, comfortable, and effortlessly stylish for everyone.
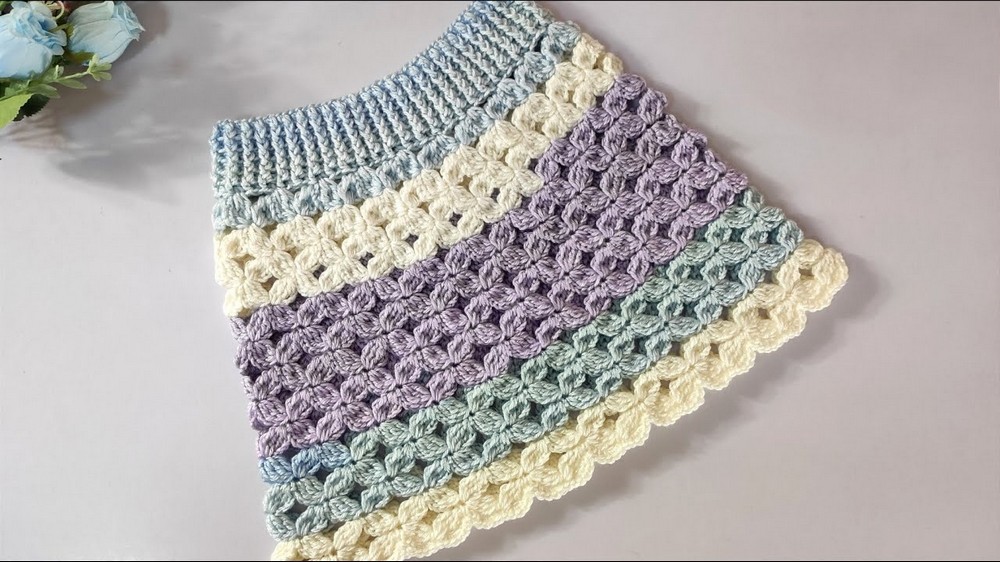
Beautiful and Easy Crochet Pocket Step-by-Step Pattern
Special Features:
- Unique Stitch Design: The pocket employs a charming and easy-to-master two-line stitch repeat, resulting in a textured design.
- Stretchable Fit: The design accounts for elasticity, ensuring it stays comfortable and secure over time.
- Customizable Size: Easily adjustable based on the wearer’s measurements for middle circumference and desired length.
- Multipurpose: This pocket can serve as a stylish addition to dresses or skirts for girls and can even be adapted for other projects such as bags or scarves.
Difficulty Level:
Beginner to Intermediate. This project is suitable for those with basic crochet knowledge, including working with slip stitches, front post stitches, back post stitches, and faux cluster stitches (hamsa stitch).
Materials Needed:
- Yarn: Medium-thickness yarn (Himalaya yarn is used in the tutorial). Any yarn with a slight stretch works well.
- Hook Size: 3.5 mm crochet hook. Optionally, use a smaller hook (e.g., 3 mm) for the waistband.
- Scissors: To cut the thread.
- Tapestry needle: For weaving in ends.
- Measuring Tape: To check middle circumference and length of the pocket.
Pattern Steps:
1. Taking Measurements and Starting Chain:
- Middle circumference: Measure the middle circumference of the child or refer to a size chart. For a 2.5–3-year-old, the middle circumference is approximately 54 cm.
- Length adjustment: Subtract 8 cm from the middle circumference measurement to account for stretching.
- Ensuring the Chain Count:
- The chain must follow these two rules:
- It should be a multiple of 5.
- It should be an even number (so that front and back post stitches align properly).
- For a 54 cm circumference, you may need about 100 chains.
- The chain must follow these two rules:
- Make a slip knot and create 100 chains.
- Join the chain into a ring, ensuring it’s not twisted, by slip stitching into the first chain.
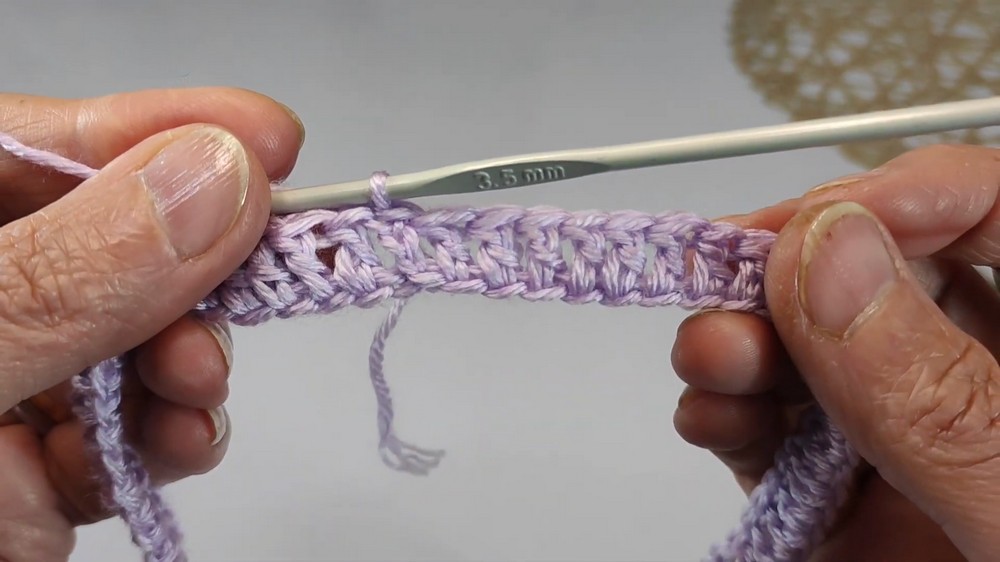
2. Foundation Row:
- Chain 3 (counts as the first double crochet).
- Work 1 double crochet (dc) into each chain around.
- At the end of the round, you should have 100 dc.
- Close the round with a slip stitch into the 3rd chain of the starting chain.
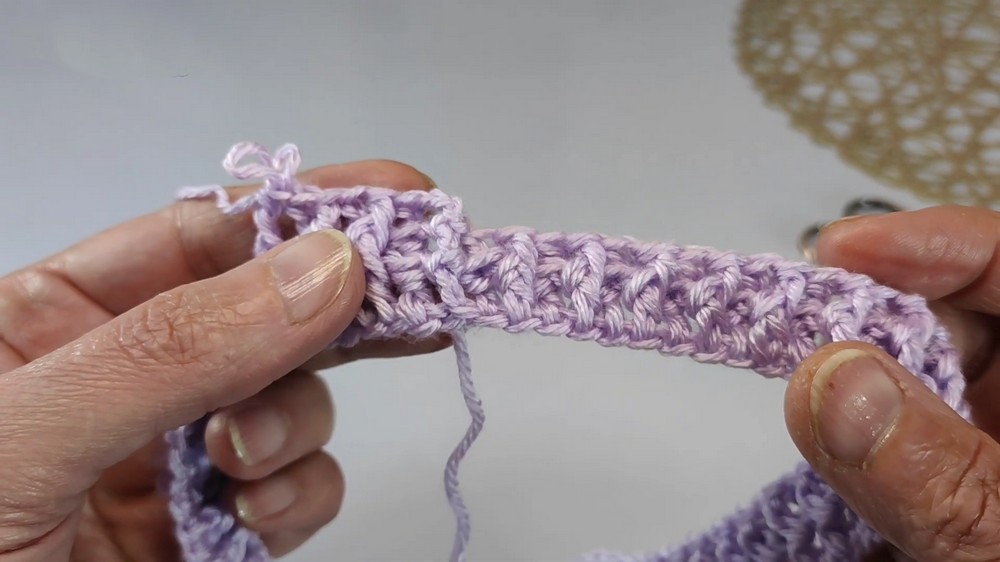
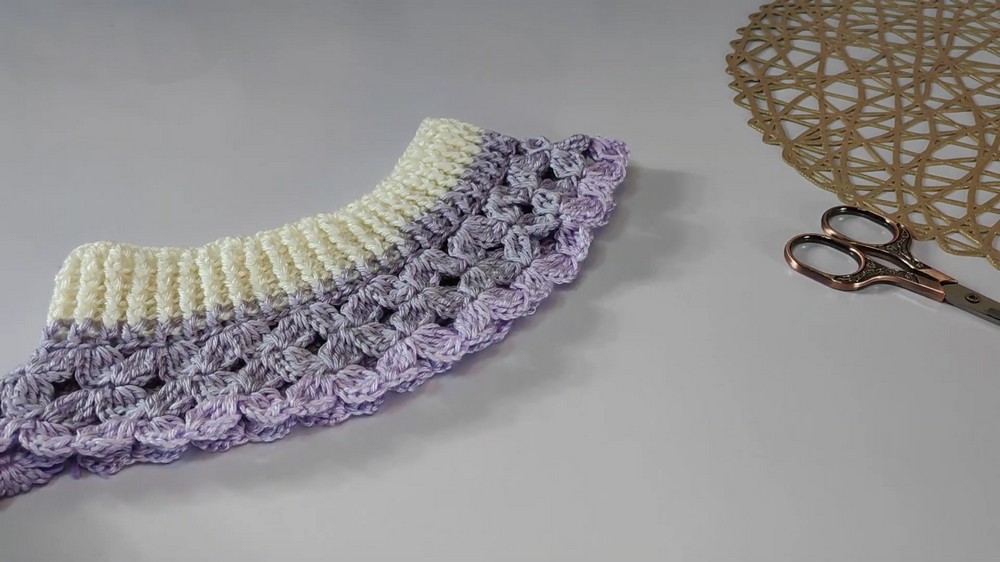
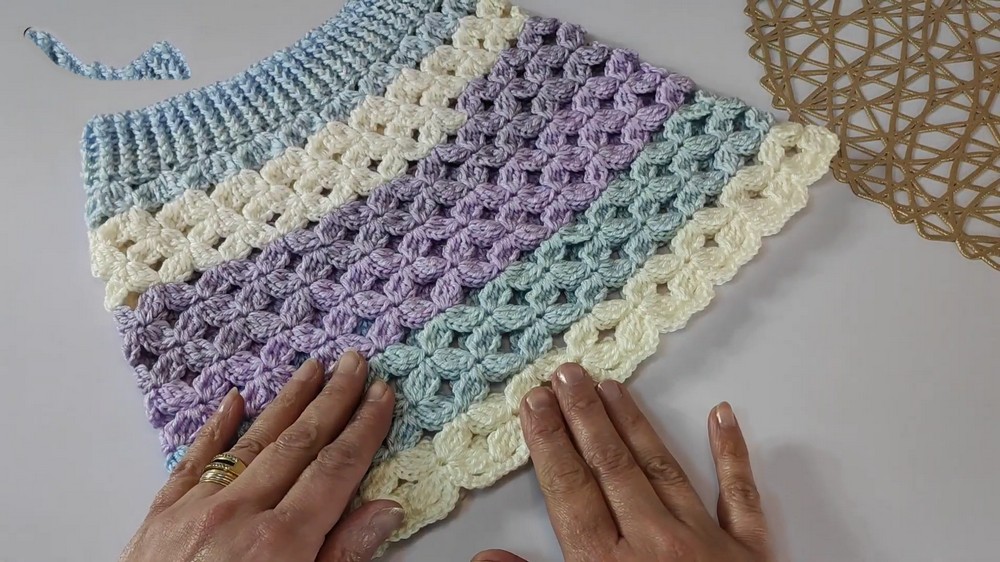
3. Waistband Rows (Front and Back Post Stitches):
The waistband consists of 5 rows (or more based on personal preference for width).
- Row 1:
- Chain 3 (counts as the first front post dc).
- Alternate between front post double crochet (fpdc) and back post double crochet (bpdc) across the row.
- Front Post dc: Insert the hook around the post from front to back, yarn over, and complete a double crochet.
- Back Post dc: Insert the hook around the post from back to front, yarn over, and complete a double crochet.
- Ensure the number of stitches remains 100.
- Close the row with a slip stitch into the 3rd chain of the starting chain.
- Rows 2–5:
- Repeat Row 1, ensuring to align front posts over front posts and back posts over back posts.
- This creates a beautiful ribbing texture for the waistband.
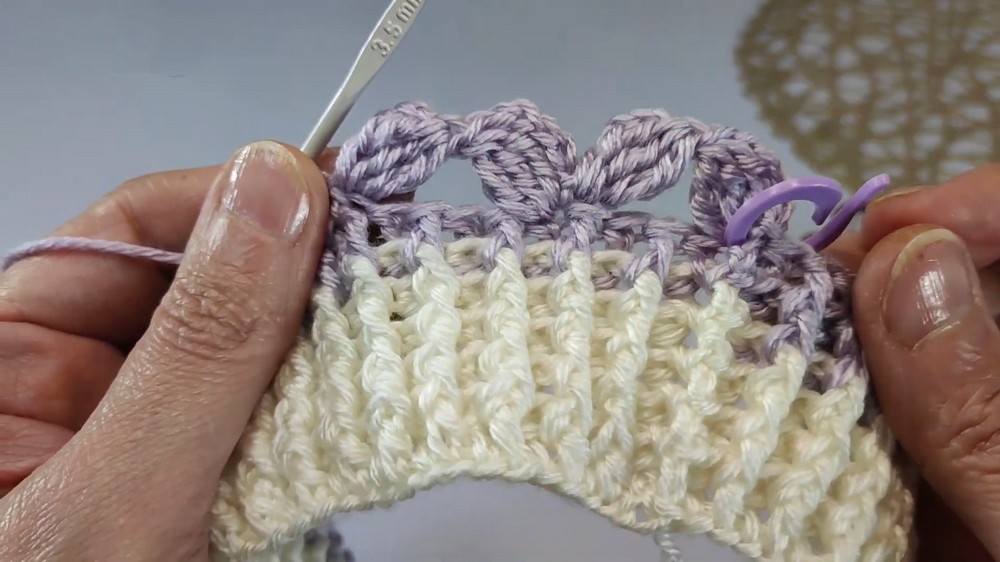
4. Starting the Pocket Stitch (Hamsa Stitch):
Round 1:
- Chain 5 (acts as a starting space).
- Yarn over twice and work in the same stitch:
- Create 3 double crochets with two yarn overs, keeping the last loop of each stitch on the hook until 4 loops remain.
- Yarn over and pull through all 4 loops to finish the hamsa cluster.
- Chain 5, yarn over twice, and repeat the hamsa cluster in the same stitch.
- Count 4 stitches ahead and create a slip stitch into the 5th stitch.
- Repeat this pattern:
- Chain 5, hamsa cluster (3 double crochets with 2 twists each), chain 5, and slip stitch into the 5th stitch.
- Continue until the end of the round. Close the round with a slip stitch into the first chain of the round.
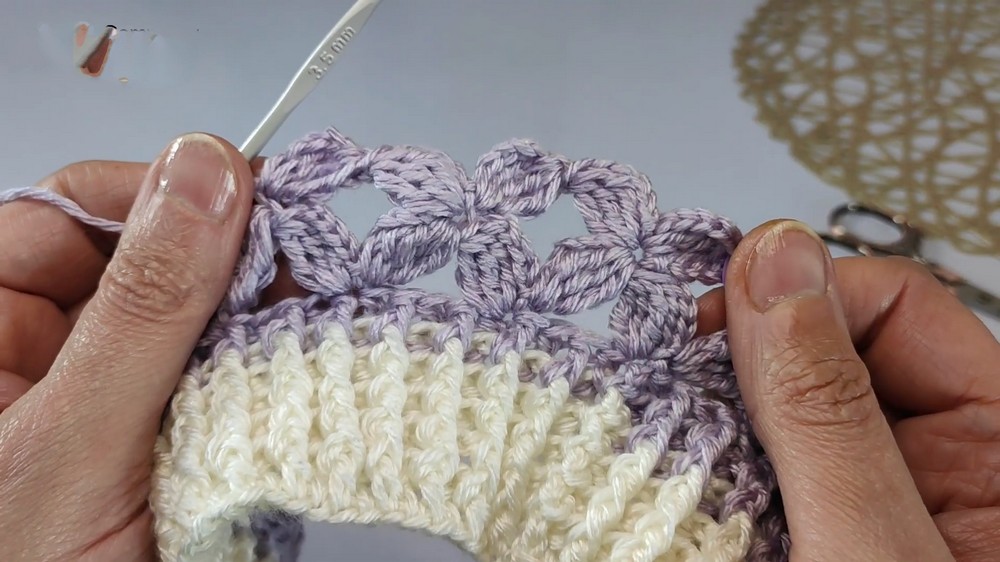
5. Rounds 2–3 (Hamsa Stitch Pattern Repeats):
Both Rounds 2 and 3 will follow the same pattern with slight variations at the beginning and end.
Round 2:
- Start with 5 chains.
- Work a hamsa cluster into the center of the chain-5 loop from the previous round.
- Chain 5, then slip stitch into the center of the next chain-5 loop.
- Repeat this alternating pattern of hamsa clusters and chain spaces across the round.
- At the end of the round, work a slip stitch to close the starting chain.
Round 3:
- Repeat Round 2, aligning hamsa clusters with the chain spaces from the previous round.
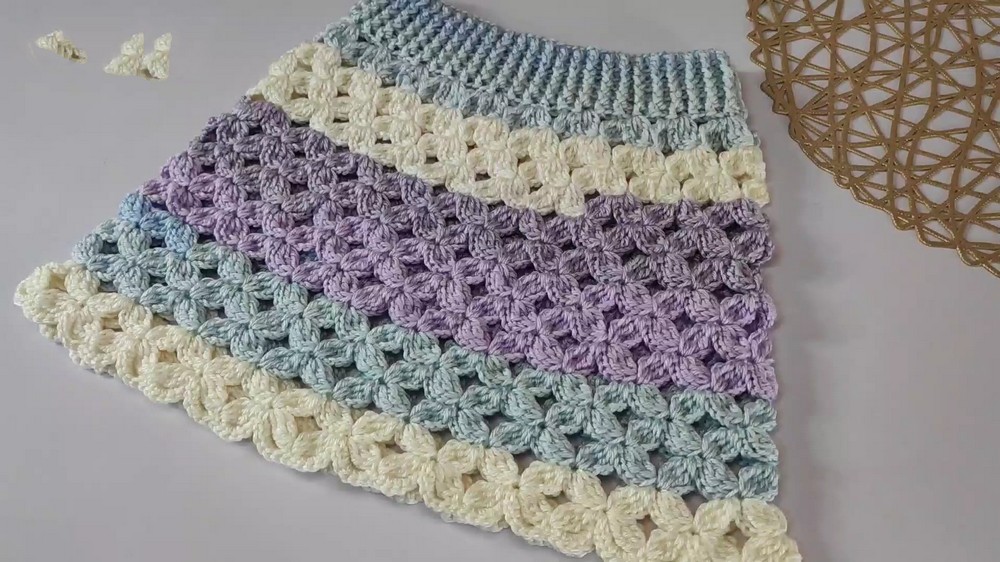
6. Continuing the Pocket Body:
- Repeat Rounds 2 and 3 until the desired pocket length is achieved.
- For a 2.5–3-year-old, aim for 27–30 cm.
- End with a row featuring the hamsa stitch clusters.
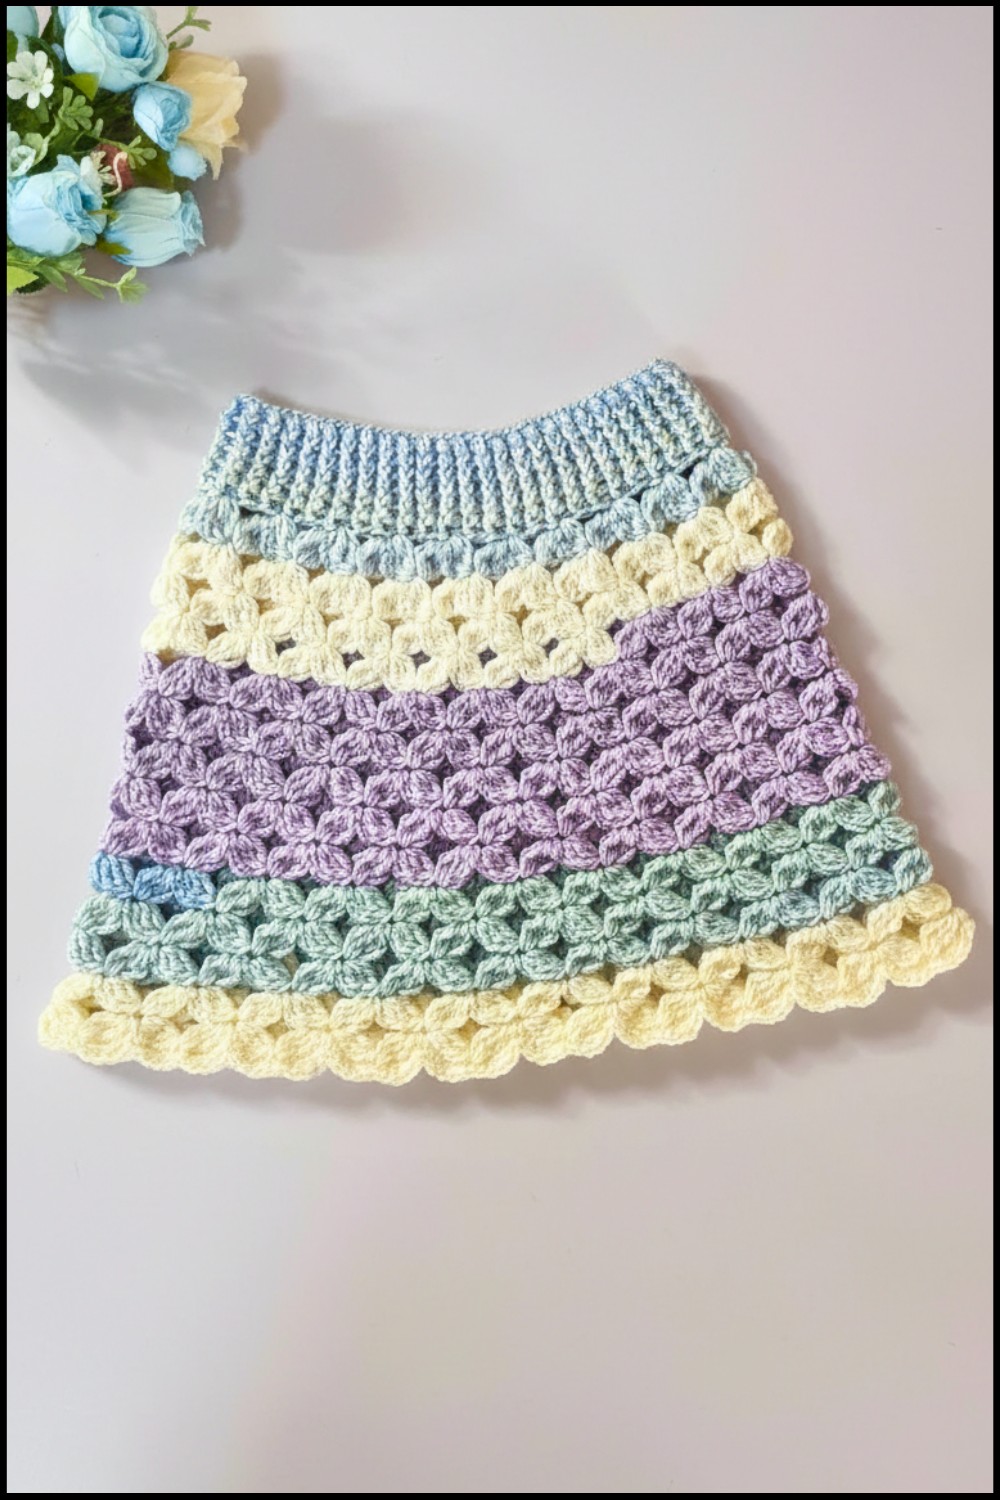
7. Final Border:
- After completing the last row, work single crochets (sc) along the edge as follows:
- 5 single crochets into each chain-5 space.
- 1 single crochet into the center of each hamsa cluster.
- Repeat around the entire edge, creating a neat border.
- Close the round with a slip stitch, fasten off, and weave in all ends.
Tutor’s Suggestions:
- Smaller Hook for Waistband: Use a slightly smaller hook (e.g., 3 mm) for the waistband to make it more structured and snug.
- Adjust Size: Easily scale the pocket by adjusting the starting chain length and pocket height.
- Make it Versatile: Add a belt or tie at the waistband by chaining and working single crochet rows.
Tip:
When working hamsa stitch clusters, keep your tension consistent to avoid puckering or loose stitches.
Conclusion:
Congratulations on completing your crocheted pocket! This design is not only beautiful but also practical and versatile. Customize it with different colors or yarns to match any outfit. Thank you for crocheting with us today, and we hope you’ll join us in future projects.
Leave a Reply