
Bring instant style and warmth to your table with gorgeous crochet tablecloth pattern that are perfect for every occasion and inspire endless compliments.
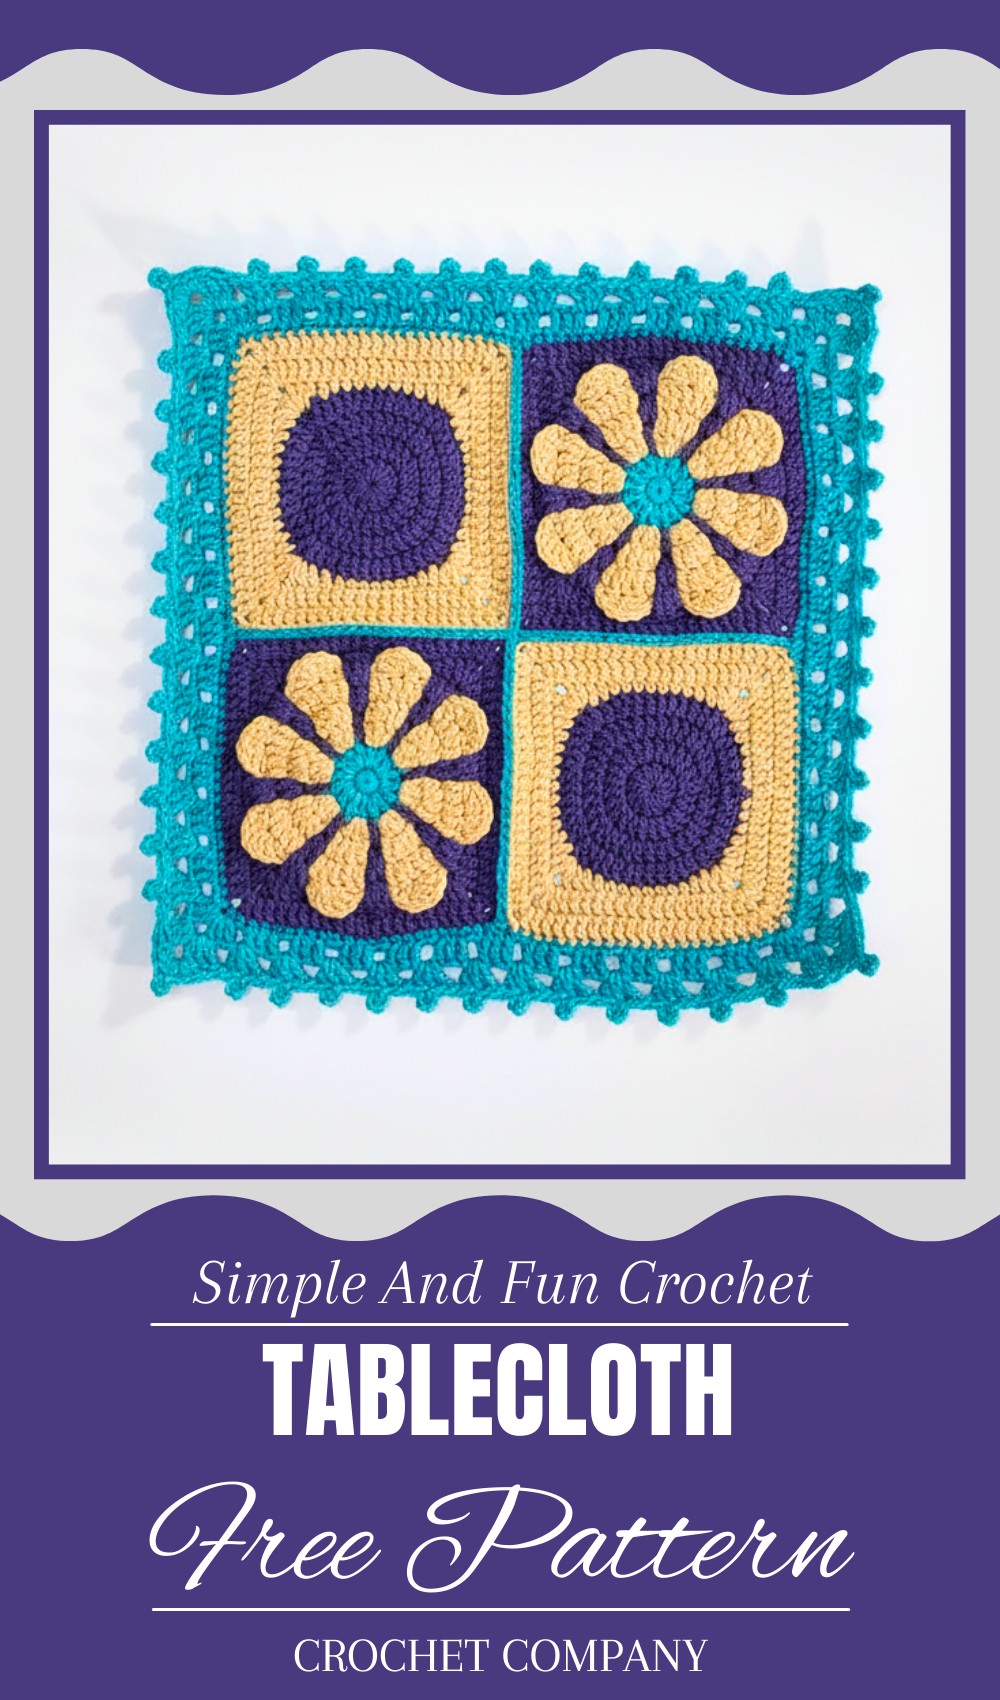
Must-Try Crochet Tablecloth Pattern for Perfect Décor
Transforming your table into a centerpiece of beauty and charm with just a touch of creativity! A crochet tablecloth pattern allows you to create breathtaking, handmade designs that instantly elevate the look of any dining or living space. These stunning tablecloths are not only practical for protecting your table but also serve as a piece of art, showcasing intricate stitches and eye-catching designs.
You can choose from classic lacy styles, bold modern patterns, or colorful designs to match your décor. The beauty of crochet tablecloths is that they feel timeless yet personal, making them perfect for gifting or as treasured heirlooms. Whether you’re hosting guests or enjoying a quiet moment at home, these handmade pieces add sophistication and a little extra love to every setting.
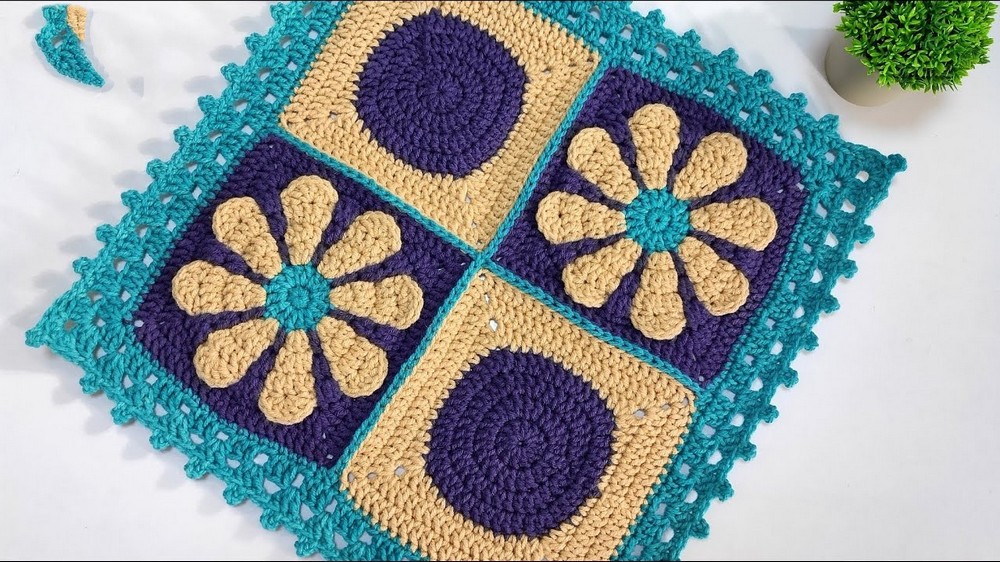
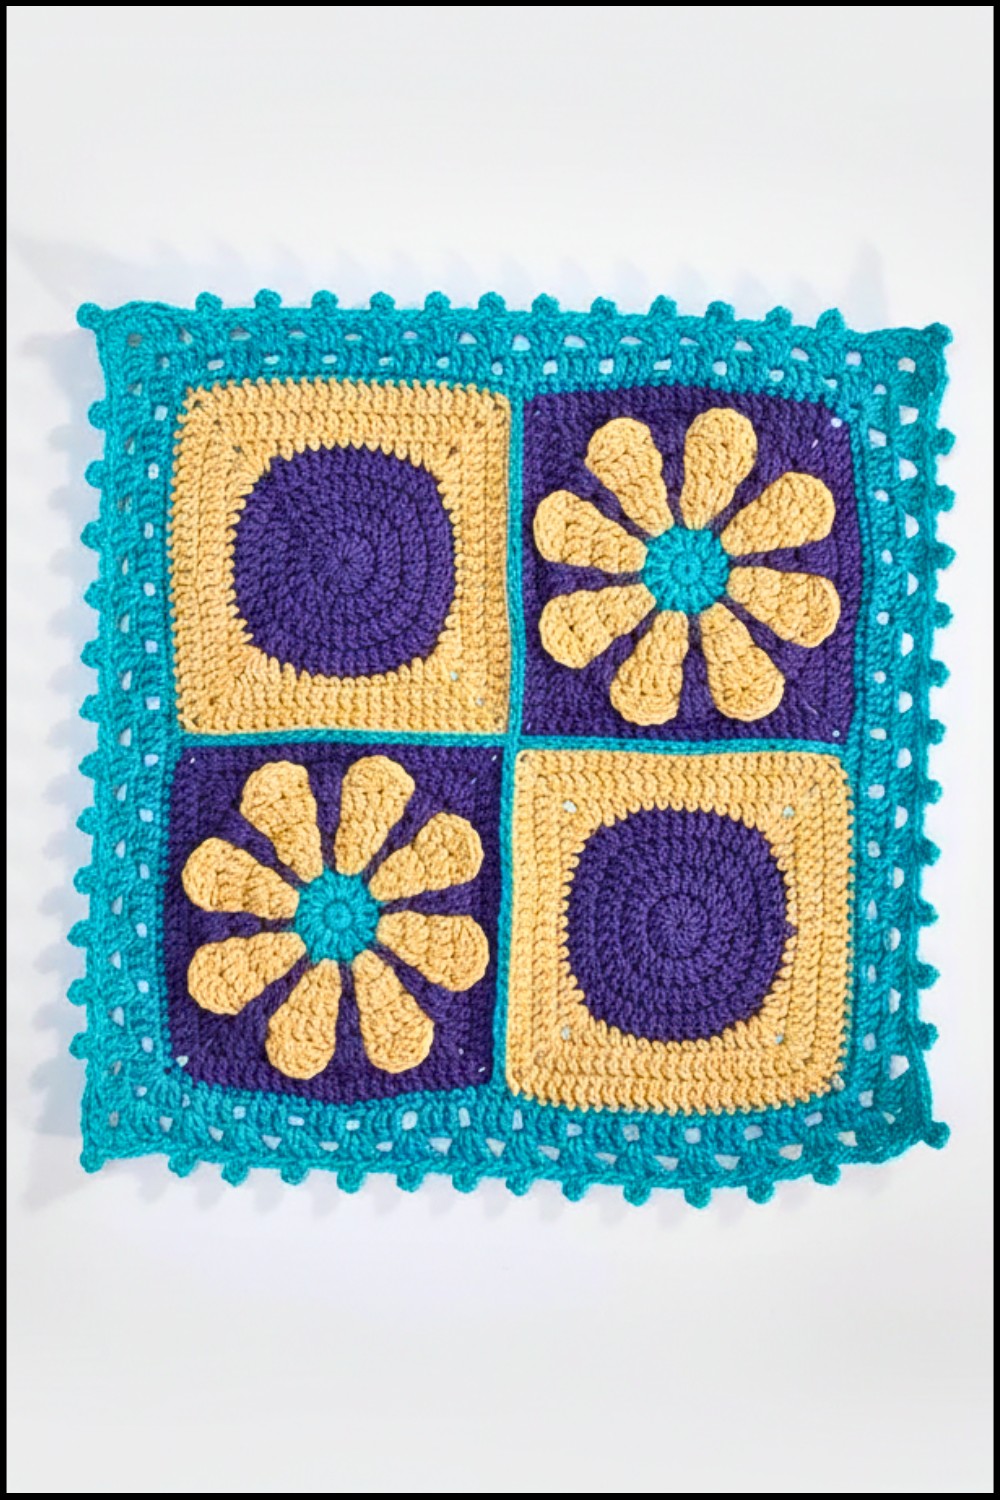
Crochet Tablecloth Pattern
Special Features:
- Versatile Design: The method allows flexibility to create larger or smaller units by modifying the number of rounds or stitches.
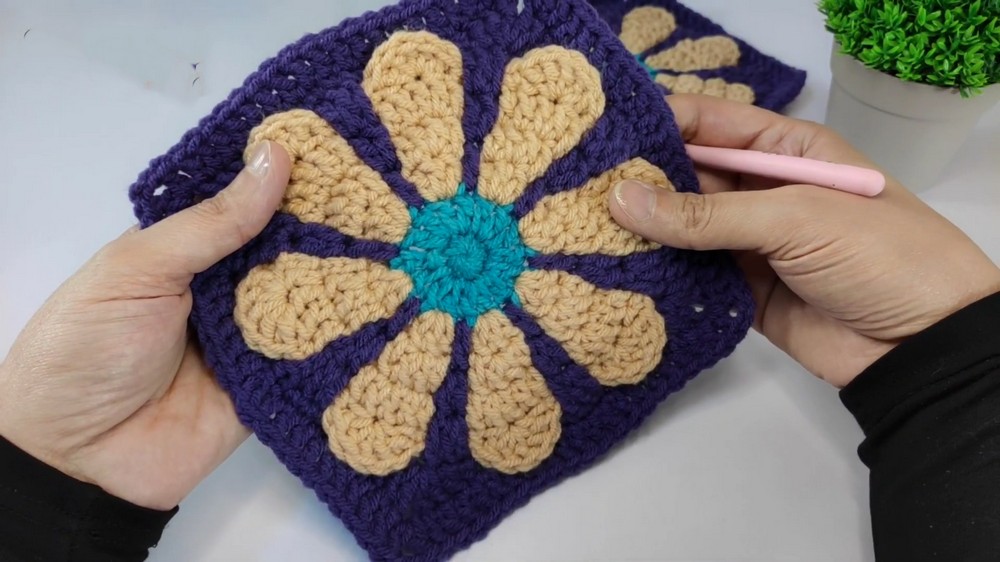
- Unique Shaping: The circles are transformed into squares, maintaining a seamless symmetry that looks highly professional.
- Customizable: Use different colors for the units to create a multicolored tablecloth or stick with one single color for a classic look.
- Multi-Purpose Use: Adjust the size and arrangement of the units to create blankets, placemats, pillow covers, or bed runners.
Difficulty Level:
Intermediate. This project involves creating multiple units, transitioning shapes, increasing, decreasing, and basic assembly. It’s suitable for crafters with a solid grasp of foundational stitches.
Materials Needed:
- Yarn: Medium-weight thread or yarn in multiple colors (or a single color, if preferred).
- Hook Size: Use the hook size appropriate for your chosen yarn (e.g., 3.5 mm).
- Scissors.
- Tapestry Needle (to weave in ends).
- Stitch Marker (optional for marking corners).
Pattern Steps:
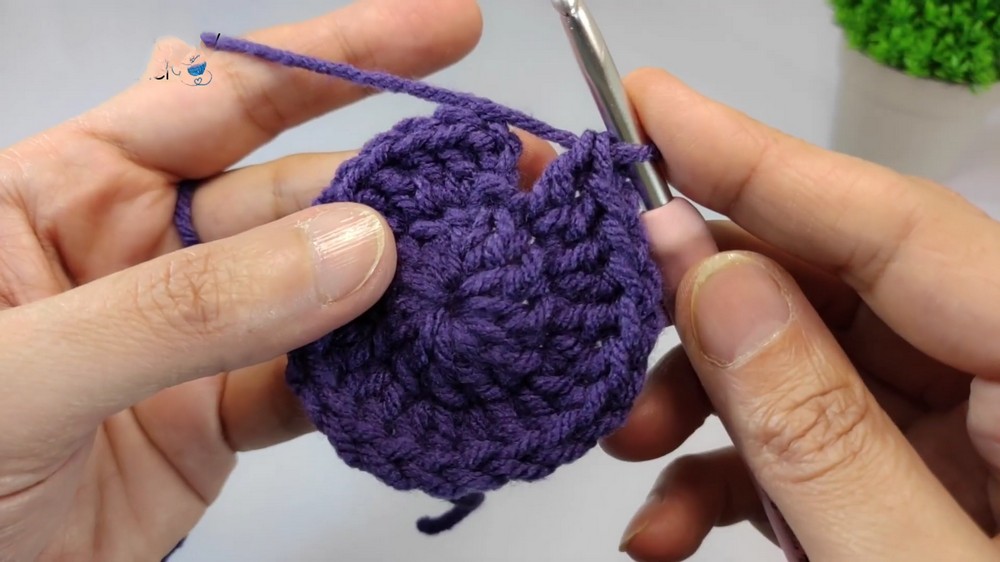
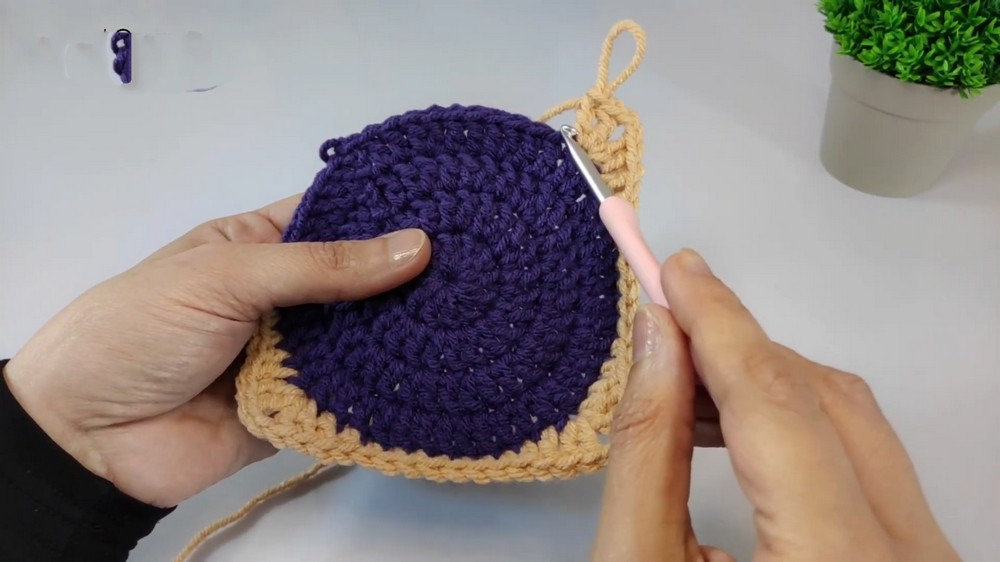
1. Creating the Basic Unit (Circle to Square):
Round 1 (Magic Circle, 12dc):
- Create a magic circle and secure it.
- Chain 3 (counts as the first double crochet).
- Work 11 double crochets (dc) inside the circle, for a total of 12 stitches (the chain-3 counts as 1 dc).
- Tighten the loose tail to close the magic circle and join with a slip stitch (sl st) into the 3rd chain of the starting chain.
Round 2 (Increasing):
- Chain 3 (counts as the first dc).
- Work 2dc into each stitch around the circle.
- At the end of the round, join with a slip stitch to the starting chain.
- Stitch Count: 24 dc.
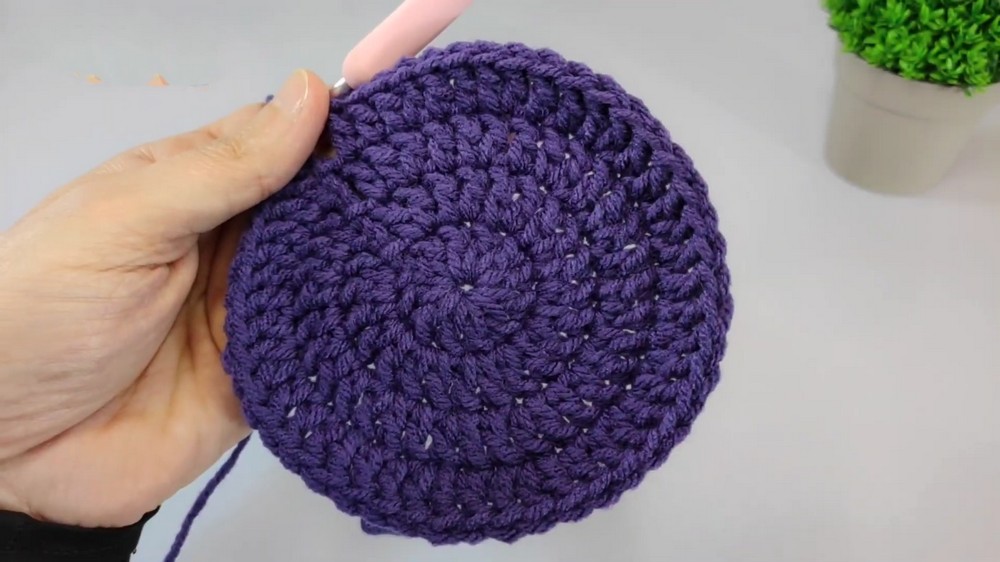
Round 3 (Increase by alternating):
- Chain 3. In the same stitch, work 1dc (this is your first increase).
- Pattern: Work 1dc into the next stitch, 2dc into the following stitch, repeat around.
- At the end of the round, join with a slip stitch to the starting chain.
- Stitch Count: 36 dc.
Round 4 (Final Increase):
- Chain 3. In the same stitch, work 1dc (first increase).
- Pattern: Work 1dc into the next 2 stitches, then work 2dc into the 3rd stitch. Repeat around.
- Join with a slip stitch to complete the round.
- Stitch Count: 48 dc.
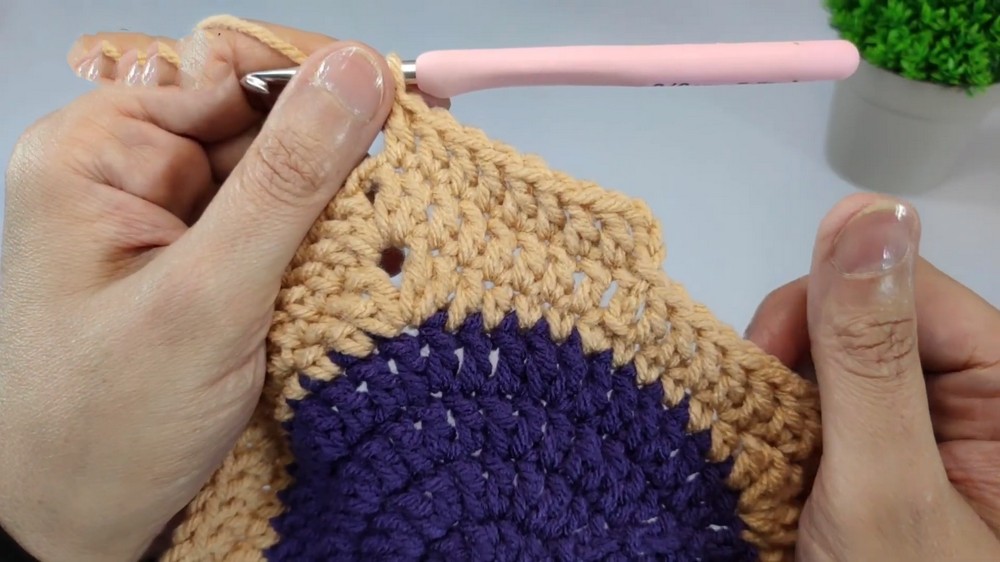
Transforming Circle to Square:
- Attach a new color (if desired) at any stitch.
- Chain 1. Work the following pattern across:
- 3 single crochets (sc) into the next 3 stitches.
- 1 half double crochet (hdc).
- 1 double crochet (dc).
- For the first corner: Work 2dc, ch2, 2dc in the next stitch.
- Side Pattern:
- Work 1dc, 1hdc, then 7sc into the next stitches.
- Continue with the corner sequence (2dc, ch2, 2dc) and repeat the steps for all 4 corners.
- Close the round with a slip stitch into the first sc worked.
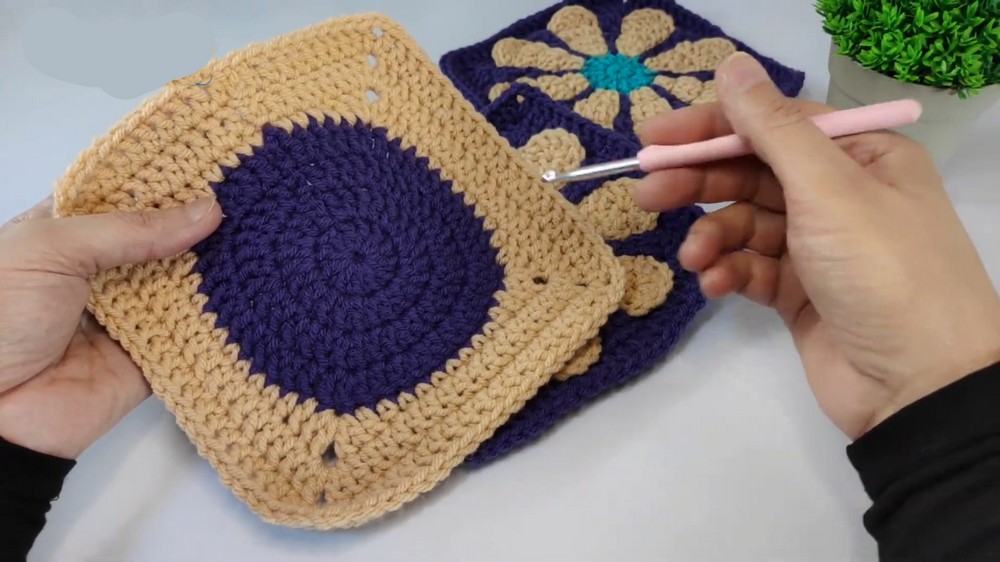
2. Building the Square Units:
Rounds 2-4 (Square Rounds):
- Continue with your chosen color for the next rounds:
- Work 1dc into each stitch along the sides.
- At the corners, always work 2dc, ch2, 2dc into the corner spaces.
- For each round, ensure you increase appropriately along the sides (1dc in each stitch) to maintain a square shape.
- After completing Round 4 (final round of the square), fasten off and weave in ends.
- Stitch Count at the end of Round 4: 84 dc.
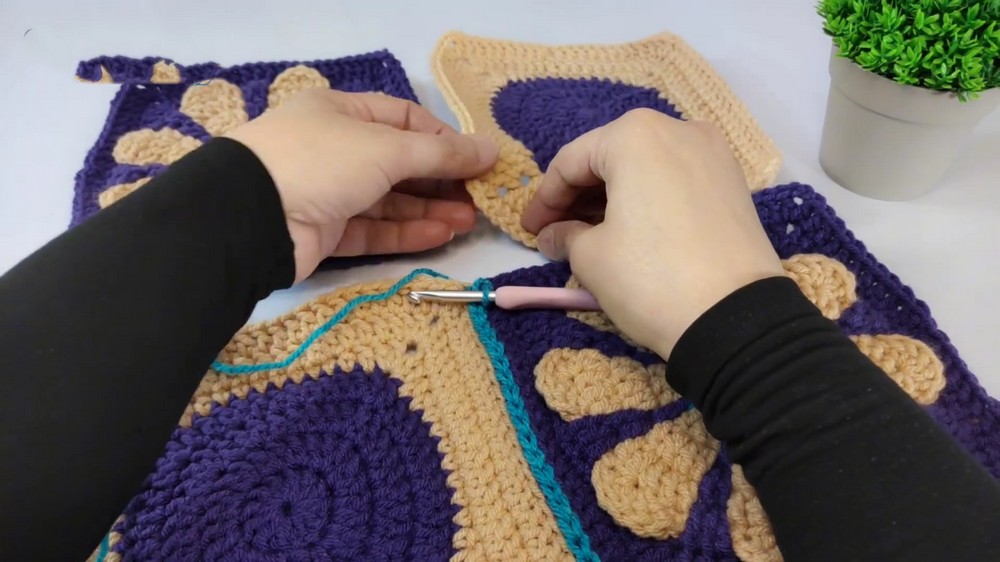
3. Interlocking the Units:
- Place the units side by side with wrong sides facing each other.
- Start at any corner chain space: Pull the yarn through the 2nd chain of both units.
- Work slip stitches through the back loops only of both pieces. This creates a neat seam on the front.
- Maintain the alignment between the two pieces and continue working:
- Slip stitch through the back loops of each stitch along the edges.
- For corner spaces: Work through all chains in the corner.
- Once one pair of units is attached, continue adding additional units in the same way to create your desired layout.
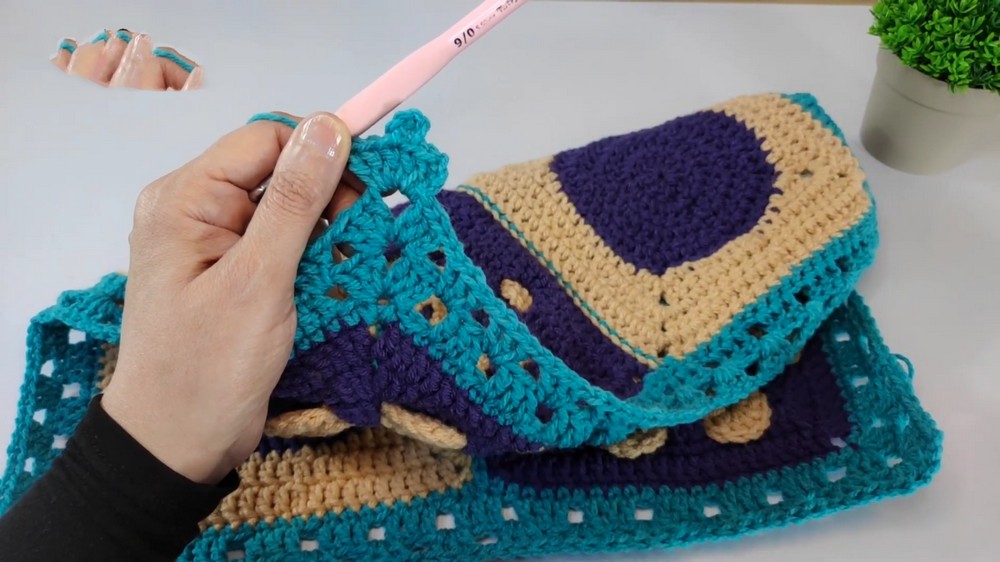
4. Adding the Border:
Round 1 (Filling Stitches):
- Start at any corner. Pull the yarn through the corner space. Chain 1, and work:
- 2sc, ch1, 2sc in the same corner space.
- Continue working 1sc in each stitch along the sides. Wherever there is a seam, ensure you keep the work smooth by adding extra stitches into the seam spaces.
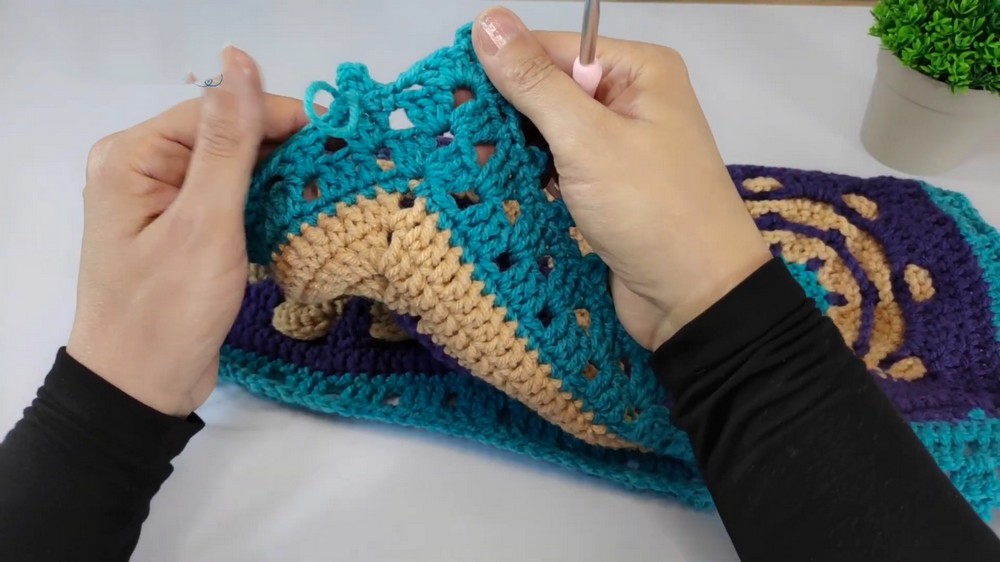
Round 2 (Double Crochets):
- Begin at any corner. Chain 3. In the same corner space, work:
- 2dc, ch3, 2dc.
- Work 1dc into each stitch along the sides. Repeat this for all 4 corners.
Round 3 (The Picot Edge):
- Start at any corner space and work:
- 3dc, ch3, 3dc.
- Add a picot stitch at the end of the first 3dc by chaining 4 and slip stitching back into the last dc worked.
- For the sides, work in the following sequence:
- Work 1sc into the chain space, followed by 3 stitches (sc or dc) across the next clusters.
- Add picot stitches periodically in your design. Picot stitches add a delicate finish to the edges.
Tutor’s Suggestions:
- Color Combinations: Use contrasting colors for the squares to make the tablecloth vibrant and exciting, or use neutral tones for a classic and elegant piece.
- Blocking: To achieve a perfectly square and flat finish, steam or wet-block the squares before joining and after completing the final border.
Uses:
This pattern is versatile and can be adapted to fit various purposes, such as table runners, tablecloths, or even blankets. You can increase or decrease the number of units based on the project size you want.
Tip:
When interlocking the squares, ensure even tension during slip stitching—too tight, and it will pull the fabric together; too loose, and the seams may appear bulky.
Conclusion:
Congratulations on completing your beautiful, crochet tablecloth. This project is a testament to how creative crochet can transform basic shapes into intricate works of art. Keep practicing, and don’t hesitate to modify the design to suit your creative needs. T
Leave a Reply