
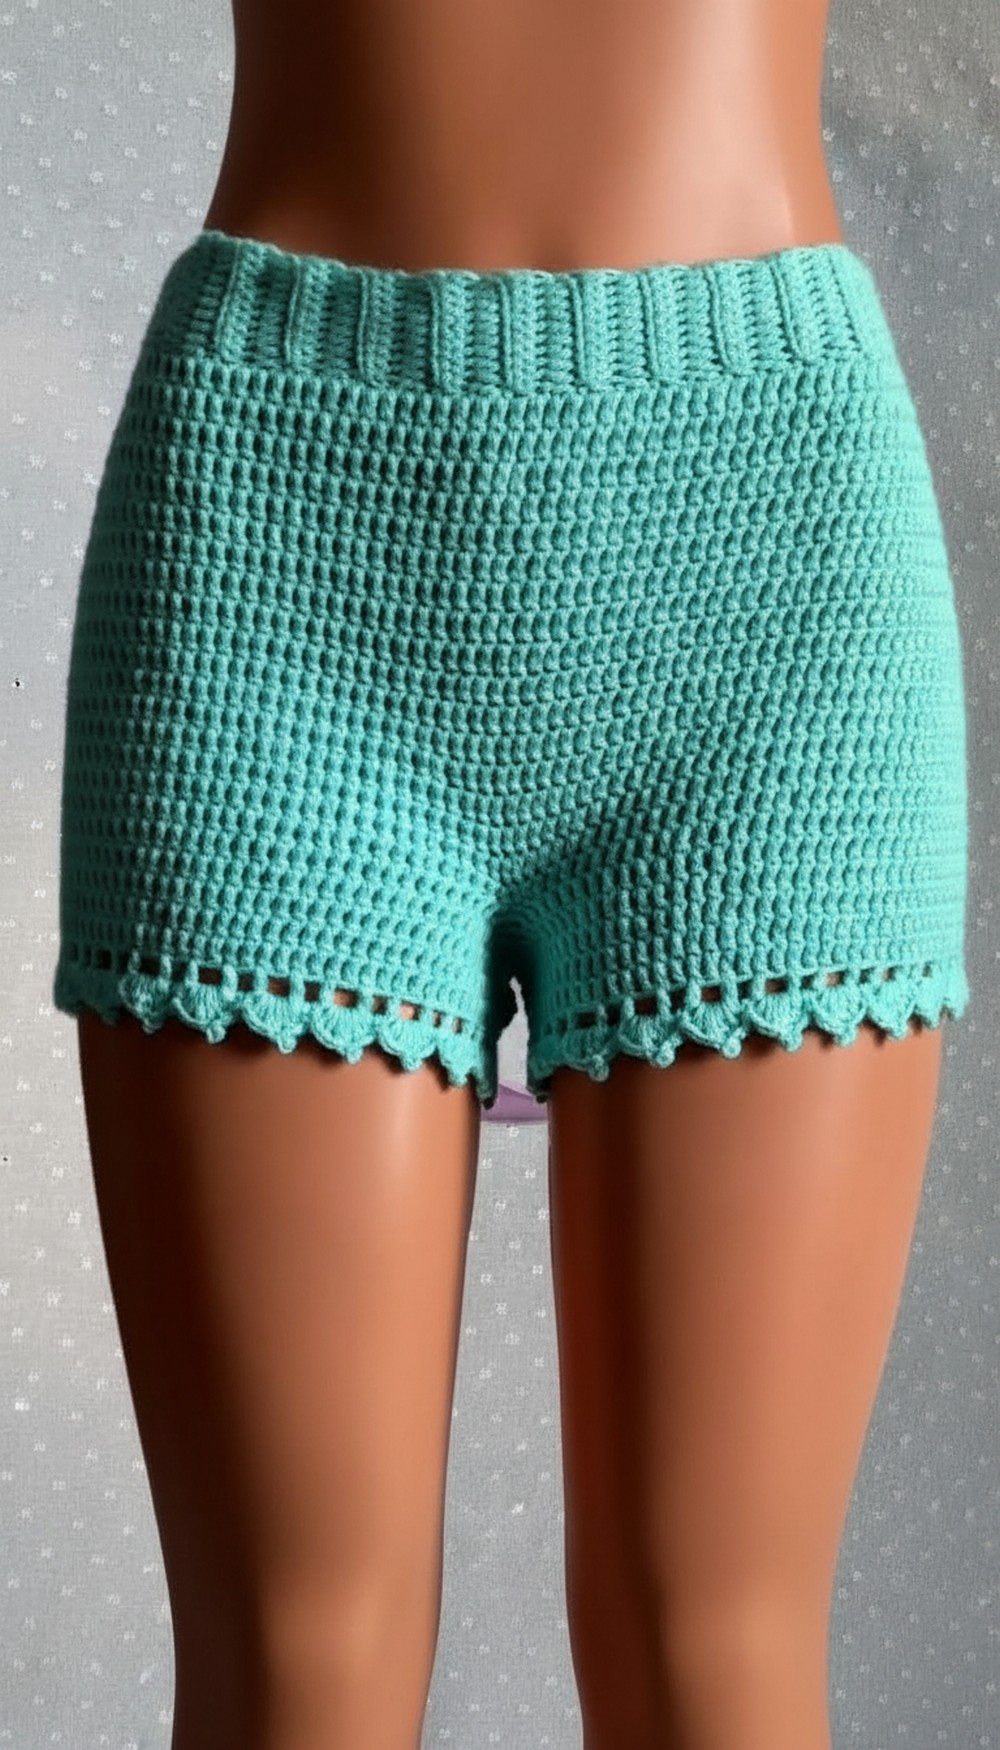
Feel the summer breeze with this easy crochet short pattern that’s perfect for casual days, beach trips, and staying cool in style all season long.
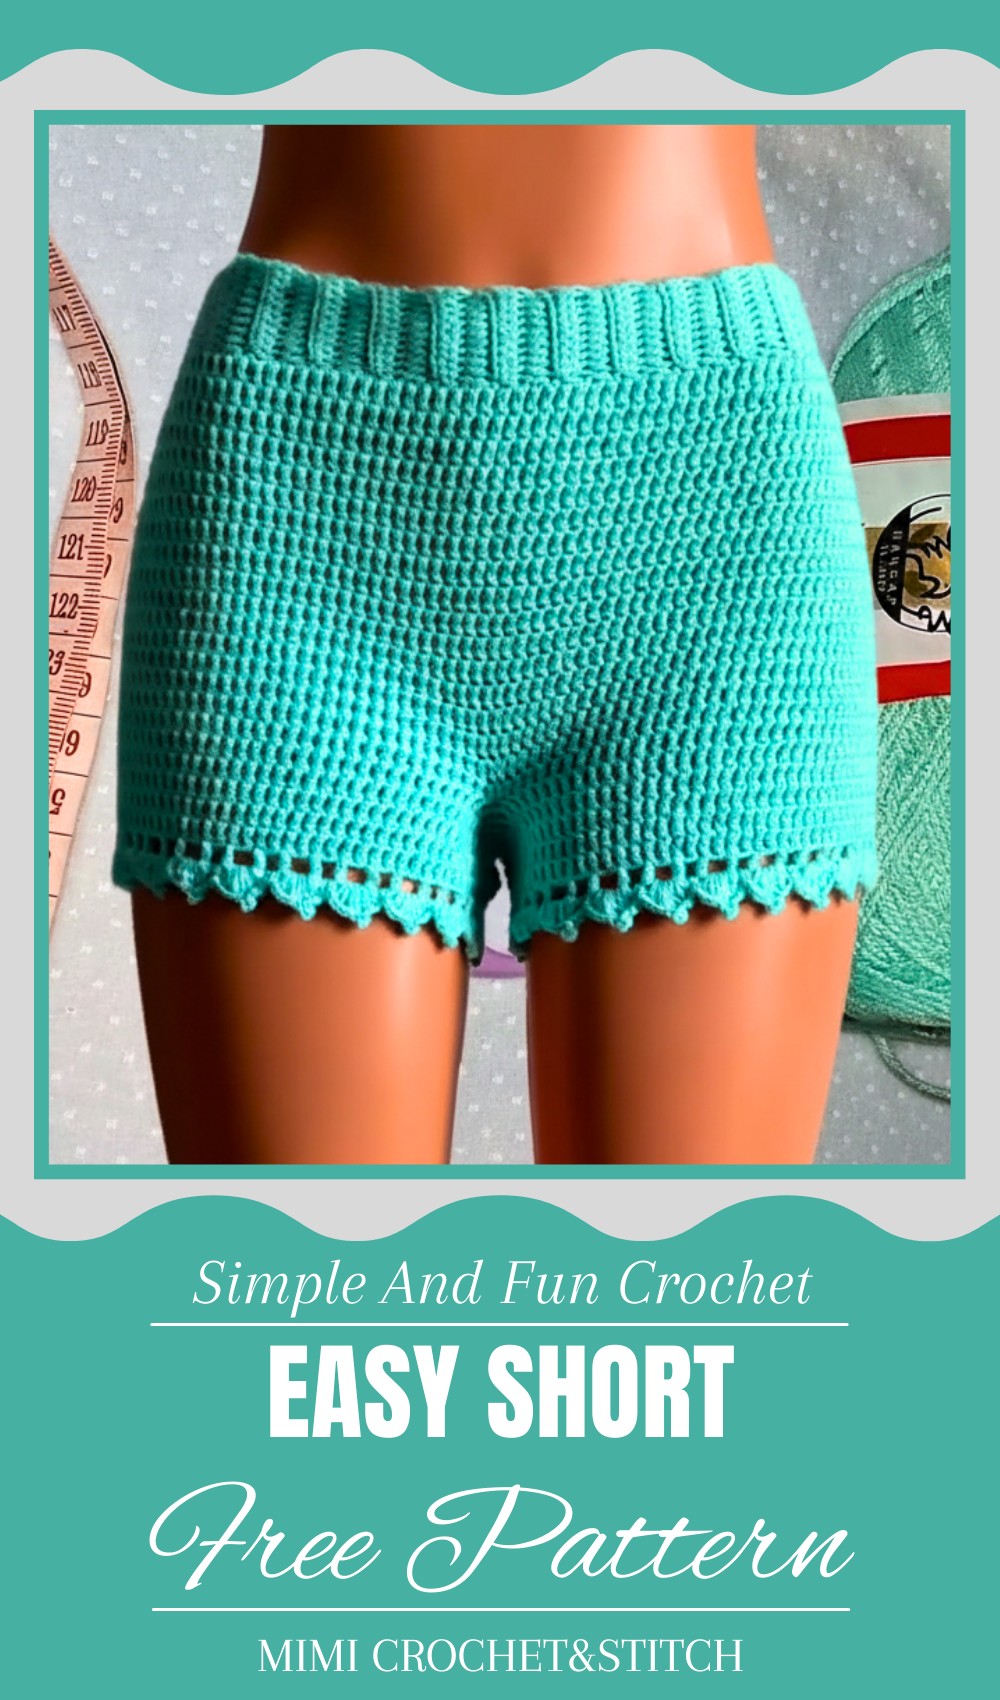
Effortless Crochet Short Pattern for Casual Comfort
Light, comfortable, and perfect for warm weather, crochet shorts offer a stylish option for casual wear. The open, airy stitches provide breathability, making these shorts ideal for beach outings, relaxing at home, or running errands. Their soft texture feels gentle on the skin, ensuring comfort throughout the day. Crochet shorts come in various designs, from simple and minimal to intricate and decorative patterns, adding a unique handmade charm to any outfit. They easily pair with tank tops, t-shirts, or casual shirts, giving a fresh and casual look.
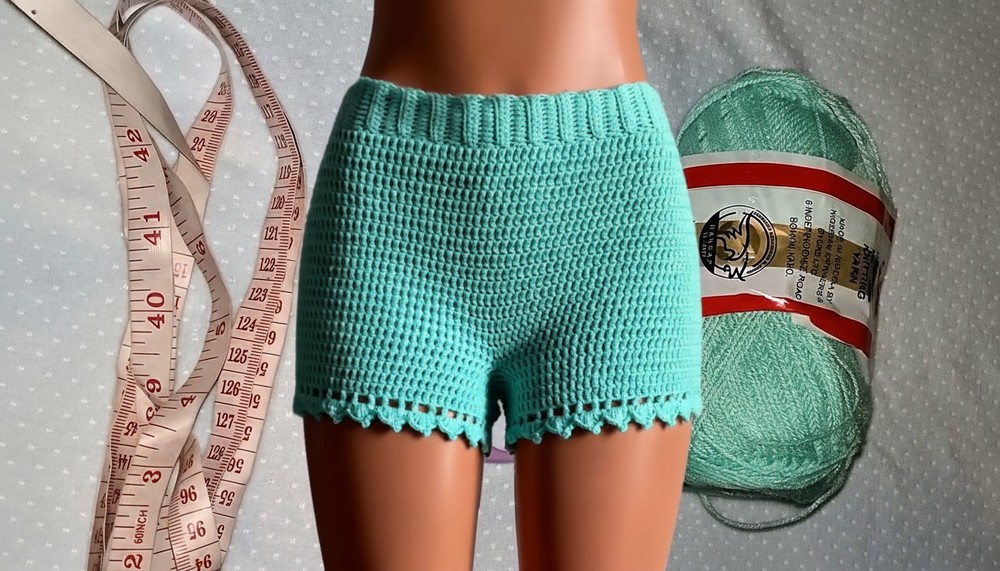
Available in natural tones or bright colors, these shorts fit a wide range of sizes and body types thanks to their flexible crochet structure. Comfortable and trendy, crochet shorts combine practicality with eye-catching style, making them a versatile addition to any summer wardrobe. Their ease of wear and attractive appearance make them loved by many.

Crochet Shirt Pattern – Step-by-Step Detailed Instructions
Special Features
- Customizable waist, hip, and crotch measurements
- Uses basic stitches: half double crochet, double crochet, single crochet
- Seamless waistband joining
- Shaping with stitch marker increases for hips
- Split leg construction for shorts-style shirt bottom
- Adjustable long string waist tie
- Suitable for summer or layering over tops
Difficulty Level
Beginner to Intermediate — Knit basic stitches confidently; increases and seamless joins add beginner-friendly shaping.
Materials
- Your preferred yarn (Mimi uses doubled acrylic yarn)
- 3.5 mm crochet hook
- Stitch markers
- Tape measure
- Scissors
- Tapestry needle for weaving ends and attaching strings
Step-by-Step Pattern
1. Waistband Foundation Chain
- Take your waist measurement.
- Make a slip knot. Chain 11 (or adjust according to your measurement).
- You have 11 chains total.
2. Row 1 – Half Double Crochet (hdc)
- Skip the last chain from your hook, yarn over and insert into second to last chain.
- Make a half double crochet (hdc) in that stitch.
- Continue making hdc across all chain stitches, working in each stitch until end.
- Total: 10 hdc stitches.
- Chain 1, turn.
Half double crochet reminder: yarn over, insert hook, yarn over, pull through, yarn over, pull through all 3 loops.
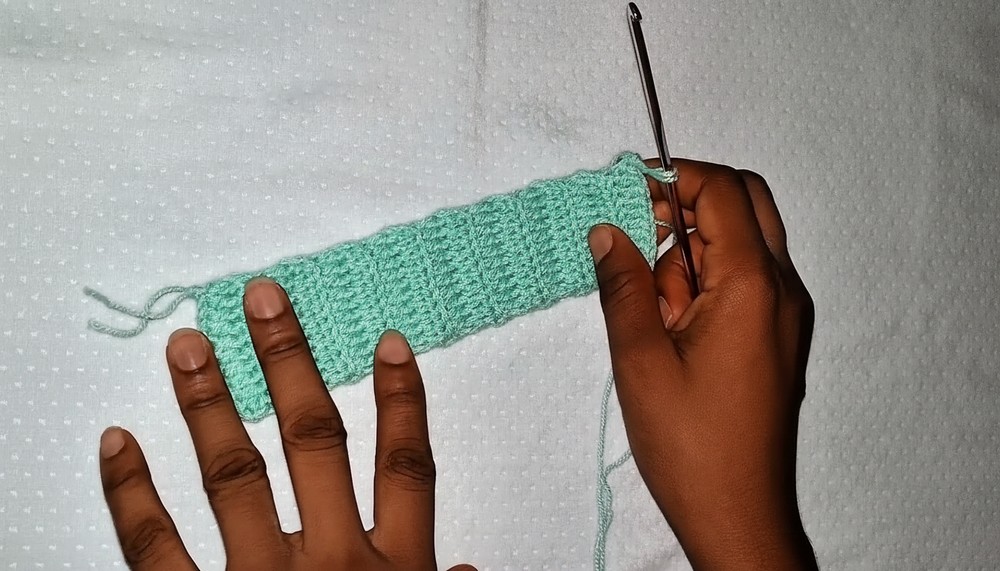
3. Rows 2 and 3 – Front Loop Half Double Crochet
- Work on the front loop only for all hdc stitches: yarn over, insert hook into the front loop, yarn over, pull through, yarn over, pull through all loops.
- Chain 1, turn at the end of each row.
- Repeat for rows 2 and 3 (or until desired waistband length).
- Do not stretch waist while measuring.
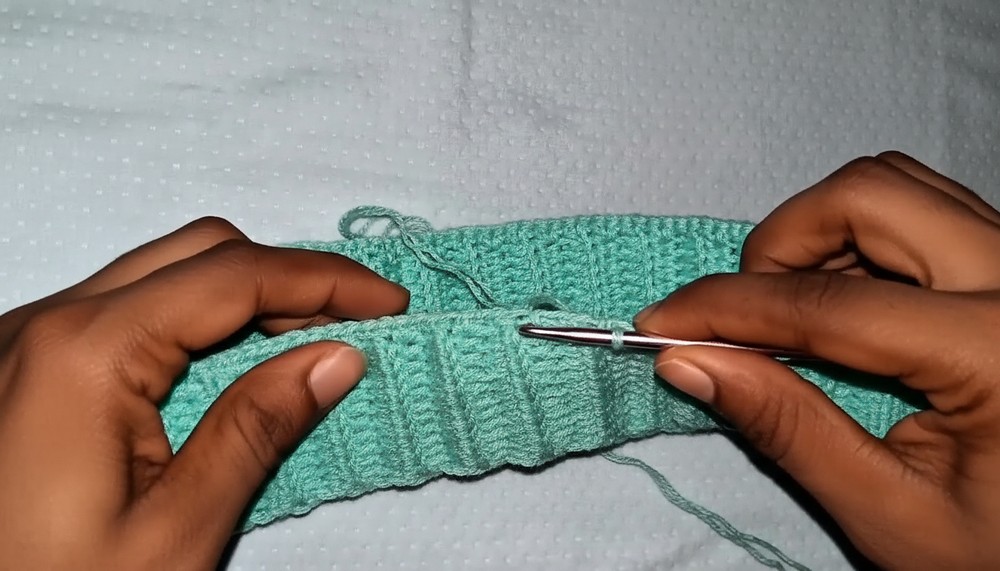
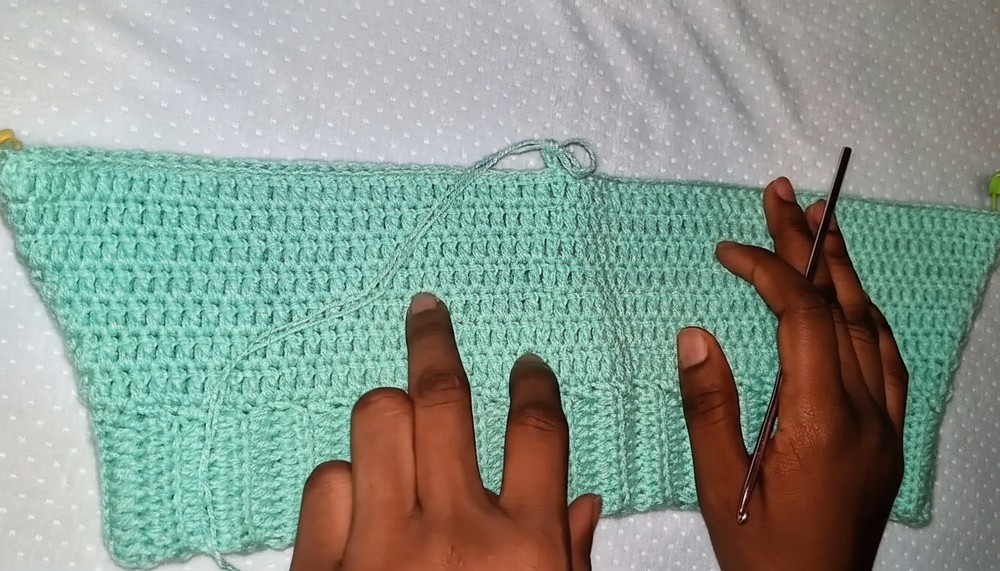
4. Joining Waistband Seamlessly
- After the last row, chain 1.
- Align starting and ending edges without twisting, then join edges with slip stitches through corresponding stitches on both sides to join the waistband in a loop seamlessly.
- This creates a “bump” edge to be the wrong side (inside) of the work.
- Chain 1 and turn the piece right side out.

5. Edge Finishing – Single Crochet Round
- Work 1 single crochet (sc) in each stitch around both edges (hdc and chain spaces), working into both chain and stitch spaces to even out and smooth edges.
- Join with slip stitch to first sc.
- This cleans up the edges for the next rounds.
6. Round 1 – Double Crochet (dc) Around Waistband
- Chain 3 (counts as first dc).
- Make 1 dc in each sc around until the round is complete.
- Join with slip stitch on top of chain 3.
- Measure waist circumference (unstretched) to ensure fit.
7. Stitch Marker Placement for Hip Increases
- Place a stitch marker on each side of the waistband to mark half the circumference.
- This is where you will place increases to shape hips.
8. Round 2 – Increase Round for Hips
- Chain 1 (or chain 3 if preferred).
- Make 1 dc in each dc stitch until reaching stitch marker.
- On stitch marker stitch, make 3 dc in the same stitch — this is your increase.
- Move stitch marker to middle of the 3 dc.
- Repeat the same increase on the other side where the second stitch marker is.
- Continue dc to finish round. Join with slip stitch.
9. Rounds 3 to 6 – Repeat Increase Round
- Repeat increase round as in Step 8 until reaching your hip measurement.
- When you reach desired hip size, stop increasing and remove stitch markers.
- Continue with regular 1 dc per stitch rounds without increases.
10. Rounds 7 to 17 – Straight Double Crochet
- Work dc rounds without increases until you reach desired length for crotch area.
- Count your rows and measure length as you go (e.g., Mimi completed 17 dc rows total at this stage).
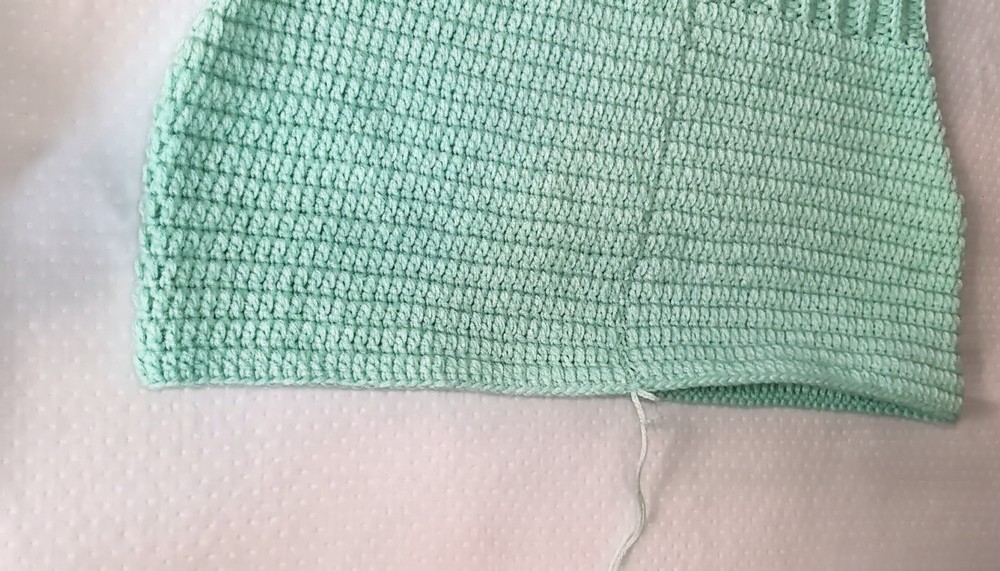
11. Splitting Legs – Dividing for Shorts Bottom
- Count all stitches and divide in half to separate front and back legs.
- The chain seam line defines the front; armhole areas are seamless.
- Measure crotch length from waist to crotch.
- Extend your chain accordingly for crotch measurement to complete the length (adding extra chain for crotch depth).
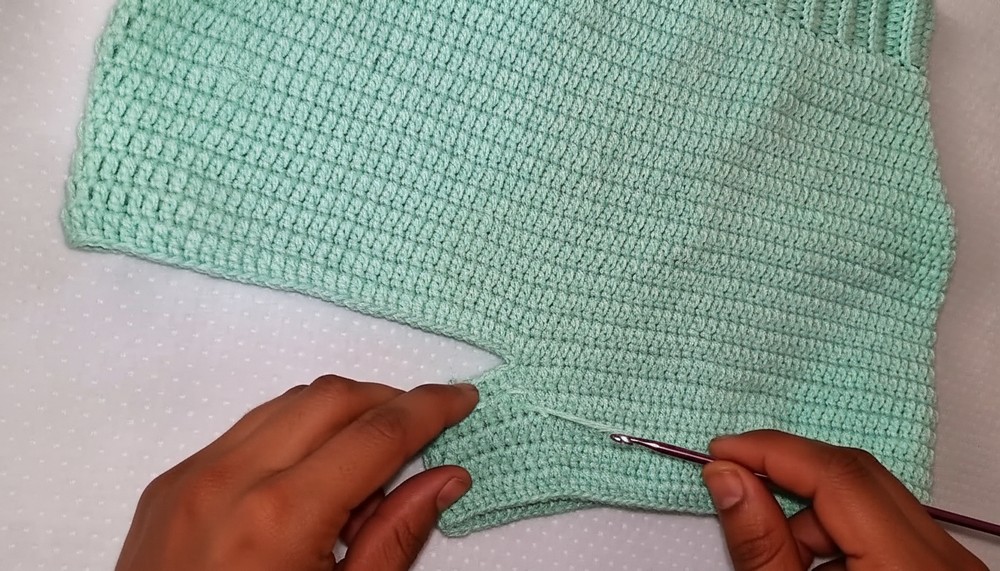
12. Working Each Leg Separately
- Start with either leg: make a slip knot and attach yarn at the middle stitch of leg opening.
- Make a standing double crochet or chain 3 to start leg rounds.
- Work double crochet around leg opening stitches, ensuring no twists.
- Join end of round with slip stitch to first dc.
13. Legs Rounds
- Chain 3 (counts as first dc), dc around leg opening.
- Continue rounds and measure for desired leg length (Mimi made 5 rounds for leg length).
- Join each round with slip stitch.
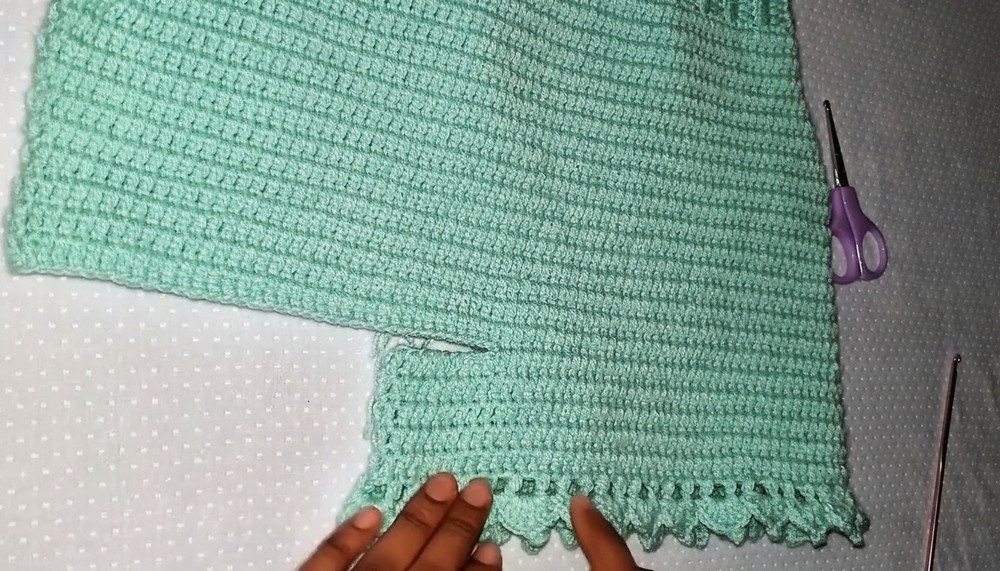
14. Edging Decorative Border
- Chain 3 (counts as dc), chain 1, skip one stitch, dc in next stitch, chain 1, skip one stitch.
- Repeat pattern dc, chain 1, skip 1 stitch around leg openings for a lacy effect.
- End with slip stitch on third chain of first chain 3.
- Work inside chain spaces:
- Make 1 single crochet in chain space,
- Make 4 dc, chain 3, picot stitch (3 dc cluster) in next chain space, and repeat.
- Finish edging with a slip stitch, chain 1, and cut yarn.
15. Attach Waist Adjustment String
- Crochet or chain a long string to thread through waistband as a drawstring for adjustable fit.
- Use a tapestry needle to weave the string through the waistband middle section.
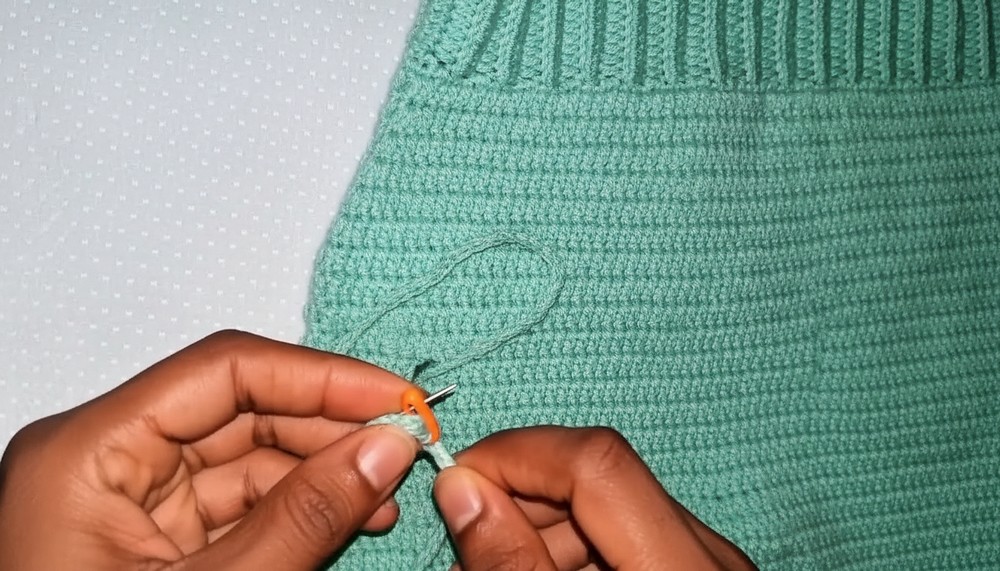
16. Weave in Ends and Final Touches
- Tie off all yarn strands securely.
- Weave in all ends with a tapestry needle.
- Adjust and wear proudly!
Tutor’s Suggestions
- Double your yarn strands if you want thicker fabric or faster stitching.
- Use stitch markers to easily identify increase points; this helps with even shaping.
- Always measure without stretching your work for accurate fit.
- You can make legs longer or stop as shorts depending on your style.
- Try different yarn weights and hook sizes to customize the look and drape.
- Consider adding embellishments or edging variations to personalize the shirt.
Uses
- Stylish summer or springwear crochet shirt
- Casual layering or beach cover-up
- Custom-sized garment comfortable for everyday wear
Tip for Success
Measure as you go! Accurate measurements during the waist, hip, and crotch stages help you get a perfect fit without guesswork. Take your time joining edges seamlessly for a neat finish.
Conclusion
This versatile crochet shirt pattern is a beginner-to-intermediate friendly project with clear shaping techniques to get a comfy, flattering fit. With easy stitches and the freedom to customize your size, it’s a fantastic addition to your wardrobe or crochet skills.
Leave a Reply