
Snap up this easy-to-follow crochet guide for a breezy cropped top that’s perfect for sunny days and adds charm to your casual wardrobe.
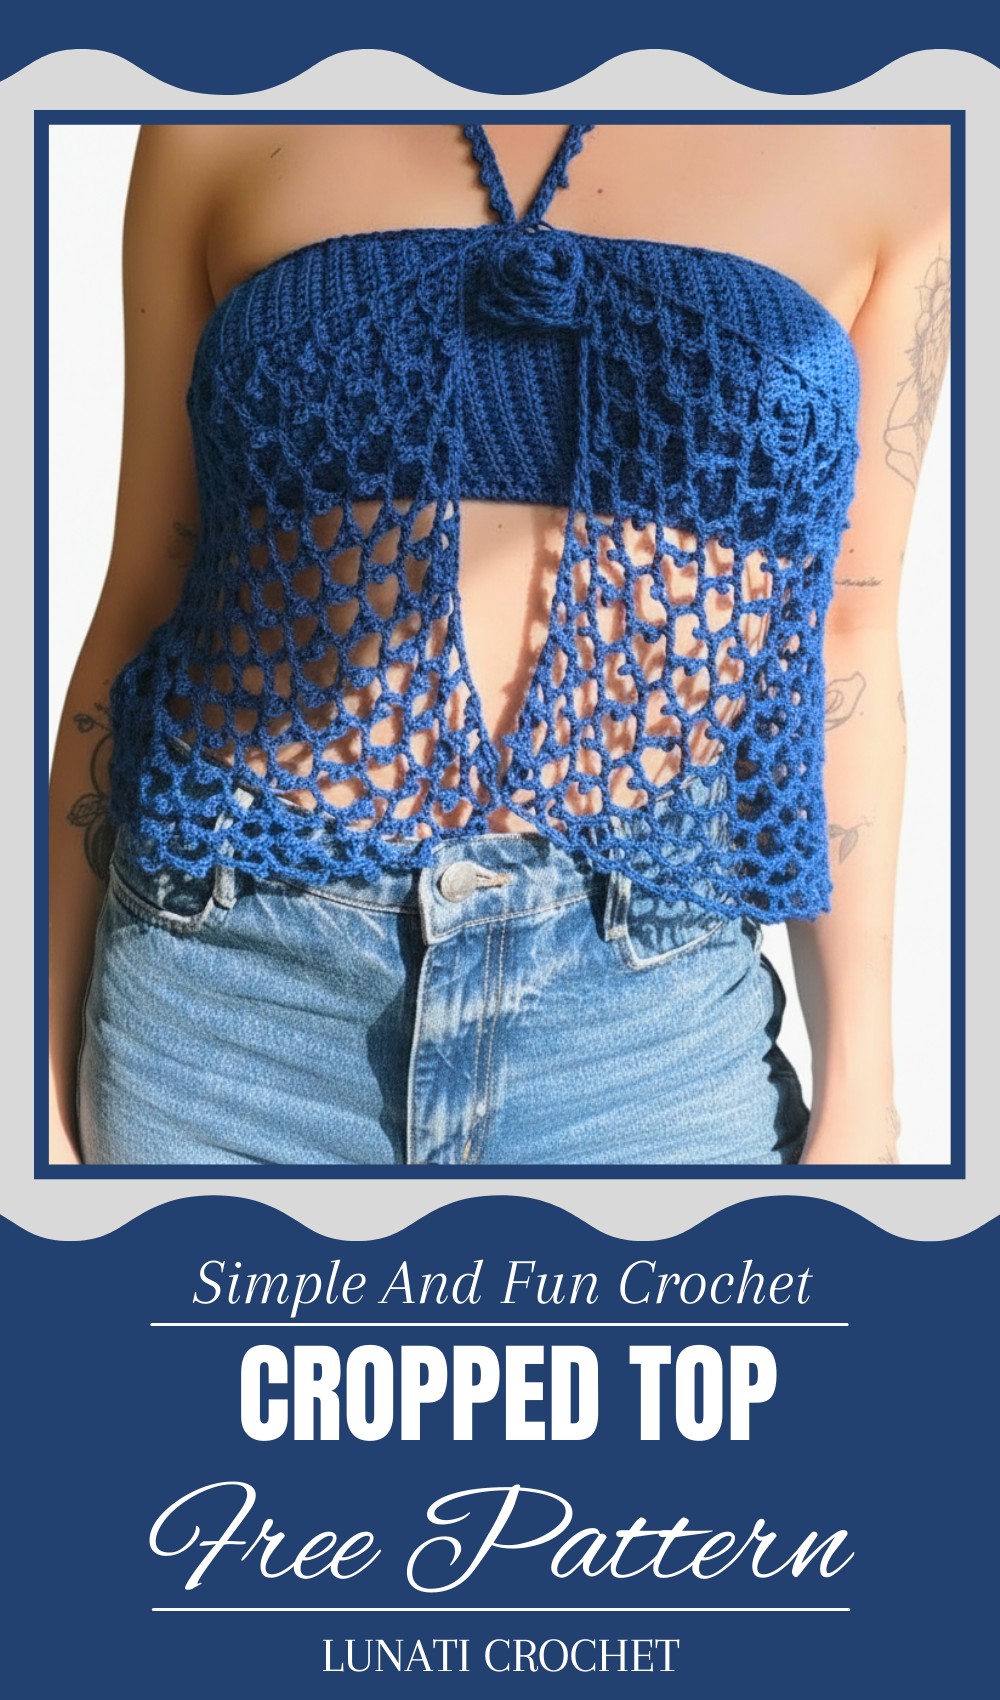
Fun & Simple Crochet Cropped Top Pattern for Warm Days
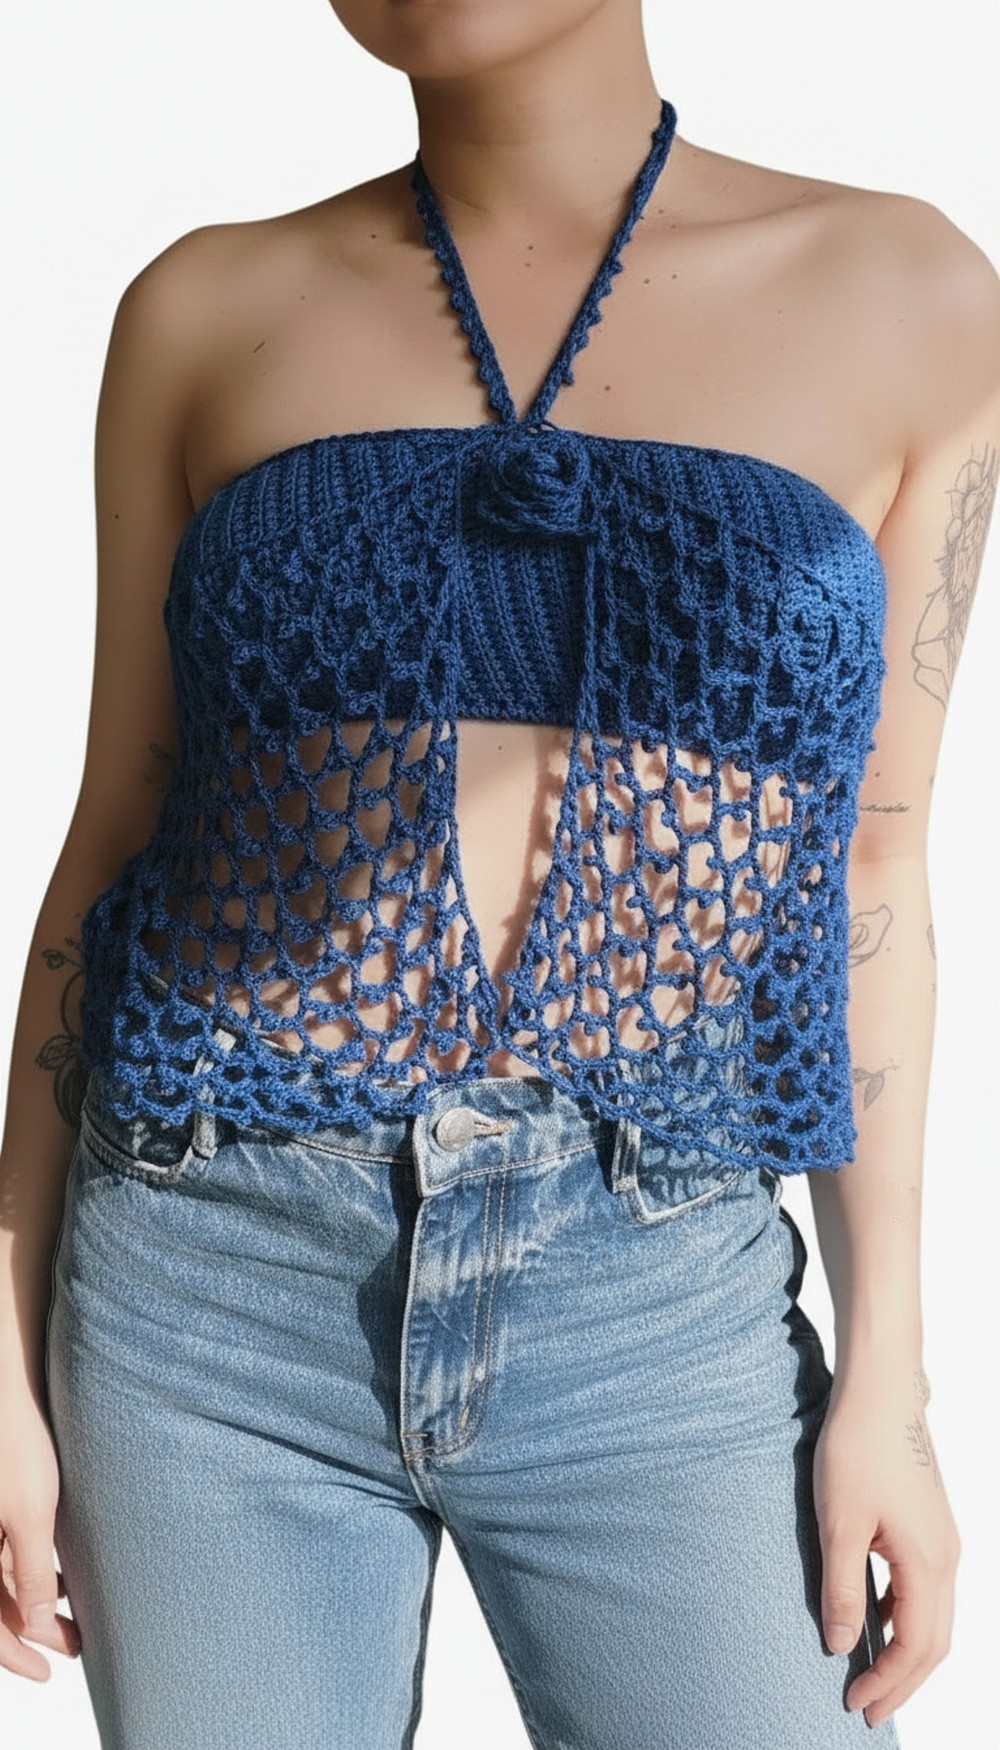
Feel the gentle breeze and sunshine on your skin with this charming cropped top that brings both comfort and style together. Soft yarn makes it smooth and cozy, perfect for warm days when you want to stay cool and relaxed. Its shorter length adds a playful, trendy touch by showing a little waist, making any outfit look fresh and lively.
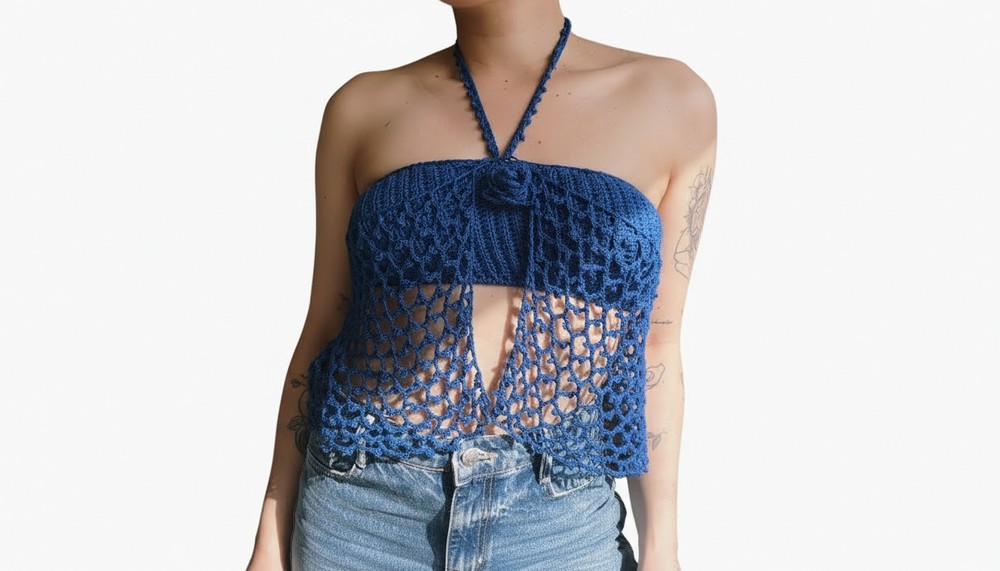
The simple, beautiful stitches create a lovely texture that’s easy to wear with jeans, shorts, or skirts. Bright or soft colors let you express your mood, so every top feels special and just for you. Lightweight and easy to move in, this top is perfect for picnics, beach trips, or casual meet-ups. It’s designed to make you feel confident, comfortable, and ready to enjoy every sunny moment with a smile.

Crochet Summer Top Pattern
Materials Needed:
- 1 skein Anne yarn by Círculo (100% cotton, 500 m, tex 295) — adjust quantity based on size
- Crochet needles: 1.75 mm (recommended needle size), 2 mm needle, 3 mm needle
- Thin elastic band
- Sewing needle and matching thread
- Scissors
- Stitch markers (optional)
Difficulty Level: Beginner to Intermediate
This pattern involves fundamental stitches, some shaping techniques, and attaching elastic, making it great for crochet enthusiasts progressing beyond basics.
Step-by-Step Pattern
Step 1: Prepare Materials and Gauge
- Use a 2 mm crochet needle for most of the top; start with a looser 3 mm needle to create a flexible foundation.
- Match yarn characteristics closely if substituting yarn.
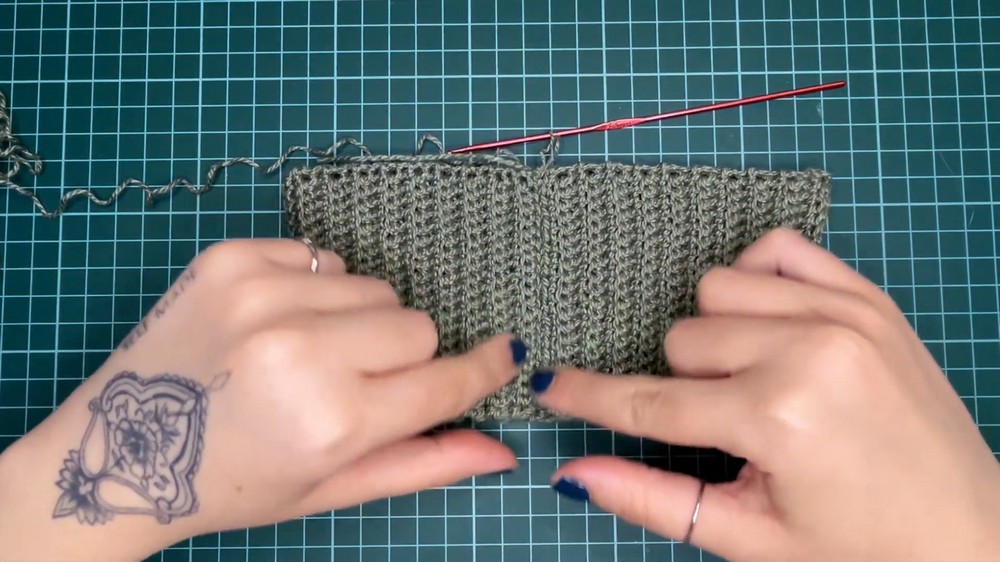
Step 2: Make the Bust Band
- Foundation Chains:
- Chain a starting number based on your bust measurement or chart provided (example: 79 chains for size 38).
- Add an extra chain stitch to mark the spot.
- Row 1:
- Insert needle into the chain space marked by your finger.
- Work single crochet (sc) stitches across all foundation chains.
- Switch Needle:
- Change to 2 mm needle after first row for the remainder of the project.
- Row 2 and Onward:
- Turn work and chain 1.
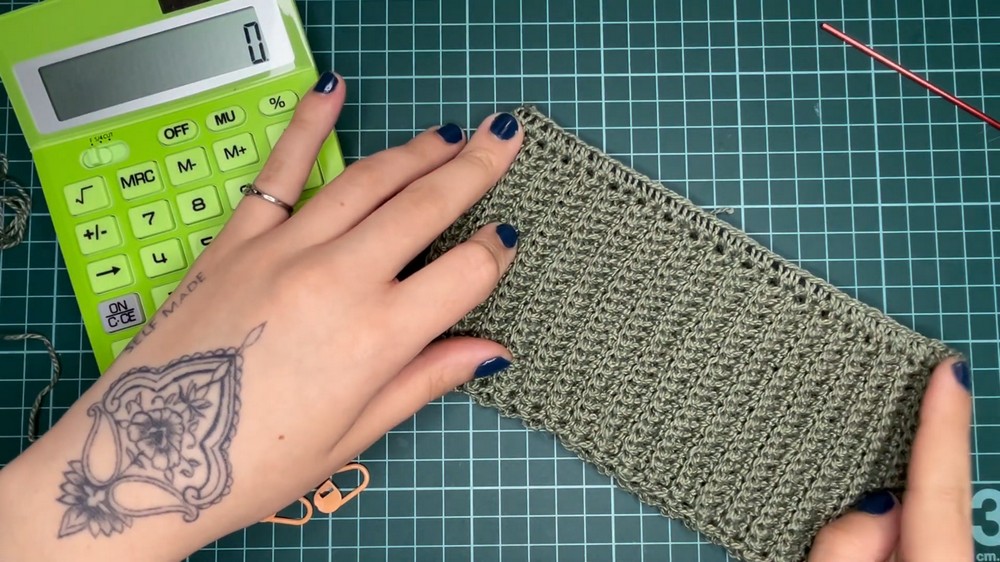
- Make single crochet (sc) stitches by inserting hook into the back loop only of each stitch to create ribbing texture.
- For the first and last stitch, work into both loops for a clean edge.
- Continue this pattern until you reach the band length that corresponds to the desired bust measurement (see size chart for row counts).
- Close the Band:
- Sew the band ends together using slip stitch or yarn needle.
- Make sure it forms a smooth, continuous loop.
Step 3: Attach the Elastic
- Lay the band so the right side is facing you.
- Measure elastic to be 2 cm shorter than your bust band circumference for snug fit.
- Starting from your loose loop or create a new slip knot, join elastic to band.
- Hold elastic inside the stitch and make single crochet (sc) stitches over both yarn and elastic, securing elastic discreetly inside the band.
- Continue this all around until the elastic is fully enclosed.
- Finish off and weave in ends.
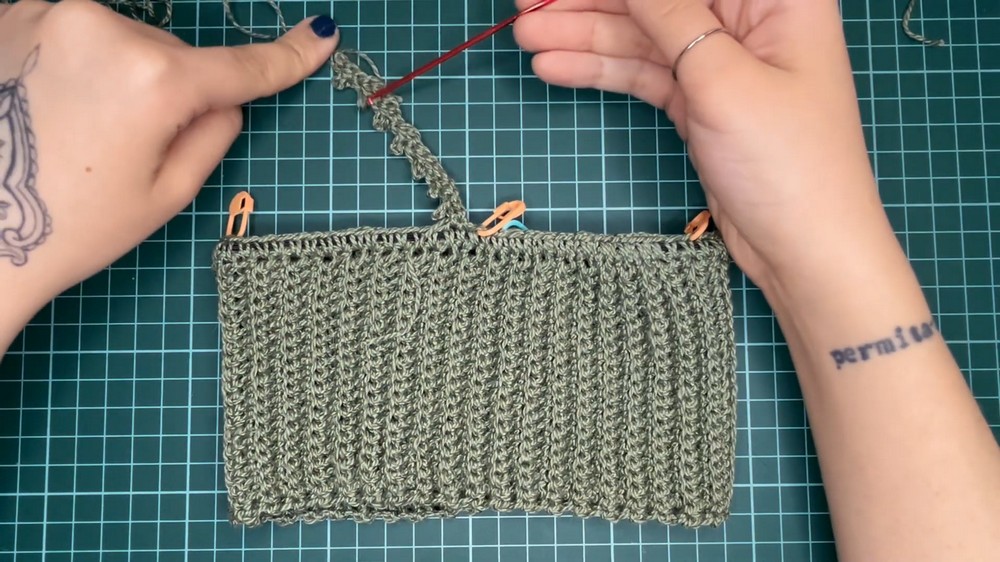
Step 4: Create the Handles
- Use stitch markers to find the midpoint on the front and back of the band.
- From one marker, chain about 120 chains (or length preferred for handle).
- Mark the last chain stitch and add one extra chain.
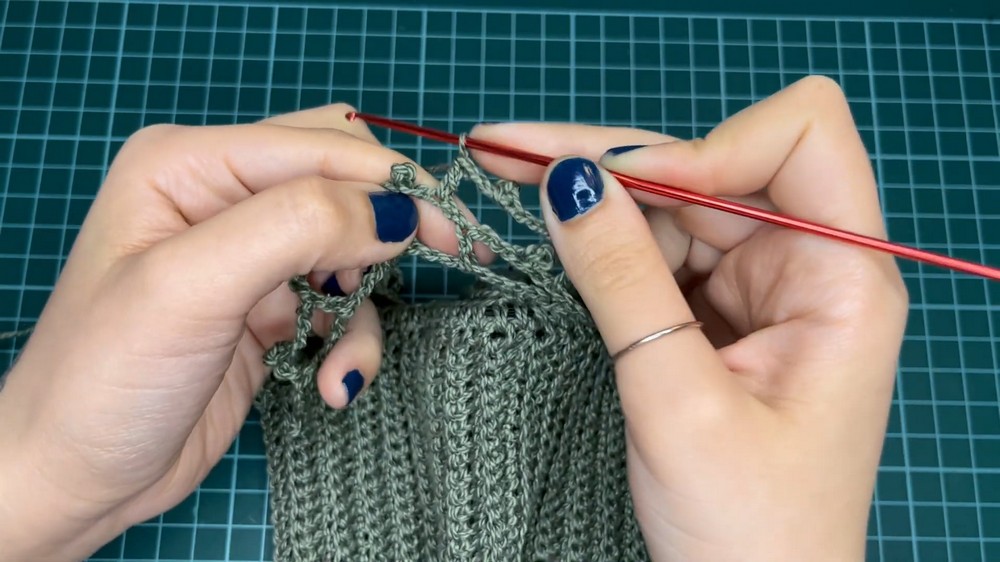
- Work slip stitches (sl st) into each chain back towards the base.
- Secure and weave in ends.
- Repeat for the second handle on the opposite side with the finish facing outward.
Step 5: Crochet the Body (The “Curtain”)
- Turn the piece so handles are at the top.
- Attach yarn at the point between handles (marked previously).
- Chain an adequate number of stitches to cover the front width plus extra (example: 30 chains).
- Join with a slip stitch to the opposite side marker forming a loop.
- Work double crochet (dc) stitches around the body following the pattern:
- Turn work, chain 3 (counts as first dc),
- Skip 4 chains,
- Slip stitch in next chain (creating mesh/openwork pattern),
- Chain 2, repeat around.
- Repeat until body section is your desired length.
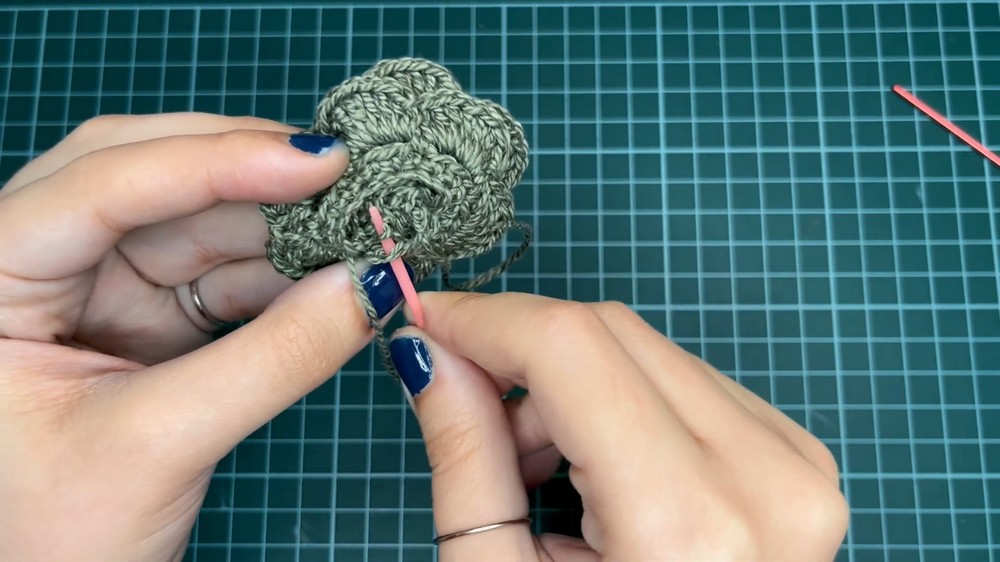
Step 6: Make Decorative Flower
- Chain 68 stitches.
- Starting in third chain, work a single crochet (sc) in each chain across.
- Turn work and chain 1, then proceed with a petal pattern: chain 3, skip 2 stitches, sc, chain 3, repeat.
- Complete around to create petals.
- Roll flower tightly starting from one end.
- Sew layers together carefully with needle and yarn to secure.
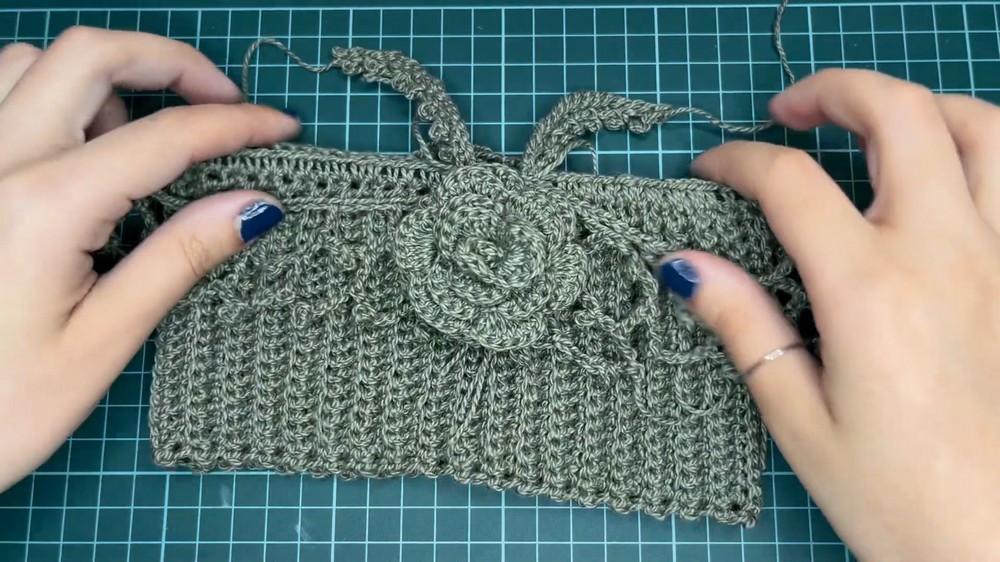
Step 7: Attach Flower to Front of Top
- Sew flower to the center front of the top on the inside to keep stitches neat.
- Use leftover yarn for secure stitching without deforming the top.
- Finish by trimming loose ends.
Special Features
- The band with ribbed single crochet (sc) back loop stitch offers comfortable stretch and neat finishing.
- Elastic insertion ensures the top stays snug yet breathable.
- Openwork mesh body created with mixed double crochet (dc) and slip stitches (sl st) results in a light, summer-appropriate fabric.
- Decorative flower adds a charming focal point and enhances style.
Tutor’s Suggestions
- Always try the band on the wearer before closing it to ensure perfect fit.
- Use stitch markers to keep track of handles and shaping points.
- Tighten stitches around elastic to prevent sagging but keep them flexible.
- For beginner safety, sew handles firmly as they support the garment’s weight.
Uses
- Perfect for summer outings, beachwear, or casual everyday tops.
- Can be worn alone or layered for a boho chic look.
- Great gift idea for warm-weather lovers who enjoy handmade fashion.
Tip
To avoid elasticity loss, stretch your elastic slightly before inserting into the band and crochet firmly to hold it in place without overstretching the fabric.
Conclusion
This elegant, breathable crochet summer top combines comfort and style with accessible techniques. The detailed band, elastic insertion, and beautiful flower accent allow beginner and intermediate crocheters to create a flattering garment perfect for hot weather. E
Leave a Reply