
Wrap yourself in cozy charm with this vibrant crochet hexagon granny stitch jacket pattern that’s perfect for adding a playful, stylish touch to any outfit.
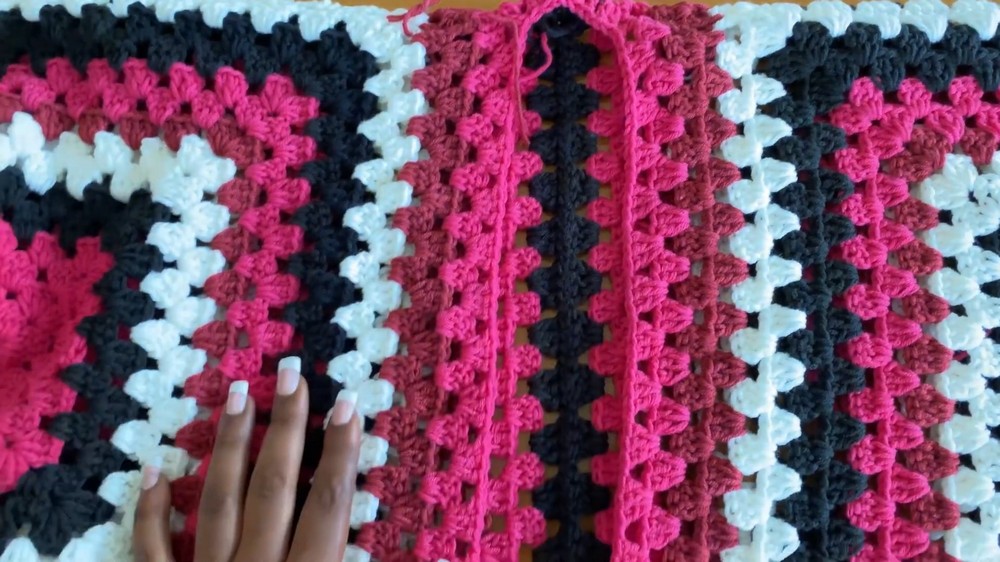
This jacket is a beautiful and unique piece made up of many little six-sided shapes joined together. Its lovely pattern looks like small flowers or stars, giving it a special handmade touch that stands out. The jacket feels soft and cozy, perfect for keeping you warm on cool days without feeling too heavy. Because it’s made with open stitches, it lets air in, making it comfortable to wear even when it’s not too cold.
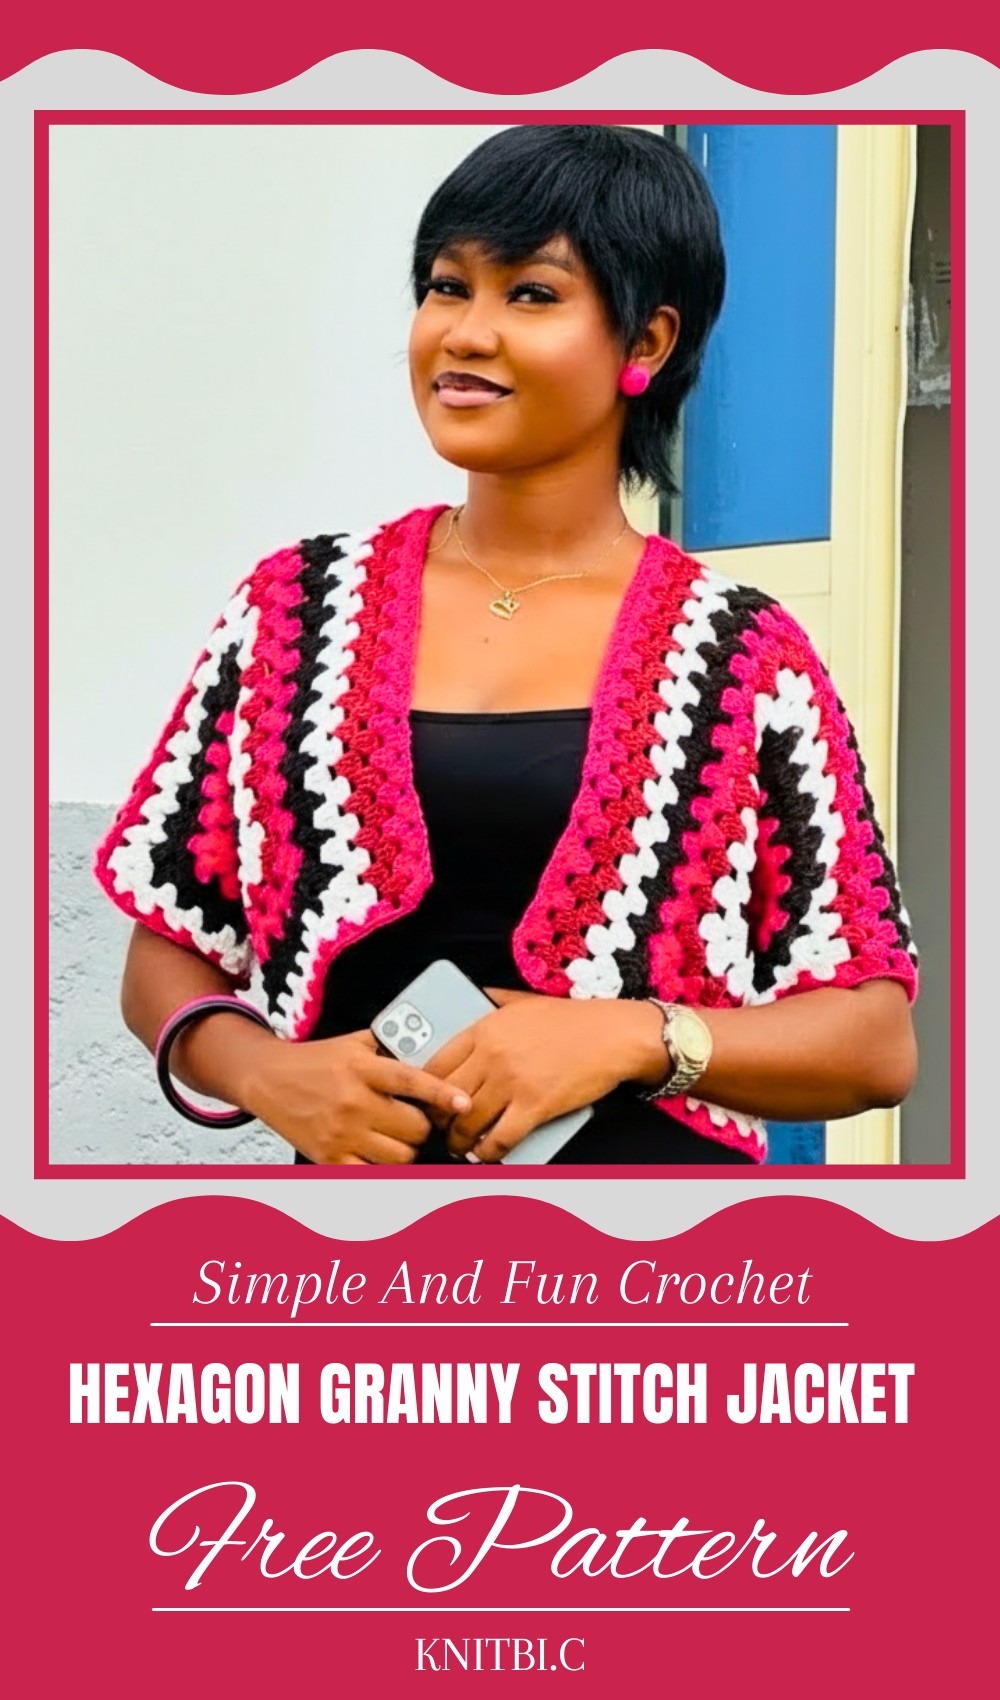
Stunning Crochet Hexagon Granny Stitch Jacket Pattern Cozy Style
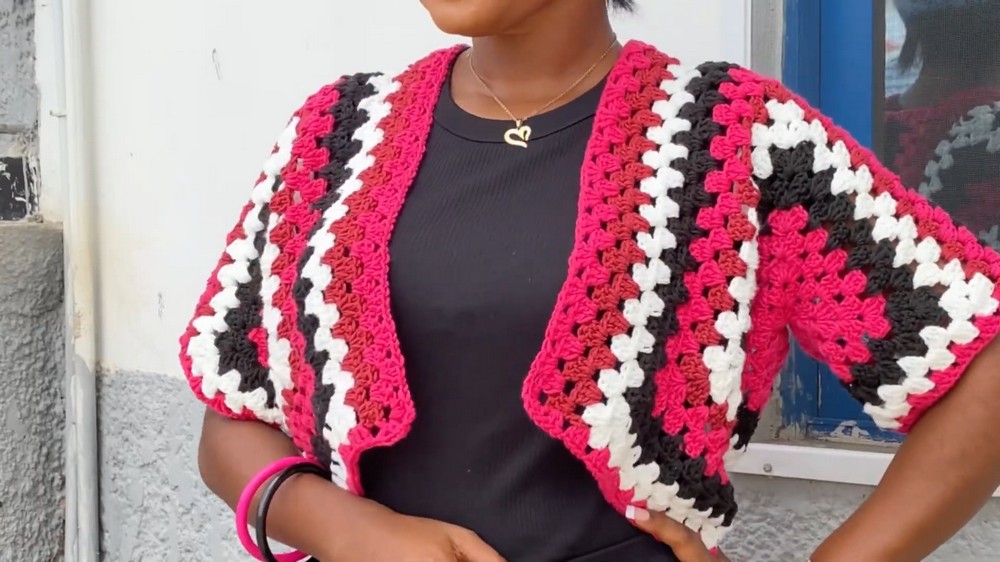
You can wear it over simple clothes to add a charming and colorful layer that brightens up your outfit. Whether you’re going out with friends or just relaxing at home, this jacket adds a fun and stylish look. Its design fits many shapes and sizes, making it a great gift or a special treasure you can wear anywhere. The handmade pattern makes every stitch look like a little work of art that you’ll love showing off.

Crochet Easy Jacket Pattern
Level of Difficulty
Beginner Friendly – Uses basic crochet stitches like chain (ch), double crochet (dc), slip stitch (sl st), and granny stitch clusters.
Materials Needed
- Yarn: M Cotton 4 Ply
- Crochet Hook: 4.5 mm
- Scissors
- Tapestry/Darning Needle
- Tape Measure
Step-by-Step Pattern
Step 1: Starting the First Round
- Begin with a slip knot.
- Chain 4, then join with a slip stitch to form a ring (alternatively use magic circle).
- This ring is your base for the granny stitches.
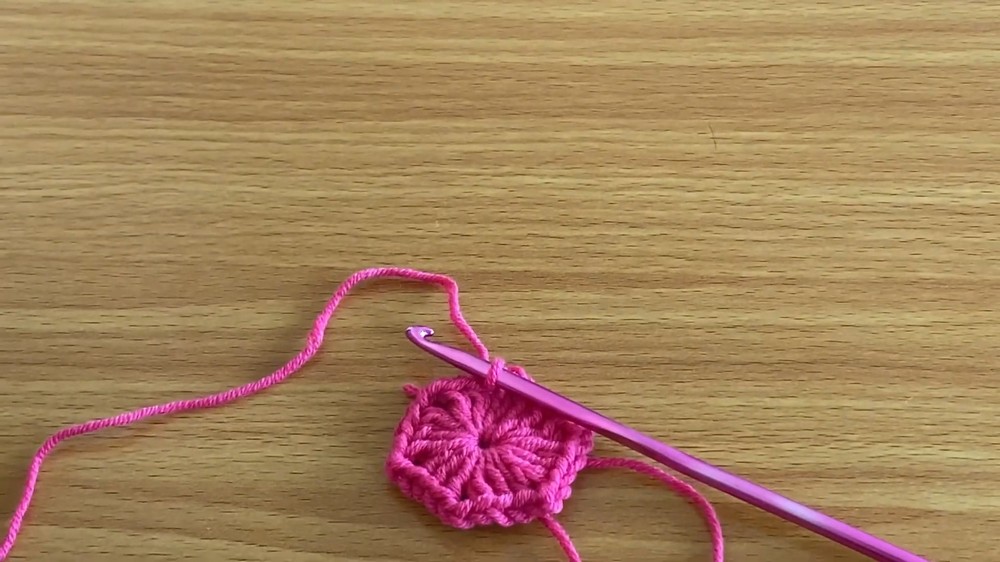
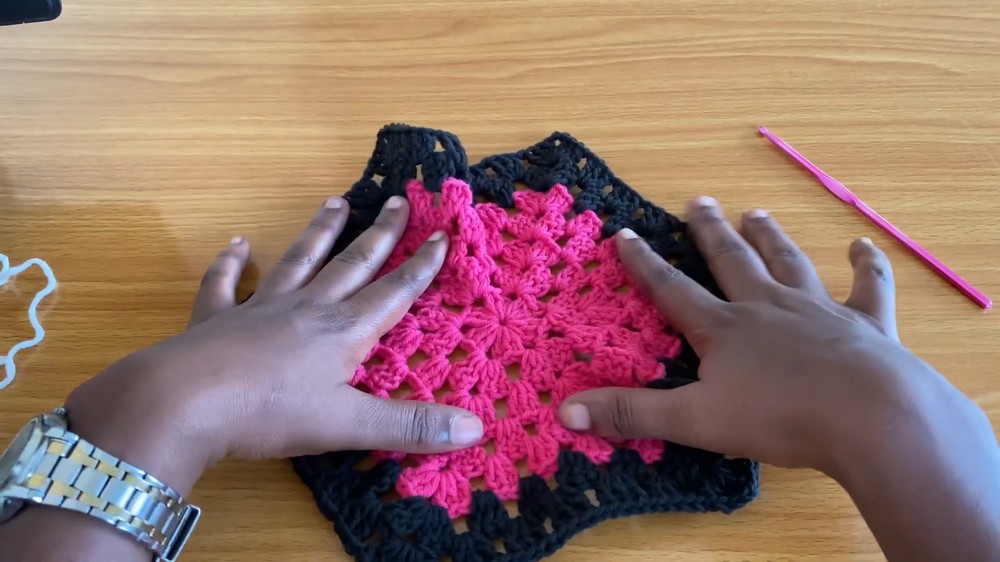
Step 2: Round 1 – Forming the First Granny Cluster
- Chain 3 (counts as first dc),
- In the ring, yarn over and insert 2 more dc into the same space (total 3 dc + ch 2).
- Chain 2 (this is corner space).
- Repeat 3 dc, ch 2, 3 dc chain 2 three more times, totalling 4 corners with 3 dc groups separated by ch 2.
- Join with a slip stitch to the top of the first chain 3.
Step 3: Tighten and Prepare for Next Round
- Pull the starting tail yarn to close the center tightly. Don’t worry about the tail; you will weave it in later.
Step 4: Round 2
- Chain 3 (counts as first dc),
- In the same corner ch-2 space: work 2 dc, then chain 2, 3 dc (making the corner).
- Chain 1, now in the next ch 2 space: work 3 dc.
- Chain 1, repeat until reaching the last corner.
- At last corner, 3 dc, ch 2, 3 dc,
- Chain 1 and join with a slip stitch to the top of chain 3.
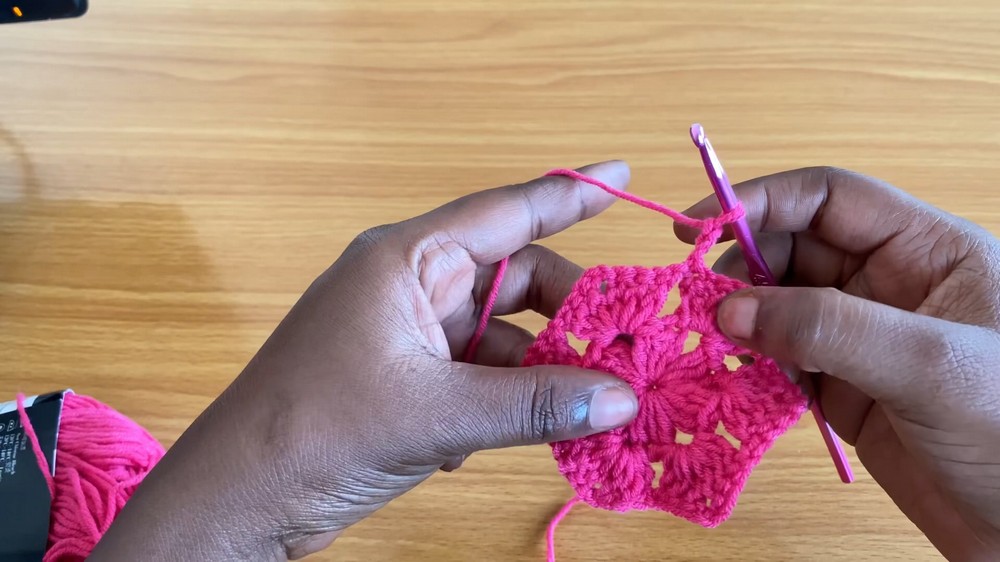
Step 5: Round 3 – Adding More Corners
- Chain 3 (counts as first dc),
- Work 2 dc in first corner ch-2 space,
- Chain 2, 3 dc in the same space (corner).
- Chain 1, then place 3 dc in every chain-1 space, chain 1.
- In each corner ch-2 space, work corner cluster (3 dc, ch 2, 3 dc).
- Join with slip stitch to chain 3.
Step 6: Rounds 4 to 6 – Continue Expanding Square
- Repeat the pattern:
- In corners: 3 dc, ch 2, 3 dc.
- Chain 1 between clusters.
- Join rounds with slip stitches, chain 3 at the start of each round.
- Maintain stitch counts by increasing corners correctly.
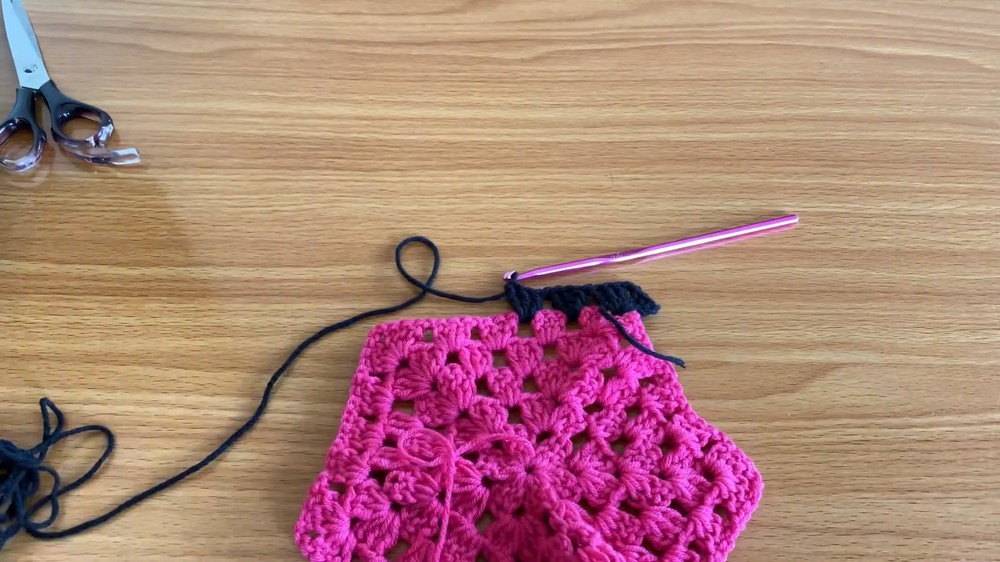
Step 7: Changing Colors (Optional)
- Cut yarn and join a new color by making a slip knot.
- Attach yarn in any chain-2 corner space, chain 1, fasten securely by tying a knot.
- Chain 3 to count as first dc, work 2 more dc in same space, chain 2, 3 dc.
- Continue pattern normally.
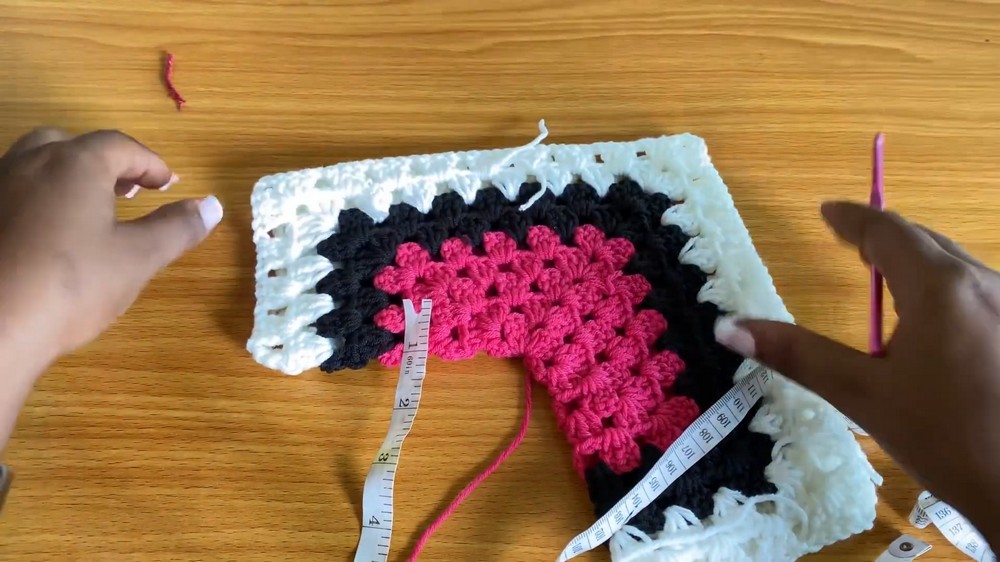
Step 8: Measuring Sleeve Length
- Fold your project to determine sleeve size.
- Work rounds until sleeve length measures about 5 inches or desired size.
- You can continue rounds for longer sleeves or stop sooner for shorter ones.
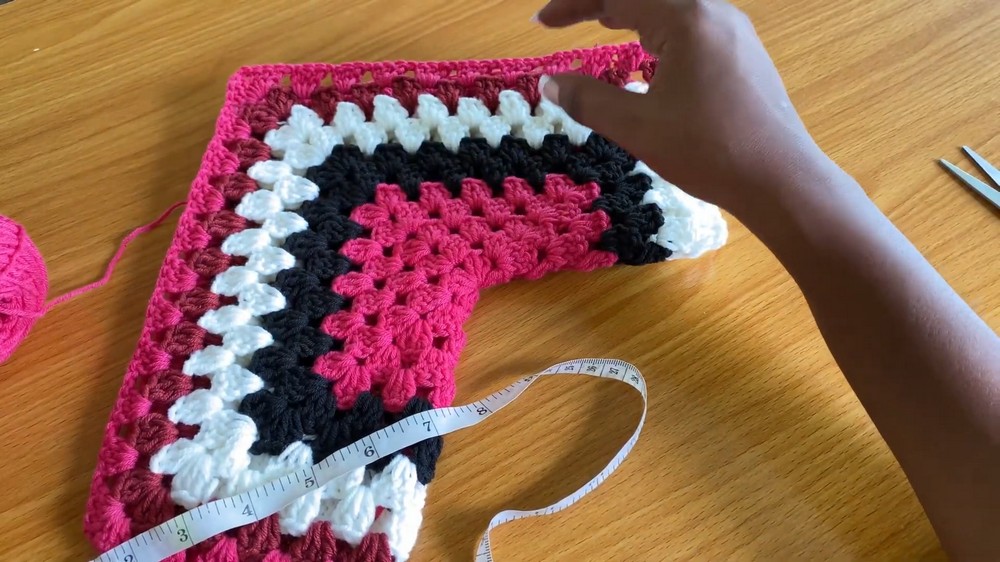
Step 9: Working the Body and Sleeves Separately
- After desired length, stop working a portion of the round to create sleeve opening.
- Work remaining stitches around the rest of the project (excluding the sleeve opening spaces).
- Continue working rows across three “angles” to shape the body.
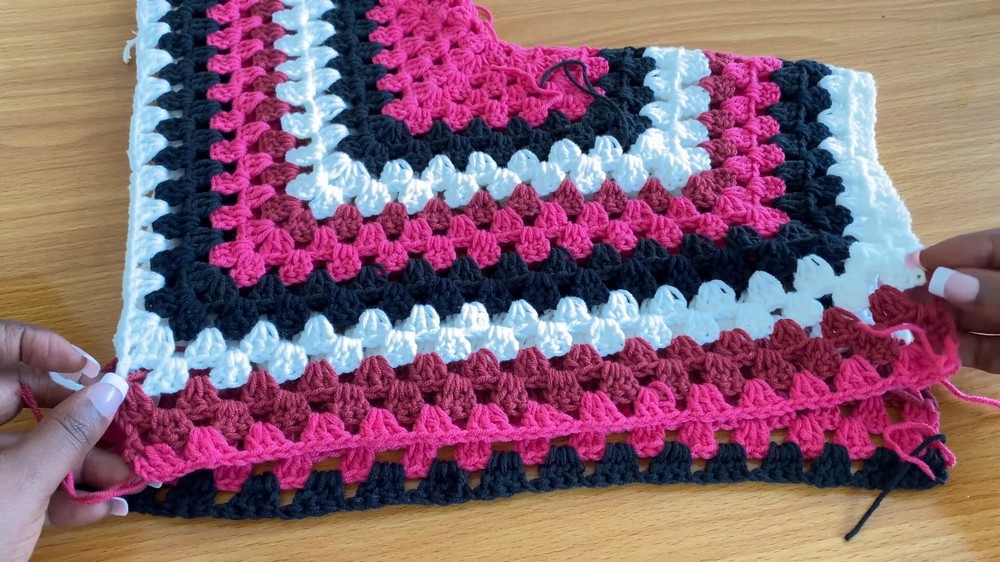
Step 10: Adjust Width and Length
- Add or reduce rows for desired width from neckline to hem.
- Keep the back length slightly longer than the front (usually 2 rows more).
Step 11: Shoulder and Side Assembly
- Sew shoulder seams on the wrong side using yarn needle and yarn.
- Use slip stitch or single crochet to join for a neat finish.
Step 12: Constructing Sleeves
- Make two identical parts for sleeves following the same method.
- Sew sleeves to body at armholes.
Step 13: Final Edging
- Work a round of granny stitches or running stitches around jacket edges including neckline and bottom.
- This gives a clean, polished look.
Step 14: Weave in Ends
- Use yarn needle to weave in all loose ends securely.
Special Features
- Color blocking options with easy color change steps.
- Flexible sleeve and body length customization.
- Simple granny stitch creates a textured and fashionable look.
Tutor Suggestions
- Use tape to measure your sleeve and body as you go for a personalized fit.
- Don’t worry about loose ends during stitching; weave in later neatly.
- Practice granny cluster on scrap yarn before starting.
Uses
Perfect for casual wear, layering on chilly days, or adding flair to simple outfits. Lightweight and breathable for spring and fall seasons. Makes a stylish gift too!
Tip
If you want longer sleeves, simply continue working rounds before shaping; for cropped style, stop earlier. Always check measurements as you go!
Conclusion
This hexagon granny stitch jacket combines ease with elegance, making it a fun project for creative crafters. With simple stitches and customizable sizing, you’ll have a versatile wardrobe staple you can proudly wear or gift.

Leave a Reply