
Brighten your day with colorful crochet tulip that add a touch of warmth and charm to any room or gift, bringing cozy beauty that’s easy to enjoy.
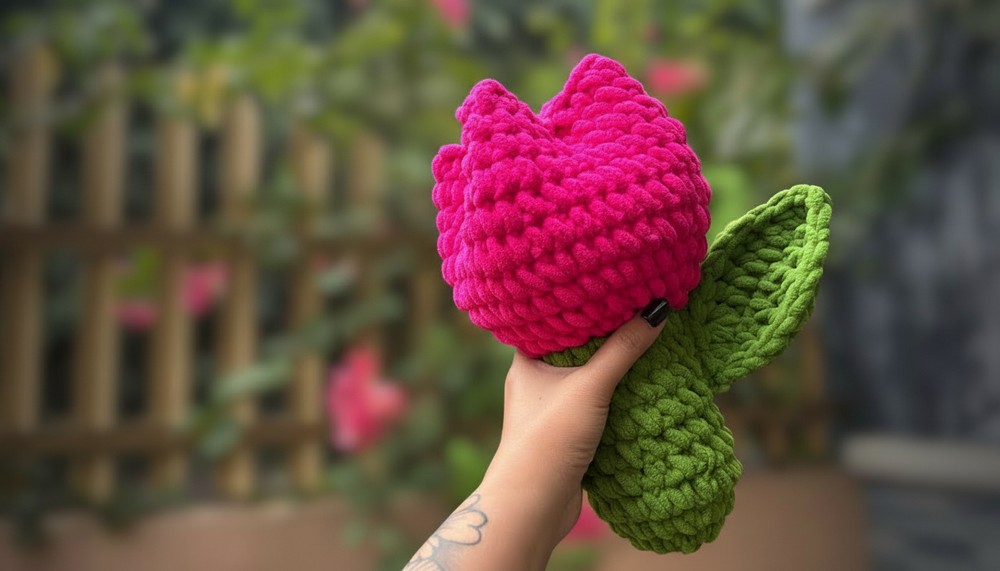
A bright garden full of colorful tulips gently sways in the breeze. Holding that same beauty in your hands, made from soft yarn instead of petals, brings a warm feeling. This crochet tulip pattern turns the lovely flower into a soft, cozy creation. Its smooth curves and pointed petals look just like real tulips, adding charm wherever they are placed.
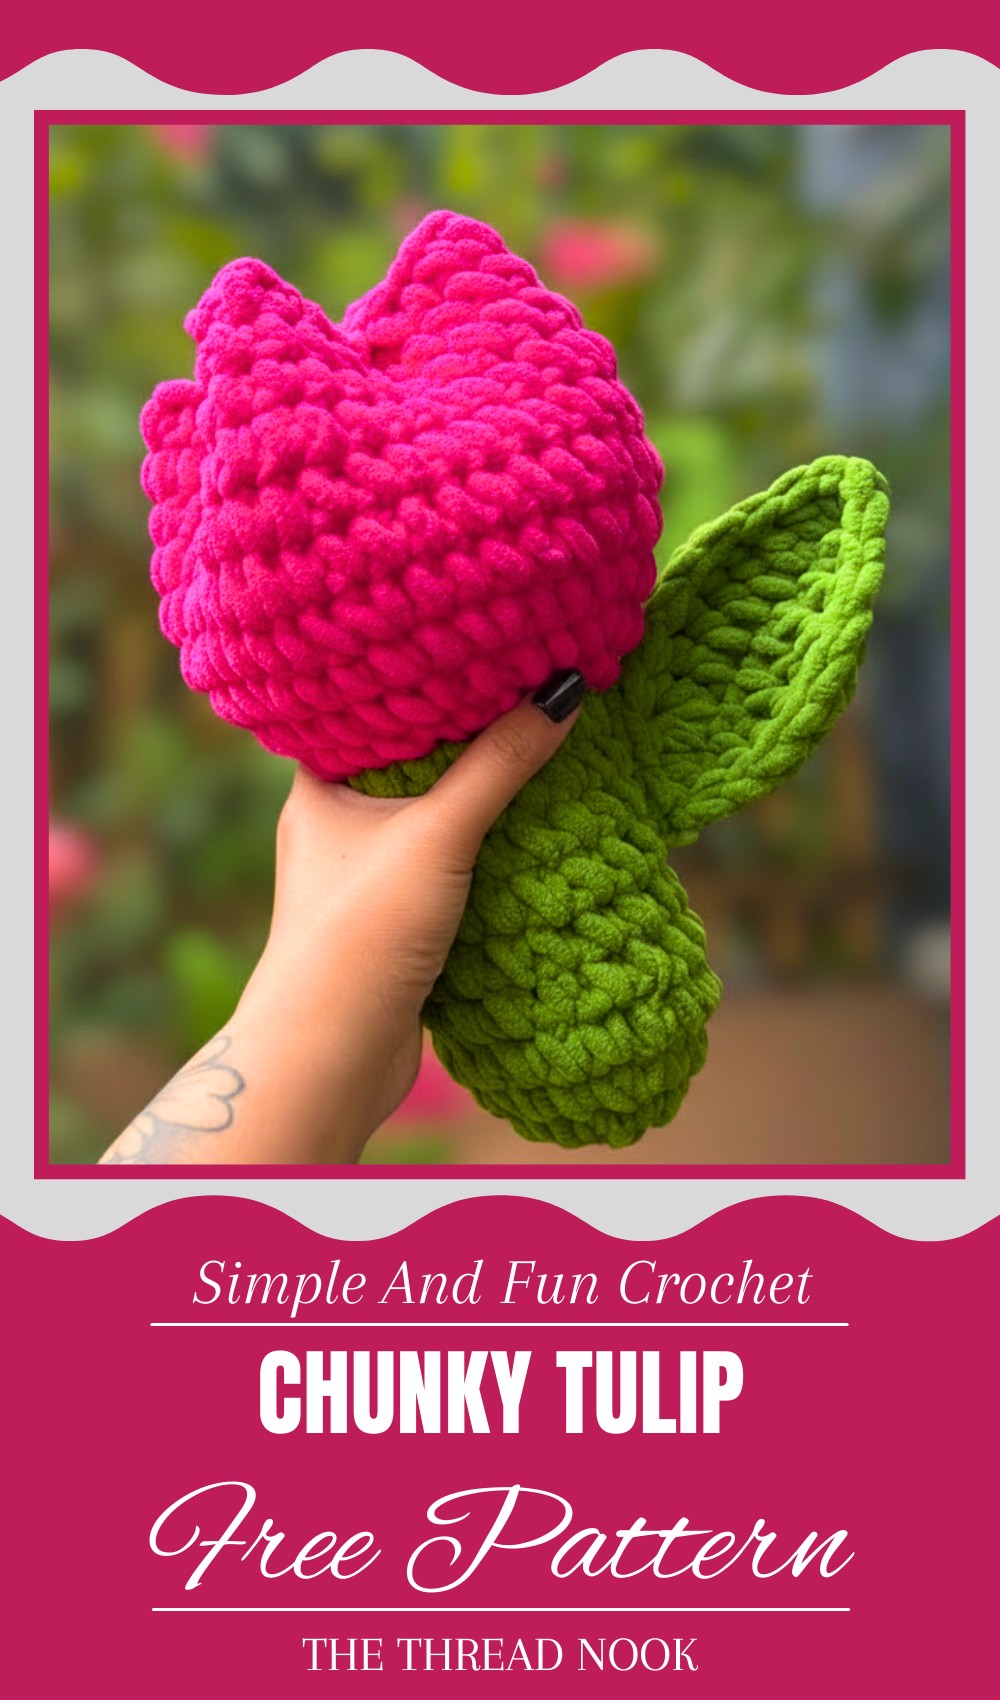
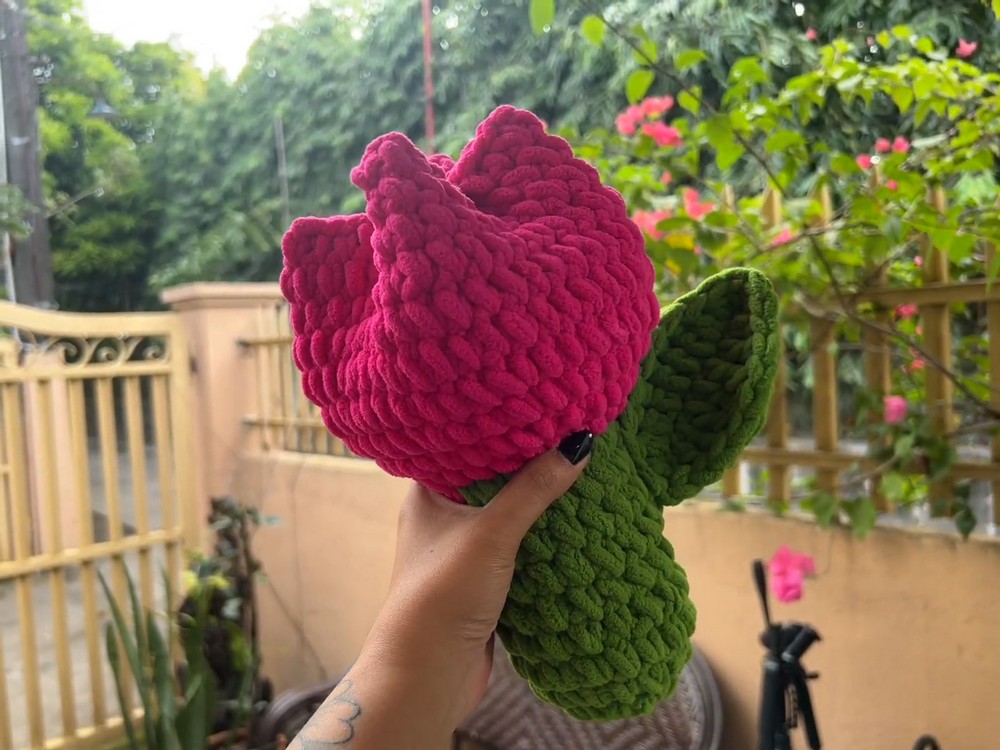
Vibrant Crochet Tulip Pattern Adds Joy to Any Room
These crochet tulips can brighten up any room, decorate gifts, or become a special bouquet that never fades. By choosing different colors, they can be playful or elegant, matching any style. Soft and easy to hold, these yarn tulips blend the freshness of nature with the comfort of handmade art. Whether placed in a vase or used as decoration on clothes and accessories, they add a cheerful touch that can be enjoyed any time of the year.
Chunky Tulip Crochet Pattern
Materials Needed
- Chunky chenille yarn (100g each for green and pink)
- Crochet hook 6 mm (6.5 mm recommended if available)
- Stitch marker
- Yarn needle
- Scissors
- Fiber fill for stuffing
- Thin wire for leaf shaping
Special Features
- Soft, plush texture with chenille yarn
- Worked in the round with increases and back loop stitches
- Structured leaf with wire support
- Stuffed bulb for 3D effect
- Works up quickly with bulky hook
Difficulty Level
Beginner to intermediate — basic stitches (single crochet), rounds, increases, and working with wire.
Step-by-Step Pattern
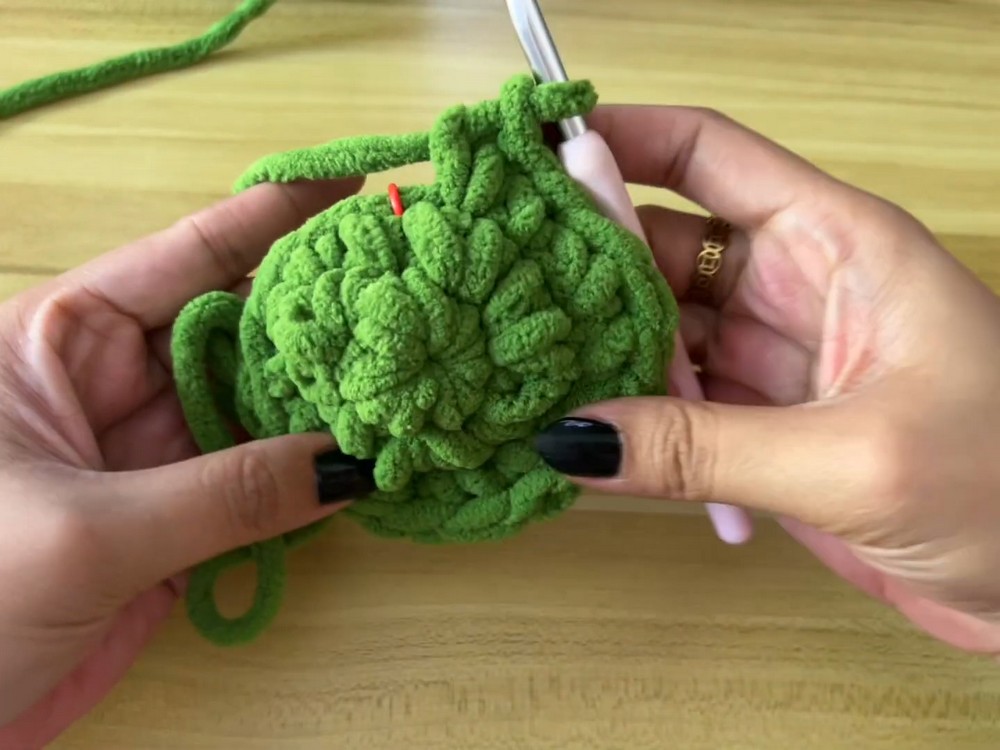
Step 1: Start Stem with Magic Circle
- Make a magic circle with green yarn.
- Chain 1 (does not count as stitch).
- Work 6 single crochets (sc) into magic circle.
- Place stitch marker to mark start of round.
- Pull tail to close circle snugly.
Step 2: Round 2 – Increase Each Stitch
- Remove stitch marker.
- Work 2 single crochets (sc) into each of the 6 stitches (increase).
- Total 12 sc.
- Replace stitch marker at first stitch of round.
Step 3: Round 3 – Increase Every Other Stitch
- Remove stitch marker.
- Work pattern: 1 sc in next stitch, 2 sc in next stitch, repeat around.
- Total 18 sc.
- Replace stitch marker.
Step 4: Rounds 4–10 – Single Crochet in Each Stitch (No Increase)
- Work 1 sc in each stitch around without increases.
- Place stitch marker at start of each round.
- Work until you have 10 rounds in total (approximate length for stem).
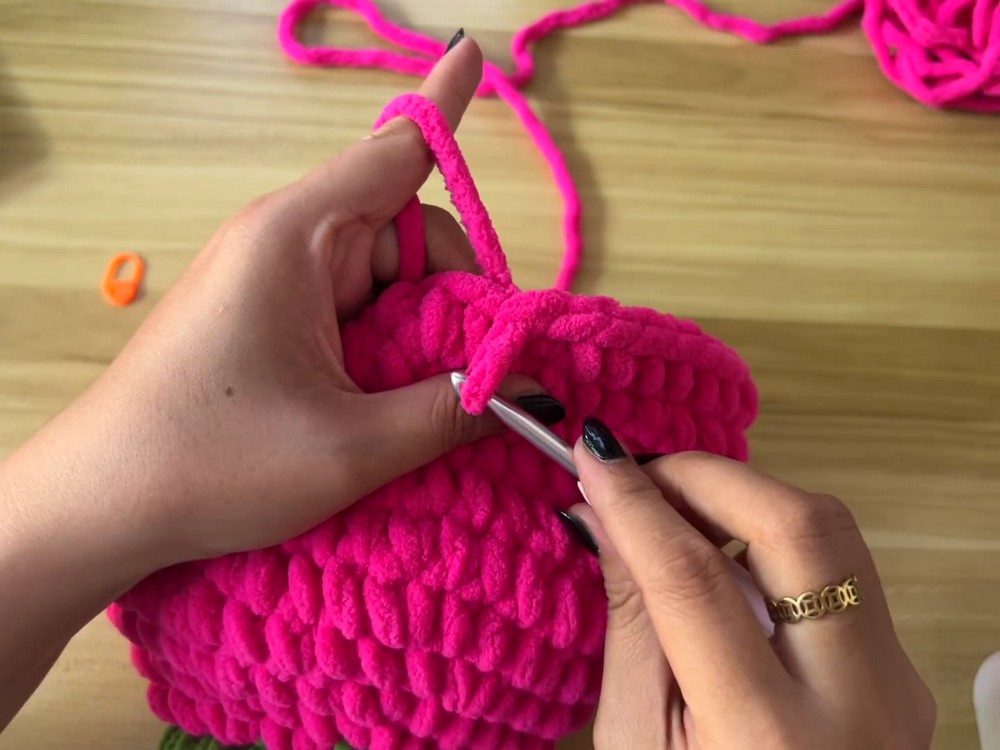
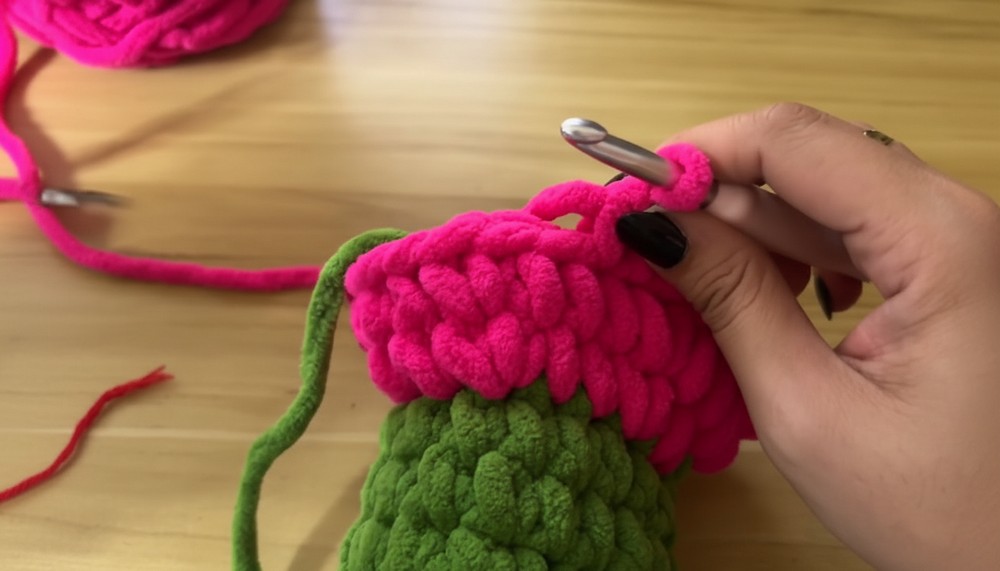
Step 5: Change to Pink Yarn for Tulip Bulb
- At the end of round 10, slip stitch with new pink yarn, working over previous green yarn tail.
- Remove stitch marker.
Step 6: Round 11 – Increase in Back Loop Only
- Work in back loops only:
- Pattern: 1 sc, 1 sc, 2 sc in same stitch, repeat.
- Total 24 stitches.
- Place stitch marker.
Step 7: Round 12 – Increase Every Fourth Stitch
- Pattern: 1 sc in 3 stitches, 2 sc in next stitch, repeat around.
- Total 30 stitches.
Step 8: Round 13 – Increase Every Fifth Stitch
- Pattern: 1 sc in 4 stitches, 2 sc in next stitch, repeat.
- Total 36 stitches.
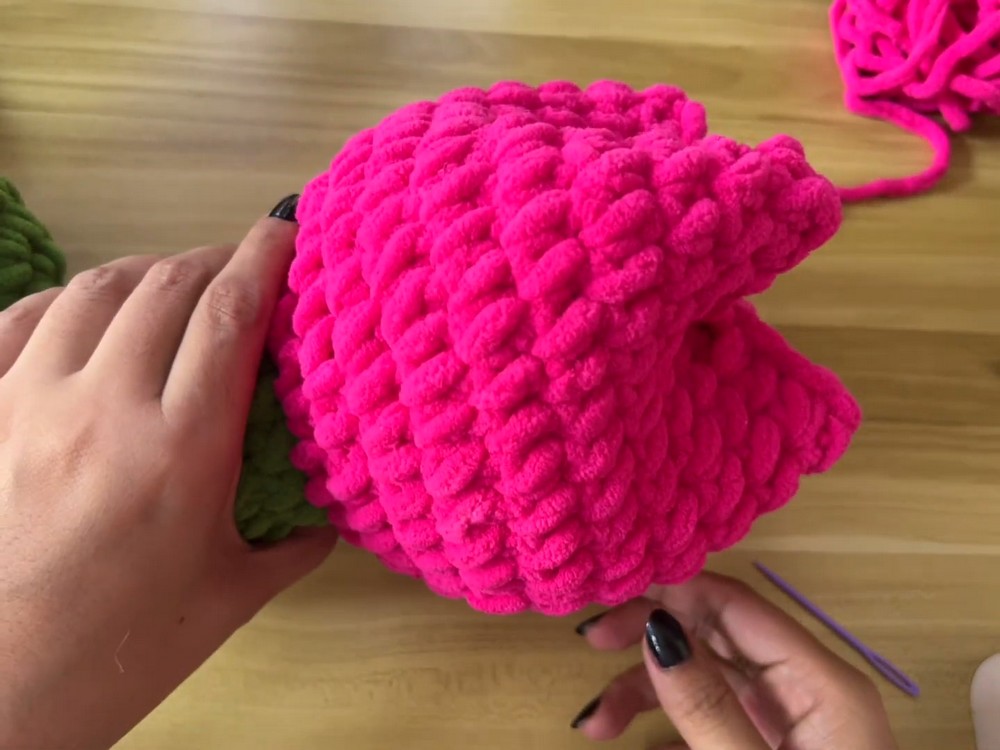
Step 9: Rounds 14–20 – Single Crochet Without Increase
- Work 1 sc in each stitch around.
- Place stitch marker.
- Complete rounds up to 20 total (bulb height).
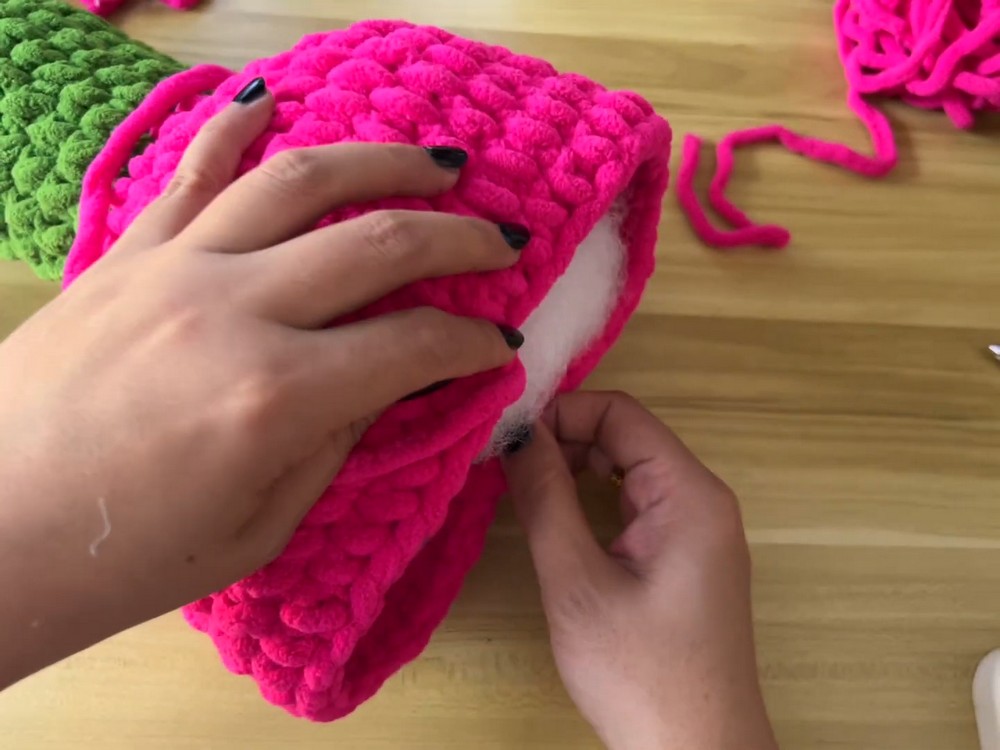
Step 10: Finish Bulb and Stuff
- After round 20, fasten off leaving a long tail.
- Stuff bulb fully with fiber fill.
- Use tail to sew bulb closed.
Step 11: Crochet Leaf with Wire
- Using green yarn and same hook, make slip knot.
- Chain 10.
- Insert thin wire alongside yarn, crochet through chain starting 2nd chain.
- Crochet stitches along chain with wire incorporated: single crochets, double crochets, treble crochets as follows for shaping:
- 1 sc, 1 dc, four treble crochets, 1 dc, 1 half double crochet, 3 sc in last stitch.
- Flip chain to work on other side of wire with reverse pattern:
- 1 hdc, 1 dc, 4 treble crochets, 1 dc, 1 sc.
- Slip stitch to join leaf tip, fasten off leaving tail.
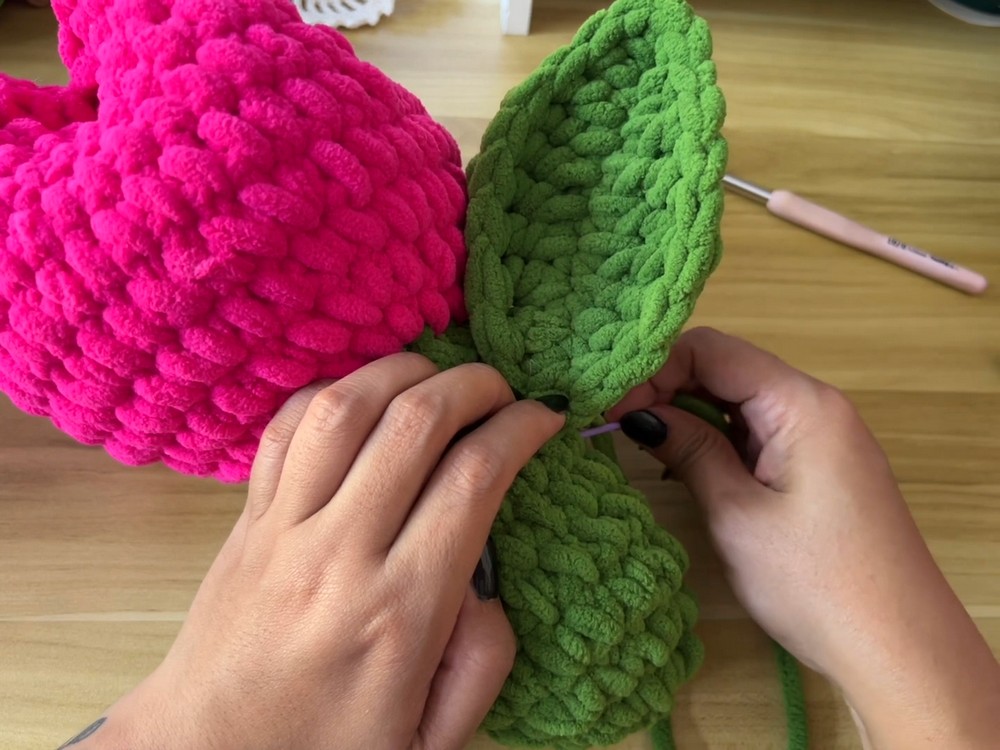
Step 12: Attach Leaf to Stem
- Position leaf where desired along stem.
- Use long tail and yarn needle to sew leaf to stem securely.
- Hide tails and weave in ends.
Tutor’s Suggestions
- Use stitch markers to keep track of rounds for consistent size.
- Stuff bulb firmly for full shape but avoid overstuffing which can distort stitches.
- Adjust wire thickness for leaf flexibility. Thin craft wire works best.
- Work over yarn tails when changing colors to avoid loose ends.
Uses
- Decorative crochet flower for home décor or gifts.
- Teaching project for beginners learning rounds and shaping.
- Charming handmade embellishment for bouquets, gifts, or hat toppers.
Final Tip
Take your time incorporating the wire into the leaf, adjusting gently to maintain stitch tension without breaking yarn or kinking wire.
Conclusion
With just basic stitches and chunky yarn, creating this delightful crochet tulip is easy and satisfying. The structured leaf and stuffed bulb bring dimension and texture, making it a perfect project for beginners seeking to expand skills and make a gorgeous floral accessory.
Leave a Reply