
Keep cozy and stylish all season with a soft crochet ribbed beanie that fits snugly and adds a charming touch to any outfit or gift idea.
A soft, cozy hat gently hugs your head, keeping the chilly breeze away with warmth and comfort. This ribbed beanie is more than just a simple hat, its lovely ridged texture adds charm and style that suits everyone, no matter your age or taste. The thick, stretchy design fits comfortably, feeling like a gentle embrace that warms you throughout the day.
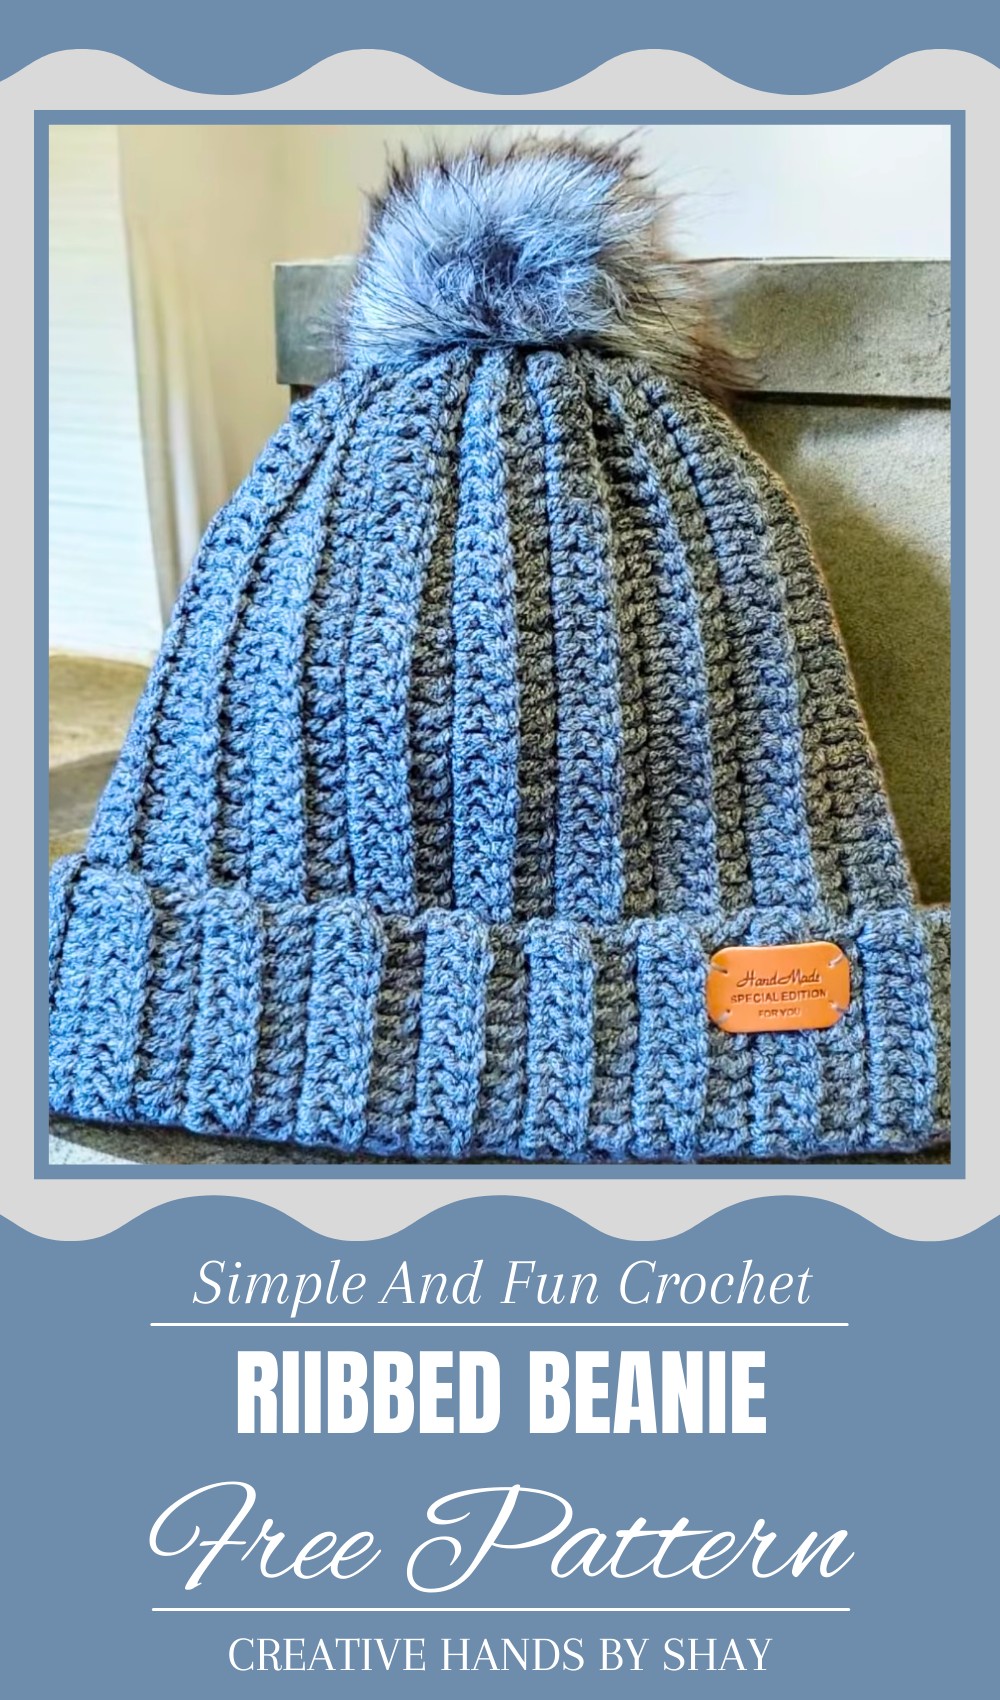
Quick & Cute Crochet Ribbed Beanie You’ll Love to Wear Anytime
Whether you wear it for a casual outing, a walk in the park, or to add a cute touch to your outfit, this beanie makes every moment special. Its beautiful, neat ridges create a timeless look that pairs well with any style. Easy to make and delightful to wear, this hat is perfect for anyone who wants to stay cozy while looking stylish. It’s a wonderful choice for keeping warm or sharing a heartfelt handmade gift with someone you love.
Simple Easy Rib Beanie Crochet Pattern
Materials Needed
- Worsted weight yarn (100% acrylic recommended, leftover yarn works well)
- 5.0 mm crochet hook
- Darning needle
- Scissors
- Measuring tape
- Optional: Pom pom (handmade or store-bought)
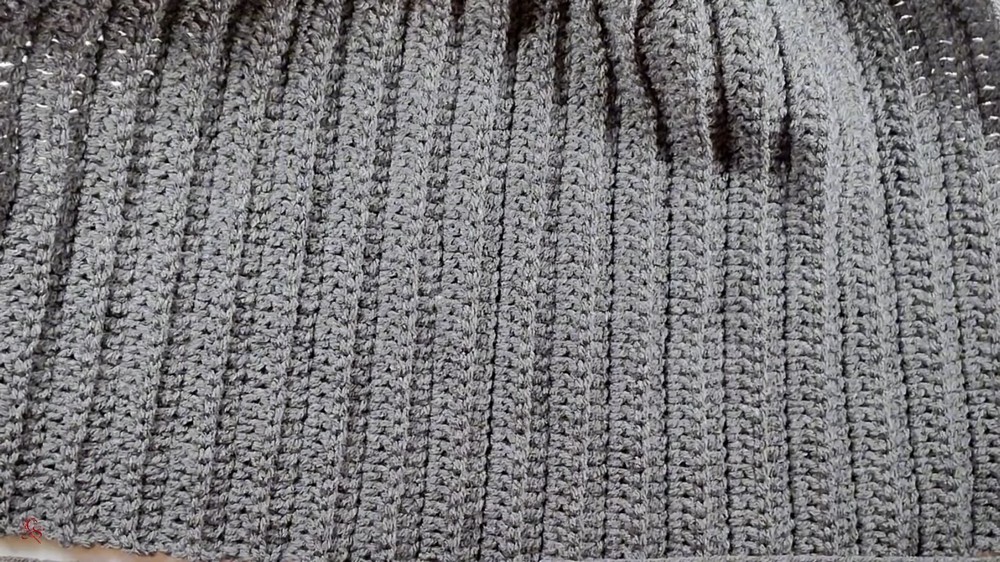
Special Features
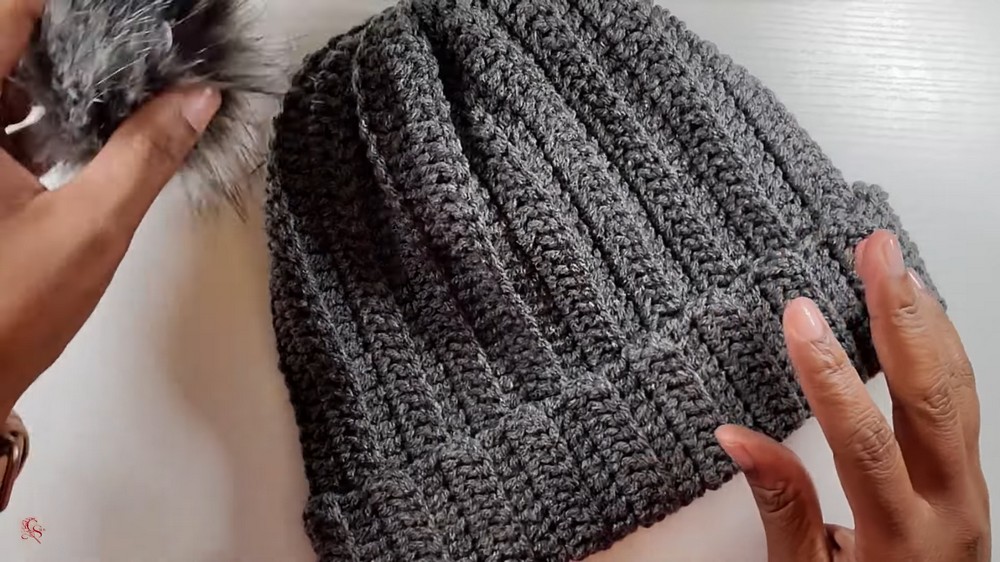
- Ribbed texture created by working stitches in back loops only
- Easy stitch repeats suitable for absolute beginners
- Stretchy and cozy fit, ideal for adults and kids
- Quick to make — perfect last-minute gift or project
Difficulty Level
Beginner — uses chains, double crochet (dc), half double crochet (hdc), single crochet (sc), working in back loops, and simple decreasing/shaping.
Step-by-Step Pattern
Step 1: Make Slip Knot and Foundation Chain
- Create a slip knot your preferred way.
- Chain 45 for adult size (adjust chains per size guidelines provided separately).
Step 2: Chain 2 and Make First Row of Double Crochets (dc)
- Chain 2 (does NOT count as a stitch, just turning chain).
- Skip 2 chains from hook, make 1 dc in 3rd chain.
- Make 1 dc in each chain across (total should be 45 dc).

Step 3: Add 2 More Chains
- After finishing the row, chain 2 extra (turning chain for next row).
Step 4: Working Row 2 — Half Double and Single Crochets at End
- When you reach the last 4 stitches of a row:
- Make 1 half double crochet (hdc) in 4th last stitch.
- Make 3 single crochets (sc), one in each of the remaining 3 stitches.
- This shaping creates a neat top edge.
Step 5: Chain 1 and Turn Work
- Chain 1 and turn your work to begin working in the back loops.
Step 6: Work Single Crochet (sc) into Back Loops Across
- Insert hook only into the back loop of each stitch and make 1 sc.
- Repeat until you reach the 4th stitch from the end, then:
Step 7: Half Double Crochet (hdc) in 4th Stitch, Double Crochet (dc) Afterwards
- In the 4th stitch, make 1 hdc (yarn over, insert hook, pull loop, yarn over, pull through all three loops).
- Then make dc in each of the next stitches until the end—all worked in back loops only.
Step 8: Continue Working Rows in Back Loops Only
- Repeat the pattern of working all stitches in back loops only (sc, dc, or hdc as established) for each row.
- At the very end of the last stitch, also work into the back loop.
- At the end of each row, chain 2 only when turning at the end of the hat, otherwise chain 1.
Step 9: Use Stitch Marker to Track Row Ends
- Mark the last stitch of each row to avoid accidentally adding stitches and keep consistent size throughout.
Step 10: Repeat Rows Until Desired Length
- Continue repeating the back loop stitch rows until the hat measures approximately 19 inches wide (or preferred size).
Step 11: Final Top Edge Shaping
- At the top edge, work 1 half double crochet followed by 3 single crochets in back loops only for neat shaping.
- Chain 1 and turn.
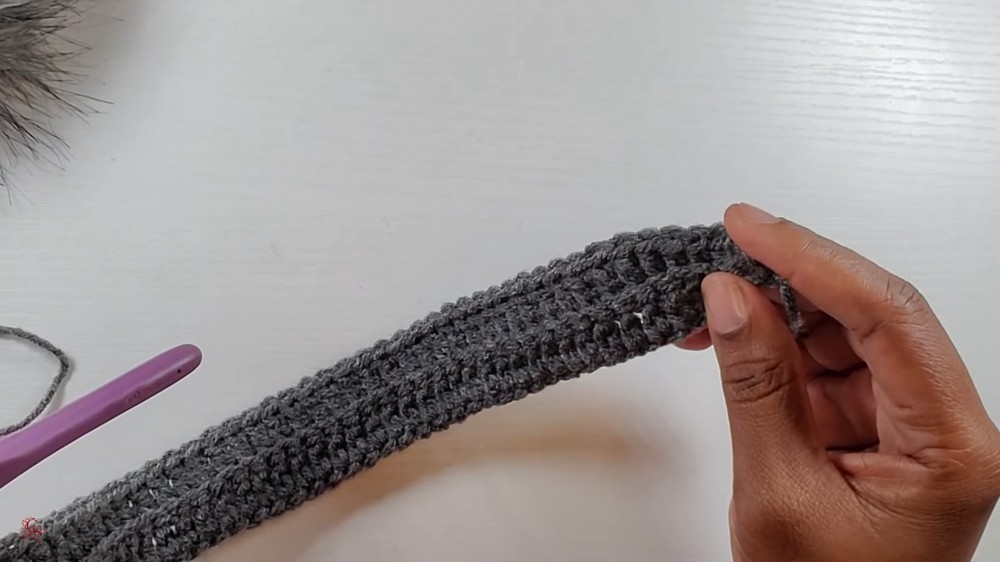
Step 12: Finish Hat Edge
- On the wrong side (inside of the hat), insert hook into back loops of each stitch and work slip stitches all around to create a clean edge and prepare for seaming.
- Cut yarn leaving a long tail.

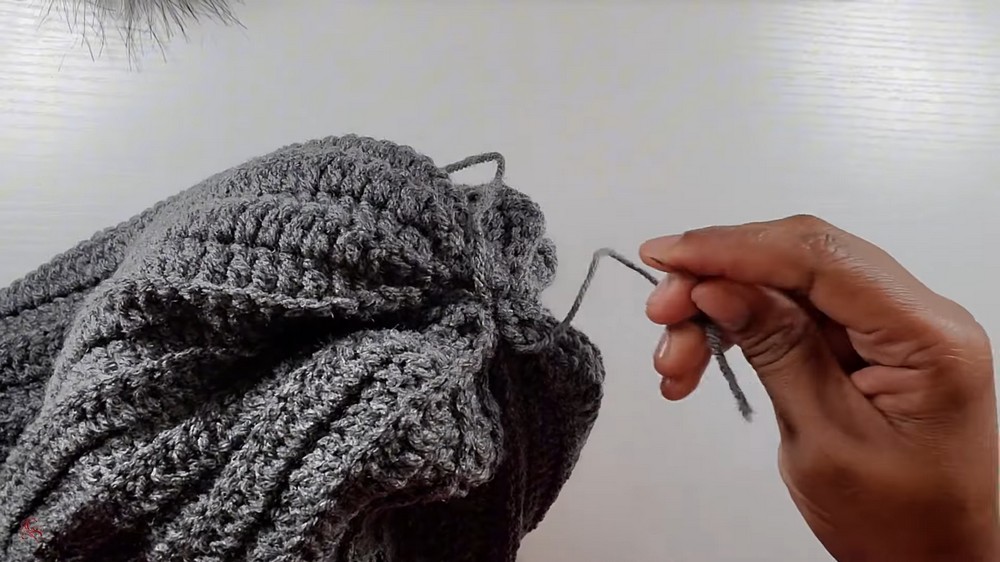
Step 13: Seam the Top of the Hat
- Thread yarn tail onto darning needle.
- Sew the top closed with simple in-and-out stitches along the top edge rows.
- Pull tightly to close, knot securely.
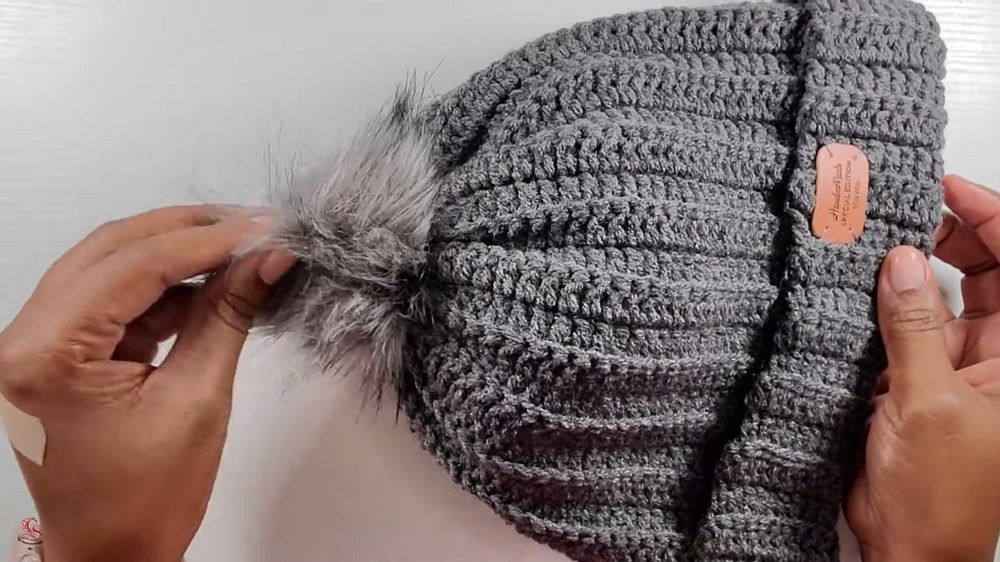
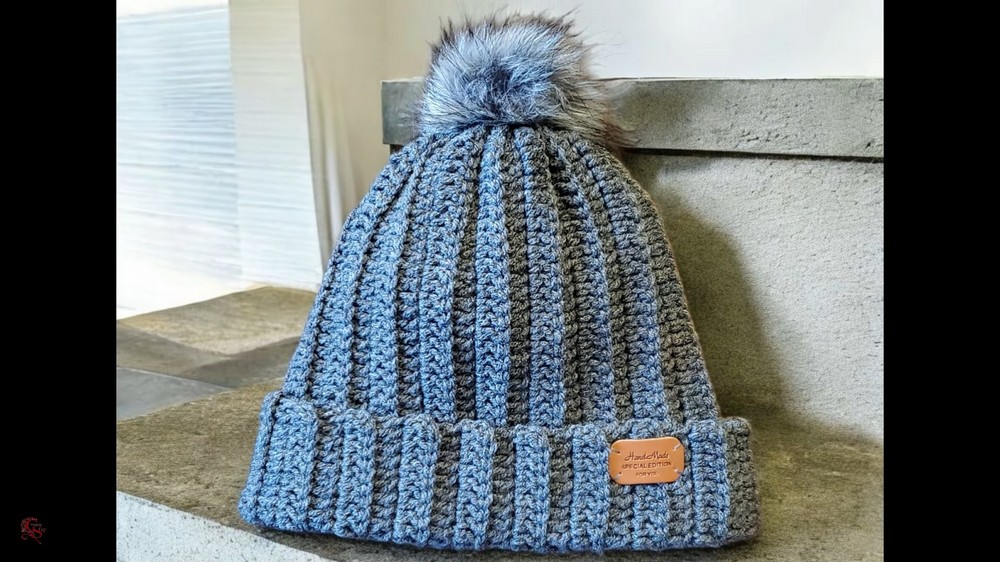
Step 14: Add Pom Pom or Tag (Optional)
- Attach a pom pom or sew on a label/tag as desired to finish your hat beautifully.
Tutor’s Suggestions
- Adjust chain length at start for different sizes: smaller for kids, larger for adults.
- Use a stitch marker generously to mark the last stitch each row to maintain stitch count.
- Always crochet into back loops only to keep the ribbed texture consistent.
- Check fit and stretch occasionally while cropping to avoid tightness.
Uses
- Warm, breathable hat for winter or transitional seasons.
- Simple gift for friends and family.
- Beginner project that develops stitch control and working in back loops.
Final Tip
Blocking your hat after finishing will smooth stitches and help shape the ribbing for a professional finish. Hand wash gently and dry flat.
Conclusion
This easy ribbed beanie pattern offers a quick and satisfying project for beginners eager to make a practical and stylish accessory. The stretchy back loop design ensures comfy fit while straightforward stitches make the process enjoyable.
Leave a Reply